1. Introduction
This manual provides detailed instructions for the installation, operation, and maintenance of your Generic DIYUSER 3.5-inch IPS USB-C PC Secondary Screen. This compact display is designed to provide real-time monitoring of your computer's CPU, GPU, and HDD performance metrics, enhancing your system management experience. Please read this manual thoroughly before using the device to ensure proper functionality and safety.
2. Safety Information
Observe the following safety precautions to prevent damage to the device or injury to yourself:
- Do not expose the device to water or excessive moisture.
- Avoid extreme temperatures. Operate the device within standard room temperatures.
- Do not attempt to disassemble or modify the device. This may void the warranty and cause damage.
- Use only the provided USB-C cable or a compatible, certified cable for connection.
- Keep the device away from strong magnetic fields.
- Handle the screen with care to avoid scratches or impact damage.
3. Package Contents
Verify that all items are present in your package:
- 1 x Generic DIYUSER 3.5-inch IPS USB-C PC Secondary Screen
- 1 x USB-C to USB-A Cable
- 1 x Stand (may be integrated or separate)
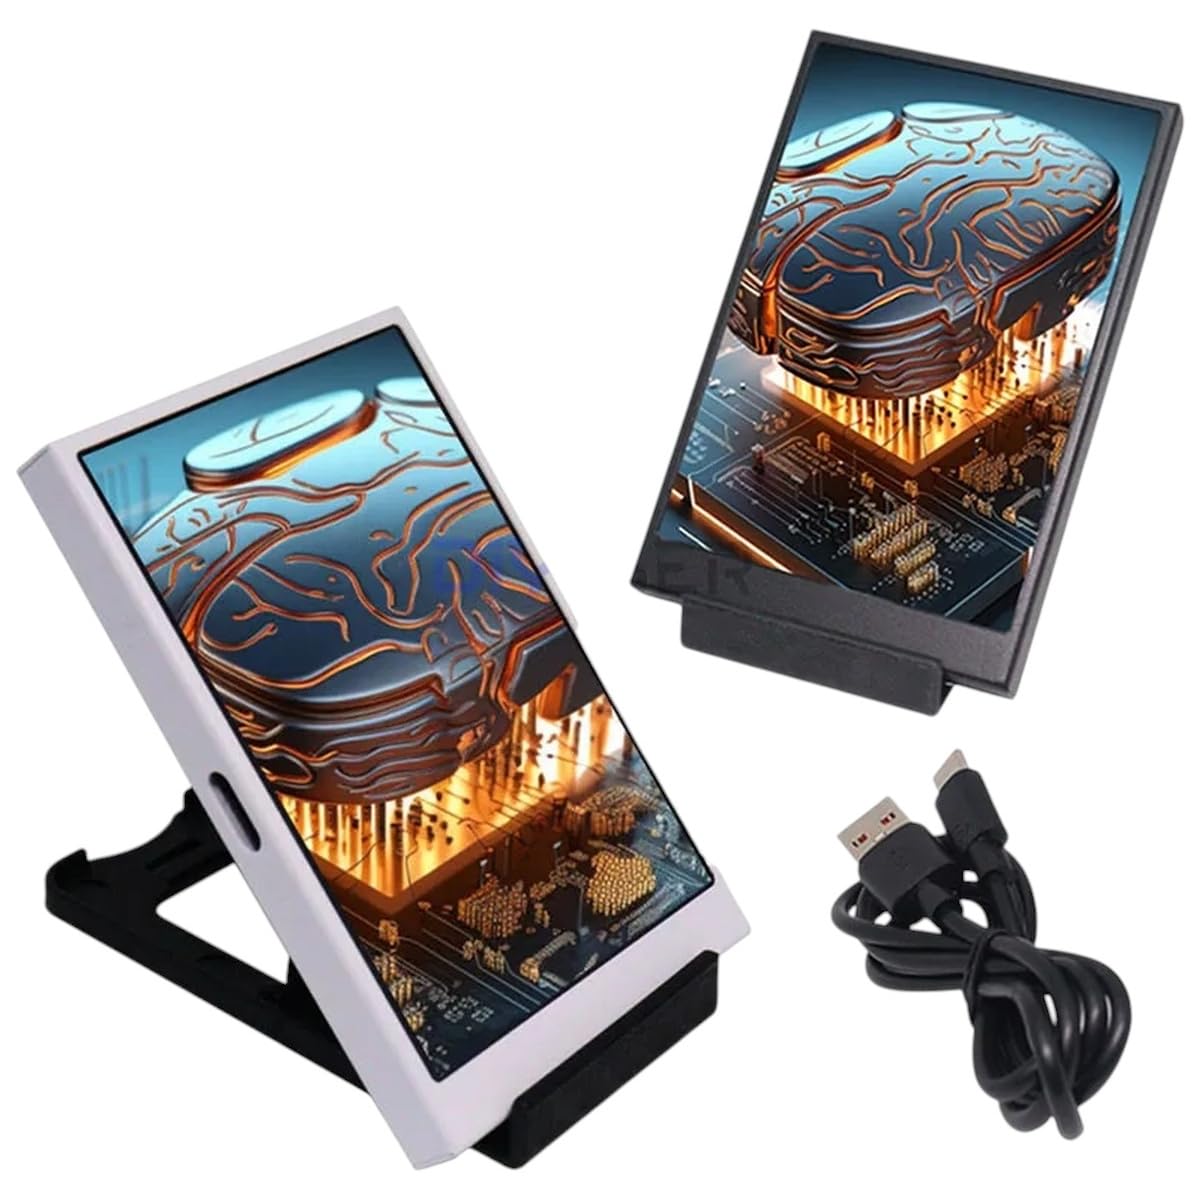
Image 3.1: Package Contents Overview. This image displays the secondary screen in both white and black variants, along with the included USB-C cable and their respective stands.
4. Setup Instructions
4.1 Physical Connection
- Position the Screen: Place the secondary screen on a stable surface using its integrated or separate stand.
- Connect to PC: Connect one end of the provided USB-C cable to the USB-C port on the secondary screen. Connect the other end (USB-A) to an available USB port on your Windows 10 or Windows 11 PC.
- Power On: The screen should power on automatically upon connection. If not, ensure the USB port provides sufficient power.
4.2 Software Configuration (AIDA64)
This secondary screen is designed to work with monitoring software like AIDA64 for displaying system information. Ensure you have AIDA64 Extreme or Engineer installed on your Windows 10/11 PC.
- Install AIDA64: If not already installed, download and install AIDA64 Extreme or Engineer from the official AIDA64 website.
- Configure SensorPanel:
- Open AIDA64.
- Navigate to File > Preferences > SensorPanel.
- Enable the SensorPanel and configure its settings to display the desired CPU, GPU, HDD, and other system metrics.
- Adjust the SensorPanel layout and elements to fit the 320x480 resolution of the secondary screen.
- Display on Secondary Screen: Once configured, drag the AIDA64 SensorPanel window to the secondary screen. You may need to adjust your Windows display settings to extend your desktop to the secondary screen.
For detailed AIDA64 SensorPanel configuration, refer to the AIDA64 documentation or support resources.
5. Operating Instructions
5.1 Basic Display Functionality
The 3.5-inch IPS screen functions as a standard secondary display. Once connected, Windows will detect it as an additional monitor.
- Extend Display: Right-click on your desktop, select "Display settings," and ensure your display mode is set to "Extend these displays" to use the secondary screen for additional content.
- Resolution: The optimal resolution for this screen is 320x480. Ensure your display settings are configured accordingly for the best visual experience.
5.2 Monitoring with AIDA64
After setting up AIDA64 SensorPanel as described in Section 4.2, the screen will continuously display your chosen system metrics.
- The display will update in real-time, showing CPU temperature, usage, GPU temperature, memory usage, HDD/SSD activity, and other configured sensors.
- To change the displayed information, modify the SensorPanel settings within AIDA64.
6. Maintenance
- Cleaning: Use a soft, dry, anti-static cloth to clean the screen surface. Do not use liquid cleaners or abrasive materials.
- Storage: When not in use for extended periods, store the device in a cool, dry place, away from direct sunlight and dust.
- Handling: Avoid dropping or subjecting the device to strong impacts.
7. Troubleshooting
| Problem | Possible Cause | Solution |
|---|---|---|
| Screen does not power on. | Insufficient power from USB port, faulty cable, or device issue. | Try a different USB port (preferably a USB 3.0 or higher port). Test with a different USB-C cable. Ensure the PC is powered on. |
| Screen powers on but no display. | Incorrect Windows display settings. | Go to Windows Display Settings and ensure "Extend these displays" is selected. Verify the screen is detected. |
| AIDA64 SensorPanel not showing on screen. | AIDA64 not configured correctly, or SensorPanel not dragged to the secondary screen. | Review Section 4.2 for AIDA64 configuration. Ensure the SensorPanel window is moved to the secondary display area. |
| Display is blurry or incorrect resolution. | Windows display resolution settings are incorrect for the secondary screen. | In Windows Display Settings, select the secondary screen and set its resolution to 320x480. |
8. Specifications
| Model | New 2026 |
| Screen Size | 3.5 inches |
| Display Type | IPS LCD |
| Resolution | 320x480 pixels |
| Interface | USB Type-C |
| Operating System Compatibility | Windows 10, Windows 11 |
| Monitoring Software Compatibility | AIDA64 Extreme/Engineer (SensorPanel) |
9. Support and Warranty
For technical assistance or inquiries regarding your Generic DIYUSER 3.5-inch IPS USB-C PC Secondary Screen, please refer to the retailer's support channels or the manufacturer's official website.
Information regarding warranty coverage, terms, and conditions is typically provided at the point of purchase or on the product packaging. Please retain your proof of purchase for warranty claims.


