microSHIFT RD-M220L
microSHIFT Estes RD-M220L Rear Derailleur User Manual
Model: RD-M220L
1. Introduction
This manual provides essential information for the proper installation, operation, and maintenance of your microSHIFT Estes RD-M220L Rear Derailleur. Please read this manual thoroughly before use to ensure safe and optimal performance.
The microSHIFT Estes RD-M220L is a long cage rear derailleur designed for 7, 8, and 9-speed mountain bike drivetrains. It is compatible with cassettes featuring a maximum cog size of 34-40 teeth and offers a total chain wrap capacity of 45 teeth.
2. Safety Information
WARNING:
- Always wear appropriate safety gear, including eye protection, when installing or maintaining bicycle components.
- Ensure all bolts are tightened to the manufacturer's specified torque settings. Overtightening or undertightening can lead to component failure.
- If you are unsure about any installation or adjustment procedure, consult a professional bicycle mechanic.
- Keep hands and clothing clear of moving parts, especially the chain and cogs, during operation and adjustment.
3. Component Overview
The microSHIFT Estes RD-M220L Rear Derailleur consists of several key parts:
- Derailleur Body: The main structure housing the pivot points and springs.
- Cage: The long cage assembly that guides the chain, including the upper and lower jockey wheels.
- B-Tension Screw: Adjusts the distance between the upper jockey wheel and the largest cassette cog.
- High (H) Limit Screw: Prevents the derailleur from shifting the chain beyond the smallest cog.
- Low (L) Limit Screw: Prevents the derailleur from shifting the chain beyond the largest cog.
- Cable Anchor Bolt: Secures the shift cable to the derailleur.
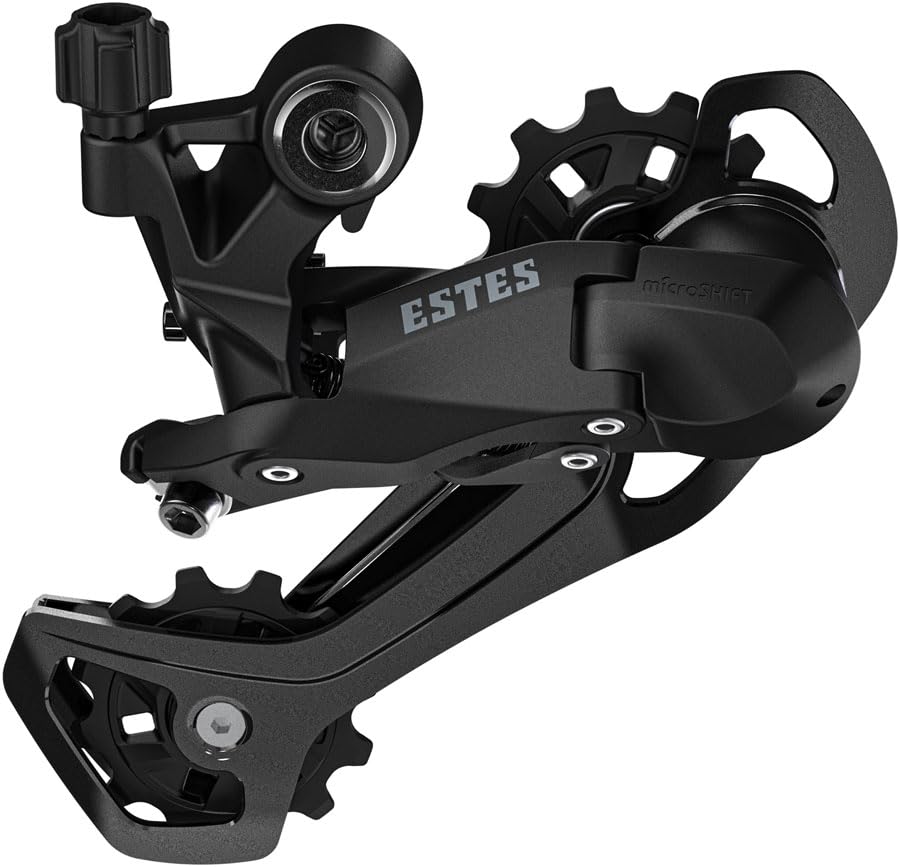
Figure 1: microSHIFT Estes RD-M220L Rear Derailleur. This image shows the overall structure of the derailleur, highlighting its long cage design and black finish.
4. Installation and Setup
4.1 Tools Required
- Hex wrenches (typically 5mm)
- Cable cutters
- Torque wrench (recommended)
- Bicycle grease
4.2 Derailleur Mounting
- Apply a small amount of grease to the derailleur hanger threads on your bicycle frame.
- Thread the derailleur mounting bolt into the hanger. Ensure the B-knuckle tab is correctly positioned against the hanger stop.
- Tighten the mounting bolt to the manufacturer's specified torque (typically 8-10 Nm).
4.3 Chain Installation
- Route the chain through the front derailleur (if applicable), over the smallest chainring, and then through the rear derailleur cage. Ensure the chain passes correctly over the upper and lower jockey wheels.
- Connect the chain using a master link or chain pin according to the chain manufacturer's instructions.
4.4 Cable Routing and Attachment
- Route the shift cable from your shifter through the frame's cable guides and into the derailleur's cable housing stop.
- Pull the cable taut and secure it under the cable anchor bolt. Do not overtighten initially.
4.5 Limit Screw Adjustment (H and L)
Limit screws prevent the chain from shifting off the smallest or largest cog.
- High (H) Limit: Shift the chain to the smallest cog on the cassette. Adjust the H-screw so that the upper jockey wheel is directly aligned with the smallest cog. The chain should run smoothly without rubbing.
- Low (L) Limit: Shift the chain to the largest cog on the cassette. Adjust the L-screw so that the upper jockey wheel is directly aligned with the largest cog. The chain should run smoothly without rubbing.
4.6 B-Tension Adjustment
The B-tension screw adjusts the gap between the upper jockey wheel and the cassette cogs.
- Shift the chain to the largest cog on the cassette.
- Adjust the B-tension screw until there is a gap of approximately 5-6mm between the top of the largest cog and the top of the upper jockey wheel. This ensures smooth shifting and prevents the jockey wheel from rubbing the cassette.
5. Operation
The microSHIFT Estes RD-M220L derailleur operates in conjunction with a compatible 7, 8, or 9-speed shifter. Shifting is achieved by pulling or releasing the shift cable, which moves the derailleur cage laterally across the cassette.
- Upshifting (to smaller cogs): Press the shifter lever to release cable tension, allowing the derailleur to move the chain to smaller cogs.
- Downshifting (to larger cogs): Press the shifter lever to pull the cable, moving the derailleur to larger cogs.
For optimal performance, avoid shifting under heavy pedaling load. Ease off the pedals slightly during shifts for smoother transitions and to prolong drivetrain component life.
6. Maintenance
Regular maintenance ensures the longevity and optimal performance of your derailleur.
6.1 Cleaning
- Periodically clean the derailleur body, cage, and jockey wheels with a degreaser and brush.
- Rinse thoroughly with water and dry completely.
6.2 Lubrication
- Apply a small amount of bicycle chain lubricant to the pivot points of the derailleur and the jockey wheel bearings.
- Wipe off any excess lubricant to prevent dirt accumulation.
6.3 Inspection
- Regularly check for bent derailleur hangers, which can cause poor shifting.
- Inspect jockey wheels for wear. Worn jockey wheels can lead to noisy operation and inefficient shifting. Replace if necessary.
- Check all bolts for proper tightness.
7. Troubleshooting
| Problem | Possible Cause | Solution |
|---|---|---|
| Chain skips or hesitates when shifting | Incorrect cable tension, bent derailleur hanger, worn chain/cassette, misaligned limit screws. | Adjust cable tension using the barrel adjuster on the shifter or derailleur. Check and straighten/replace derailleur hanger. Inspect and replace worn drivetrain components. Re-adjust limit screws. |
| Derailleur does not shift to smallest cog | H-limit screw too tight, insufficient cable tension. | Loosen H-limit screw slightly. Increase cable tension. |
| Derailleur does not shift to largest cog | L-limit screw too tight, excessive cable tension. | Loosen L-limit screw slightly. Decrease cable tension. |
| Jockey wheel rubs cassette cogs | Incorrect B-tension adjustment. | Adjust B-tension screw to increase clearance between jockey wheel and cassette. |
8. Specifications
| Feature | Detail |
|---|---|
| Model Number | RD-M220L |
| Brand | microSHIFT |
| Compatibility | 7/8/9-Speed MTB Drivetrains |
| Max Cassette Cog | 34-40t |
| Min Cassette Cog | 11-14t |
| Chain Wrap Capacity | 45t |
| Cage Length | Long Cage |
| Material | Metal (with metal inserts) |
| Color | Black |
| Weight | 0.84 Pounds (approx. 381g) |
| Dimensions (L x W x H) | 9" x 4.5" x 4" (approx. 22.86cm x 11.43cm x 10.16cm) |
9. Warranty Information
The microSHIFT Estes RD-M220L Rear Derailleur comes with a Limited Warranty. For specific terms and conditions, please refer to the warranty documentation included with your purchase or visit the official microSHIFT website. This warranty typically covers manufacturing defects but does not cover damage due to improper installation, misuse, neglect, or normal wear and tear.
10. Customer Support
For technical assistance, spare parts, or warranty claims, please contact your local microSHIFT dealer or visit the official microSHIFT website for support resources and contact information.
Website: www.microshift.com (Example link, actual link may vary)
Ask a question about this manual
Ask about setup, troubleshooting, compatibility, parts, safety, or missing instructions. Manuals+ will review the question and use this page’s manual context to help answer it.