FLEX FC3401-Z 120V Corded Brushless Gear-Driven Orbital Polisher
Instruction Manual
1. Important Safety Instructions
Read all safety warnings, instructions, illustrations, and specifications provided with this power tool. Failure to follow all instructions listed below may result in electric shock, fire, and/or serious injury.
- Work Area Safety: Keep work area clean and well lit. Cluttered or dark areas invite accidents.
- Electrical Safety: Power tool plugs must match the outlet. Never modify the plug in any way. Do not expose power tools to rain or wet conditions.
- Personal Safety: Stay alert, watch what you are doing, and use common sense when operating a power tool. Always wear eye protection.
- Power Tool Use and Care: Do not force the power tool. Use the correct power tool for your application. Disconnect the plug from the power source before making any adjustments, changing accessories, or storing power tools.
- Service: Have your power tool serviced by a qualified repair person using only identical replacement parts.
2. Product Overview
The FLEX FC3401-Z is a 120V corded brushless gear-driven orbital polisher designed for car detailing. It features constant speed technology, an 11-speed control dial, and an ergonomic grip for precise control.
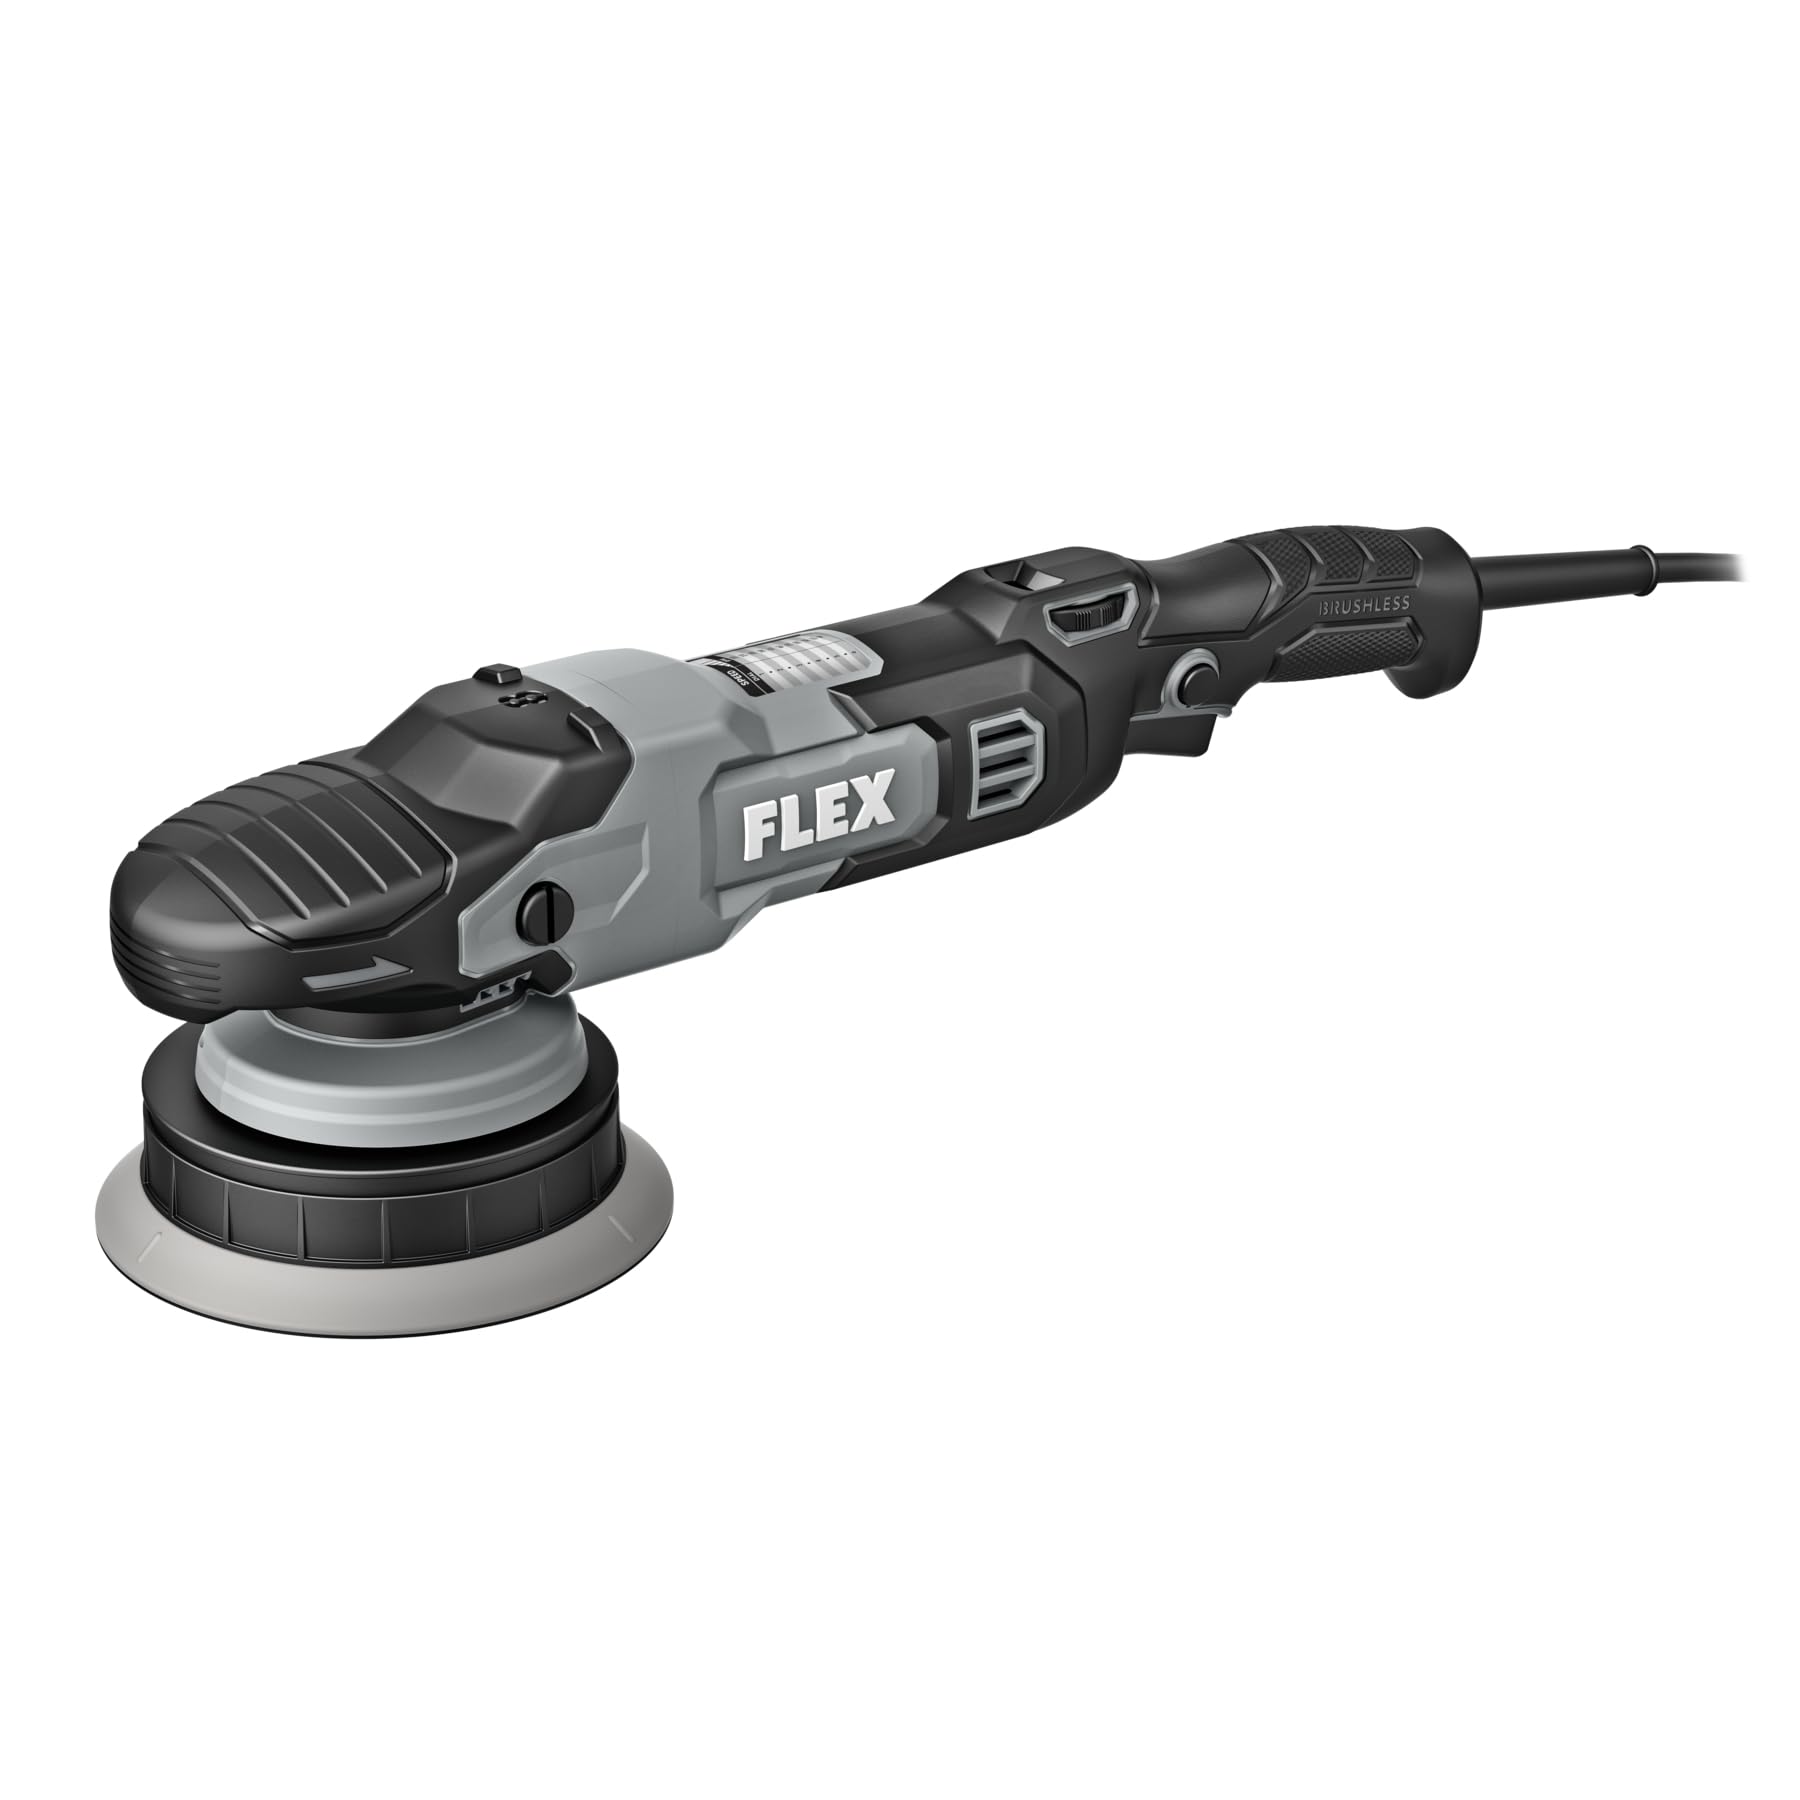
Figure 1: FLEX FC3401-Z Orbital Polisher. This image shows the complete polisher unit with its ergonomic handle and speed control dial.
Components Included:
- FLEX FC3401-Z Polisher Unit
- 5-inch Backing Plate
- 6-inch Backing Plate
3. Setup
Before operating the polisher, ensure it is properly assembled and all safety precautions are observed.
- Select Backing Plate: Choose either the 5-inch or 6-inch backing plate based on the pad size and the area you intend to polish.
- Attach Backing Plate: Align the backing plate with the polisher's spindle. Securely screw the backing plate onto the spindle until it is hand-tight. Do not overtighten.
- Attach Polishing Pad: Press the desired polishing pad firmly onto the hook-and-loop surface of the backing plate. Ensure the pad is centered.
- Power Connection: Plug the polisher's cord into a standard 120V electrical outlet. Ensure the power switch is in the "OFF" position before plugging in.
Figure 2: Backing Plate Attachment. This image illustrates how to securely attach a backing plate to the polisher's spindle.
4. Operating Instructions
Follow these steps for effective and safe operation of your FLEX orbital polisher.
- Prepare Surface: Ensure the vehicle surface is clean, dry, and free of contaminants before polishing.
- Apply Compound/Polish: Apply a small amount of polishing compound or wax directly to the polishing pad or the work surface.
- Start Polisher: Place the pad flat on the work surface before turning the tool on. Use the 11-speed control dial to select the desired speed. Start at a lower speed and gradually increase as needed. The variable speed trigger allows for fine-tuning.
- Polishing Technique: Move the polisher in a consistent, overlapping pattern. Apply light, even pressure. Avoid tilting the polisher, which can cause uneven results or damage.
- Monitor Temperature: Periodically check the temperature of the work surface and the polisher. If either becomes excessively hot, stop and allow them to cool.
- Finish: Once the desired result is achieved, turn off the polisher before lifting it from the surface.
Speed Control Dial:
The polisher features an 11-speed control dial. Refer to the table below for general speed recommendations:
| Dial Setting | Application |
|---|---|
| 1-3 | Waxing, Glazing, Finishing |
| 4-7 | Light Polishing, Swirl Removal |
| 8-11 | Heavy Compounding, Scratch Removal |
Note: These are general guidelines. Always test on an inconspicuous area first.
5. Maintenance
Regular maintenance ensures optimal performance and extends the life of your polisher.
- Cleaning: After each use, disconnect the polisher from power. Remove the polishing pad and clean it according to its manufacturer's instructions. Wipe down the polisher body with a clean, damp cloth. Do not use harsh chemicals or abrasive cleaners.
- Pad Inspection: Regularly inspect backing plates and polishing pads for wear or damage. Replace worn pads to maintain effective polishing.
- Cord Inspection: Check the power cord for any cuts, fraying, or damage. Do not use the tool if the cord is damaged.
- Storage: Store the polisher in a clean, dry place, out of reach of children. Avoid storing in direct sunlight or extreme temperatures.
6. Troubleshooting
Refer to this section for solutions to common issues.
| Problem | Possible Cause | Solution |
|---|---|---|
| Polisher does not turn on. | No power supply; faulty cord/plug; internal fault. | Check power outlet and cord. Ensure plug is fully inserted. If problem persists, contact customer support. |
| Excessive vibration or noise. | Loose backing plate; unbalanced pad; internal issue. | Ensure backing plate is securely tightened. Check pad for even attachment and wear. If issue continues, discontinue use and seek service. |
| Poor polishing results. | Incorrect pad/compound; worn pad; improper technique. | Verify pad and compound are suitable for the task. Replace worn pads. Review operating instructions for proper technique. |
7. Specifications
| Feature | Detail |
|---|---|
| Model Number | FC3401-Z |
| Voltage | 120 Volts |
| Motor Type | Brushless |
| Max RPM | 700 RPM |
| Max OPM | 8,700 OPM |
| Speed Control | 11-speed dial with variable speed trigger |
| Included Backing Plates | 5-inch and 6-inch |
| Product Dimensions (D x W x H) | 16.5" x 3.9" x 5" |
| Power Source | Corded Electric |
8. Warranty and Support
This FLEX polisher is protected by a one-year limited warranty when registered.
- Warranty Registration: To activate your one-year limited warranty, register your product at registermyflex.com.
- Customer Support: For technical assistance, service, or warranty claims, please refer to the contact information provided on the FLEX official website or your purchase documentation.