1. Introduction
This manual provides instructions for the setup, operation, and maintenance of your NIIMBOT B2 Pro Label Maker Machine. Please read this manual thoroughly before using the device to ensure proper function and longevity.
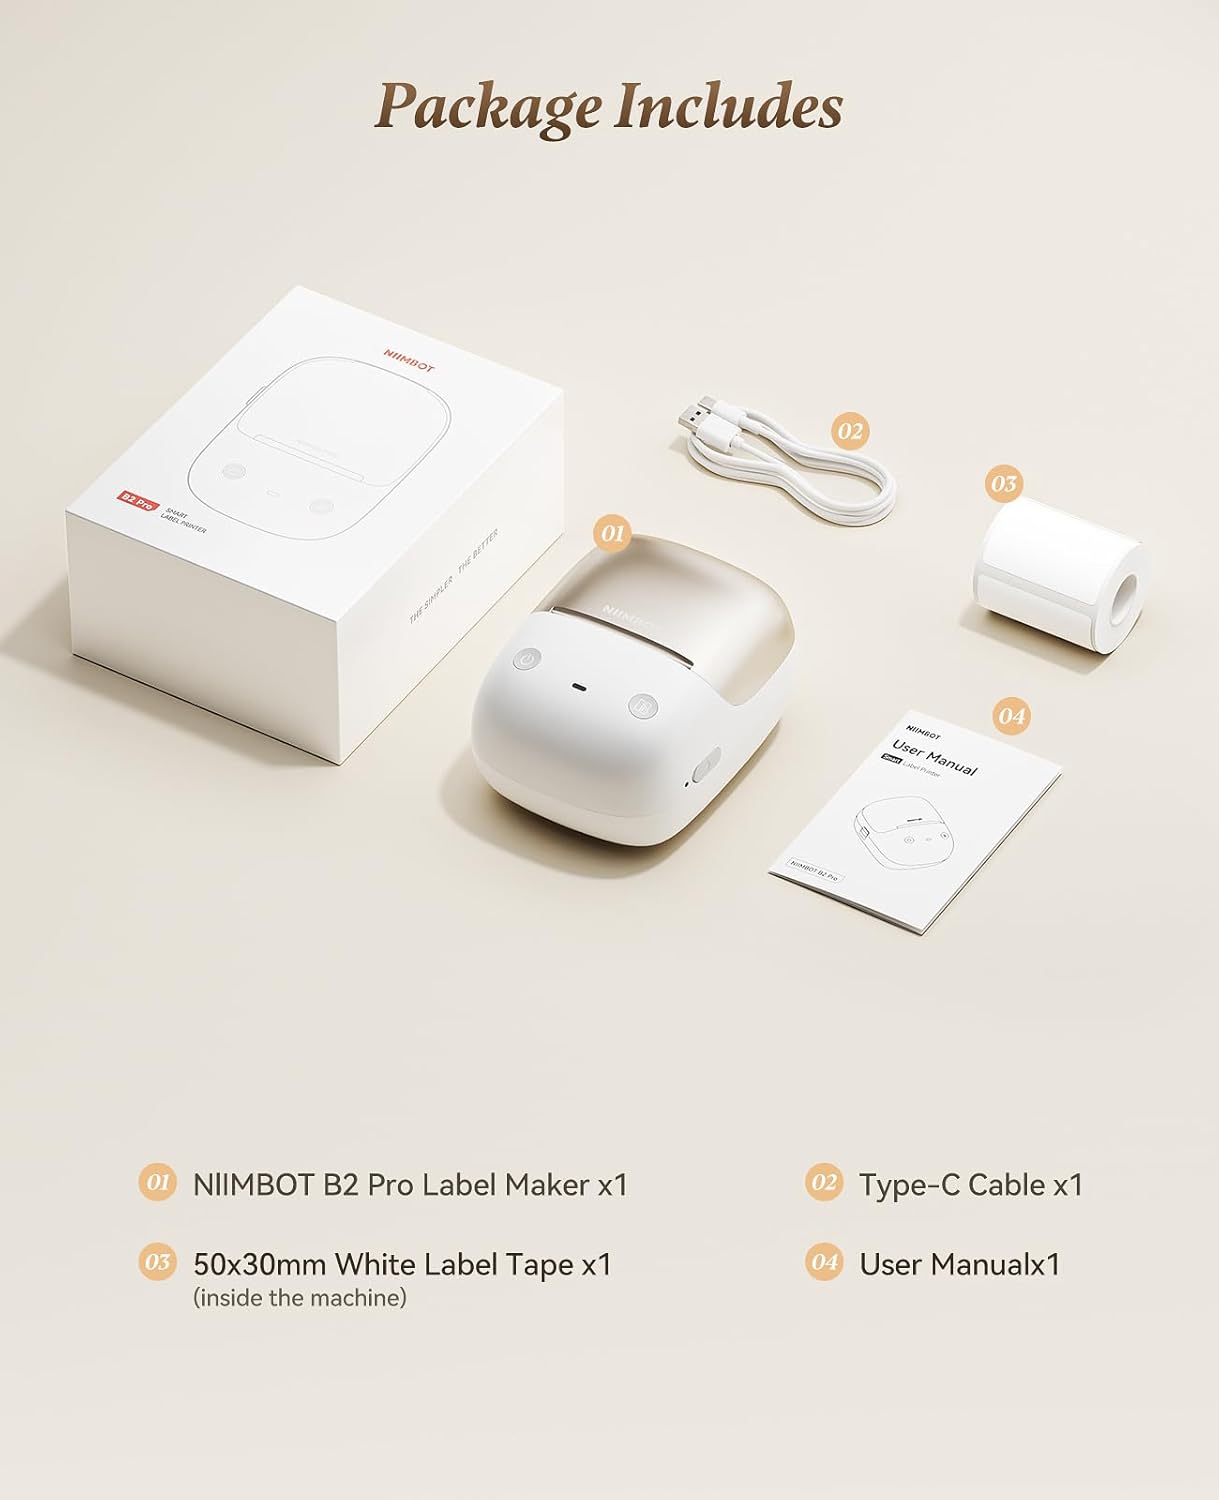
2. Package Contents
Verify that all items are present in the package:
- NIIMBOT B2 Pro Label Maker (x1)
- Type-C Cable (x1)
- 50x30mm White Label Tape (x1, pre-installed inside the machine)
- User Manual (x1)
3. Device Overview
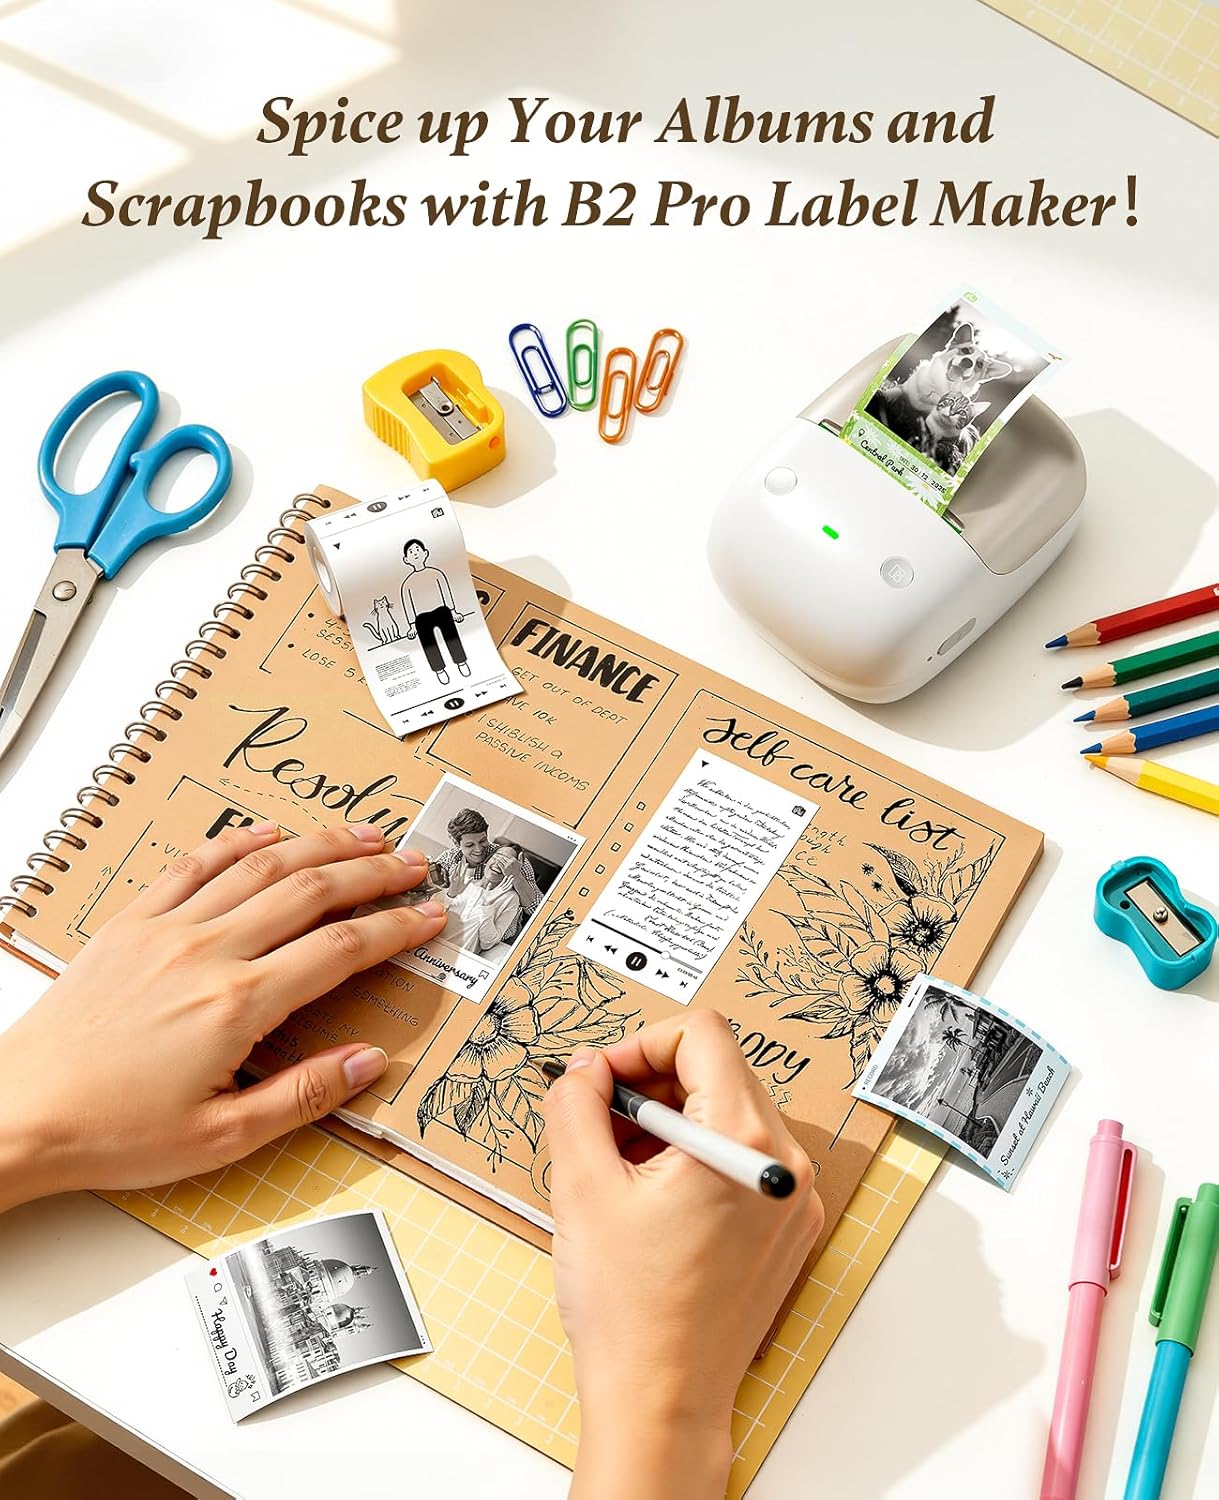
The NIIMBOT B2 Pro is a portable thermal label printer designed for various labeling needs. It features a 300dpi print head for clear output and supports both mobile and PC connectivity.

Key Features:
- Ultra-portable Design: Weighs approximately 348g, with ergonomic curves for comfortable handling.
- 300dpi High-Definition Printing: Ensures crisp and clear label output. Supports NIIMBOT grayscale photo paper labels and red-and-black dual-color printing.
- One-key Smart Operation: Allows independent operation for real-time, history, and preset template printing without a smartphone or PC after initial setup.
- Multi-Point Bluetooth Connectivity: Connects to mobile devices (iOS and Android) and PC (Windows). Supports simultaneous connection of up to 10 smartphones (3 iOS, 7 Android) for multi-user editing.
- App Features: Access to over 1500 icons, borders, 249 free fonts, and 100+ VIP exclusive fonts, with over 1,000 design templates.
- Wide Label Compatibility: Supports label widths from 20mm to 50mm.
4. Setup Guide
4.1 Charging the Device
Before first use, fully charge the NIIMBOT B2 Pro using the provided Type-C cable. The charging port is located on the device.
4.2 Installing the NIIMBOT App
- Download the "NIIMBOT" app from your mobile device's app store (iOS or Android).
- Alternatively, for PC (Windows), download the NIIMBOT software from the official website. (Note: Incompatible with iPad).

4.3 Connecting to the Device
- Ensure the NIIMBOT B2 Pro is powered on. The power button is typically located on the right side.
- Open the NIIMBOT app on your smartphone or PC.
- Follow the in-app instructions to connect to the printer via Bluetooth.
The device supports simultaneous connection with up to 10 smartphones (3 iOS and 7 Android).
4.4 Loading Label Tape
The NIIMBOT B2 Pro features a shaftless design for easy label loading.
- Open the label compartment cover.
- Place the label roll into the compartment, ensuring the labels feed out correctly.
- Close the cover. The printer will automatically detect the label size and type.

5. Operating Instructions
5.1 Using the NIIMBOT App
The NIIMBOT app provides extensive customization options for your labels.
- Text Editing: Double-tap a text box to enter content. Adjust font, size, style, and alignment.
- Icons & Borders: Choose from over 1500 icons and 100+ borders to enhance your labels.
- Templates: Utilize over 1,000 pre-designed templates for various scenarios (catering, office, retail, etc.).
- Image Integration: Import your own photos for personalized projects.
- Multi-language Support: The app supports multiple languages.

5.2 Printing Labels
After designing your label in the app, tap "Print" to send the job to the B2 Pro. The printer offers three fully configurable offline printing modes:
- Mode 1: Print Real-time: For dynamic information such as expiration dates or material receiving times.
- Mode 2: Print Previous One: Re-print a previously used label without re-editing.
- Mode 3: Designate "My Templates": Print from your saved preset templates for standardized labeling.


6. Troubleshooting
6.1 "Printer connection failed" with Android phone
If you encounter this issue, follow these steps:
- Update the printer's Bluetooth firmware via an iOS device or PC cloud printing.
- After the update, double-press the printer's power button to print a self-test page.
- Verify that the Bluetooth version on the self-test page has changed to 7470.
If issues persist, contact customer support for assistance.
7. Specifications
| Feature | Detail |
|---|---|
| Brand | NIIMBOT |
| Model Name | B2 Pro |
| Connectivity Technology | Bluetooth |
| Printing Technology | Thermal |
| Special Feature | Bluetooth, Inkless Printing, Portable |
| Printer Output | Monochrome |
| Max Print Speed Monochrome | 40 mm/s |
| Item Weight | 12 ounces (approx. 340g) |
| Product Dimensions (D x W x H) | 5" x 2.6" x 3.6" |
| Print Media | Labels |
| Resolution | 300 x 300 DPI |
| Maximum Media Size | 2x14 Inch |
| Paper Size (Example) | 2x1.2 Inch |
| Dual-sided printing | No (Simplex) |

8. Warranty and Support
8.1 Warranty Information
The NIIMBOT B2 Pro Label Maker Machine comes with a 2-Year Warranty from the manufacturer.
8.2 Customer Support
For any issues or inquiries not covered in this manual, please contact NIIMBOT customer support. Refer to the product packaging or official NIIMBOT website for contact details.