1. Introduction
This manual provides detailed instructions for the installation, operation, maintenance, and troubleshooting of your Jufodrca 10.1-inch 8-Core 4G+64G Car Radio. This unit is specifically designed for Honda Accord 9th EX-L models from 2013 to 2015. Please read this manual thoroughly before using the product to ensure proper function and safety.
2. Package Contents
Verify that all items listed below are included in your package. If any items are missing or damaged, please contact customer support.
- 10.1-inch Car Radio Head Unit with Frame
- Power Cable Harness
- 20-pin RCA Cable
- 3.5mm Microphone
- 4-pin USB Cable
- 6-pin USB Cable
- GPS Antenna
- Backup Camera Signal Wire (10-pin)
- Canbus Box (8-pin connector)
- Backup Camera
- Backup Camera Extension Cable
- Frame Removal Tool
- User Manual & Installation Guide

3. Compatibility
This car radio is compatible with 2013, 2014, and 2015 Honda Accord 9th EX-L models with Auto A/C. It includes a Canbus for integration. Please note the following compatibility exclusions:
- Not Supported: OEM Multimedia Control, OEM Side Camera, Dynamic Guide Lines, OEM Subwoofer.
- Not Fit: Original Radio with Manual A/C or Full Touch Screen.
Confirm your radio type and CD plug before ordering or attempting installation.

4. Setup & Installation
Professional installation is recommended. Ensure the vehicle's battery is disconnected before starting the installation process.
4.1 Disassembly
- Using the provided frame removal tool, carefully pry off the trim panels around the existing radio unit.
- Unscrew any retaining screws holding the factory radio in place.
- Gently pull out the factory radio and disconnect all wiring harnesses.
4.2 Wiring Connections
Connect the new Jufodrca head unit's wiring harnesses to the vehicle's corresponding connectors. Ensure all connections are secure.
- Connect the main power cable harness.
- Connect the Canbus box to the designated 8-pin connector.
- Connect the 20-pin RCA cable for audio/video inputs/outputs.
- Connect the 4-pin and 6-pin USB cables.
- Connect the GPS antenna. Position the antenna in a location with a clear view of the sky for optimal signal reception.
- Connect the 3.5mm external microphone for improved call quality.
- Connect the backup camera signal wire and the backup camera.

4.3 Reassembly
- Carefully slide the new head unit into the dashboard opening.
- Secure it with the retaining screws.
- Reattach the trim panels, ensuring they snap securely into place.
- Reconnect the vehicle's battery.
5. Operating Instructions
5.1 Power On/Off
The unit will power on automatically when the vehicle's ignition is turned on. To power off, turn off the vehicle's ignition. The unit supports an auto-sleep function to quickly resume operation.
5.2 Wireless CarPlay & Android Auto
Connect your smartphone wirelessly for seamless integration with CarPlay or Android Auto. This allows access to navigation, calls, messages, and music directly from the head unit's display.
- Ensure Bluetooth and Wi-Fi are enabled on your smartphone.
- On the head unit, open the CarPlay or Android Auto application.
- Search for the head unit's Bluetooth name on your phone and pair.
- Follow the on-screen prompts to complete the connection.

5.3 GPS Navigation
The unit features built-in GPS navigation with support for both online and offline maps. Connect to 5G WiFi for real-time traffic updates and accurate route planning.
- Tap the 'Navi' icon on the home screen to launch the navigation app.
- Enter your destination using the touchscreen keyboard or voice commands.
- The system will provide turn-by-turn directions and real-time traffic information (with 5G WiFi connected).

5.4 FM/AM RDS Radio & HiFi Sound
Enjoy high-quality audio with the built-in FM/AM RDS radio and 36-band EQ DSP for optimal sound customization.
- Tap the 'Radio' icon to access FM/AM tuner.
- Use the seek buttons to find stations or manually tune.
- Access the EQ settings to adjust audio frequencies and sound profiles.

5.5 1080P Rear View Camera & SWC
The unit supports a 1080P AHD backup camera with night vision and a 170° wide viewing angle. Steering Wheel Controls (SWC) are also supported for convenience.
- The backup camera view will automatically display when the vehicle is shifted into reverse.
- Utilize existing steering wheel controls to adjust volume, change tracks, and answer calls without taking your hands off the wheel.

6. Settings
Access the 'Settings' menu from the home screen to customize various aspects of your car radio.
- Network & Internet: Configure Wi-Fi and hotspot settings for internet access.
- Connected Devices: Manage Bluetooth pairings for phones and other devices.
- Car: Access vehicle-specific settings, including navigation application options, amplifier settings, and driving settings.
- Display: Adjust brightness, wallpaper, and other visual preferences.
- Extra Settings: Advanced options such as shutdown delay, reversing volume, and parking radar display.
- Factory Settings: (Password protected) For advanced configuration. Consult the troubleshooting section or customer support before making changes here.
7. Maintenance
Regular maintenance ensures optimal performance and longevity of your car radio.
- Screen Cleaning: Use a soft, lint-free cloth to gently wipe the touchscreen. Avoid abrasive cleaners or solvents.
- Software Updates: Periodically check for Over-The-Air (OTA) software updates to ensure your unit has the latest features and bug fixes. Connect to 5G WiFi to download updates.
- Cable Connections: Ensure all wiring connections remain secure and free from damage.

8. Troubleshooting
If you encounter issues with your Jufodrca car radio, refer to the following common troubleshooting steps:
- Unit Not Powering On: Check all power cable connections. Ensure the vehicle's battery is charged.
- No Sound: Verify speaker connections and amplifier settings. Check volume levels on both the unit and your connected device.
- GPS Signal Loss: Ensure the GPS antenna is properly connected and has a clear view of the sky.
- CarPlay/Android Auto Connection Issues: Ensure Bluetooth is paired correctly and Wi-Fi is active. Try forgetting the device on your phone and re-pairing.
- Steering Wheel Controls Not Working: Check Canbus connections and ensure SWC settings are correctly configured in the unit's settings.
- Backup Camera Not Displaying: Verify the camera's power and signal connections. Check the reversing signal wire connection.
- Audio Delay with Wireless CarPlay/Android Auto: This is a known characteristic of some wireless aftermarket solutions. While often minimal, it can occur.
For persistent issues, consult the detailed troubleshooting guide provided in your package or contact customer support.
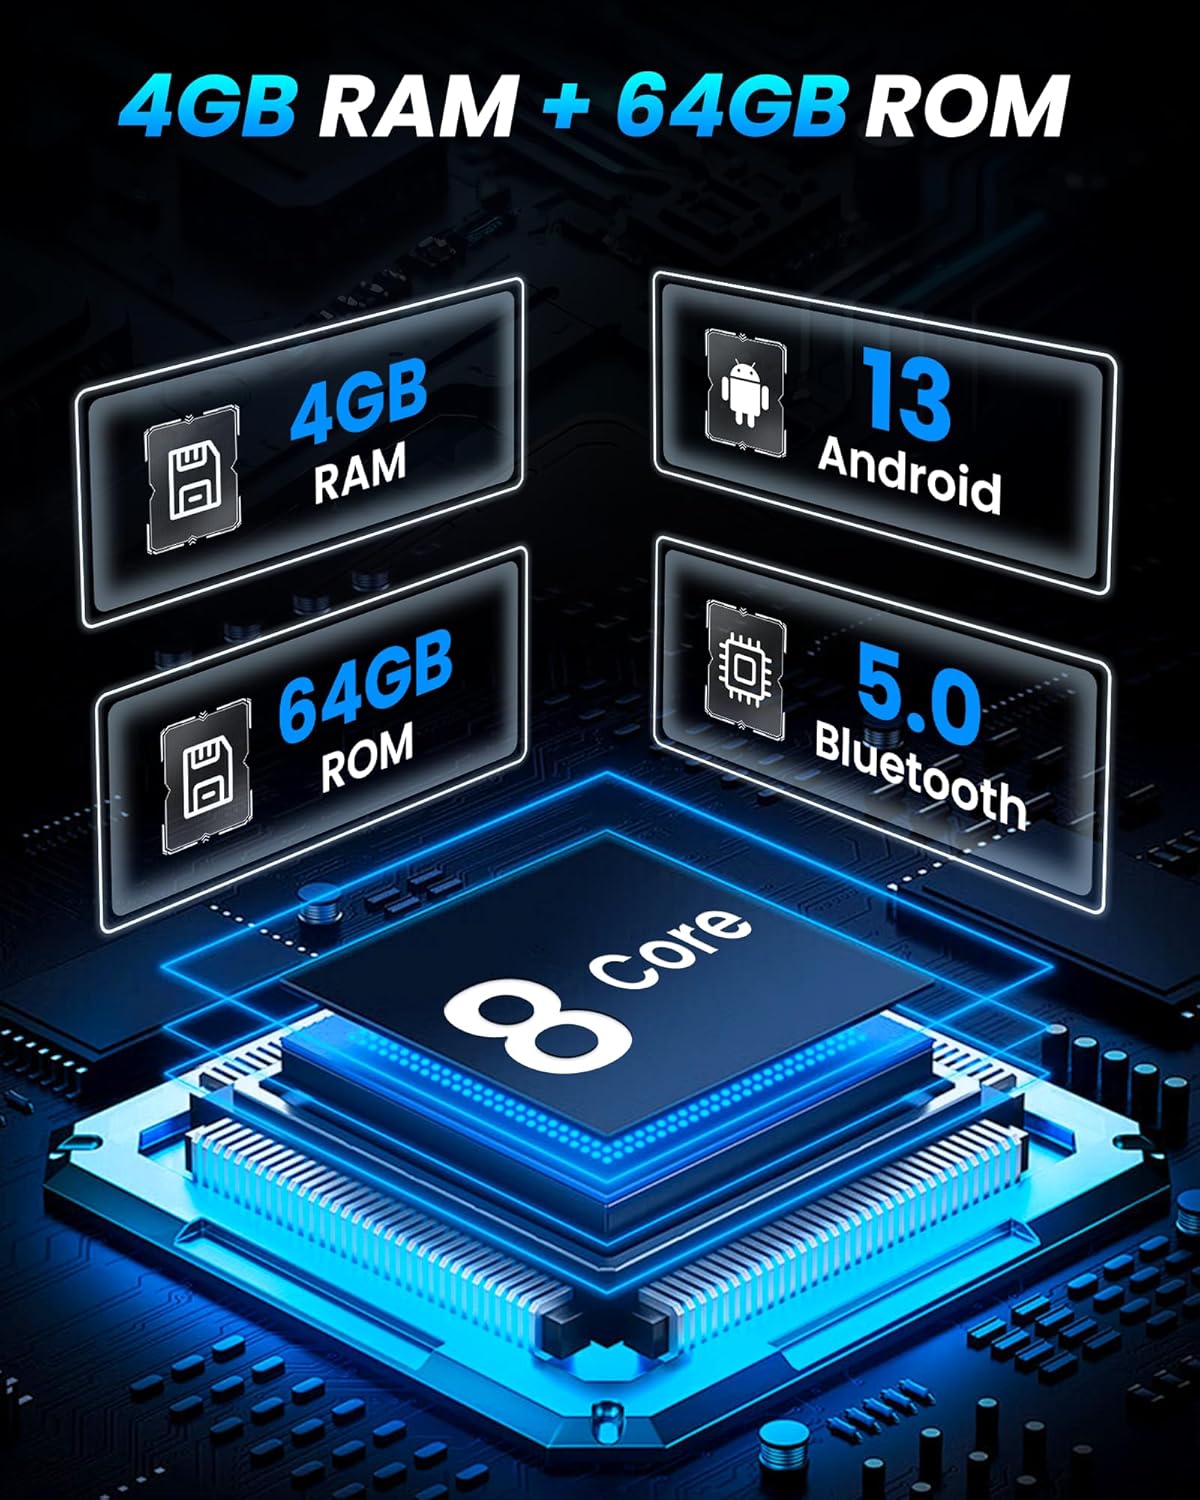
9. Specifications
| Brand | Jufodrca |
| Model Name | Jufodrca |
| Screen Size | 10.1 Inches |
| Display Type | Touch Screen (Capacitive) |
| Resolution | 1280*800 HD |
| Processor | 8-Core |
| RAM | 4GB |
| Internal Storage | 64GB |
| Operating System | Android 15 |
| Connectivity | Bluetooth, USB, 5G Wi-Fi |
| Special Features | Wireless CarPlay, Android Auto, GPS Navigation, FM AM RDS Radio, 36-band EQ DSP, 1080P Rear View Camera, Mirror Link, Split-screen, SWC |
| Product Dimensions | 3.3"L x 6.3"W x 16.4"H |
| Item Weight | 4 Pounds |
10. Warranty & Support
For warranty information, please refer to the documentation included in your product package. For technical support, troubleshooting assistance, or any inquiries regarding your Jufodrca car radio, please contact Jufodrca-US customer service.
Jufodrca-US Customer Service:
- Refer to the contact information provided in your product's installation guide or user manual.
- Visit the official Jufodrca Store on Amazon for additional resources and support.