1. Introduction
The OnRetul V100 is a professional OBD2 diagnostic scanner tool designed to assist vehicle owners and technicians in quickly identifying and resolving engine-related issues. This device supports a wide range of OBD2-compliant vehicles manufactured since 1996, providing essential functions such as reading and clearing diagnostic trouble codes (DTCs), viewing live data streams, performing I/M readiness tests, and more. This manual provides detailed instructions for the proper use and maintenance of your V100 scanner.
2. Safety Information
Always observe safety precautions when working on a vehicle. Improper use of diagnostic equipment can lead to personal injury or damage to the vehicle. Please read and follow these guidelines:
- Ensure the vehicle is parked on a level surface with the parking brake engaged.
- Wear appropriate eye protection.
- Do not wear loose clothing or jewelry that could get caught in moving parts.
- Keep a fire extinguisher nearby.
- Never connect or disconnect the scanner while the ignition is on or the engine is running.
- Avoid contact with hot engine components or moving parts.
- Do not operate the scanner in wet conditions.
3. Product Overview
The OnRetul V100 scanner features a compact design with a clear display and intuitive button layout for easy operation. It connects directly to your vehicle's OBD-II port.
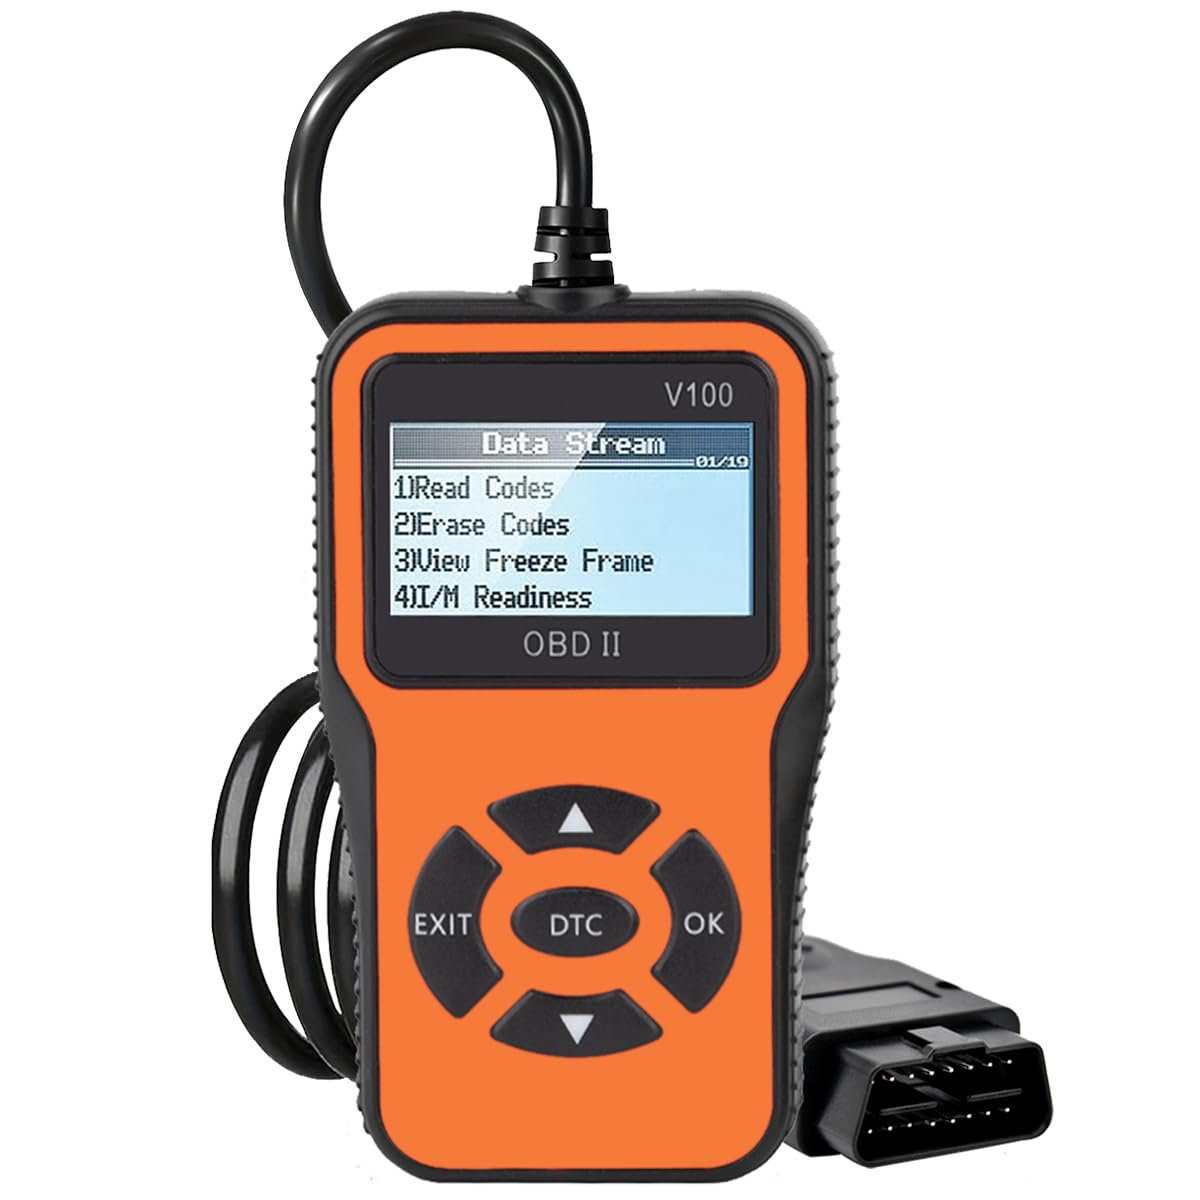
Figure 3.1: OnRetul V100 OBD2 Scanner showing its main display and function icons.
3.1. Device Components
- 2.2-inch LCD Display: Shows diagnostic information, menus, and results.
- OBD-II Connector Cable: Connects the scanner to the vehicle's OBD-II port.
- Navigation Buttons: Up, Down, Left, Right arrows for menu navigation.
- OK Button: Confirms selections or enters sub-menus.
- EXIT Button: Returns to the previous menu or exits a function.
- DTC Button: Provides quick access to Diagnostic Trouble Code lookup.

Figure 3.2: The V100 scanner's display showing the "Data Stream" menu with options like Read Codes, Erase Codes, View Freeze Frame, and I/M Readiness.
4. Setup and Connection
Follow these steps to connect the OnRetul V100 scanner to your vehicle:
- Locate the vehicle's 16-pin Data Link Connector (DLC). This is typically found under the dashboard on the driver's side.
- Ensure the vehicle's ignition is OFF.
- Plug the V100 scanner's OBD-II connector cable firmly into the vehicle's DLC.
- Turn the vehicle's ignition to the ON position (engine off). The scanner will automatically power on and display the main menu.
If the scanner does not power on, check the connection to the DLC and ensure the vehicle's battery has sufficient charge.
5. Operating Instructions
The V100 scanner provides several diagnostic functions. Use the Up/Down arrow buttons to navigate through menu options and the OK button to select. The EXIT button returns to the previous screen.
5.1. Reading Diagnostic Trouble Codes (DTCs)
This function retrieves stored, pending, and permanent diagnostic trouble codes from the vehicle's engine control unit (ECU).
- From the main menu, select "Read Codes" and press OK.
- The scanner will display any detected DTCs. Use the Up/Down arrows to scroll through multiple codes.
- Each code will include a description to help identify the issue.
5.2. Erasing Diagnostic Trouble Codes (DTCs)
This function clears all stored DTCs and turns off the Check Engine Light (MIL). Note: Clearing codes does not fix the underlying problem. The codes may reappear if the fault is not repaired.
- From the main menu, select "Erase Codes" and press OK.
- Confirm your selection when prompted.
- The Check Engine Light should turn off, and all DTCs will be cleared from the ECU.
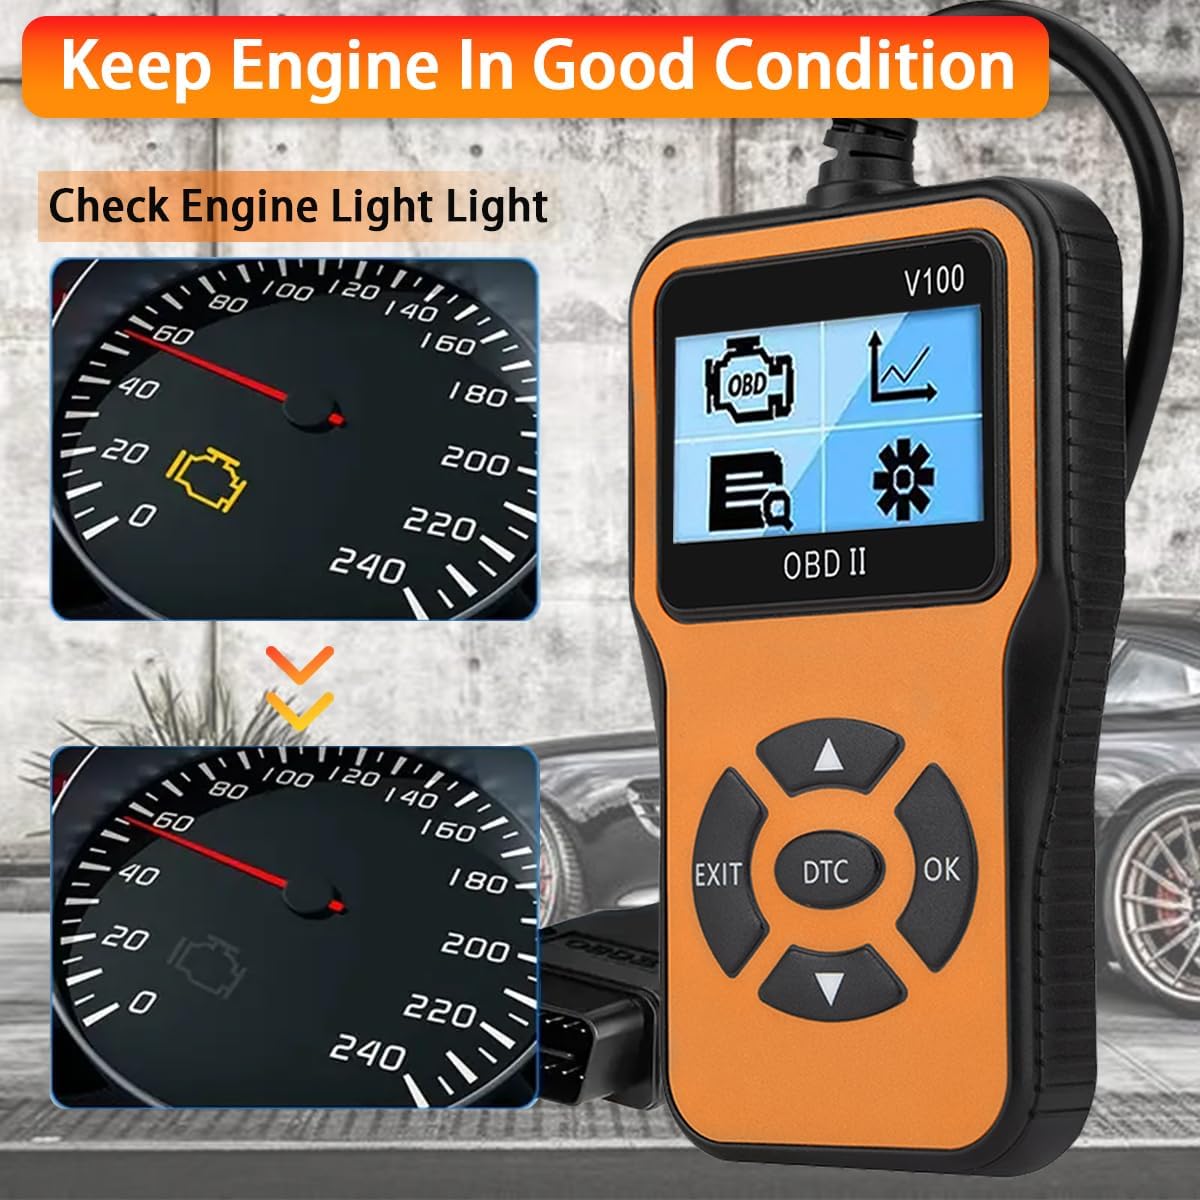
Figure 5.1: The V100 scanner can help diagnose and clear the Check Engine Light, assisting in keeping the engine in good condition.
5.3. Viewing Live Data Stream
This function displays real-time operational parameters from the vehicle's sensors and components, such as engine RPM, vehicle speed, coolant temperature, fuel system status, and O2 sensor readings.
- From the main menu, select "Live Data" and press OK.
- The scanner will display a list of available data parameters.
- Use the Up/Down arrows to scroll through the data. Some parameters may be displayed graphically.
5.4. I/M Readiness Test
I/M Readiness (Inspection/Maintenance Readiness) indicates whether the various emissions-related systems on the vehicle are operating correctly and have completed their self-tests. This is crucial for emission inspections.
- From the main menu, select "I/M Readiness" and press OK.
- The scanner will display the status of various monitors (e.g., Misfire Monitor, Fuel System Monitor, Comprehensive Component Monitor, O2 Sensor Monitor, EVAP System Monitor).
- A "OK" or "Complete" status indicates the monitor has run and passed. "INC" or "Incomplete" means the monitor has not yet completed its test cycle.

Figure 5.2: The V100 scanner showing detailed I/M Readiness status and Freeze Frame data for exact diagnosis.
5.5. Viewing Freeze Frame Data
When an emission-related fault occurs, the ECU stores a "freeze frame" of vehicle operating conditions at the moment the fault was detected. This data can help diagnose intermittent problems.
- From the main menu, select "View Freeze Frame" and press OK.
- The scanner will display parameters such as engine speed, vehicle speed, coolant temperature, and fuel pressure recorded at the time of the fault.
5.6. DTC Lookup
The V100 includes a built-in database of over 10,000 Diagnostic Trouble Codes, allowing you to quickly search for code definitions without needing an internet connection.
- Press the dedicated "DTC" button on the scanner or select "DTC Lookup" from the menu.
- Enter the DTC using the navigation buttons.
- Press OK to view the definition of the code.

Figure 5.3: The V100 scanner's DTC Lookup feature, allowing users to search for code definitions directly on the device.
5.7. Battery & Alternator Check (Voltage Tester)
While not a dedicated battery tester, the V100 can display the vehicle's battery voltage through the OBD-II port, providing an indication of the battery's readiness and the alternator's output.
- Access the "Live Data" menu.
- Look for a parameter labeled "Battery Voltage" or "System Voltage."
- A healthy battery typically shows around 12.6V when the engine is off and 13.5V-14.5V when the engine is running (alternator charging).

Figure 5.4: The V100 scanner connected to a vehicle, capable of checking battery and alternator readiness via the OBD-II port.
5.8. Other Functions
- O2 Sensor Test: Retrieves O2 sensor monitoring test results for the most recently completed tests from the vehicle's on-board computer.
- EVAP System Test: Initiates a leak test for the vehicle's Evaporative Emission Control System.
- Vehicle Info: Retrieves the Vehicle Identification Number (VIN), Calibration ID (CALID), and Calibration Verification Number (CVN) of the test vehicle.
6. Maintenance
Proper maintenance ensures the longevity and reliable operation of your OnRetul V100 scanner.
- Cleaning: Use a soft, damp cloth to clean the scanner's casing. Do not use abrasive cleaners or solvents.
- Storage: Store the scanner in a dry, cool environment, away from direct sunlight and extreme temperatures.
- Cable Care: Avoid bending or crimping the OBD-II cable excessively. Store it neatly to prevent damage.
7. Troubleshooting
If you encounter issues with your V100 scanner, refer to the following common problems and solutions:
| Problem | Possible Cause | Solution |
|---|---|---|
| Scanner does not power on. | Loose connection; vehicle ignition off; vehicle battery low. | Ensure the OBD-II cable is securely connected. Turn ignition to ON. Check vehicle battery. |
| "Link Error" or "No Communication" message. | Faulty connection; ignition off; non-OBD2 compliant vehicle; vehicle's ECU not responding. | Verify connection. Turn ignition to ON. Confirm vehicle is OBD2 compliant (1996+ US, 2002+ JP, 2008+ EU). Try on another vehicle. |
| Codes cannot be cleared. | Ignition not on; underlying fault still present. | Ensure ignition is ON (engine off). Repair the fault causing the code before attempting to clear. |
| Screen is frozen or unresponsive. | Software glitch. | Disconnect the scanner from the vehicle, wait 10 seconds, then reconnect. |
8. Specifications
| Feature | Detail |
|---|---|
| Brand | OnRetul |
| Model | V100 |
| Power Source | Corded Electric (via OBD-II port) |
| Product Dimensions (L x W x H) | 3.4" x 3" x 6" |
| Screen Size | 2.3 Inches |
| Supported Protocols | SAE J1850 PWM, SAE J1850 VPW, ISO9141-2, ISO14230-4 KWP, ISO15765-4 CAN |
| Vehicle Compatibility | OBD2 compliant vehicles (US 1996+, Japan 2002+, Europe 2008+) |
| Included Components | Scanner unit, manual |
9. Warranty Information
OnRetul products are manufactured to high-quality standards. For specific warranty details regarding your V100 OBD2 Diagnostic Scanner Tool, please refer to the warranty card included in the product packaging or contact OnRetul customer support directly. Keep your purchase receipt as proof of purchase for any warranty claims.
10. Customer Support
If you have any questions, require technical assistance, or encounter problems with your OnRetul V100 scanner, please contact our customer support team. We are committed to providing excellent service and will respond to your inquiries within 24 hours.
For support, please refer to the contact information provided in your product packaging or visit the official OnRetul website.