
1. Important Safety Instructions
Please read all instructions carefully before operating this evaporative air cooler. Retain this manual for future reference.
- Always place the unit on a stable, level surface to prevent tipping and water spillage.
- Do not operate the unit with a damaged cord or plug. If the cord is damaged, it must be replaced by the manufacturer or a qualified service agent.
- Ensure the power supply matches the voltage specified on the unit's rating label.
- Do not immerse the unit, cord, or plug in water or other liquids.
- Unplug the unit from the power outlet before cleaning, servicing, or moving.
- Keep children and pets away from the unit during operation.
- Do not block air inlets or outlets. Maintain adequate clearance around the unit for proper airflow.
- Use only clean water in the water tank. Do not add any chemicals or additives.
- This appliance is intended for household and similar applications.
2. Product Overview
The Landeagle 35-inch Portable Evaporative Air Cooler provides efficient cooling for various environments. It features a 5.6-gallon water tank, 120° oscillation, and multiple filling options for convenience.

Figure 2.1: Overview of the Landeagle 35-inch Portable Evaporative Air Cooler.
3. What's in the Box
Carefully unpack all components and check against the list below:
- Landeagle 35-inch Evaporative Air Cooler Unit
- User Manual
- Ice Crystal Box (x3)
- Castors (x4)
- Screws (x16)
- Automatic Water Inlet Copper Connector (x1)
- Wall Bracket (x1)
- Bracket Screw (x1)
- Plastic Expander (x1)
- Screwdriver (x1)
4. Setup Instructions
4.1 Attaching the Casters
- Carefully lay the unit on its side on a soft, protective surface.
- Insert each castor into the designated holes on the bottom of the unit.
- Secure each castor with the provided screws using the screwdriver.
- Return the unit to an upright position. Ensure all casters are securely attached.

Figure 4.1: Attaching casters for easy mobility. The unit also features side handles for pushing and pulling.
4.2 Placement
Place the evaporative air cooler in a location with adequate ventilation. For optimal cooling, ensure there is an open window or door nearby to allow for air circulation and prevent humidity buildup.
4.3 Water Filling Options
The unit offers three methods for filling the 5.6-gallon water tank:
- Top Water Fill: Open the top cover of the unit and pour water directly into the reservoir.
- Manual Water Fill (Front Door): Open the front access door to manually add water to the tank.
- Continuous Auto-Fill: Connect a standard garden hose to the automatic water inlet copper connector on the unit. The built-in float switch will automatically regulate the water level.
For enhanced cooling, place the included ice crystal boxes (after freezing) into the water tank.

Figure 4.2: Illustration of the three water filling methods for the evaporative air cooler.
Video 4.1: Demonstrates two ways of adding water (top-filling and bottom-filling) and visualizes the water tank and button controls.
5. Operating Instructions
5.1 Control Panel Overview
The control panel is located on the top of the unit and features buttons for power, fan speed, oscillation, and cooling function.

Figure 5.1: Detailed view of the control panel with clearly labeled buttons for various functions.
5.2 Power On/Off
Press the Power button to turn the unit on or off.
5.3 Fan Speed Selection
Press the High, Medium, or Low buttons to select the desired fan speed. The unit provides up to 1,497 CFM airflow.

Figure 5.2: The unit delivers powerful airflow, covering up to 746 sq. ft. with 1,497 CFM.
5.4 Cooling Function
Press the Cooling button to activate the evaporative cooling function. Ensure the water tank is filled for this feature to operate effectively. The unit utilizes triple-sided cooling pads to produce cool air.
5.5 Oscillation
Press the Swing button to activate the 120° oscillation feature, distributing cool air across a wider area.
6. Maintenance
Regular maintenance ensures optimal performance and longevity of your evaporative air cooler.
6.1 Cleaning the Exterior
Wipe the exterior surfaces of the unit with a soft, damp cloth. Do not use abrasive cleaners or solvents.
6.2 Cleaning the Cooling Pads
The unit features 3-side honeycomb cooling pads. These pads should be cleaned periodically, especially if you notice reduced airflow or an odor.
- Unplug the unit from the power outlet.
- Remove the rear and side panels to access the cooling pads.
- Carefully remove the cooling pads.
- Rinse the pads under clean running water to remove dust and mineral deposits. For heavy buildup, a soft brush can be used.
- Allow the pads to air dry completely before reinserting them.
- Reattach the panels securely.
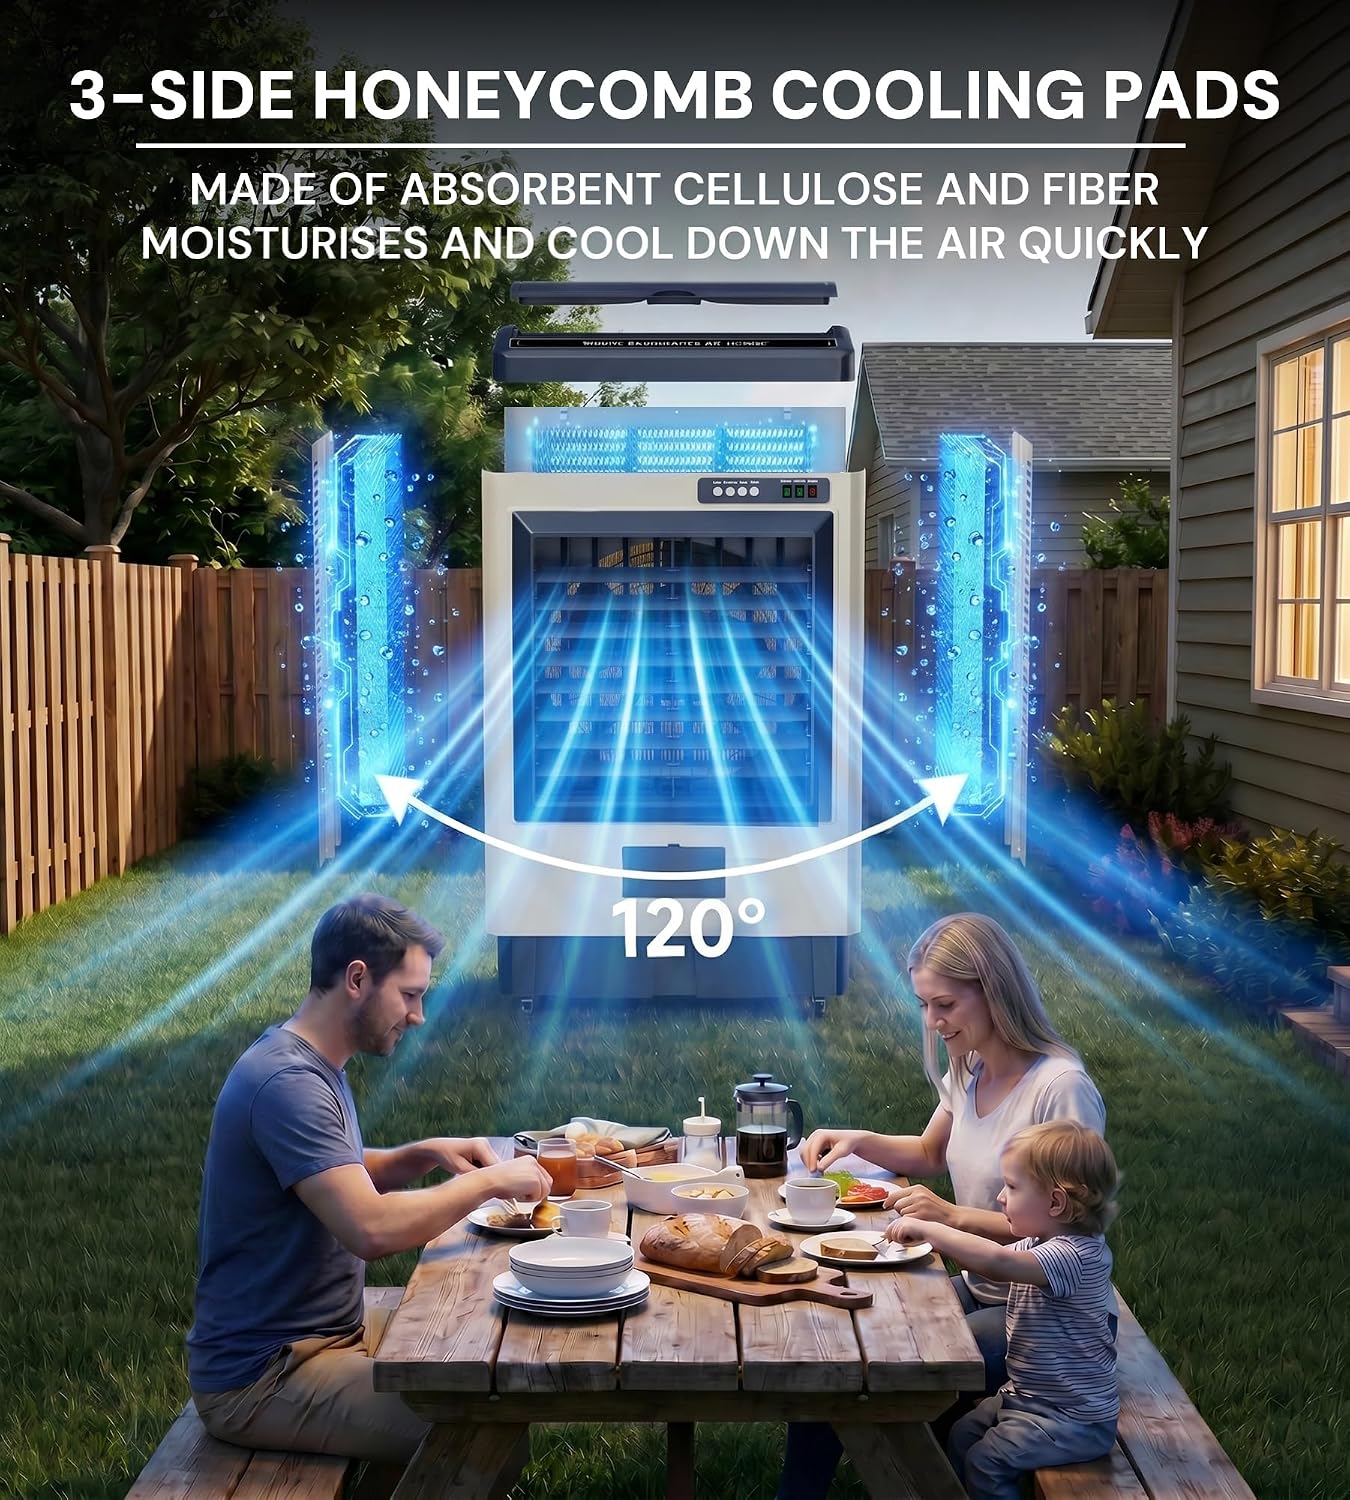
Figure 6.1: The 3-side honeycomb cooling pads are crucial for efficient evaporative cooling and require periodic cleaning.
6.3 Draining and Cleaning the Water Tank
Drain and clean the water tank regularly to prevent mold and mildew growth, especially if the unit will not be used for an extended period.
- Unplug the unit.
- Locate the drain plug at the bottom of the unit.
- Place a bucket or tray beneath the drain plug and remove the plug to empty the tank.
- Clean the inside of the tank with a mild detergent and water, then rinse thoroughly.
- Replace the drain plug securely.
6.4 Storage
Before storing, ensure the unit is clean and dry. Drain all water from the tank and allow the cooling pads to dry completely. Store the unit in a cool, dry place, preferably in its original packaging.
7. Troubleshooting
If you encounter issues with your Landeagle evaporative air cooler, refer to the following common problems and solutions:
| Problem | Possible Cause | Solution |
|---|---|---|
| Unit does not power on | No power supply; Power cord not plugged in; Power button not pressed. | Check power outlet; Ensure power cord is securely plugged in; Press the Power button. |
| No cool air / Weak cooling | Water tank is empty; Cooling function not activated; Cooling pads are dirty or dry; High humidity environment. | Fill water tank; Press the Cooling button; Clean or moisten cooling pads; Evaporative coolers are less effective in high humidity. Ensure adequate ventilation. |
| Water spitting or leaking | Water tank overfilled; Unit is not level; Drain plug is loose. | Do not overfill the water tank; Place unit on a level surface; Ensure drain plug is securely tightened. |
| Oscillation not working | Swing function not activated; Obstruction in oscillation mechanism. | Press the Swing button; Check for any obstructions and remove them. |
| Unusual noise | Unit not level; Foreign object in fan; Motor issue. | Place unit on a level surface; Unplug and check for obstructions (contact support if unable to resolve). |
8. Specifications
Key technical specifications for the Landeagle 35-inch Portable Evaporative Air Cooler:
| Feature | Specification |
|---|---|
| Brand | Landeagle |
| Model Name | B0GDZJRL9K |
| Manufacturer Part Number | LDJH40BI |
| Dimensions (D x W x H) | 13.2"D x 17.6"W x 35"H |
| Material | Galvanized Iron |
| Air Flow Capacity | 1497 CFM |
| Max Room Size | 746 sq. ft. |
| Reservoir Capacity | 5.6 gallons |
| Oscillation | 120° |
| Number of Speeds | 3 |
| Voltage | 120 volts AC |
| Wattage | 200 watts |
| Amperage | 1.66 A |
| Noise Level | 60 dB |
| Item Weight | 29.7 pounds |
| Included Components | User Manual, 3 Ice Crystal Boxes, 4 Castors, 16 Screws, Automatic Water Inlet Copper Connector, Wall Bracket, Bracket Screw, Plastic Expander, Screwdriver |

Figure 8.1: The unit is constructed from galvanized iron with multiple protective layers for durability and corrosion resistance.
9. Warranty and Support
9.1 Warranty Information
This Landeagle evaporative air cooler comes with a 1-Year Warranty from the date of purchase. Please retain your proof of purchase for warranty claims.
9.2 Customer Service
For any questions, technical assistance, or warranty support, please contact Landeagle customer service. We offer 24-Hour Customer Service to assist you.
Contact information can typically be found on the product packaging or the official Landeagle website.