1. Product Overview
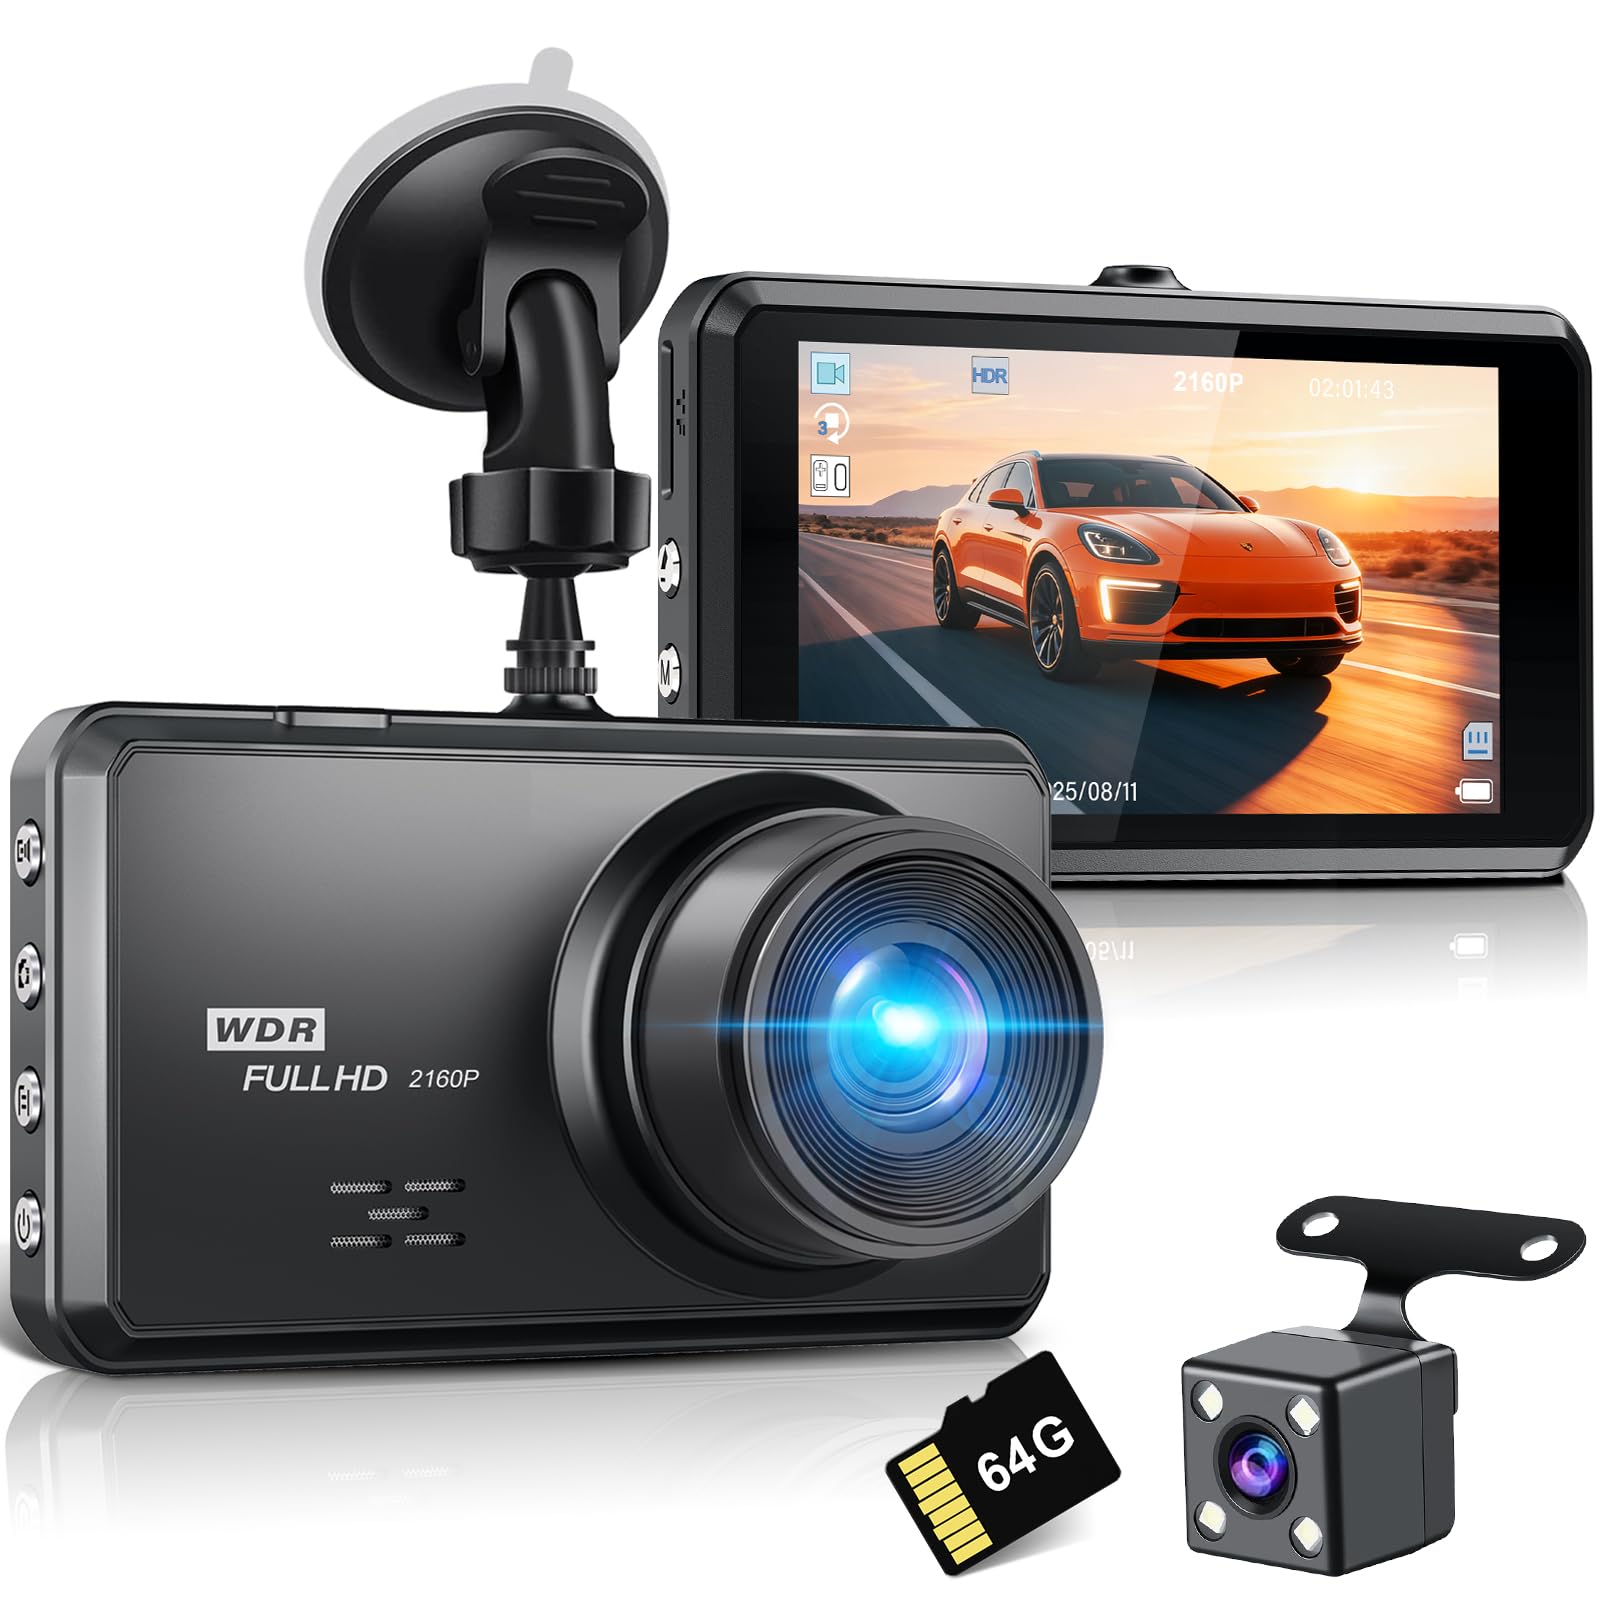
The Miden S7 is a high-performance dual dash camera system designed to record both the front and rear views of your vehicle. It features Ultra HD 4K (3840×2160P) front video recording and FHD 1080P rear video recording, providing clear and detailed footage. Equipped with a 176° wide-angle front camera and a 160° wide-angle waterproof rear camera, the S7 ensures comprehensive coverage. Key features include a 3.2-inch IPS screen, loop recording, G-sensor for accident detection, 24-hour parking monitor, and enhanced night vision capabilities with WDR technology and a Sony STARVIS IMX498 sensor.
The Miden S7 Dash Cam installed on a car's windshield, providing a clear view of the road ahead.
2. What's in the Box
Please check the package contents to ensure all items are present:
- 1 x MIDEN 4K Dash Cam + 1080P Rear Camera
- 1 x 64GB SD card
- 1 x USB SD Card Reader
- 1 x Suction Mount
- 1 x Charging Cable
- 1 x Car Charger
- 1 x Wiring Crowbar
- 1 x Type-C Data Cable
- 1 x User Manual
All components included in the Miden S7 Dash Cam package: the main dash cam unit, rear camera, 64GB SD card, USB SD card reader, suction mount, charging cable, car charger, wiring crowbar, Type-C data cable, and user manual.
3. Setup and Installation
3.1 Inserting the SD Card
- Ensure the dash cam is powered off.
- Locate the SD card slot on the side of the dash cam.
- Insert the provided 64GB Micro SD card with the gold contacts facing the back of the camera until it clicks into place.
- To remove, gently push the card in until it clicks, then release to eject.
3.2 Mounting the Front Dash Cam
- Clean the windshield area where you intend to mount the dash cam.
- Attach the suction mount to the dash cam.
- Press the suction cup firmly against the windshield and flip the lever to secure it.
- Adjust the camera angle to ensure a clear view of the road without obstructing your driving vision.
3.3 Installing the Rear Camera
- Mount the rear camera on the rear windshield or license plate area using the adhesive pad or screws. Ensure it has a clear view.
- Route the rear camera cable to the front dash cam. Use the provided wiring crowbar to tuck the cable neatly along the car's headliner and A-pillar.
- Connect the rear camera cable to the designated port on the main dash cam unit.
3.4 Power Connection
- Connect the car charger to your vehicle's cigarette lighter socket.
- Connect the charging cable (Type-C) from the car charger to the dash cam's power input port.
- The dash cam will automatically power on and begin recording when the vehicle's ignition is turned on.

The Miden S7 Dash Cam installed in a car interior, showing its placement and connection.
4. Operating Instructions
4.1 Basic Operation
- Power On/Off: The dash cam powers on automatically with vehicle ignition. To manually power on/off, press and hold the power button.
- Recording: Recording starts automatically when the device powers on. A red indicator light or icon on the screen confirms recording is active.
- Menu Navigation: Use the buttons on the side of the dash cam to navigate through the menu options displayed on the 3.2-inch IPS screen.

An overview of the Miden S7 Dash Cam's key features, including 4K recording, wide-angle lenses, motion detection, night vision, WDR, parking monitor, G-sensor lock, loop recording, included 64G SD card, and Novatek processor.
4.2 Loop Recording
The Miden S7 continuously records video in segments. When the Micro SD card is full, the oldest unlocked video files are automatically overwritten by new recordings. This ensures continuous recording without manual intervention. Locked videos (protected by G-Sensor or manual lock) will not be overwritten.

Diagram explaining the seamless loop recording function, where new videos automatically overwrite older ones, while locked videos remain protected.
4.3 G-Sensor and Accident Lock
The built-in 3-axis G-sensor detects sudden movements or impacts. In the event of a collision, the current video segment is automatically locked and saved to prevent it from being overwritten by loop recording. You can also manually lock a video segment by pressing the designated lock button during recording.
4.4 24-Hour Parking Monitor
When enabled, the parking monitor feature provides continuous protection for your vehicle. If the dash cam detects vibration or impact while the car is parked and the ignition is off, it will automatically power on and begin recording. This feature requires a continuous power supply (e.g., hardwire kit, sold separately) for 24-hour monitoring.

Visual representation of the G-Sensor's automatic locking function during collisions and the 24-hour parking monitor providing continuous vehicle protection.
4.5 Night Vision and WDR
The Miden S7 features a large f1.5 aperture, a 1/2.7'' CMOS image sensor, and Wide Dynamic Range (WDR) technology. These features enhance color accuracy and clarity, allowing the dash cam to capture clear details, such as license plates, in both daytime and low-light night driving conditions.
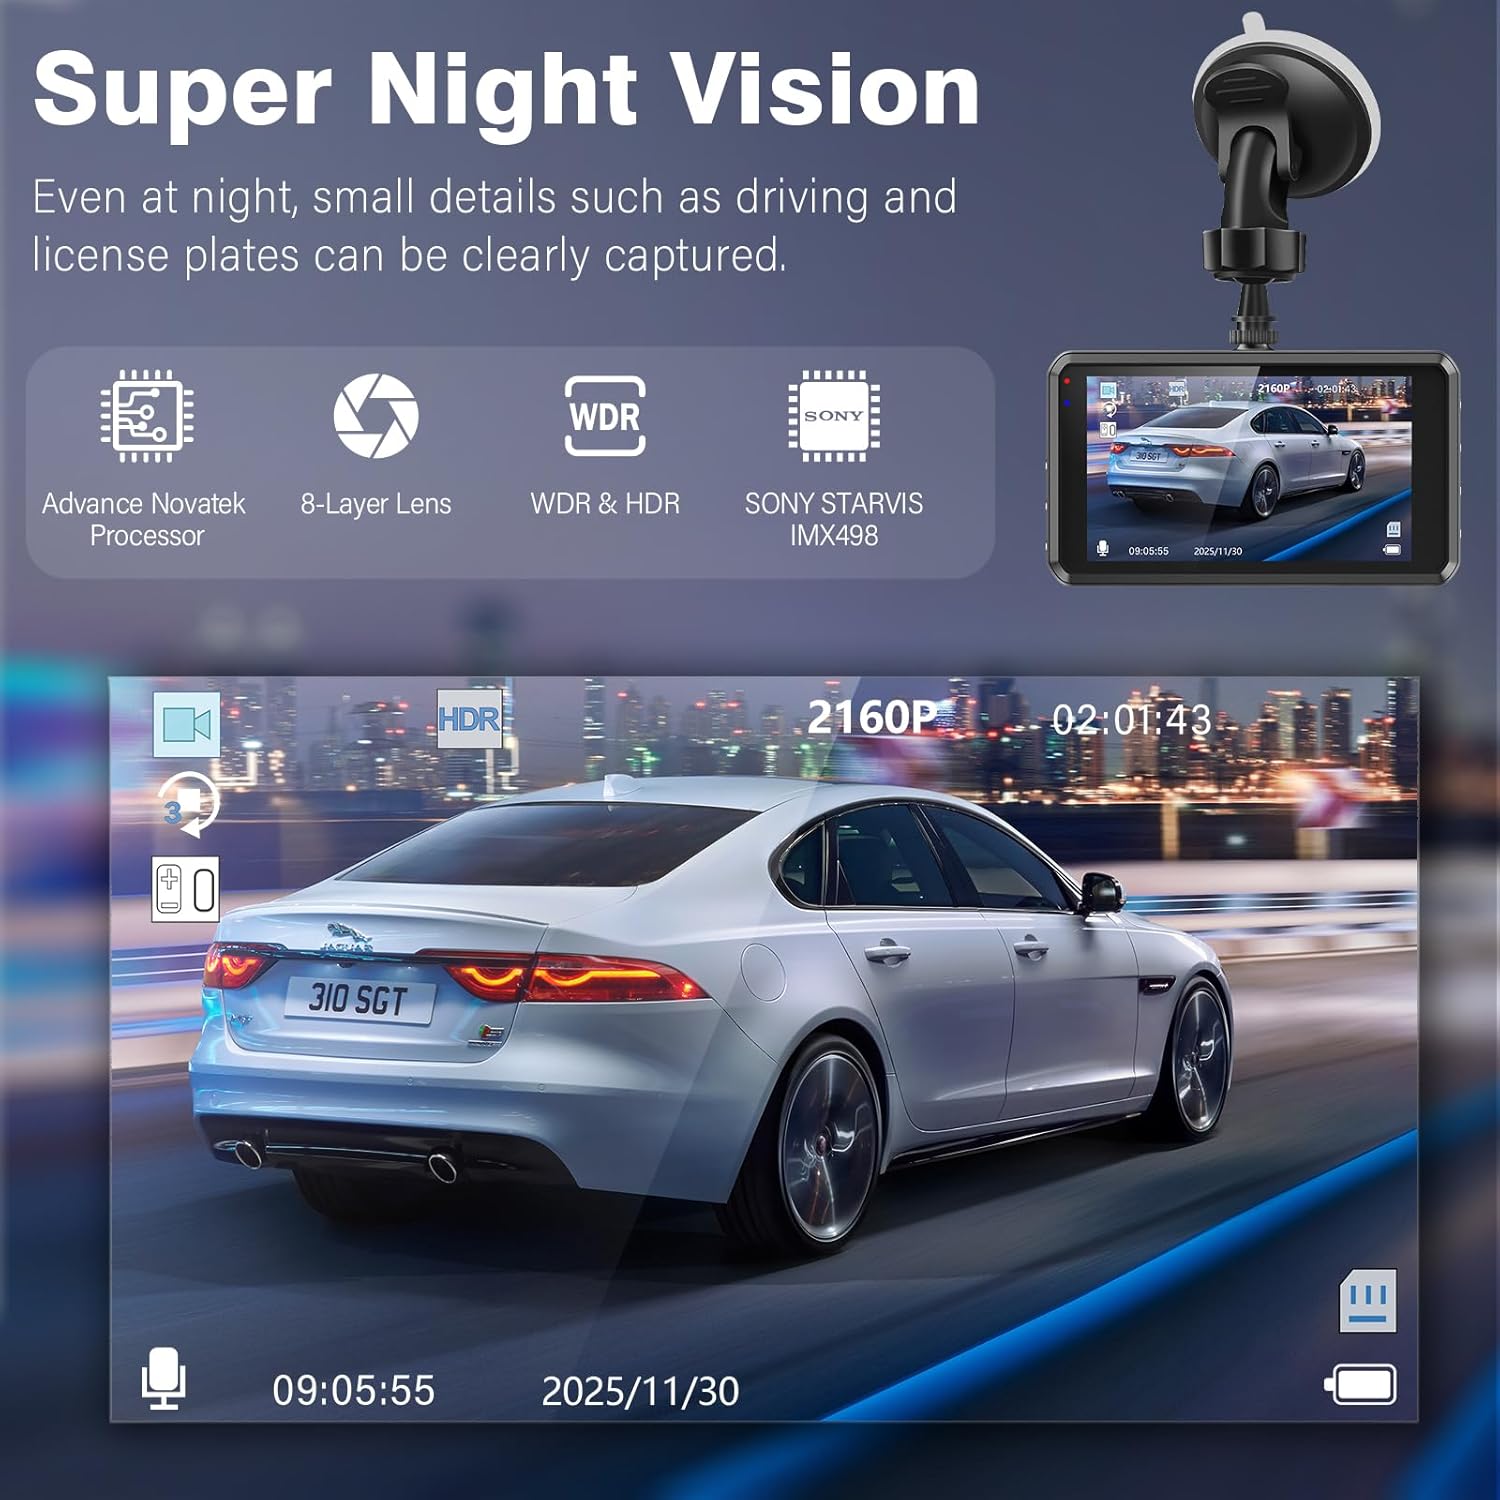
Illustration of the dash cam's Super Night Vision capability, showing clear capture of details like license plates in low-light conditions, supported by an 8-layer lens, WDR & HDR, and Sony STARVIS IMX498 sensor.
4.6 Reversing Image Assist
When the vehicle is shifted into reverse gear, the dash cam automatically displays the rear camera's view on the screen, often with parking guidelines. This assists drivers in safely parking and reversing.
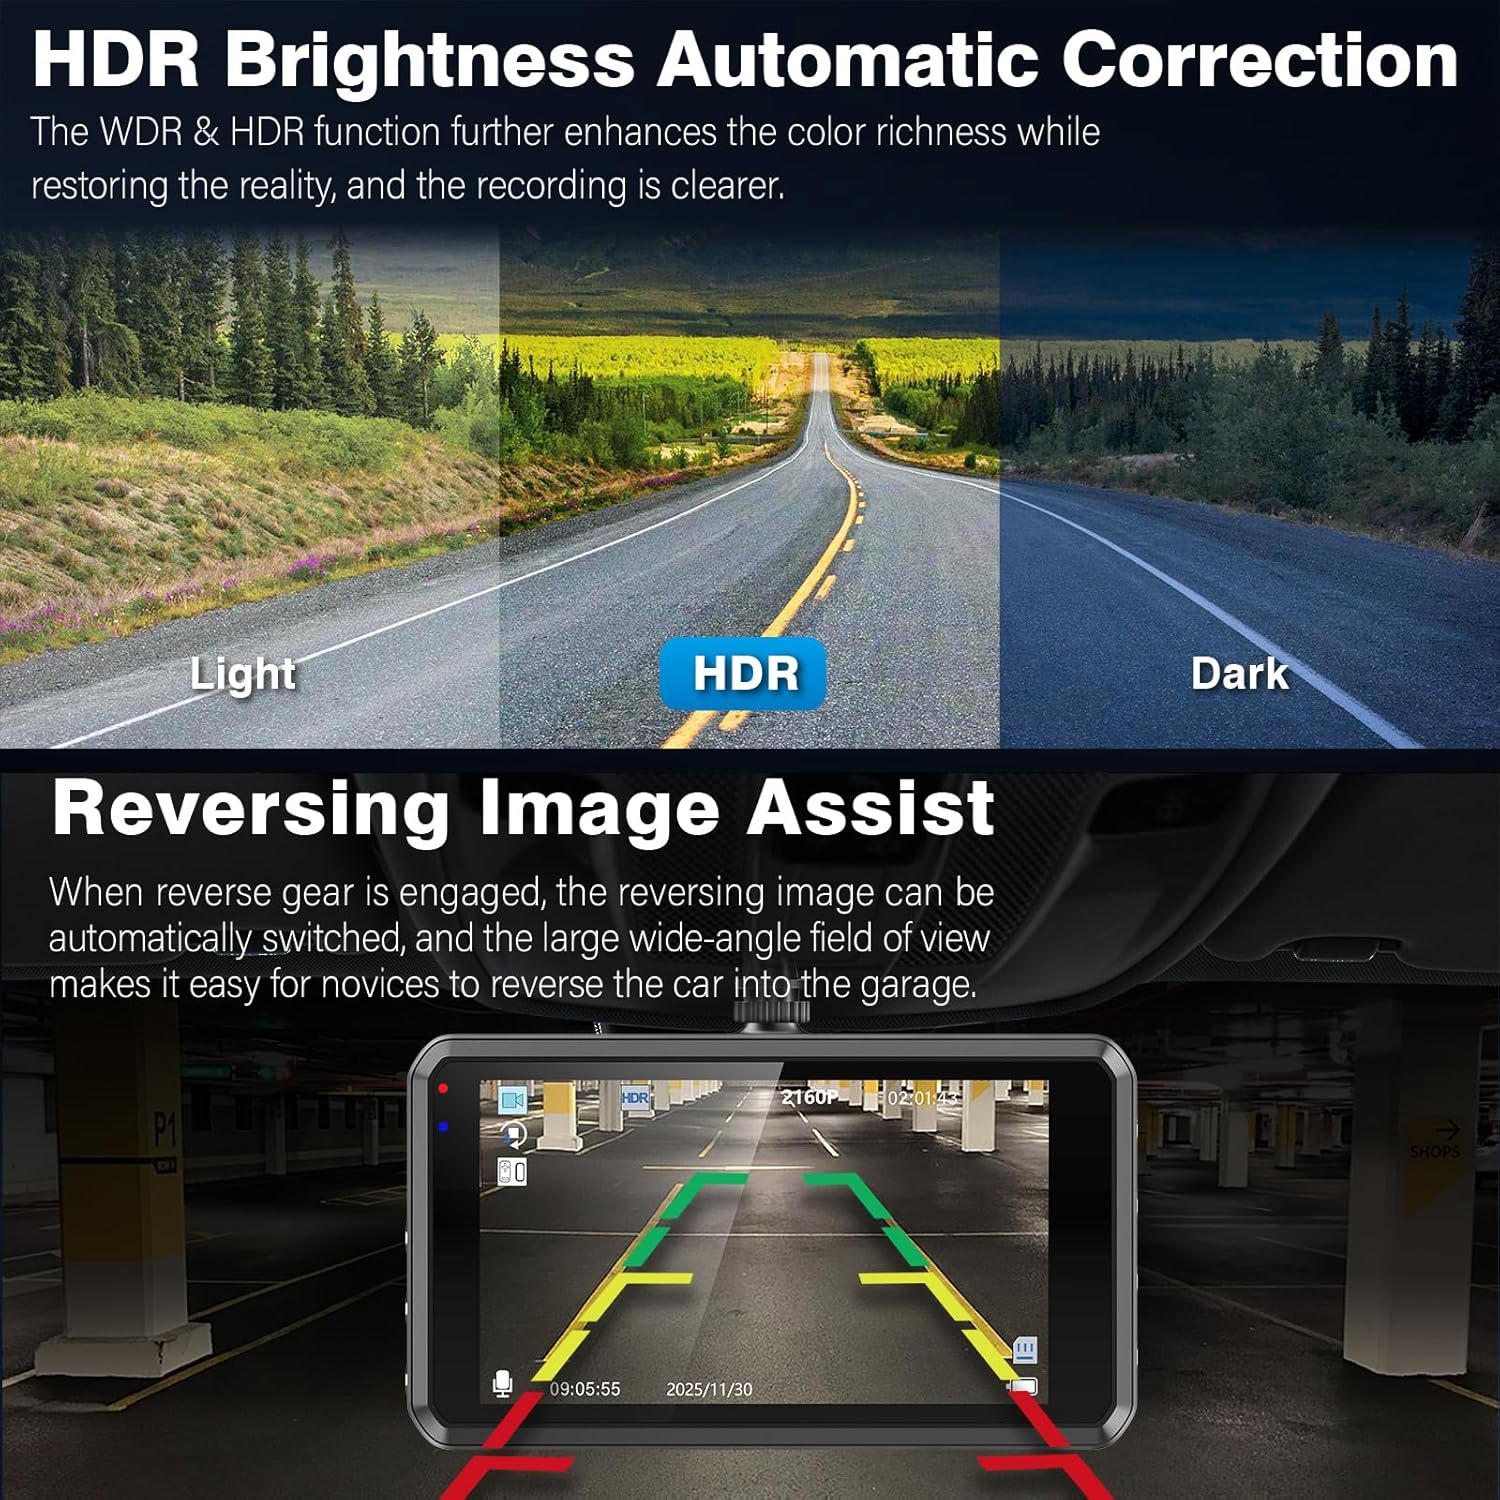
Illustrations demonstrating HDR brightness correction for clearer recordings in varied lighting and the reversing image assist feature with parking guidelines.
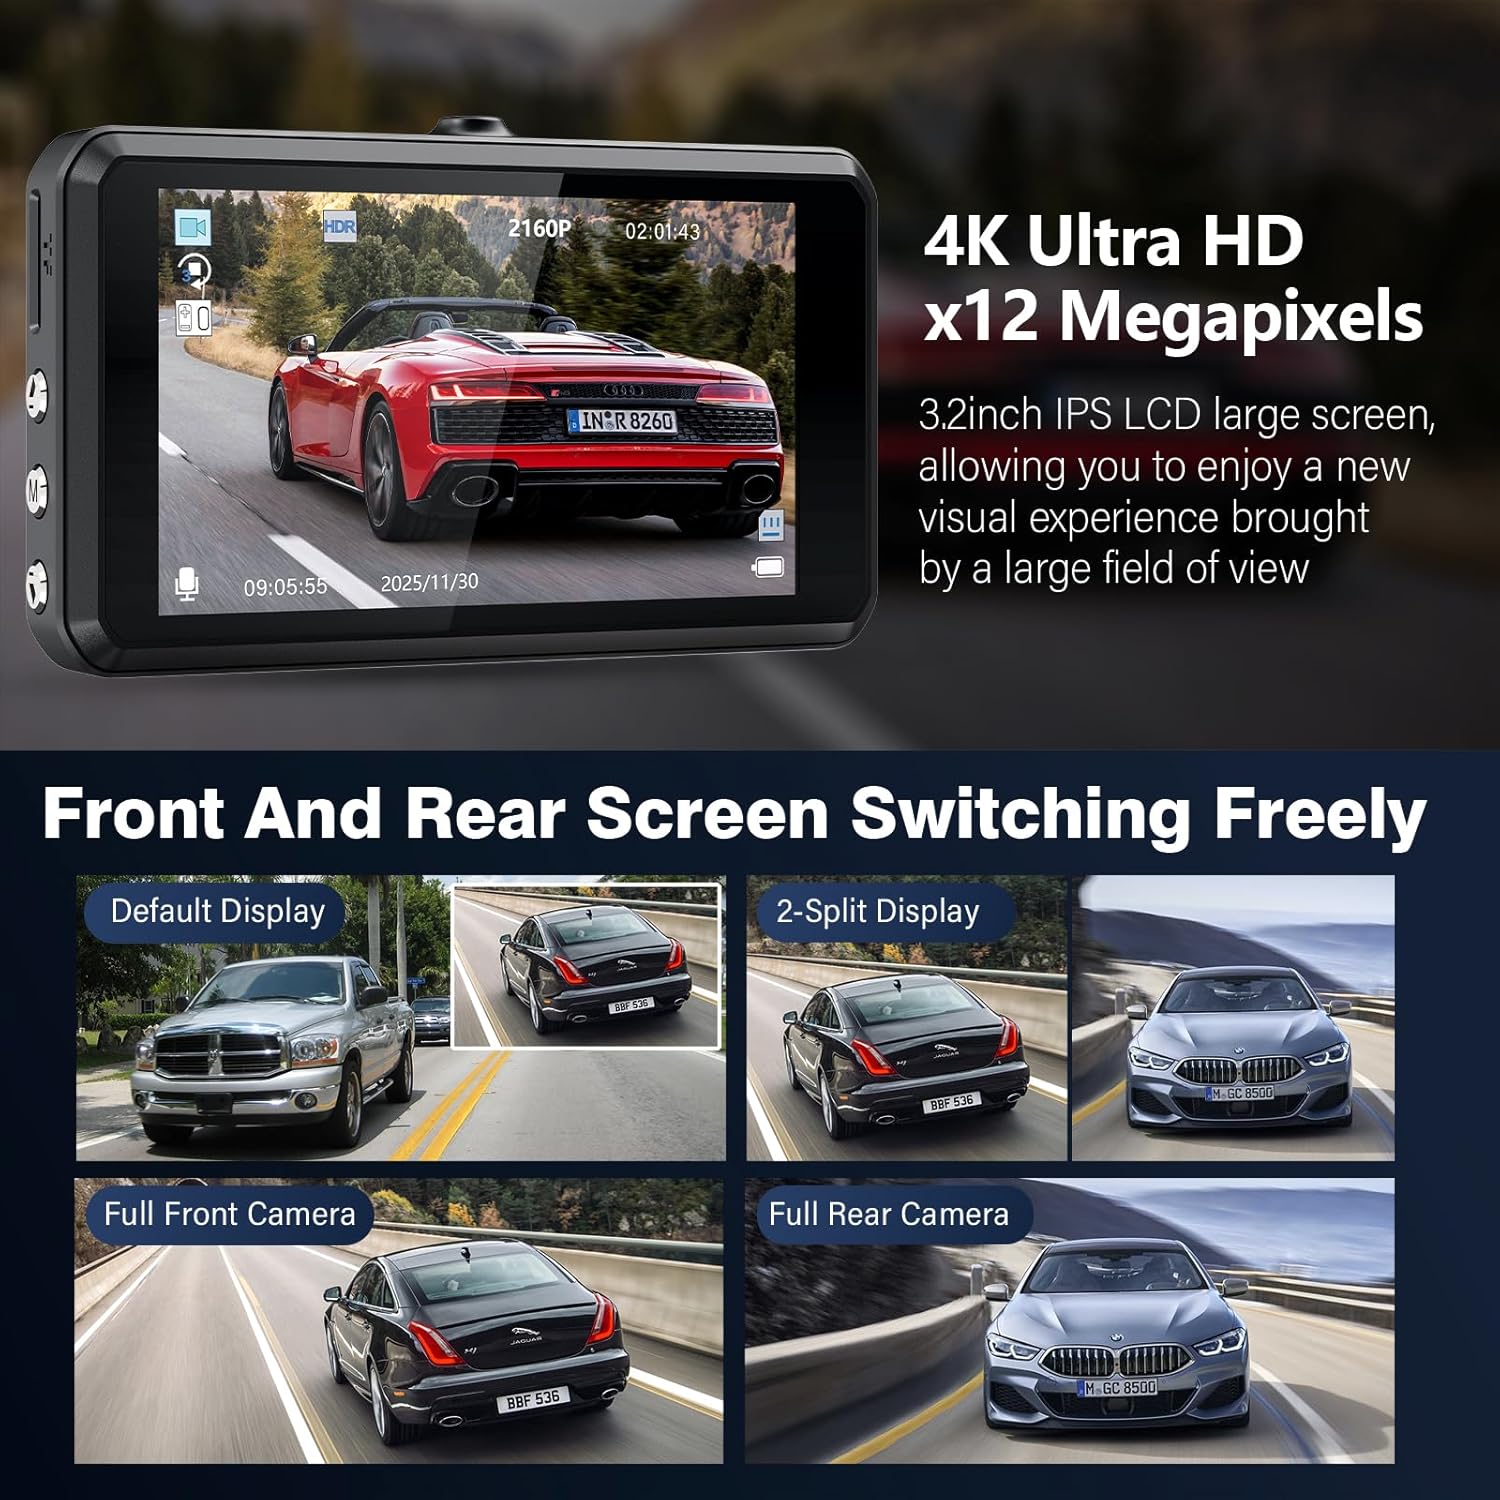
4.7 Front and Rear Screen Switching
The dash cam allows you to switch between different display modes on the 3.2-inch IPS screen, including:
- Default Display (Front camera view with small rear camera inset)
- 2-Split Display (Front and rear views side-by-side)
- Full Front Camera View
- Full Rear Camera View

Examples of display modes on the Miden S7 Dash Cam, including default display, 2-split display, full front camera view, and full rear camera view.
4.8 Viewing and Transferring Footage
You can view recorded videos directly on the dash cam's screen. To transfer footage to a computer:
- Remove the Micro SD card from the dash cam.
- Insert the SD card into the provided USB SD card reader.
- Connect the USB card reader to your computer. The SD card will appear as a removable drive, allowing you to access and copy video files.
5. Maintenance
5.1 Formatting the SD Card
It is recommended to format the Micro SD card regularly (e.g., once a month) to maintain optimal performance and prevent data corruption. This can typically be done through the dash cam's menu settings.
5.2 Cleaning the Dash Cam
Use a soft, dry cloth to clean the dash cam's lens and screen. Avoid using abrasive cleaners or solvents that could damage the device.
5.3 Battery Care
The dash cam contains a Lithium Ion battery. Avoid exposing the device to extreme temperatures for prolonged periods, as this can affect battery life and performance.
6. Troubleshooting
6.1 Dash Cam Not Powering On
- Ensure the car charger is properly connected to both the vehicle's power outlet and the dash cam.
- Check if the vehicle's cigarette lighter socket is functioning.
- Try a different charging cable or car charger if available.
6.2 Recording Issues
- SD Card Error: Format the SD card through the dash cam's menu. If the issue persists, try a different high-speed Micro SD card.
- Intermittent Recording: Ensure loop recording is enabled and the G-sensor sensitivity is not set too high, which could cause frequent locking of files and fill the card prematurely.
- Poor Video Quality: Ensure the camera lens is clean and free from obstructions. Check video resolution settings in the menu.
6.3 Rear Camera Not Displaying
- Check the connection of the rear camera cable to the main dash cam unit.
- Ensure the rear camera cable is not damaged.
7. Specifications
| Feature | Specification |
|---|---|
| Front Video Resolution | 4K (3840×2160P) |
| Rear Video Resolution | FHD 1080P |
| Front Camera Angle | 176° Wide Angle |
| Rear Camera Angle | 160° Wide Angle |
| Screen Size | 3.2-inch IPS Screen |
| Image Sensor | Sony STARVIS IMX498 CMOS |
| Aperture | f1.5 |
| Storage | 64GB Micro SD Card (included) |
| Connectivity | Type-C |
| Special Features | Loop Recording, 3-Axis G-Sensor, WDR & HDR, 24H Parking Monitor, Reversing Image Assist, Super Infrared Night Vision |
| Product Dimensions | 4 x 1.5 x 2 inches |
| Item Weight | 14 ounces |
| Battery | 1 Lithium Ion battery (included) |
8. Warranty and Support
Miden provides a 10-year free warranty and lifetime professional technical support for the S7 Dash Cam. If you encounter any issues or have questions regarding your product, please contact Miden customer support for assistance.
For further assistance, please refer to the official product page or contact the seller directly.
9. Instructional Video
An official video demonstrating the features and operation of the Miden S7 4K Dash Cam, including installation, menu navigation, and recording modes.