Introduction
Thank you for choosing the Bergner LOVERS Espresso Coffee Maker. This machine is designed to bring professional-quality espresso, cappuccino, and latte into your home. Featuring a 20-bar pressure pump and 1250-1450W power, it ensures optimal extraction for rich, aromatic coffee. The 1-liter transparent water tank, cup warmer, and integrated steam nozzle for milk frothing enhance your coffee-making experience. This manual provides essential information for safe operation, setup, use, and maintenance of your coffee maker.

Figure 1: Front view of the Bergner LOVERS Espresso Coffee Maker, showcasing its stainless steel finish, control knob, portafilter, and transparent water tank.
Important Safety Instructions
Please read all safety instructions carefully before using the appliance. Failure to follow these instructions may result in electric shock, fire, or serious injury.
- Ensure the voltage indicated on the appliance corresponds to your local mains voltage before connecting.
- Do not immerse the appliance, power cord, or plug in water or any other liquid.
- Always unplug the appliance from the power outlet before cleaning, when not in use, or if a malfunction occurs.
- Keep hands and cords away from hot surfaces, such as the steam wand and cup warmer.
- This appliance is not intended for use by persons (including children) with reduced physical, sensory, or mental capabilities, or lack of experience and knowledge, unless they have been given supervision or instruction.
- Do not operate the appliance with a damaged cord or plug, or after the appliance malfunctions or has been damaged in any manner.
- Use only accessories recommended by the manufacturer.
- Place the appliance on a stable, flat, heat-resistant surface, away from edges.
- Never touch the hot surfaces of the machine during operation. Use handles or knobs.
- Exercise extreme caution when handling hot steam or hot water.
Product Components
Familiarize yourself with the parts of your Bergner LOVERS Espresso Coffee Maker:
- Main Unit: Houses the heating system, pump, and control panel.
- Water Tank: Removable, transparent 1-liter tank for water.
- Control Panel: Features 3 illuminated buttons for power, espresso brewing, and steam function.
- Steam Wand: For frothing milk.
- Group Head: Where the portafilter attaches.
- Portafilter: Aluminum cast handle with a filter basket holder.
- Filter Baskets: Stainless steel filters for 1-cup and 2-cup servings.
- Coffee Scoop/Tamper: Dual-purpose tool for measuring and tamping coffee grounds.
- Drip Tray: Removable and washable tray to collect excess liquids.
- Cup Warmer: Top surface of the machine to pre-heat cups.

Figure 2: Top view showing the control panel with illuminated buttons for power, coffee, and steam, and the cup warming tray.

Figure 3: The portafilter with a wooden handle and an inserted stainless steel filter basket, ready for coffee grounds.
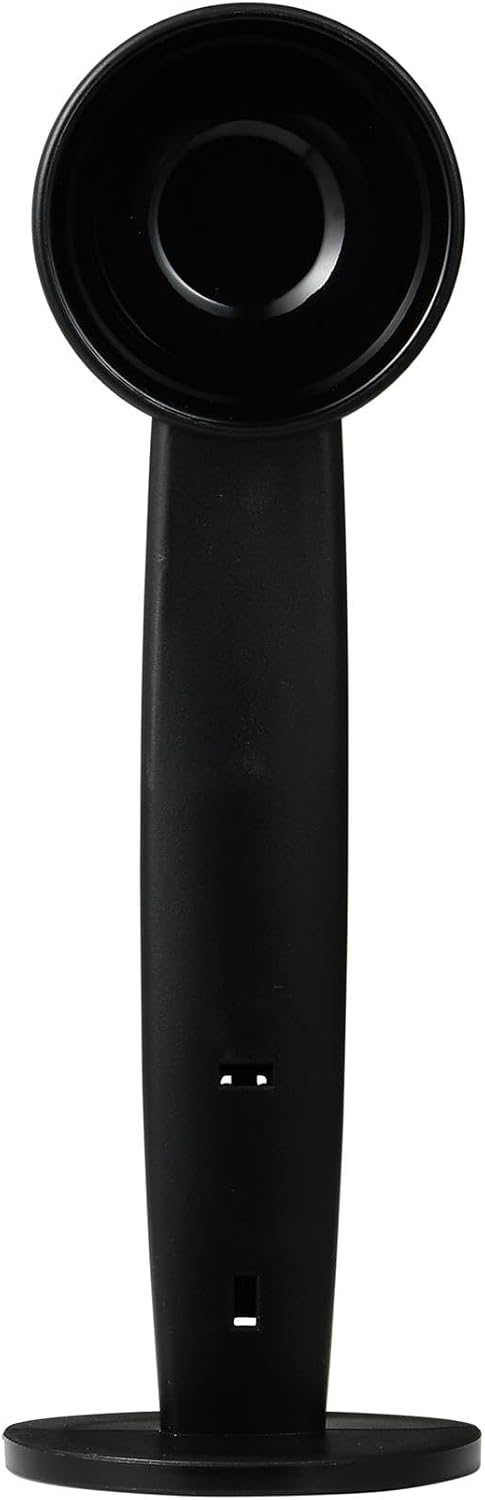
Figure 4: The included coffee scoop, which also functions as a tamper for compacting coffee grounds in the filter basket.
Before First Use
Before using your coffee maker for the first time, follow these steps to clean and prime the system:
- Unpack and Clean: Remove all packaging materials. Wash the water tank, portafilter, filter baskets, and drip tray with warm soapy water, then rinse thoroughly and dry. Wipe the main unit with a damp cloth.
- Fill Water Tank: Fill the transparent water tank with fresh, cold water up to the MAX level. Place it back securely on the machine.
- Prime the System:
- Plug the appliance into a grounded power outlet.
- Press the power button (usually the first illuminated button) to turn on the machine. The indicator lights will flash as the machine heats up.
- Once the lights stop flashing and remain steady, the machine is preheated.
- Place a large cup or container under the group head.
- Press the coffee brewing button (usually the middle button) to run water through the system for about 30 seconds. This flushes out any manufacturing residue.
- Repeat this process for the steam wand: turn the control knob to the steam position and let steam release for a few seconds, then turn it off.
- Your coffee maker is now ready for use.
Operating Instructions
Making Espresso (Single or Double Shot)
- Preparation:
- Ensure the water tank is filled with fresh, cold water.
- Place your espresso cup(s) on the cup warmer at the top of the machine to pre-heat them.
- Turn on the machine by pressing the power button. Wait for the indicator lights to stop flashing, indicating the machine is preheated.
- Grind and Dose Coffee:
- Use freshly ground coffee. The grind should be fine, similar to sugar, but not powdery.
- Select the appropriate filter basket (1-cup or 2-cup) and place it into the portafilter.
- Add ground coffee to the filter basket using the scoop. For a single shot, use one scoop (approx. 7g); for a double shot, use two scoops (approx. 14g).
- Tamping:
- Use the flat end of the coffee scoop to tamp the coffee grounds firmly and evenly. This creates a compact puck for optimal extraction.
- Wipe any excess coffee grounds from the rim of the portafilter.
- Attach Portafilter:
- Align the portafilter with the group head. Insert it and turn it firmly to the right until it is securely locked in place.
- Brew Espresso:
- Place your pre-heated cup(s) under the portafilter spouts.
- Press the coffee brewing button. The machine will start extracting espresso.
- Once the desired amount of espresso is brewed (typically 25-30ml for a single, 50-60ml for a double), press the coffee brewing button again to stop the flow.
- Remove Portafilter: Carefully turn the portafilter to the left to unlock and remove it. Dispose of the used coffee grounds.
Frothing Milk for Cappuccino and Latte
The steam wand allows you to create creamy frothed milk for various coffee beverages.
- Prepare Milk: Fill a stainless steel frothing pitcher with cold milk (dairy or non-dairy) to about one-third full.
- Activate Steam Function: Press the steam button (usually the third illuminated button). The indicator light will flash as the machine heats up to steam temperature. Wait until the light becomes steady.
- Purge Steam Wand: Before frothing, briefly open the steam control knob to release any condensed water from the wand into an empty cup. Close the knob immediately.
- Froth Milk:
- Immerse the tip of the steam wand just below the surface of the milk.
- Open the steam control knob fully.
- Angle the pitcher slightly to create a swirling motion in the milk. This incorporates air and creates foam.
- As the milk heats and expands, lower the pitcher slightly to keep the wand tip just below the surface.
- Continue until the milk reaches the desired temperature (around 60-70°C or 140-160°F) and consistency. The pitcher will become hot to the touch.
- Stop Steaming: Close the steam control knob, then remove the pitcher.
- Clean Steam Wand: Immediately wipe the steam wand with a damp cloth to remove any milk residue. Briefly open the steam control knob again to purge any milk from inside the wand, then close it. This prevents blockages.
- Press the steam button again to turn off the steam function.
Cleaning and Maintenance
Regular cleaning ensures optimal performance and extends the life of your coffee maker.
Daily Cleaning
- Drip Tray: Empty and rinse the drip tray and grid after each use or when the indicator floats up.
- Portafilter and Filter Baskets: After each use, remove the portafilter, discard coffee grounds, and rinse the portafilter and filter basket under running water. Use a brush to remove any stubborn residue.
- Steam Wand: Always wipe and purge the steam wand immediately after frothing milk to prevent milk from drying inside.
- Exterior: Wipe the exterior of the machine with a soft, damp cloth. Do not use abrasive cleaners or scouring pads.
Water Tank Cleaning
Clean the water tank regularly with warm soapy water and rinse thoroughly. Ensure no soap residue remains.
Descaling
Mineral deposits from water can build up over time, affecting performance. Descale your machine every 2-3 months, or more frequently if you have hard water.
- Prepare a descaling solution according to the descaler manufacturer's instructions (e.g., citric acid solution or commercial descaling agent).
- Fill the water tank with the descaling solution.
- Place a large container under the group head and another under the steam wand.
- Turn on the machine and allow it to heat up.
- Run about half of the solution through the group head by pressing the coffee brewing button.
- Open the steam control knob and let the remaining solution run through the steam wand.
- Turn off the machine and let it sit for 15-20 minutes to allow the descaling solution to work.
- Empty and rinse the water tank thoroughly. Fill it with fresh, cold water.
- Repeat steps 4-6 with fresh water to rinse the system completely. Run several tanks of fresh water through the machine to ensure all descaling solution is removed.
Troubleshooting
If you encounter issues with your coffee maker, refer to the following table for common problems and solutions:
| Problem | Possible Cause | Solution |
|---|---|---|
| No coffee dispenses. | No water in tank; tank not properly seated; machine not primed; clogged filter. | Fill water tank; ensure tank is seated correctly; prime the machine; clean filter basket. |
| Coffee is too weak or watery. | Coffee grounds too coarse; insufficient coffee; tamping too light; machine needs descaling. | Use finer grind; increase coffee amount; tamp more firmly; descale the machine. |
| Coffee flows out too slowly or not at all. | Coffee grounds too fine; too much coffee; tamping too hard; clogged filter. | Use coarser grind; reduce coffee amount; tamp lighter; clean filter basket. |
| No steam from steam wand. | Steam function not activated; steam wand clogged; machine not heated to steam temperature. | Press steam button and wait for steady light; clean steam wand; allow machine to fully heat. |
| Water leaks from machine. | Water tank not properly seated; drip tray full; portafilter not securely attached. | Ensure water tank is correctly placed; empty drip tray; securely lock portafilter. |
Technical Specifications
| Feature | Specification |
|---|---|
| Model Number | BG-51355-BK |
| Brand | Bergner |
| Power | 1250-1450 W |
| Voltage | 220-240 V~ 50-60 Hz |
| Pump Pressure | 20 Bar |
| Water Tank Capacity | 1 Liter |
| Heating System | Thermal Block |
| Dimensions (L x W x H) | 18 x 31 x 35 cm |
| Weight | 3.84 kg |
| Housing Material | Stainless Steel |
Warranty and Customer Support
For warranty information or if you require assistance with your Bergner LOVERS Espresso Coffee Maker, please refer to the warranty card included with your purchase or contact Bergner customer support. Contact details can typically be found on the manufacturer's official website or on the product packaging.


