1. Important Safety Information
Read and understand all instructions before operating this air compressor. Failure to follow all instructions may result in electric shock, fire, and/or serious injury. Keep this manual for future reference.
- Electrical Safety: Ensure the power source matches the compressor's requirements (120V, 60Hz). Do not operate in wet conditions. Always use a grounded outlet.
- Pressure Safety: Never exceed the maximum operating pressure of 125 PSI. Do not modify the pressure switch or safety valve.
- Moving Parts: Keep hands, feet, and clothing away from moving parts.
- Heat Hazard: The compressor pump and motor become hot during operation. Avoid contact to prevent burns.
- Noise Hazard: Wear hearing protection during operation.
- Ventilation: Operate the compressor in a well-ventilated area.
- Maintenance: Disconnect power before performing any maintenance or repairs.
2. Product Overview and Components
The VEVOR 30-Gallon Oil-Lubricated Air Compressor is designed for various pneumatic tasks, featuring a 2 HP motor and a maximum pressure of 125 PSI. It delivers 5.3 SCFM at 90 PSI for efficient air delivery.
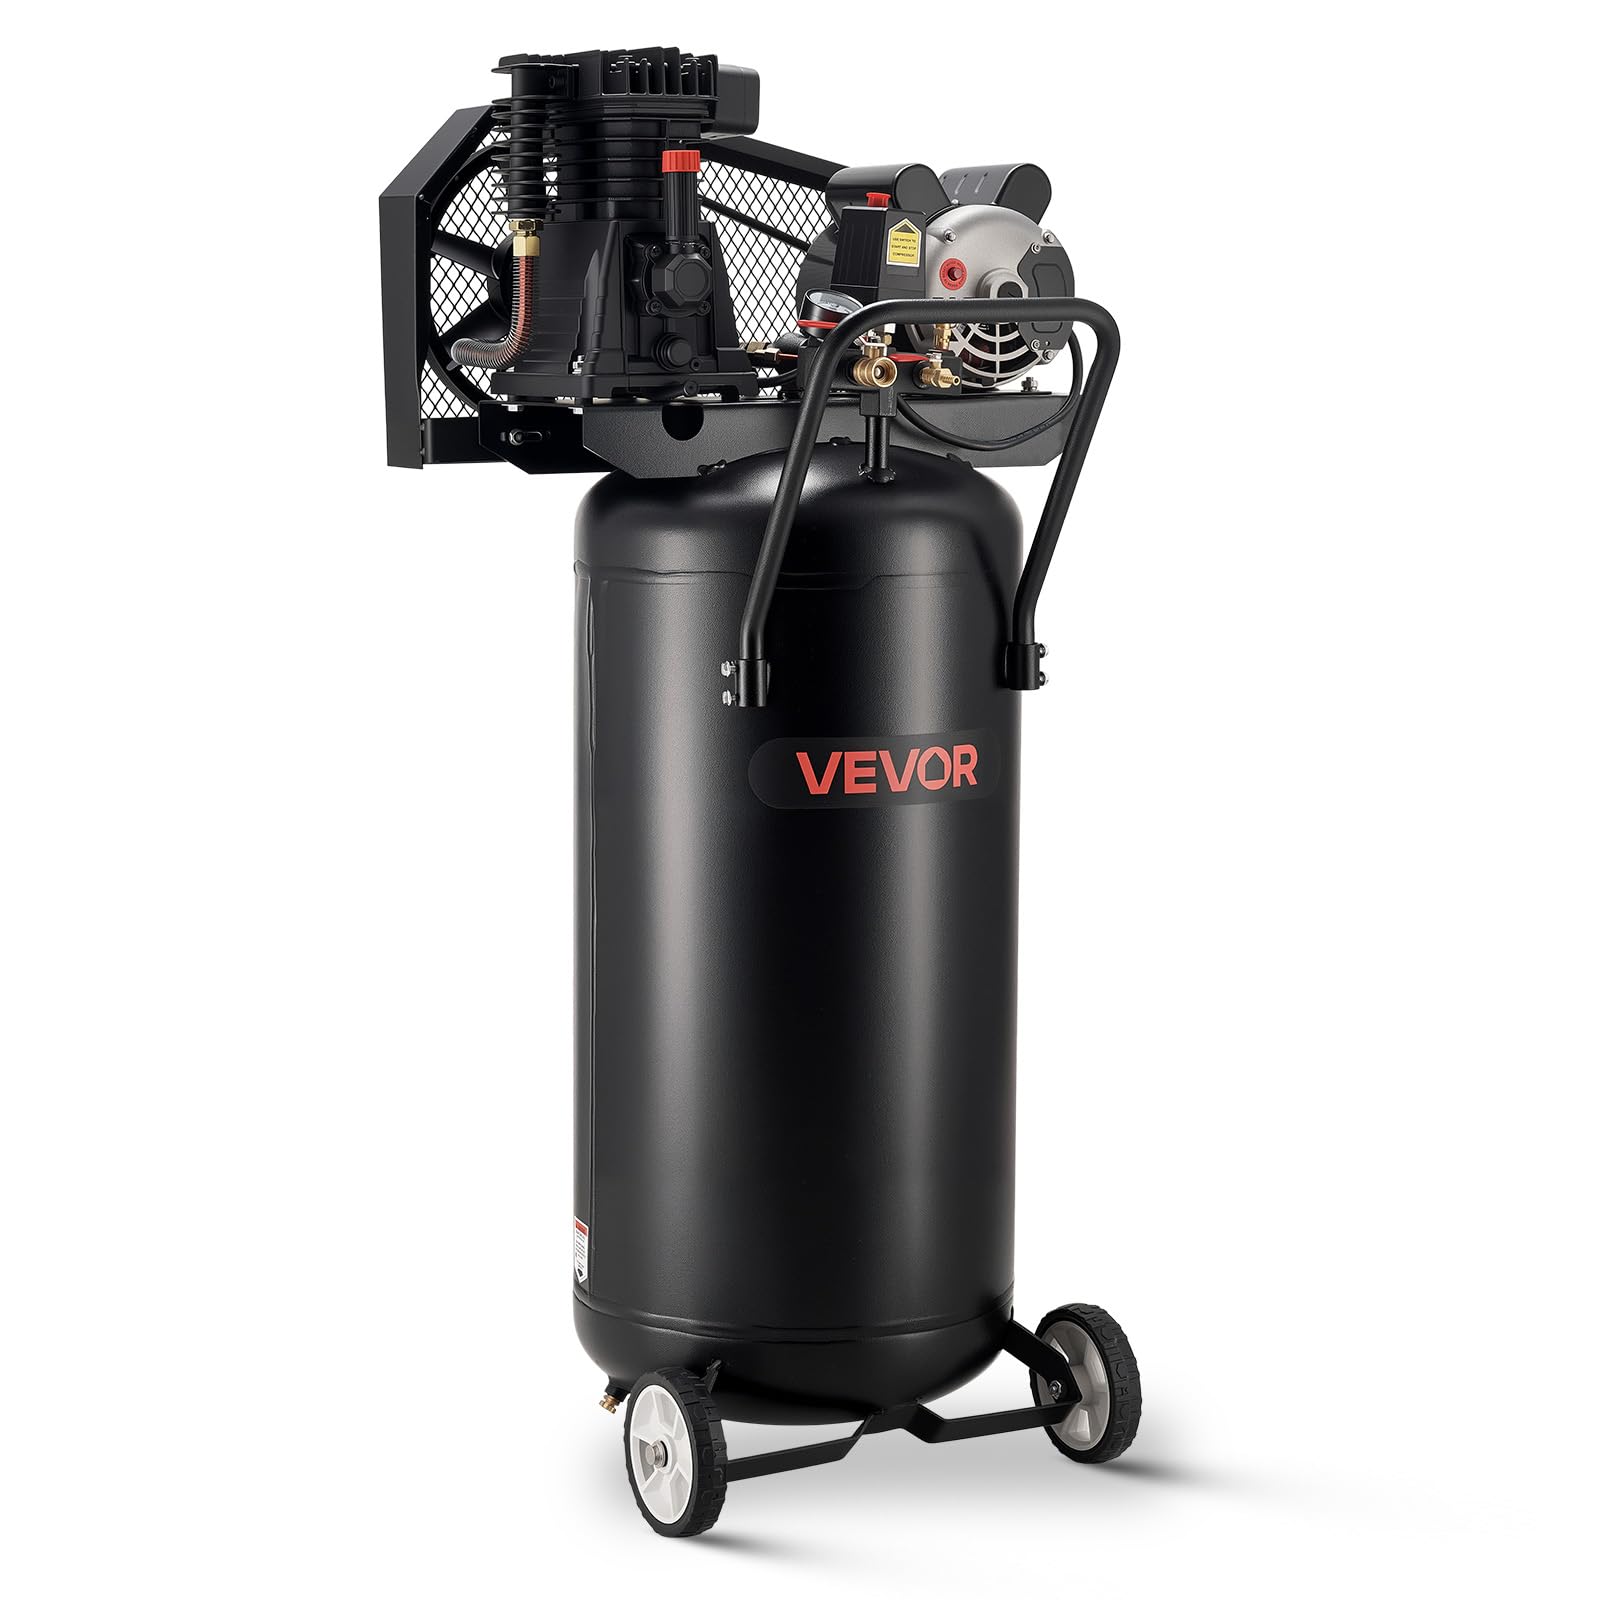
Figure 2.1: VEVOR 30-Gallon Oil-Lubricated Air Compressor.
Included Components:
- 1 x Air Compressor Unit
- 1 x Handrail
- 1 x Large Foot Pad
- 1 x Set of Breather Nozzle
- 1 x User Manual (this document)
- 2 x 6-inch Plastic Wheels

Figure 2.2: Illustration of the air compressor pump head and air flow path.
3. Setup Instructions
3.1 Unpacking
Carefully remove the air compressor and all components from the packaging. Inspect for any shipping damage. Report any damage to the carrier immediately.
3.2 Attaching Wheels and Handle
Attach the two 6-inch plastic wheels to the designated axle points on the compressor base. Secure them with the provided hardware. Install the handrail onto the compressor frame, ensuring it is firmly attached for safe mobility.
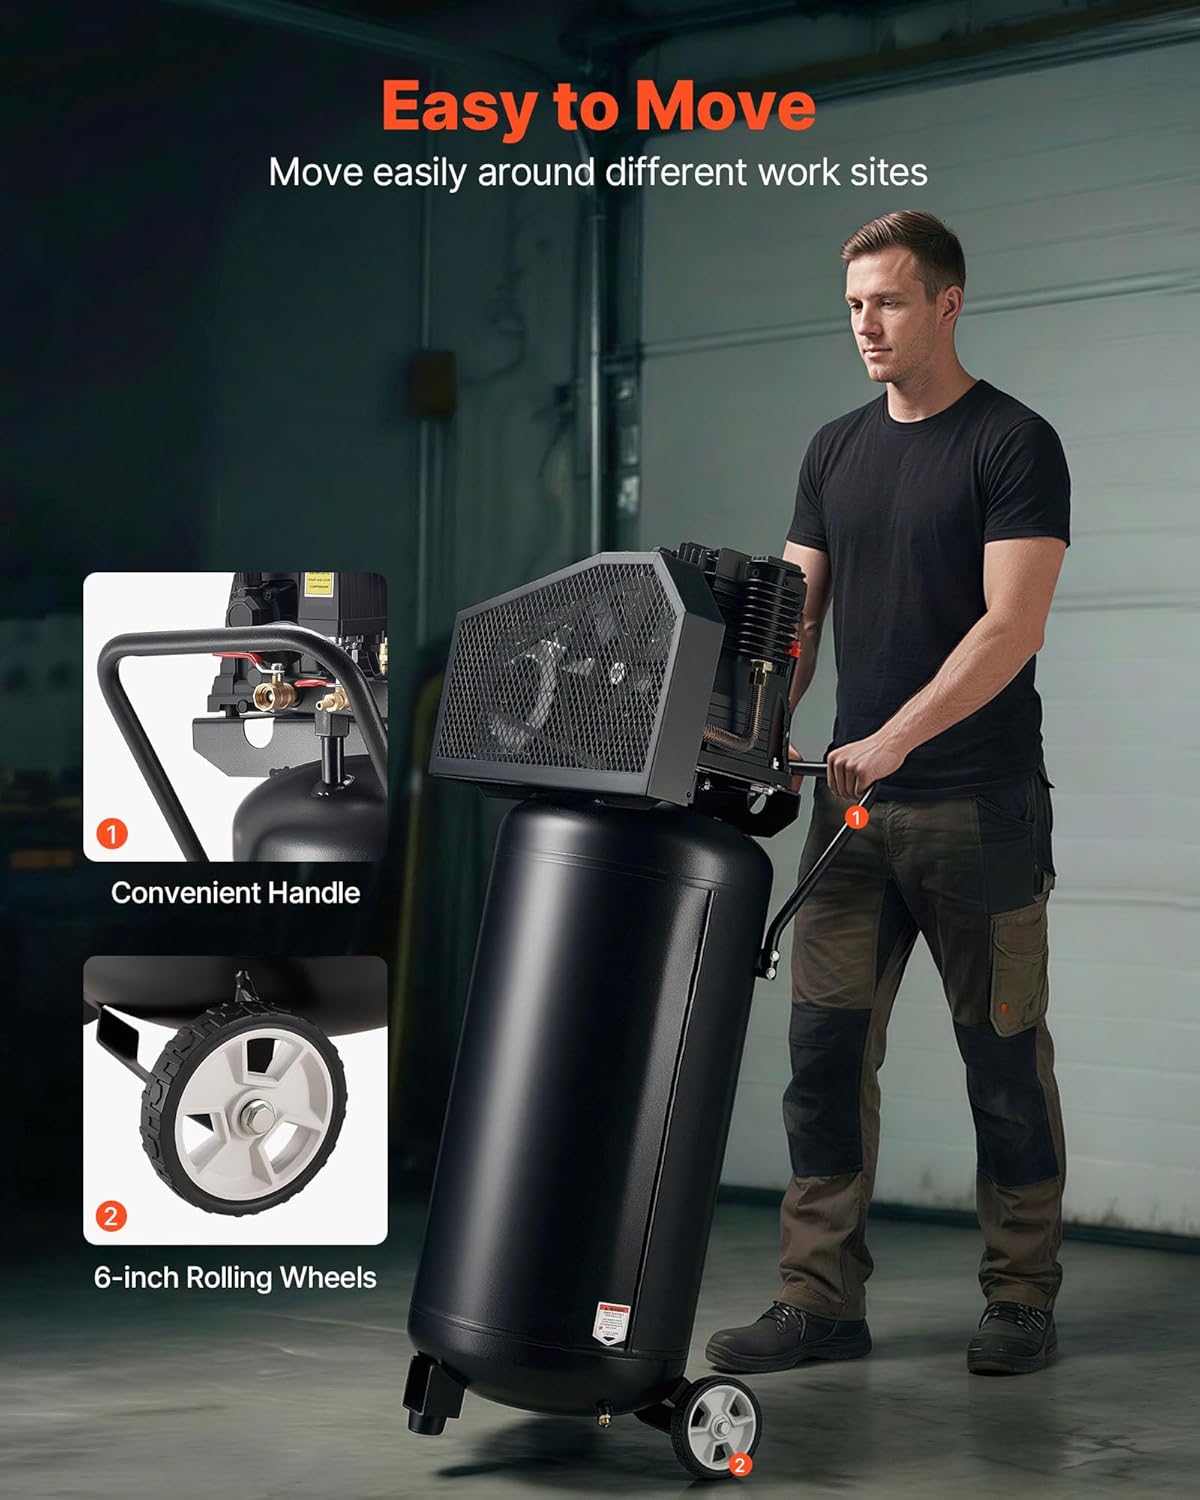
Figure 3.1: The compressor is equipped with wheels and a handle for easy movement.
3.3 Installing Breather Nozzle
Locate the breather nozzle and install it into the designated port on the pump. This allows for proper ventilation of the crankcase.
3.4 Checking Oil Level
This is an oil-lubricated compressor. Before first use, check the oil level using the oil observation mirror. Ensure the oil level is within the recommended range. If necessary, add appropriate compressor oil (not included) to the fill line.
3.5 Electrical Connection
Connect the compressor to a grounded 120V, 60Hz, single-phase power outlet. Ensure the circuit can handle the compressor's power requirements (2 HP motor).
4. Operating Instructions
4.1 Pre-Operation Checks
- Verify the oil level is correct.
- Ensure the tank drain valve is closed.
- Check all air connections for tightness.
- Confirm the compressor is on a stable, level surface.
4.2 Starting the Compressor
Plug the power cord into a suitable electrical outlet. The compressor will start automatically when the pressure in the tank drops below the cut-in pressure and stop when it reaches the cut-out pressure (125 PSI max).
4.3 Adjusting Air Pressure
Use the pressure regulator knob to adjust the output air pressure to suit your pneumatic tool's requirements. The pressure gauge will display the regulated output pressure.
4.4 Connecting Pneumatic Tools
Connect your pneumatic tool to one of the dual air outlets. Ensure the connection is secure to prevent air leaks. This compressor is compatible with air nail guns, air sanders, spray guns, and air blow guns.
4.5 Shutting Down
To shut down the compressor, unplug it from the power outlet. Depressurize the tank by opening the drain valve or using an air tool until the pressure gauge reads zero.
5. Maintenance
Regular maintenance ensures the longevity and safe operation of your air compressor. Always disconnect power before maintenance.
5.1 Draining Condensation
Moisture accumulates in the air tank during operation. Drain the tank daily or after each use by opening the drain valve located at the bottom of the tank. Failure to do so can lead to rust and tank failure.
5.2 Checking and Changing Oil
Check the oil level before each use. Change the compressor oil every 3 months or after 100 hours of operation, whichever comes first. Refer to the oil observation mirror for proper levels.
5.3 Cleaning Air Filter
Inspect the air filter regularly. Clean or replace the air filter as needed to ensure optimal air intake and prevent damage to the pump.
5.4 Tank Inspection
Periodically inspect the air tank for any signs of rust, dents, or damage. The tank is constructed from 2.75 mm thick carbon steel for durability.
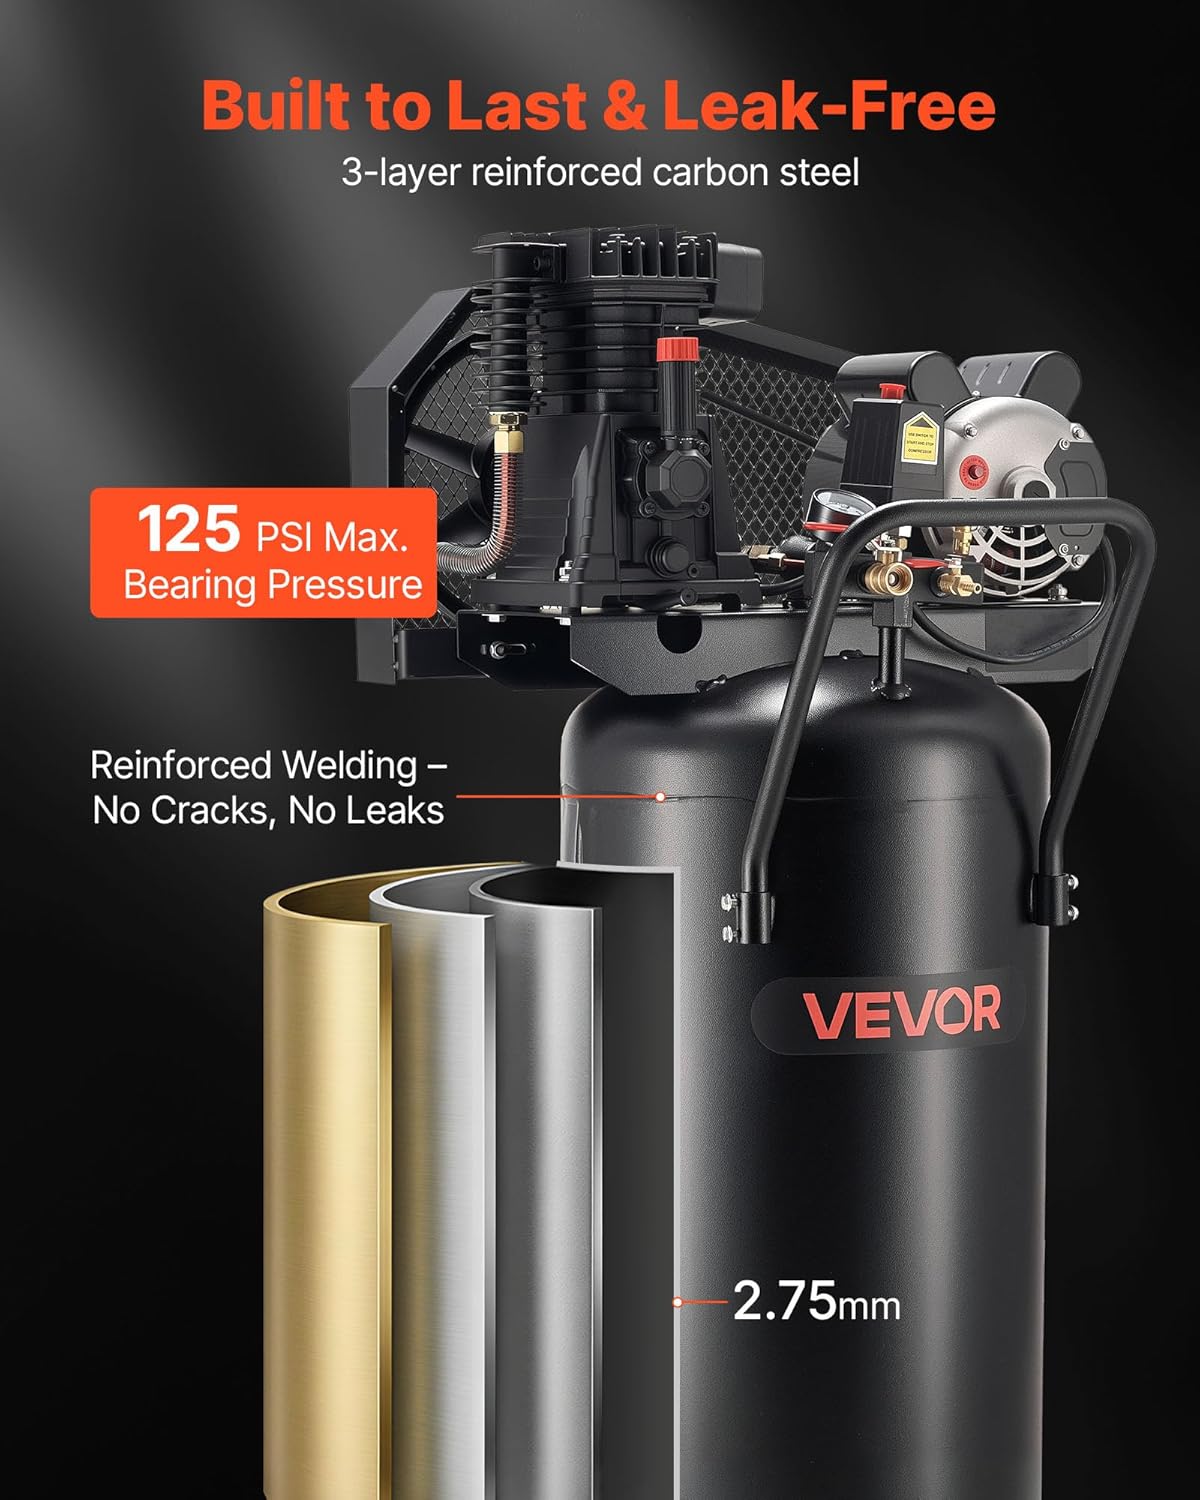
Figure 5.1: The air tank features a 2.75mm thick carbon steel construction for durability and leak prevention.
6. Troubleshooting
This section addresses common issues you might encounter with your air compressor.
| Problem | Possible Cause | Solution |
|---|---|---|
| Compressor does not start | No power; tripped circuit breaker; faulty switch | Check power connection; reset breaker; contact service. |
| Low air pressure / Slow recovery | Air leaks; clogged air filter; worn pump components | Check connections for leaks; clean/replace air filter; contact service. |
| Excessive noise or vibration | Loose components; low oil level; worn bearings | Tighten fasteners; check/add oil; contact service. |
| Air leaks from safety valve | Valve malfunction; excessive tank pressure | Depressurize tank; inspect valve; contact service if issue persists. |
7. Specifications
Detailed technical specifications for the VEVOR 30-Gallon Oil-Lubricated Air Compressor.

Figure 7.1: Product dimensions and key specifications.
| Specification | Value |
|---|---|
| Item Model Number | SL-2070/125-10A92L |
| Tank Capacity | 30 Gallons |
| Motor Rated Power | 2 HP |
| Air Flow Rate | 5.3 SCFM at 90 PSI |
| Item Type | Oil-Lubricated Vertical Air Compressor |
| Voltage / Frequency | AC120V 60Hz, Single Phase |
| Max Working Pressure | 125 PSI |
| Net Weight | 136.7 lbs / 62 kg |
| Product Dimensions (L x W x H) | 22.4 x 21.3 x 49.6 in / 570 x 540 x 1260 mm |
8. Warranty and Support
For warranty information and customer support, please refer to the warranty card included with your product or visit the official VEVOR website. Keep your purchase receipt as proof of purchase.
If you encounter any issues not covered in this manual or require technical assistance, please contact VEVOR customer service through their official channels.


