1. Important Safeguards
Please read all instructions carefully before using your Acekool Espresso Machine. Keep this manual for future reference.
- Ensure the appliance is placed on a stable, level surface away from water sources.
- Do not immerse the appliance, power cord, or plug in water or other liquids.
- Unplug from the outlet when not in use and before cleaning. Allow to cool before adding or removing parts.
- Do not operate any appliance with a damaged cord or plug, or after the appliance malfunctions or has been damaged in any manner.
- Close supervision is necessary when any appliance is used by or near children.
- Use only accessories recommended by the manufacturer.
- Avoid contact with moving parts.
- Do not use outdoors.
- Always ensure the water tank is filled to the appropriate level before operation.
- Exercise caution when handling hot surfaces and steam.
2. Product Overview
The Acekool Espresso Machine is designed to provide a professional coffee experience at home or in the office. It features a 20-bar Italian pump, a built-in grinder with 30 adjustable settings, and a powerful steam wand for milk frothing.
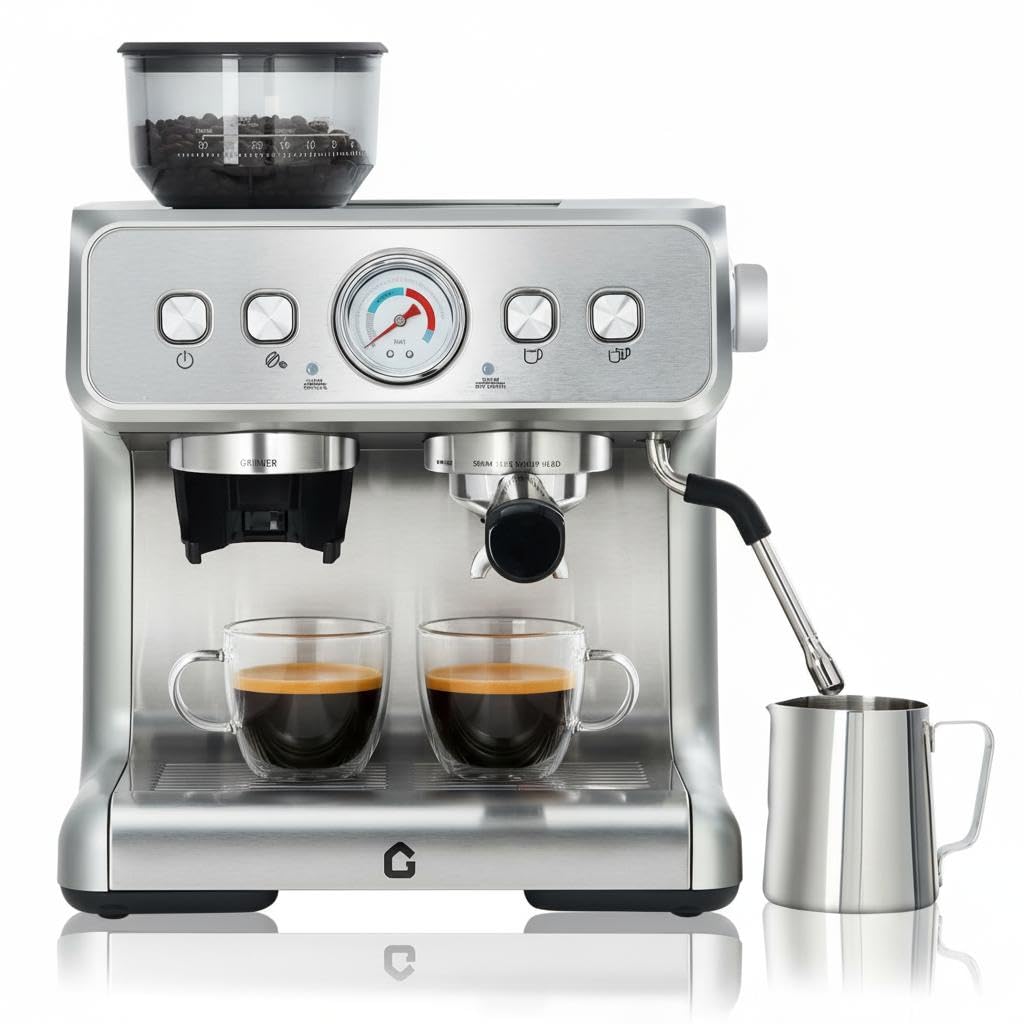
Front view of the Acekool Espresso Machine, showcasing its sleek design and a pressure gauge indicating 20 Bar high pressure extraction.
Key Features:
- 20-Bar Professional Pump: Delivers optimal pressure for rich espresso with perfect crema.
- Built-in Grinder: Features 30 adjustable settings for fresh grounds directly into the portafilter.
- 1450W Powerful Steam System: Creates silky and dense milk foam for lattes and cappuccinos.
- Customizable Coffee Experience: Adjust grind coarseness and shot volume for personalized brews.
- Removable Water Tank (0.74 Gallon / 2.8 Liters): Easy to fill and clean.
- Removable Drip Tray: Simplifies cleaning and maintenance.
- Auto Clean Function: For convenient maintenance.
Included Components:

Image showing all components included with the Acekool Espresso Machine, such as the portafilter, filter baskets, tamper, milk jug, and cleaning brush.
- Pressure Funnel
- Single Cup Filter Screen
- Double Cup Filter Screen
- Stainless Steel Milk Jug
- Tamper
- Organizer Box
- Brewing Head Cleaning Brush
- Instruction Manual (this document)
3. Setup
Follow these steps for initial setup of your espresso machine.

Visual guide for the initial setup process, including adding water, coffee beans, adjusting grind, and starting the preheating cycle.
- Unpacking: Carefully remove all packaging materials and place the machine on a stable, flat, heat-resistant surface.
- Water Tank: Remove the 0.74 Gallon (2.8 Liters) water tank from the back of the machine. Fill it with fresh, cold water up to the MAX line. Replace the tank securely.
- Power Connection: Plug the power cord into a grounded electrical outlet.
- Preheating: Press the power button to turn on the machine. The machine will begin to preheat. Wait until the indicator lights signal that the machine has reached the optimal temperature.
- Initial Rinse: Before first use, run a few cycles of hot water through the brewing head and steam wand without coffee to clean the internal components.
- Grinder Setup: Open the lid of the bean hopper and fill it with fresh whole coffee beans. Ensure the lid is securely closed.
4. Operating Instructions
4.1 Grinding Coffee

Illustration of the 30 grind settings available on the built-in grinder, ranging from coarse to fine, with recommendations for extraction speed.
- The machine features a built-in conical burr grinder with 30 adjustable settings.
- Rotate the grind size selector dial to choose your desired fineness. Finer settings (lower numbers) are for espresso, while coarser settings (higher numbers) are suitable for pour-over or French press.
- Place the portafilter under the grinder chute. Press the grind button to dispense fresh grounds directly into the portafilter.
- Use the included tamper to compress the coffee grounds evenly.
4.2 Espresso Extraction

Diagram illustrating the benefits of 20 Bar extraction and pre-infusion for optimal coffee flavor and complete extraction.
- Insert the prepared portafilter into the brewing head and lock it into place.
- Place your espresso cup(s) on the drip tray beneath the portafilter spouts.
- Select your desired shot volume (single or double) using the control panel. The machine will automatically perform a pre-infusion cycle, followed by 20-bar pressure extraction.
- The built-in pressure gauge will display the extraction pressure during the process. Aim for the optimal pressure range for best results.
4.3 Steam Wand Operation (Milk Frothing)

Image demonstrating the 1400W powerful steam system, showing the steam wand in action and options for hot water and adjustable steam.
- Fill the stainless steel milk jug with cold milk (dairy or non-dairy).
- Turn the steam knob to activate the steam function. Wait for the steam indicator light to illuminate, indicating the steam is ready.
- Submerge the steam wand tip just below the surface of the milk. Open the steam valve to release steam.
- Move the jug up and down gently to create microfoam. Once desired texture and temperature are reached, close the steam valve.
- Immediately wipe the steam wand with a damp cloth to prevent milk residue from drying.
4.4 Hot Water Function
- The machine can dispense hot water for tea or Americanos.
- Refer to your machine's control panel for the specific hot water button or setting.
5. Maintenance
Regular cleaning and maintenance ensure optimal performance and longevity of your espresso machine.

Image highlighting the removable water tank and drip tray for easy cleaning, along with descaling instructions.
5.1 Daily Cleaning
- Drip Tray: Empty and clean the removable drip tray daily. Wash with warm, soapy water and rinse thoroughly.
- Portafilter and Filter Baskets: After each use, remove spent coffee grounds and rinse the portafilter and filter baskets under warm water.
- Steam Wand: Always wipe the steam wand immediately after frothing milk with a damp cloth. Purge the wand briefly to clear any internal milk residue.
- Exterior: Wipe the exterior of the machine with a soft, damp cloth. Do not use abrasive cleaners.
5.2 Water Tank Cleaning
- Remove the water tank and wash it with mild detergent and warm water. Rinse thoroughly to remove any soap residue.
- Refill with fresh, cold water.
5.3 Descaling
- Descaling is essential to remove mineral buildup and should be performed regularly (e.g., every 2-3 months, depending on water hardness).
- Use a commercial descaling solution specifically designed for espresso machines, following the manufacturer's instructions.
- Alternatively, a solution of white vinegar and water (1:1 ratio) can be used.
- Run the descaling solution through the machine's brewing head and steam wand.
- After descaling, run several cycles of fresh water through the machine to rinse thoroughly.
5.4 Grinder Cleaning
- Periodically clean the grinder burrs to prevent oil buildup and ensure consistent grinding.
- Refer to the machine's specific instructions for removing and cleaning the grinder burrs. Use the provided cleaning brush to remove coffee grounds.
6. Troubleshooting
If you encounter issues with your Acekool Espresso Machine, refer to the following common problems and solutions.
| Problem | Possible Cause | Solution |
|---|---|---|
| No coffee dispenses | Water tank empty; Clogged filter; Machine not preheated | Fill water tank; Clean filter basket; Allow machine to preheat fully |
| Weak espresso / Too fast extraction | Coffee grounds too coarse; Not enough coffee; Insufficient tamping | Adjust grinder to a finer setting; Increase coffee dose; Tamp more firmly |
| Bitter espresso / Too slow extraction | Coffee grounds too fine; Too much coffee; Over-tamping | Adjust grinder to a coarser setting; Reduce coffee dose; Tamp with less force |
| No steam from wand | Steam wand clogged; Machine not at steam temperature | Clean steam wand hole; Wait for steam indicator light |
| Water leaking from machine | Water tank not seated correctly; Drip tray full; Seal issue | Ensure water tank is properly inserted; Empty drip tray; Contact customer support if issue persists |
If the problem persists after attempting these solutions, please contact Acekool customer support.
7. Specifications
Detailed technical specifications for the Acekool Espresso Machine.
| Feature | Detail |
|---|---|
| Brand | Acekool |
| Model Name | 8414234206350 |
| Item Model Number | ZlzuMUw6KjChKeiuzu5nOQ7vaG4X |
| Color | Silver |
| Product Dimensions (D x W x H) | 15.67" x 16.61" x 18.86" |
| Item Weight | 25.4 pounds |
| Capacity | 2.8 Liters (Water Tank) |
| Pump Pressure | 20 Bar |
| Power | 1450W |
| Special Feature | Auto Clean Function, Built-in Grinder, Steam Wand |
| Included Components | Milk Frother (Stainless Steel Milk Jug) |
| UPC | 820567835323 |
| GTIN | 820567835323 |
8. Warranty and Support
Your Acekool Espresso Machine is built for reliable performance and comes with comprehensive support.
- Warranty: This product is covered by a 1-year limited warranty from the date of purchase.
- Technical Support: Acekool provides lifetime technical support for this product.
- Certifications: The machine is ETL-certified, ensuring it meets recognized safety standards.
- Contact Support: For warranty claims, technical assistance, or any questions regarding your machine, please visit the official Acekool Store or contact their customer service directly. You can find more information at Acekool Store on Amazon.