Introduction
Thank you for choosing the Cuifati 9.8-inch Portable DVD Player. This device is designed to provide versatile entertainment on the go, featuring a high-definition swivel screen, dual speakers, and support for various disc and digital media formats. This manual provides essential information for setting up, operating, maintaining, and troubleshooting your new portable DVD player to ensure optimal performance and longevity.
Package Contents
Please check the box for the following items:
- 1 x Portable DVD Player
- 1 x Power Adapter
- 1 x Remote Control
- 1 x Car Charger Cable
- 1 x AV Cable
- 1 x Antenna
- 1 x Game Controller
- 1 x Instruction Manual

Image: The Cuifati Portable DVD Player shown with all its accessories, including the power adapter, remote control, car charger, AV cable, antenna, and game controller.
Setup
1. Initial Charging
Before first use, fully charge the built-in 1500mAh Li-ion battery using the provided power adapter. Connect the adapter to the DC IN port on the player and plug it into a wall outlet. The charging indicator light will typically show the charging status.
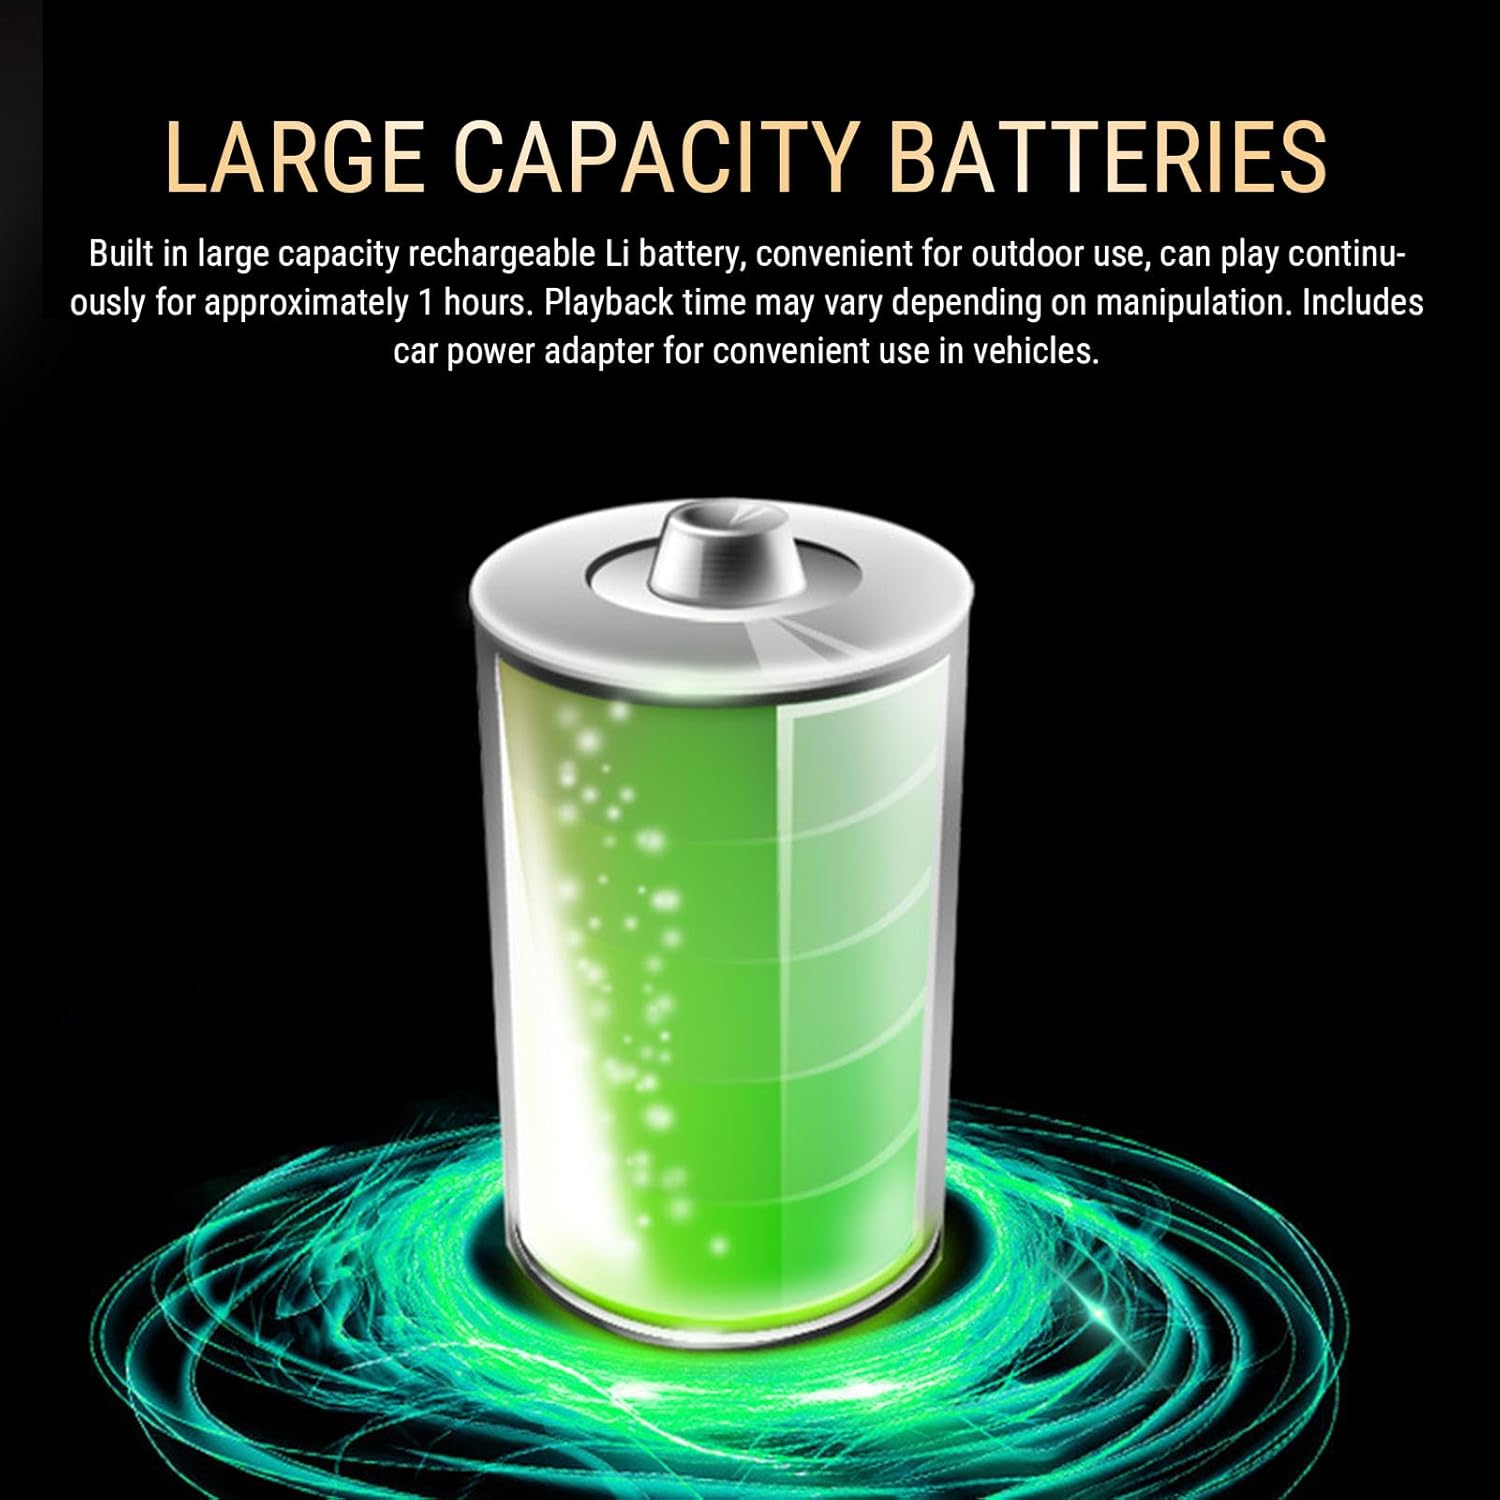
Image: A visual representation of a large capacity battery, indicating the player's internal rechargeable power source.
2. Inserting a Disc
- Gently open the disc cover.
- Place the disc (DVD, CD, etc.) onto the spindle with the label side facing up.
- Press down gently on the center of the disc until it clicks into place.
- Close the disc cover securely.
3. Connecting to a TV (Optional)
To view content on a larger screen, use the provided AV cable:
- Connect one end of the AV cable to the AV OUT port on the DVD player.
- Connect the other end of the AV cable to the corresponding AV IN ports (Yellow for Video, White for Left Audio, Red for Right Audio) on your television.
- Select the correct AV input source on your TV.
4. Connecting the Antenna (for TV/FM)
For optimal reception of local TV channels and FM radio, connect the included antenna to the ANT IN port on the player. Position the antenna near a window or in an open area for better signal quality.
Operating Instructions
1. Power On/Off
Press the POWER button on the player or remote control to turn the device on or off.
2. Basic Disc Playback
- Insert a compatible disc as described in the Setup section.
- The player will automatically detect and begin playback.
- Use the PLAY/PAUSE, STOP, FF/REW, and NEXT/PREV buttons on the player or remote for control.
3. Screen Rotation and Swivel
The 9.8-inch HD screen can rotate up to 270 degrees and swivel 180 degrees, allowing for multiple viewing angles. Gently adjust the screen to your desired position.

Image: The portable DVD player with its screen rotated 270 degrees, illustrating its flexible viewing capabilities.
4. TV Function
With the antenna connected, you can access local television channels:
- Press the TV button on the remote control or player.
- Perform a channel scan in the settings menu to find available channels.
- Use the channel up/down buttons to navigate.

Image: The portable DVD player displaying content on its screen, with an additional image showing it connected to a larger television for playback, highlighting its TV synchronization feature.
5. USB/SD Card Playback
The player supports media playback from USB flash drives and SD/MMC cards (up to 32GB, not included).
- Insert a USB flash drive into the USB port or an SD/MMC card into the card slot.
- Use the MODE button to switch to USB or CARD mode.
- Navigate through your files using the directional buttons and press PLAY to start playback.

Image: The portable DVD player with icons indicating support for reading storage cards (SD/MMC) and USB drives.

Image: A close-up view of the side of the portable DVD player, highlighting the high-speed USB interface for connecting external storage devices.
6. FM Tuner
To listen to FM radio:
- Ensure the antenna is connected.
- Press the MODE button to switch to FM radio mode.
- Use the scan function in the menu or the tuning buttons to find radio stations.
7. Game Controller
Connect the included game controller to the designated port on the player to enjoy compatible games (games not included).
8. Power Off Memory Function
The player features an intelligent power-off memory function. If the device is turned off or loses power during playback, it will automatically resume from the last played position when powered on again, eliminating the need for manual searching.

Image: A diagram showing the sequence of the intelligent power off memory function: before accidental power off, power off memory automatically activated, and after restarting, playback resumes.
9. Audio Output
The player has built-in dual speakers for rich sound. For private listening, connect 3.5mm headphones to the headphone jack. You can also connect external speakers via the headphone jack for enhanced audio.
Maintenance
1. Cleaning the Player and Screen
- Use a soft, dry, lint-free cloth to clean the exterior of the player.
- For the screen, use a screen-specific cleaning solution and a microfiber cloth. Do not spray liquid directly onto the screen.
- Avoid using abrasive cleaners or solvents.
2. Battery Care
- To prolong battery life, avoid fully discharging the battery frequently.
- Charge the player regularly, even if not in use for extended periods.
- Store the player in a cool, dry place.
3. Disc Handling
- Always handle discs by their edges to avoid fingerprints and scratches.
- Store discs in their cases when not in use.
- Clean dirty discs with a soft, lint-free cloth, wiping from the center outwards.
Troubleshooting
| Problem | Possible Cause | Solution |
|---|---|---|
| Player does not power on. | Low battery or no power connection. | Connect the power adapter and ensure it's plugged into a working outlet. Charge the battery. |
| Disc does not play or skips. | Disc is dirty, scratched, or incompatible format. | Clean the disc. Try a different disc. Ensure the disc format is supported (DVD, CD, VCD, SVCD). |
| No sound or poor sound quality. | Volume too low, mute activated, or faulty headphones/speakers. | Increase volume. Check if mute is on. Test with different headphones or ensure external speakers are connected correctly. |
| Poor TV reception. | Antenna not connected or poor signal strength. | Ensure antenna is securely connected. Reposition the antenna for better signal. Perform a channel rescan. |
| Remote control not working. | Batteries are dead or incorrectly inserted. Obstruction between remote and player. | Replace remote control batteries (2 x AAA). Ensure correct polarity. Remove any obstructions. |
Specifications
| Feature | Detail |
|---|---|
| Item Type | Portable DVD Player |
| Material | ABS |
| Built-in Battery | 1500mAh Li-ion Battery |
| Remote Control Batteries | 2 x AAA (not included) |
| Video D/A Converter | 10-bit |
| Horizontal Resolution | 500 lines |
| Frequency Response | 20 Hz–20 kHz |
| Dynamic Range (Audio) | ≥80dB (96 kHz/24 bit) |
| Signal-to-Noise Ratio | ≥70dB, 2VP P |
| Channel Isolation | ≥70dB |
| Load Impedance | 10 KΩ |
| Signal Format | PAL NTSC SECAM AUTO |
| Supported Disc Formats | DVD+R/W, DVD-R/W, DVD, CD-R, CD-RW, VCD, SVCD, PHOTO-CD |
| Supported File Formats (USB/SD) | JPEG, MP3, VOB, AVI, MPEG, WMA |
| USB/SD Card Capacity | Up to 32GB (not included) |
| Model Number | Cuifatiiclujw4yhn-11 |
| ASIN | B0GCXPHVZH |
Warranty and Support
Manufacturer Warranty
This product is covered by a manufacturer's warranty of 90 days from the date of purchase. Please retain your proof of purchase for warranty claims.
Customer Support
For technical assistance, troubleshooting beyond this manual, or warranty inquiries, please contact Cuifati customer support through the retailer's platform or the official Cuifati website. Please have your model number (Cuifatiiclujw4yhn-11) and purchase details ready.


