Introduction
This manual provides detailed instructions for the installation, operation, and maintenance of your Jennov 5MP Solar Outdoor Surveillance Camera Kit (Model K4-P52-V18). This kit includes a 10-channel NVR with a 500GB HDD and four PTZ cameras, designed for outdoor use with solar power capabilities. Please read this manual thoroughly before using the product to ensure proper functionality and safety.
Package Contents
Verify that all items listed below are included in your package. If any items are missing or damaged, please contact customer support.

Figure 2.1: Kit Components. This image displays all items typically included in the Jennov 5MP Solar Outdoor Surveillance Camera Kit.
- 1x NVR (Network Video Recorder)
- 4x PTZ Cameras with integrated solar panels
- 4x Camera Mounts
- 4x Solar Panel Brackets (for separate solar panel mounting if needed, though cameras have integrated ones)
- 1x 500GB HDD (Hard Disk Drive)
- 1x Warning Sticker
- 1x Screws Pack for installation
- 1x USB Mouse
- 1x HDMI Cable
- 1x NVR Power Supply
- 1x Ethernet Cable
- 1x Type-C Cable (for camera charging/connection)
Installation Guide
1. Camera and Solar Panel Placement
The Jennov cameras are designed for outdoor use and are solar-powered, minimizing wiring requirements. Ensure the solar panel receives adequate direct sunlight for optimal charging.

Figure 3.1: Solar Power Connection. The camera receives power from the solar panel via a connection cable. No additional power wiring is needed for the camera itself.
The cameras are IP66 waterproof, ensuring reliable operation in various weather conditions. Mount them in desired outdoor locations using the provided camera mounts and screws.
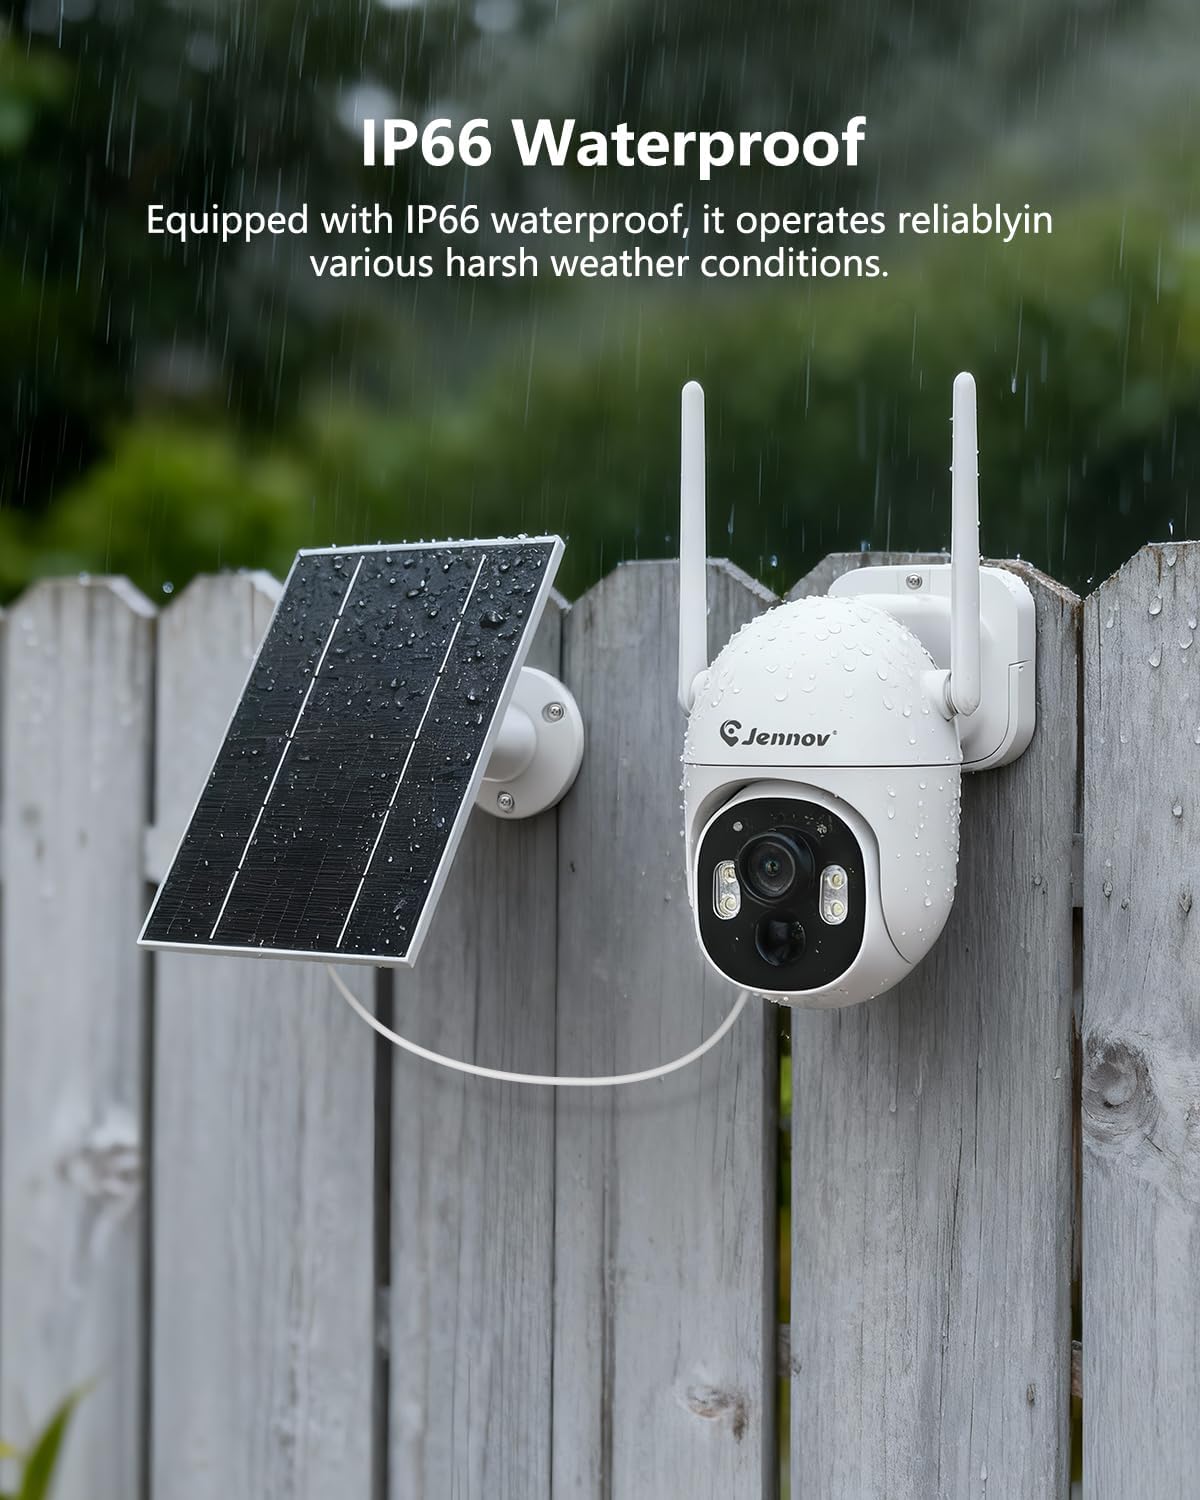
Figure 3.2: Weatherproof Installation. The IP66 rating ensures the camera and solar panel can withstand outdoor elements, as shown here during rainfall.
2. NVR Setup and Camera Pairing
The system is designed for plug-and-play operation with automatic pairing between the cameras and the NVR. No internet connection is required for local viewing and recording.
- Connect the NVR to a monitor using the HDMI cable.
- Connect the USB mouse to the NVR.
- Power on the NVR using the provided power supply.
- Ensure cameras are powered on (either via solar charge or initial USB-C charge). The cameras will automatically attempt to pair with the NVR.
- Follow on-screen prompts for initial NVR configuration, such as setting date/time and password.

Figure 3.3: Plug & Play Setup. Cameras automatically pair with the NVR. They can be charged via solar power or initially via a USB-C cable.
For remote viewing via a mobile application, connect the NVR to your home network using the Ethernet cable and follow the instructions provided in the NVR's on-screen menu for app setup.
Operation
1. Pan-Tilt-Zoom (PTZ) Control
The PTZ cameras offer a wide field of view with horizontal rotation of 355° and vertical tilt of 90°. This allows for comprehensive coverage of your surveillance area.

Figure 4.1: PTZ Capabilities. Control the camera's horizontal (355°) and vertical (90°) movement via the NVR interface or mobile application to monitor different angles.
Use the mouse connected to the NVR or the controls within the mobile application to adjust the camera's viewing angle.
2. Motion Detection and Notifications
The system utilizes advanced AI technology for accurate motion detection, including human detection, to minimize false alarms. When motion is detected, the system can trigger alerts and notifications.

Figure 4.2: Motion Detection Alerts. The system sends notifications to your connected device upon detecting movement, with advanced human detection capabilities.
Configure motion detection zones and sensitivity settings through the NVR menu or mobile application to suit your specific surveillance needs.
3. Night Vision and Sound-Light Alarm
The cameras are equipped with multiple night vision modes and a sound-light alarm feature for enhanced security during low-light conditions.

Figure 4.3: Night Vision Modes and Alarm. The camera offers a sound-light alarm to deter intruders, color night vision for detailed nighttime images, and traditional infrared night vision.
- Sound-Light Alarm: Activates a siren and flashing lights upon detection to deter potential threats.
- Color Night Vision: Provides full-color video even in low-light conditions, offering more detail than traditional infrared.
- Infrared Night Vision: Standard black and white night vision for clear visibility in complete darkness.
These modes can be configured via the NVR settings or the mobile application.
4. Recording Modes
The NVR with its 500GB HDD supports various recording modes to suit your surveillance needs.

Figure 4.4: Recording Options. Choose from 24/7 continuous recording, event-triggered recording, or scheduled recording based on your preferences.
- 24/7 Recording: Records continuously without interruption, with automatic overwriting of the oldest footage when the HDD is full.
- Event Recording: Records only when motion is detected, saving storage space and making it easier to review important events.
- Timed Recording: Records during specific, user-defined time frames.
Access and manage recordings through the NVR interface or the mobile application.
5. Two-Way Audio
The cameras feature built-in microphones and speakers, enabling two-way audio communication. This allows you to listen in on the camera's surroundings and speak through the camera from your NVR or mobile device.
Maintenance
Regular maintenance ensures the longevity and optimal performance of your surveillance system.
- Solar Panel Cleaning: Periodically clean the surface of the solar panels to remove dust, dirt, or debris that may obstruct sunlight and reduce charging efficiency. Use a soft, damp cloth.
- Camera Lens Cleaning: Gently wipe the camera lenses with a soft, lint-free cloth to ensure clear image quality. Avoid abrasive materials.
- Firmware Updates: Check for available firmware updates for the NVR and cameras through the NVR's system settings or the mobile application. Keeping firmware updated can improve performance and security.
- Environmental Protection: While the cameras are IP66 waterproof, extreme weather conditions (e.g., heavy snow, hail) may still require additional protective measures if prolonged exposure is expected.
Troubleshooting
Refer to the following common issues and solutions before contacting customer support.
- No image displayed on NVR monitor:
- Ensure the NVR is powered on and the power adapter is securely connected.
- Check the HDMI cable connection between the NVR and the monitor.
- Verify the monitor input source is set correctly (e.g., HDMI1, HDMI2).
- Cameras not connecting to NVR:
- Ensure cameras are powered on and have sufficient battery charge (check solar panel exposure or use USB-C for initial charge).
- Verify cameras are within the NVR's wireless range. Obstacles like thick walls can reduce signal strength.
- Restart both the NVR and the cameras.
- If automatic pairing fails, refer to the NVR's on-screen menu for manual pairing instructions.
- Poor image quality or night vision:
- Clean the camera lens with a soft cloth.
- Ensure there are no obstructions in front of the camera.
- For night vision, check if there are strong light sources nearby that might interfere with the infrared sensors.
- Motion detection not working or too many false alarms:
- Adjust the motion detection sensitivity settings in the NVR or app.
- Configure specific motion detection zones to exclude areas with frequent irrelevant movement (e.g., trees swaying).
- Ensure the camera's PIR sensor is not obstructed.
Product Specifications
| Brand | Jennov |
| Model Number | K4-P52-V18 |
| Set Name | Jennov 5MP Solar Outdoor Surveillance Camera Kit (4 Cameras + NVR) |
| Connectivity Technology | Wireless |
| Video Capture Resolution | 5MP (1920p) |
| Number of Channels | 10 |
| Memory Storage Capacity | 500 GB HDD |
| Recommended Use | Outdoor |
| Low Light Technology | Night Vision (Color & Infrared) |
| Recording Modes | Event, Schedule, 24/7 Continuous |
| Hardware Interface | HDMI |
| Lens Type | Fixed |
| Signal Format | Digital |
| Product Dimensions (L x W x H) | 26 x 20 x 38 cm |
| Product Weight | 4.1 Kilograms |
| Country of Origin | China |
Warranty and Support
For warranty information, technical support, or service inquiries, please refer to the official Jennov website or the contact information provided with your purchase documentation. Keep your purchase receipt as proof of purchase for warranty claims.