1. Introduction
This manual provides essential instructions for the safe and effective assembly, operation, and maintenance of your AUTOSAVER88 28" Heavy-Duty Disc Plow Harrow. Please read this manual thoroughly before using the equipment. Keep it for future reference.
The AUTOSAVER88 Disc Plow Harrow is designed for soil preparation tasks such as leveling plots, breaking up soil, leveling pastures, and general soil loosening for planting and harvesting seasons. It features a universal 2-inch hitch receiver for compatibility with tractors, ATVs, and UTVs.
2. Safety Information
WARNING: Failure to follow these safety instructions may result in serious injury or death.
- Always wear appropriate personal protective equipment (PPE) including safety glasses, gloves, and sturdy footwear when operating or maintaining the disc plow harrow.
- Ensure all fasteners are securely tightened before each use.
- Keep hands, feet, and clothing clear of moving parts, especially the rotating discs.
- Do not allow children or untrained individuals to operate the equipment.
- Operate the equipment at a safe speed, suitable for the terrain and soil conditions.
- Be aware of your surroundings and any bystanders.
- Never operate the equipment under the influence of alcohol or drugs.
- Disconnect the harrow from the towing vehicle before performing any maintenance or adjustments.
- Store the equipment in a safe, dry place, away from children.
3. Package Contents
Verify that all components are present and undamaged upon unpacking. If any parts are missing or damaged, contact customer support immediately.
- Disc Plow Harrow Assembly (main frame with discs)
- 2-inch Receiver Rod with 5 Height-Adjustable Holes
- 6 x 12-inch Diameter Disc Plows (pre-assembled on frame)
- Mounting Hardware (pins, bolts, nuts, washers)
- User Manual

Image: Key components of the disc plow harrow, highlighting durable steel construction, the 2x2 inch receiver, and thickened washings for secure assembly.
4. Setup and Assembly
The AUTOSAVER88 Disc Plow Harrow is designed for straightforward assembly. Follow these steps to prepare your equipment for use.
- Unpack Components: Carefully remove all parts from the packaging. Lay them out to ensure all items listed in the "Package Contents" section are present.
- Attach Receiver Rod: Connect the 2-inch receiver rod to the main frame of the disc plow harrow. Secure it using the provided pins and bolts. Ensure a snug fit.
- Adjust Height: The receiver rod features 5 height-adjustable holes. Select the appropriate hole position to achieve the desired working depth for your specific terrain and towing vehicle (tractor, ATV, UTV). This adjustment allows the discs to engage the soil effectively.
- Secure All Fasteners: Double-check that all bolts, nuts, and pins are securely tightened. Loose connections can lead to equipment damage or unsafe operation.
- Connect to Towing Vehicle: Insert the assembled disc plow harrow's 2-inch receiver rod into your towing vehicle's 2-inch hitch receiver. Secure it with a hitch pin and clip.

Image: The disc plow harrow's hitch receiver, illustrating the adjustable hole positions for varied working heights.
5. Operating Instructions
Proper operation ensures efficient soil preparation and extends the life of your disc plow harrow.
- Pre-Operation Check: Before each use, inspect the disc plow harrow for any loose parts, damage, or excessive wear. Ensure all discs rotate freely.
- Attach to Vehicle: Connect the harrow to your tractor, ATV, or UTV using the universal 2-inch hitch receiver. Ensure it is securely pinned.
- Adjust Working Height: Based on the soil type and desired depth, adjust the height of the disc plow harrow using the 5-hole receiver rod. A lower setting will result in deeper soil penetration. The adjustable height range is approximately 13.7 inches to 21.1 inches.
- Begin Tilling: Drive your towing vehicle at a slow, consistent speed. The 28-inch working width allows for efficient coverage of plots, pastures, and fields.
- Observe Soil Conditions: Monitor how the discs are engaging the soil. If the soil is too hard, you may need to make multiple passes or adjust the height. For optimal results, operate in moderately moist soil.
- Turning: When turning, lift the harrow slightly if possible, or make wide turns to prevent excessive stress on the equipment and uneven tilling.
- Post-Operation: After use, clean any accumulated soil or debris from the discs and frame.
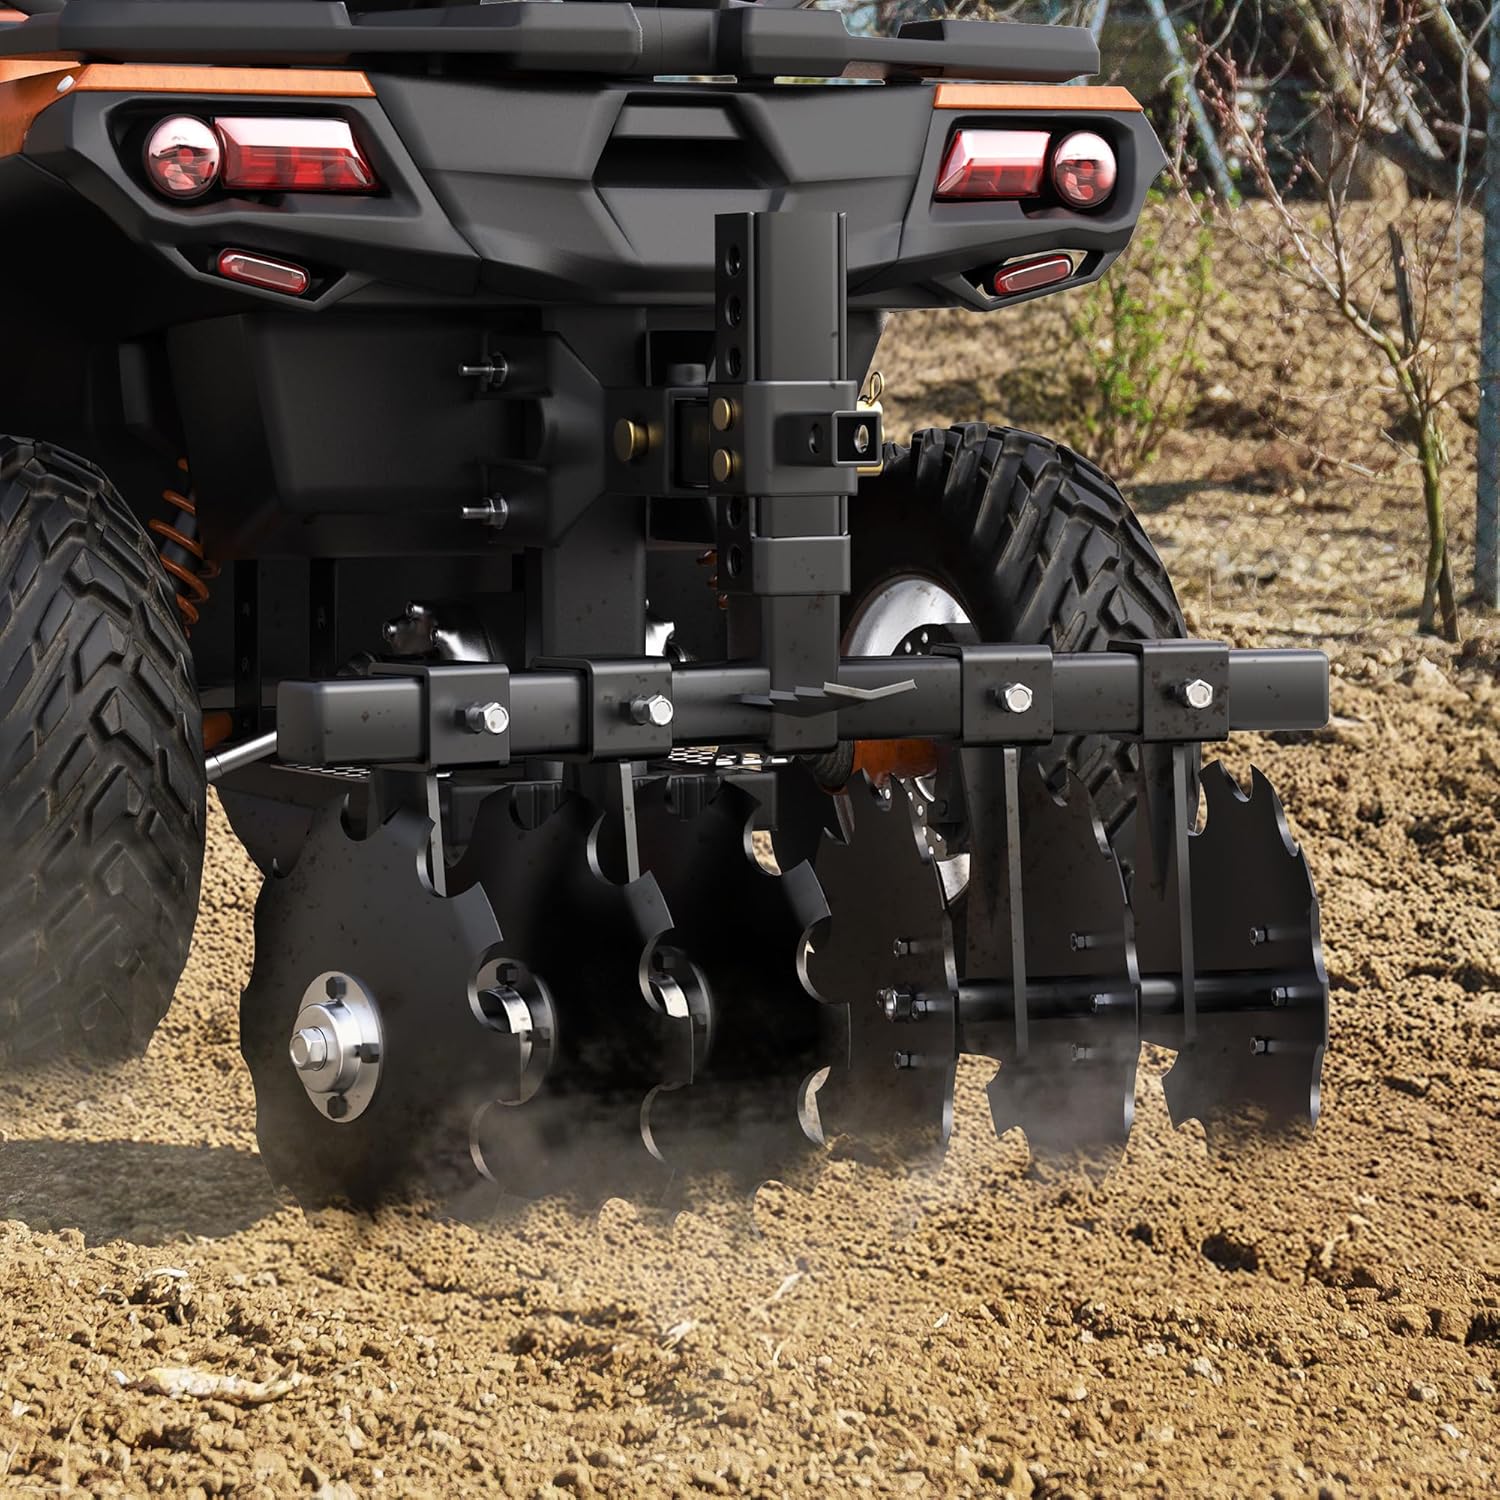
Image: The disc plow harrow in action, demonstrating its effectiveness in breaking up soil.
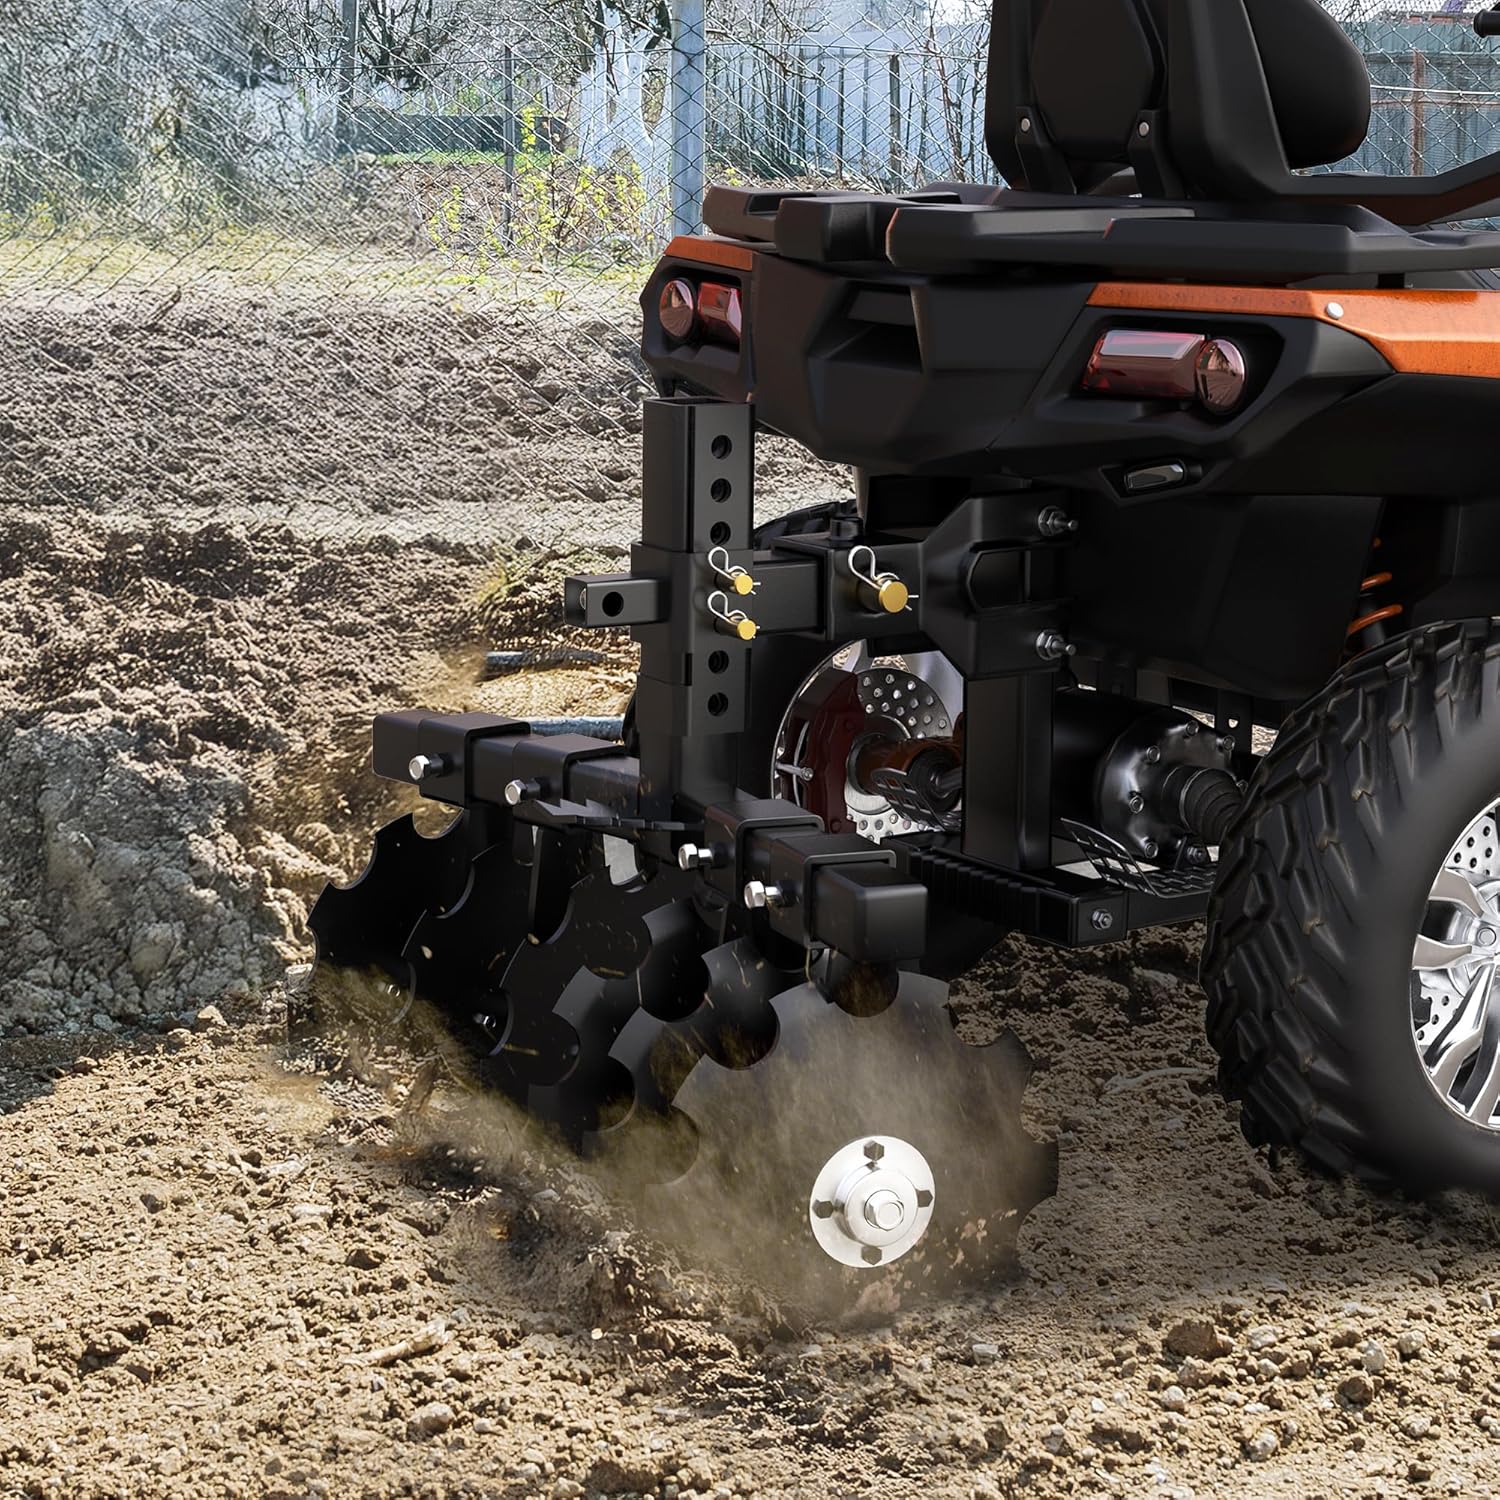
Image: The disc plow harrow connected to a vehicle, illustrating its use for soil preparation.
6. Maintenance
Regular maintenance ensures the longevity and optimal performance of your disc plow harrow.
- Cleaning: After each use, remove all soil, mud, and debris from the discs and frame. This prevents rust and ensures smooth operation.
- Inspection: Periodically inspect all bolts, nuts, and pins for tightness. Tighten any loose fasteners. Check the discs for wear, cracks, or damage.
- Lubrication: Apply grease to any moving parts or pivot points as recommended by general agricultural equipment practices, though specific points are not detailed for this model.
- Rust Prevention: The harrow's surface is powder-coated for anti-rust and corrosion resistance. However, for prolonged storage, especially in humid conditions, consider applying a rust-inhibiting spray to exposed metal surfaces.
- Storage: Store the disc plow harrow in a dry, covered area to protect it from weather elements.

Image: Illustration of the heavy-duty steel material used in the construction of the disc plow harrow, designed for durability.
7. Troubleshooting
This section addresses common issues you might encounter with your disc plow harrow.
| Problem | Possible Cause | Solution |
|---|---|---|
| Harrow not penetrating soil effectively. |
|
|
| Uneven tilling. |
|
|
| Excessive vibration or noise. |
|
|
8. Specifications
| Model Number | MAAUTWnQ8P |
| Product Dimensions | 20 x 25 x 28 inches (L x W x H) |
| Item Weight | 52 pounds |
| Working Width | 28 inches |
| Disc Diameter | 12 inches (6 discs total) |
| Adjustable Height Range | Approximately 13.7 - 21.1 inches |
| Hitch Type | Universal 2-inch Receiver |
| Material | 60 Mn2Si Steel, Powder Coated |
| Batteries Required | No |

Image: Product dimensions and adjustable height range of the disc plow harrow.
9. Warranty Information
The AUTOSAVER88 Disc Plow Harrow comes with a 1-year limited warranty from the date of purchase. This warranty covers defects in materials and workmanship under normal use. It does not cover damage resulting from misuse, abuse, accidents, unauthorized repairs, or normal wear and tear.
To make a warranty claim, please retain your proof of purchase and contact AUTOSAVER88 customer support.
10. Customer Support
If you have any questions, require assistance with assembly, operation, or troubleshooting, or need to make a warranty claim, please contact AUTOSAVER88 customer support.
For the most up-to-date contact information, please visit the official AUTOSAVER88 website or refer to your purchase documentation.
Online Resources: AUTOSAVER88 Store on Amazon