1. Introduction
This manual provides detailed instructions for the safe and effective use of your VTOMAN X3 Jump Starter with Air Compressor and VTOMAN V-Truck Pro Jump Starter. These devices are designed to provide reliable power for jump-starting vehicles and other emergency needs. Please read this manual thoroughly before operation and retain it for future reference.
VTOMAN X3 Jump Starter with Air Compressor
The VTOMAN X3 is an all-in-one portable device combining a 3500A peak current jump starter, a 160 PSI air compressor, an LED light, an SOS alarm, and a USB charging port. It is designed for jump-starting vehicles with up to 9L gas or 8.5L diesel engines and for inflating tires with precision.
VTOMAN V-Truck Pro Jump Starter
The VTOMAN V-Truck Pro is a heavy-duty portable jump starter delivering an 8000A peak current. It is compatible with all 12V vehicles, including trucks, RVs, tractors, boats, and other large-displacement diesel engines. It also features a 41600mAh power bank with 65W fast charging capabilities for various electronic devices.
2. Safety Information
Always observe the following safety precautions to prevent personal injury or damage to the device and vehicle.
- Read all instructions before use.
- Wear eye protection and protective clothing when working with batteries.
- Ensure the work area is well-ventilated. Do not smoke or allow sparks or flames near the battery or jump starter.
- Keep the device dry. Do not expose it to rain or wet conditions.
- Keep out of reach of children.
- Do not attempt to jump-start a frozen battery.
- Do not connect the positive and negative clamps together.
- Disconnect the jump starter from the vehicle battery within 30 seconds after the vehicle starts.
- Do not over-inflate tires. Always monitor pressure during inflation.
- Do not disassemble the unit. Refer servicing to qualified personnel.
3. Product Overview
VTOMAN X3 Components
- Jump Starter Port
- Air Hose Port
- USB Output Port
- LED Display Screen
- Control Buttons (+, -, M)
- LED Flashlight
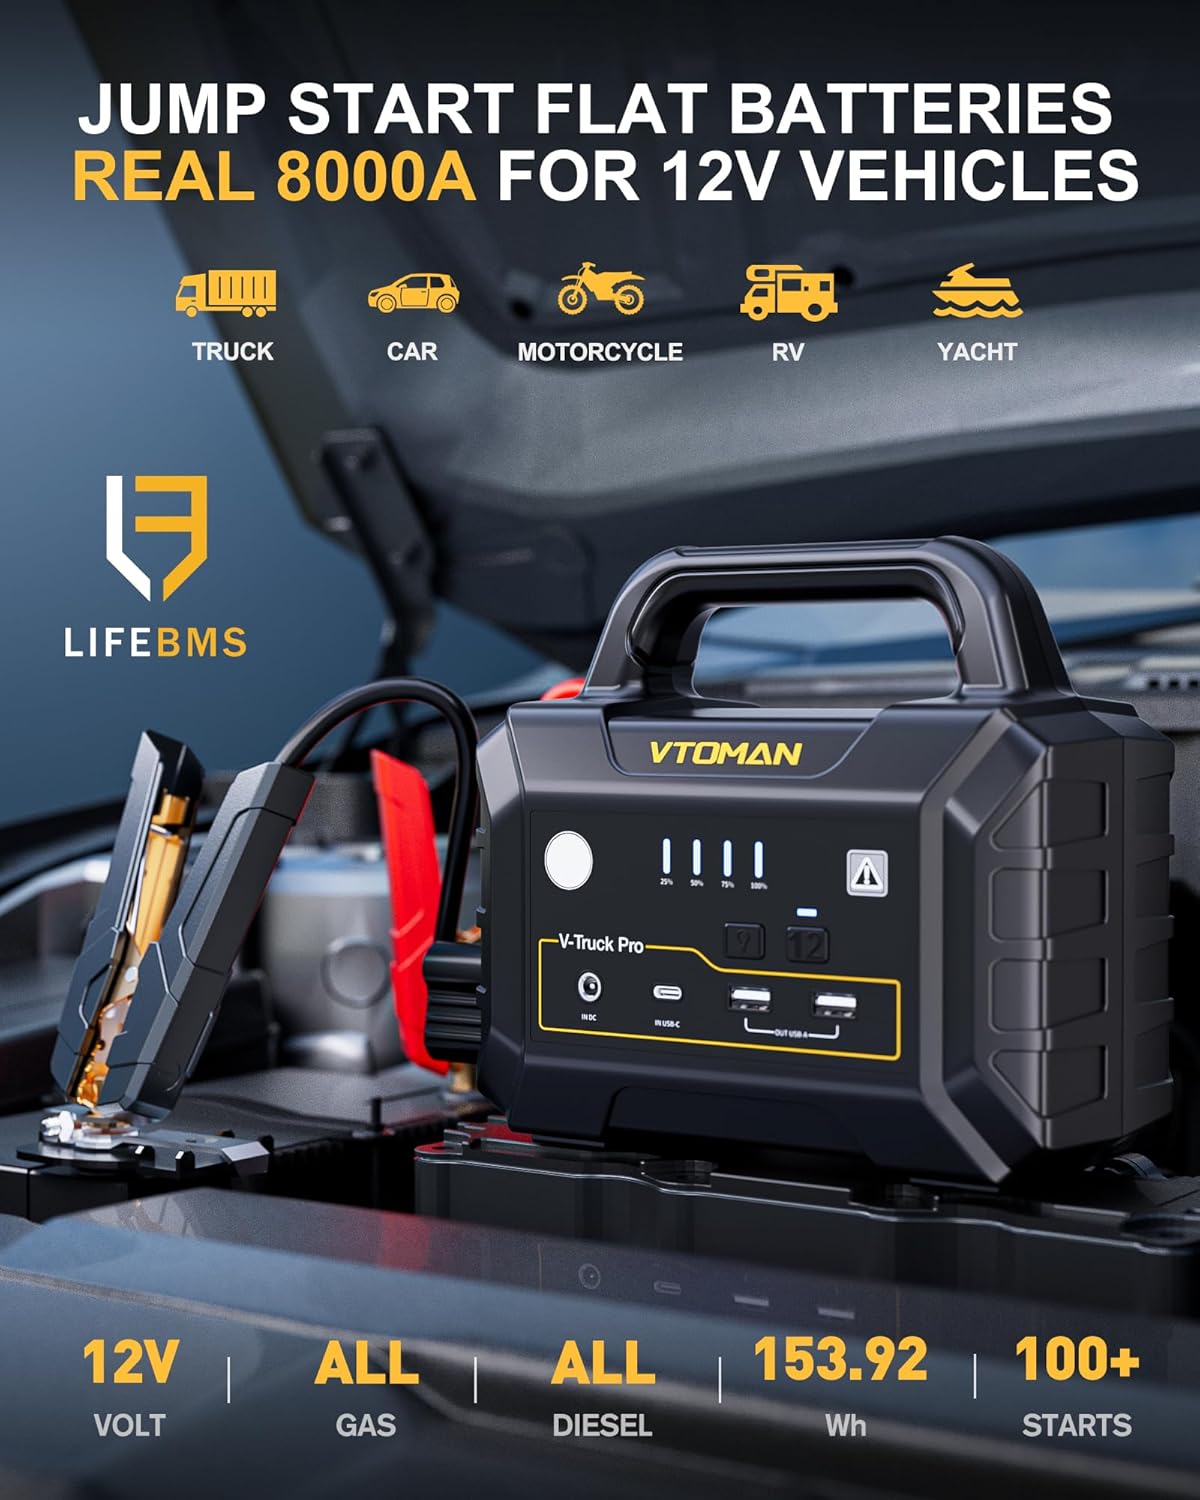
Image: The VTOMAN X3 unit displaying its LED screen with battery level, preset pressure, real-time pressure, tire pressure unit, and inflation mode indicators. Various buttons are visible for control.
VTOMAN V-Truck Pro Components
- Jump Starter Port
- DC Input Port
- USB-C Input/Output Port
- USB-A Output Ports (A1, A2)
- LED Battery Indicators
- Power Button
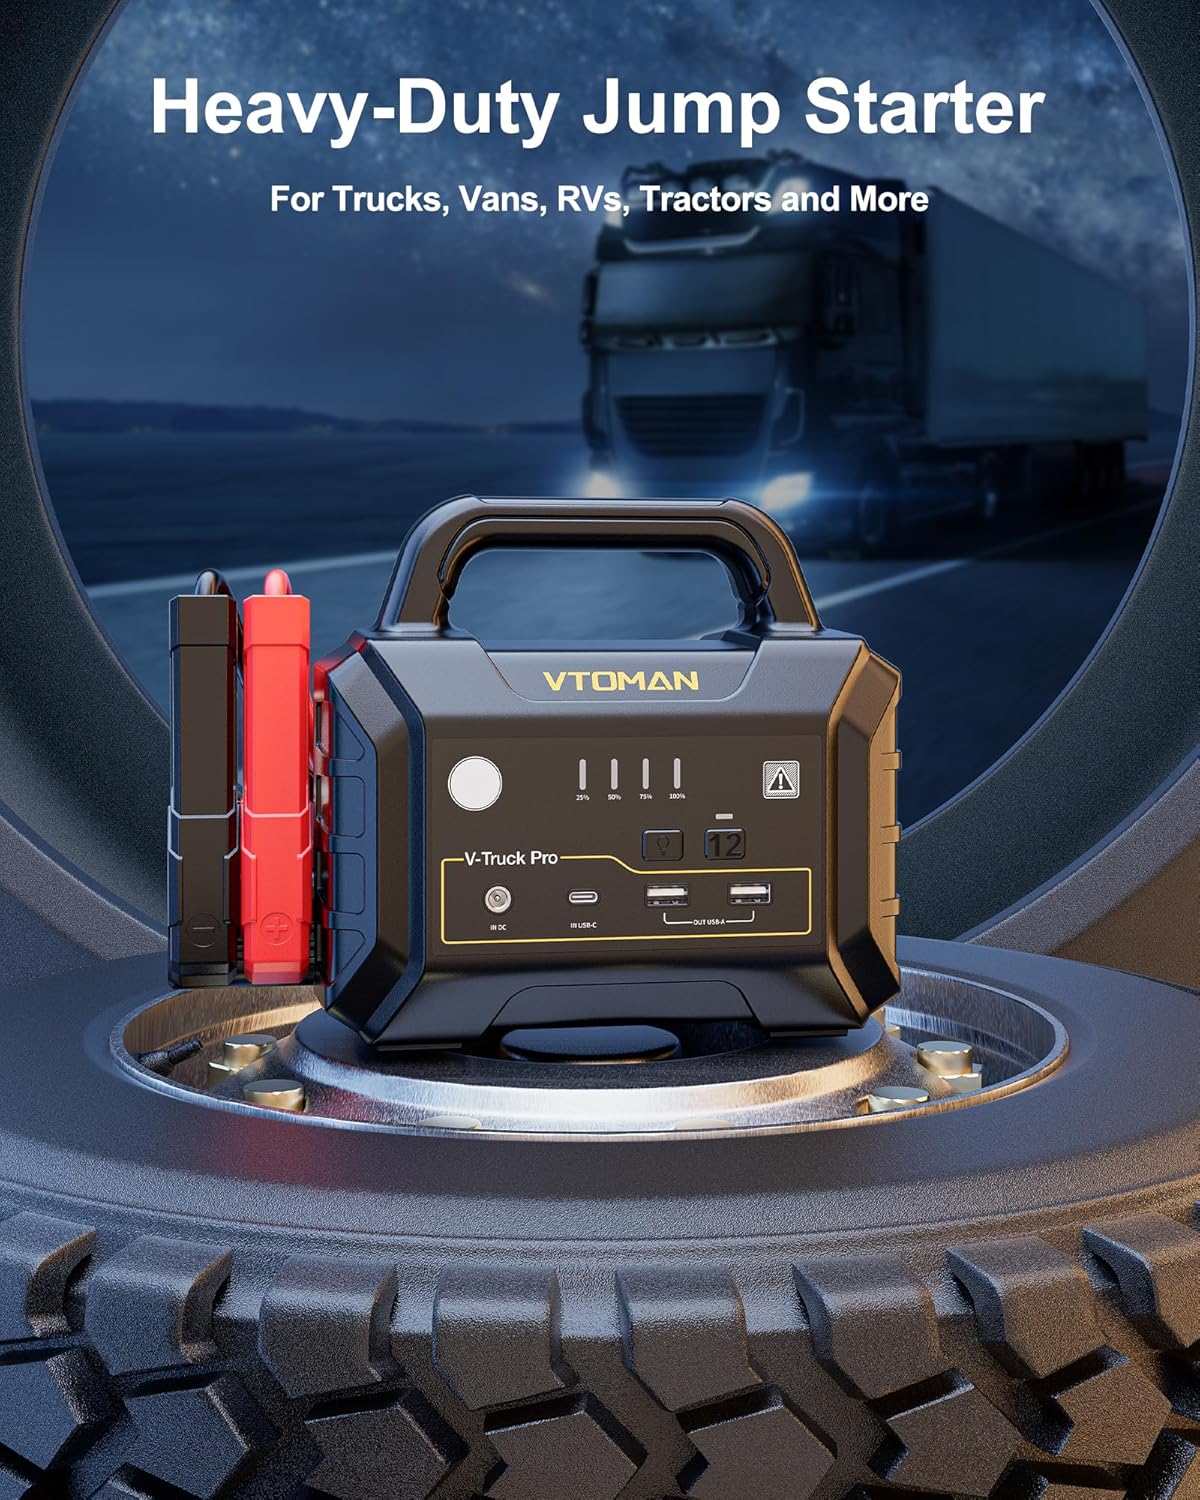
Image: The VTOMAN V-Truck Pro jump starter connected to a vehicle battery with its heavy-duty clamps. The unit's ports and LED indicators are visible.
4. Setup
Initial Charging
Before first use, fully charge your VTOMAN jump starter. It is recommended to fully charge the unit after each use and at least every 3-6 months to maintain battery health.
- VTOMAN V-Truck Pro: Connect the provided 65W charger to the DC input port. A full charge takes approximately 2.5 hours for the 41600mAh battery.
- VTOMAN X3: Connect a compatible USB-C charger to the USB-C input port. The LED screen will indicate charging status.

Image: The VTOMAN V-Truck Pro unit acting as a portable power bank, charging a smartphone, iPad, earphone, smart watch, camera, drone, and game console via its USB ports.
5. Operating Instructions
5.1. Jump Starting a Vehicle
Ensure your jump starter is sufficiently charged before attempting to jump-start a vehicle.
- Turn off the vehicle's ignition and all accessories (lights, radio, etc.).
- Connect the red (+) clamp of the jumper cables to the positive (+) terminal of the vehicle's dead battery.
- Connect the black (-) clamp of the jumper cables to the negative (-) terminal of the vehicle's dead battery, or to a solid, unpainted metal part of the vehicle's chassis away from the battery.
- Insert the jumper cable plug firmly into the jump starter's jump start port.
- Start the vehicle's engine. If it does not start immediately, wait 30 seconds before trying again. Do not crank for more than 3 seconds per attempt.
- Once the vehicle starts, immediately disconnect the jumper cable plug from the jump starter.
- Remove the black (-) clamp from the vehicle, then remove the red (+) clamp.
Engine Compatibility:
- VTOMAN X3: Up to 9L Gas / 8.5L Diesel Engines.
- VTOMAN V-Truck Pro: All Gas / All Diesel Engines (12V vehicles).

Image: The VTOMAN X3 jump starter connected to a car battery, demonstrating the jump-starting process. The unit's display shows operational status.
5.2. Using the Air Compressor (VTOMAN X3 Only)
The VTOMAN X3 features a 160 PSI air compressor with auto-shutoff.
- Screw the air hose onto the tire valve stem.
- Connect the other end of the air hose to the air hose port on the VTOMAN X3.
- Power on the X3 unit. The LED screen will display the current tire pressure.
- Press the 'M' button to cycle through preset modes (Car, Motorcycle, Bicycle, Ball, Custom) or to select desired pressure units (PSI, KPA, BAR).
- Use the '+' and '-' buttons to set the target pressure.
- Press the power button to start inflation. The compressor will automatically stop once the target pressure is reached.
- Disconnect the air hose from the tire valve and the X3 unit.

Image: The VTOMAN X3 unit connected to a car tire valve, actively inflating the tire. The digital display shows the pressure reading and inflation status.
5.3. Using as a Portable Power Bank
Both VTOMAN jump starters can charge electronic devices.
- Connect your device's USB charging cable to the appropriate USB-A or USB-C output port on the jump starter.
- The device will begin charging.
- VTOMAN V-Truck Pro: Features a 41600mAh capacity and 65W fast charging output, capable of charging a smartphone approximately 8-10 times.
5.4. Using the LED Light / SOS Function (VTOMAN X3 Only)
The VTOMAN X3 includes an integrated LED flashlight with SOS capabilities.
- Press and hold the dedicated light button (if available) or the power button (refer to specific model instructions) to turn on the LED light.
- Press again to cycle through different modes (e.g., steady on, strobe, SOS).
- Press and hold to turn off.
6. Maintenance
Proper maintenance ensures the longevity and optimal performance of your VTOMAN jump starter.
- Cleaning: Wipe the unit with a dry, soft cloth. Do not use harsh chemicals or abrasive cleaners.
- Storage: Store the jump starter in a cool, dry place away from direct sunlight and extreme temperatures.
- Recharging: Recharge the unit fully after each use. If not used frequently, recharge at least every 3-6 months to prevent deep discharge and prolong battery life.
- Cable Inspection: Regularly inspect jumper cables and air hoses for any signs of damage, wear, or corrosion. Replace if necessary.
7. Troubleshooting
If you encounter issues with your VTOMAN jump starter, refer to the following common problems and solutions.
| Problem | Possible Cause | Solution |
|---|---|---|
| Unit does not turn on or has low power. | Battery is depleted. | Recharge the jump starter fully. |
| Vehicle does not start after jump-starting. | Incorrect clamp connection; vehicle battery severely damaged; engine issues. | Ensure clamps are connected correctly (red to positive, black to negative/chassis). Check for error codes on X3 display. If battery is severely damaged, it may not accept a jump. Consult a mechanic for engine issues. |
| Air compressor (X3) does not inflate or stops prematurely. | Air hose not securely connected; target pressure reached; unit overheating. | Ensure air hose is tightly screwed onto tire valve and connected to the X3. Check the set target pressure. Allow the unit to cool down if it has been running for an extended period. |
| USB devices not charging. | Jump starter battery low; incorrect cable; device not compatible. | Recharge the jump starter. Use a known good USB cable. Ensure your device is compatible with the output voltage/current. |
8. Specifications
| Feature | VTOMAN X3 | VTOMAN V-Truck Pro |
|---|---|---|
| Peak Current | 3500A | 8000A |
| Engine Compatibility | Up to 9L Gas / 8.5L Diesel | All Gas / All Diesel (12V vehicles) |
| Air Compressor | 160 PSI with Auto-Shutoff | N/A |
| Battery Capacity | Not specified in provided data | 41600mAh |
| Charging Speed | Standard USB-C | 65W Fast Charging (2.5 hours for full charge) |
| Dimensions | Not specified in provided data | Approx. 10 x 6 x 7.5 inches |
| Weight | Not specified in provided data | Approx. 7 lbs |
| Additional Features | LED Light, SOS Alarm, USB Charging | LED Light, USB Charging |
9. Warranty and Support
For detailed warranty information, please refer to the official VTOMAN website or the warranty card included with your product packaging. For technical support, troubleshooting assistance, or replacement parts, please contact VTOMAN customer service through their official channels.