Introduction
Thank you for choosing the Joomer Solar Cherry Blossom String Lights. This manual provides essential information for the safe and efficient use of your new solar-powered lighting system. These lights are designed for outdoor decoration, featuring 50 LED cherry blossom-shaped lights with 8 different lighting modes and a memory function. They are waterproof and operate automatically from dusk till dawn.
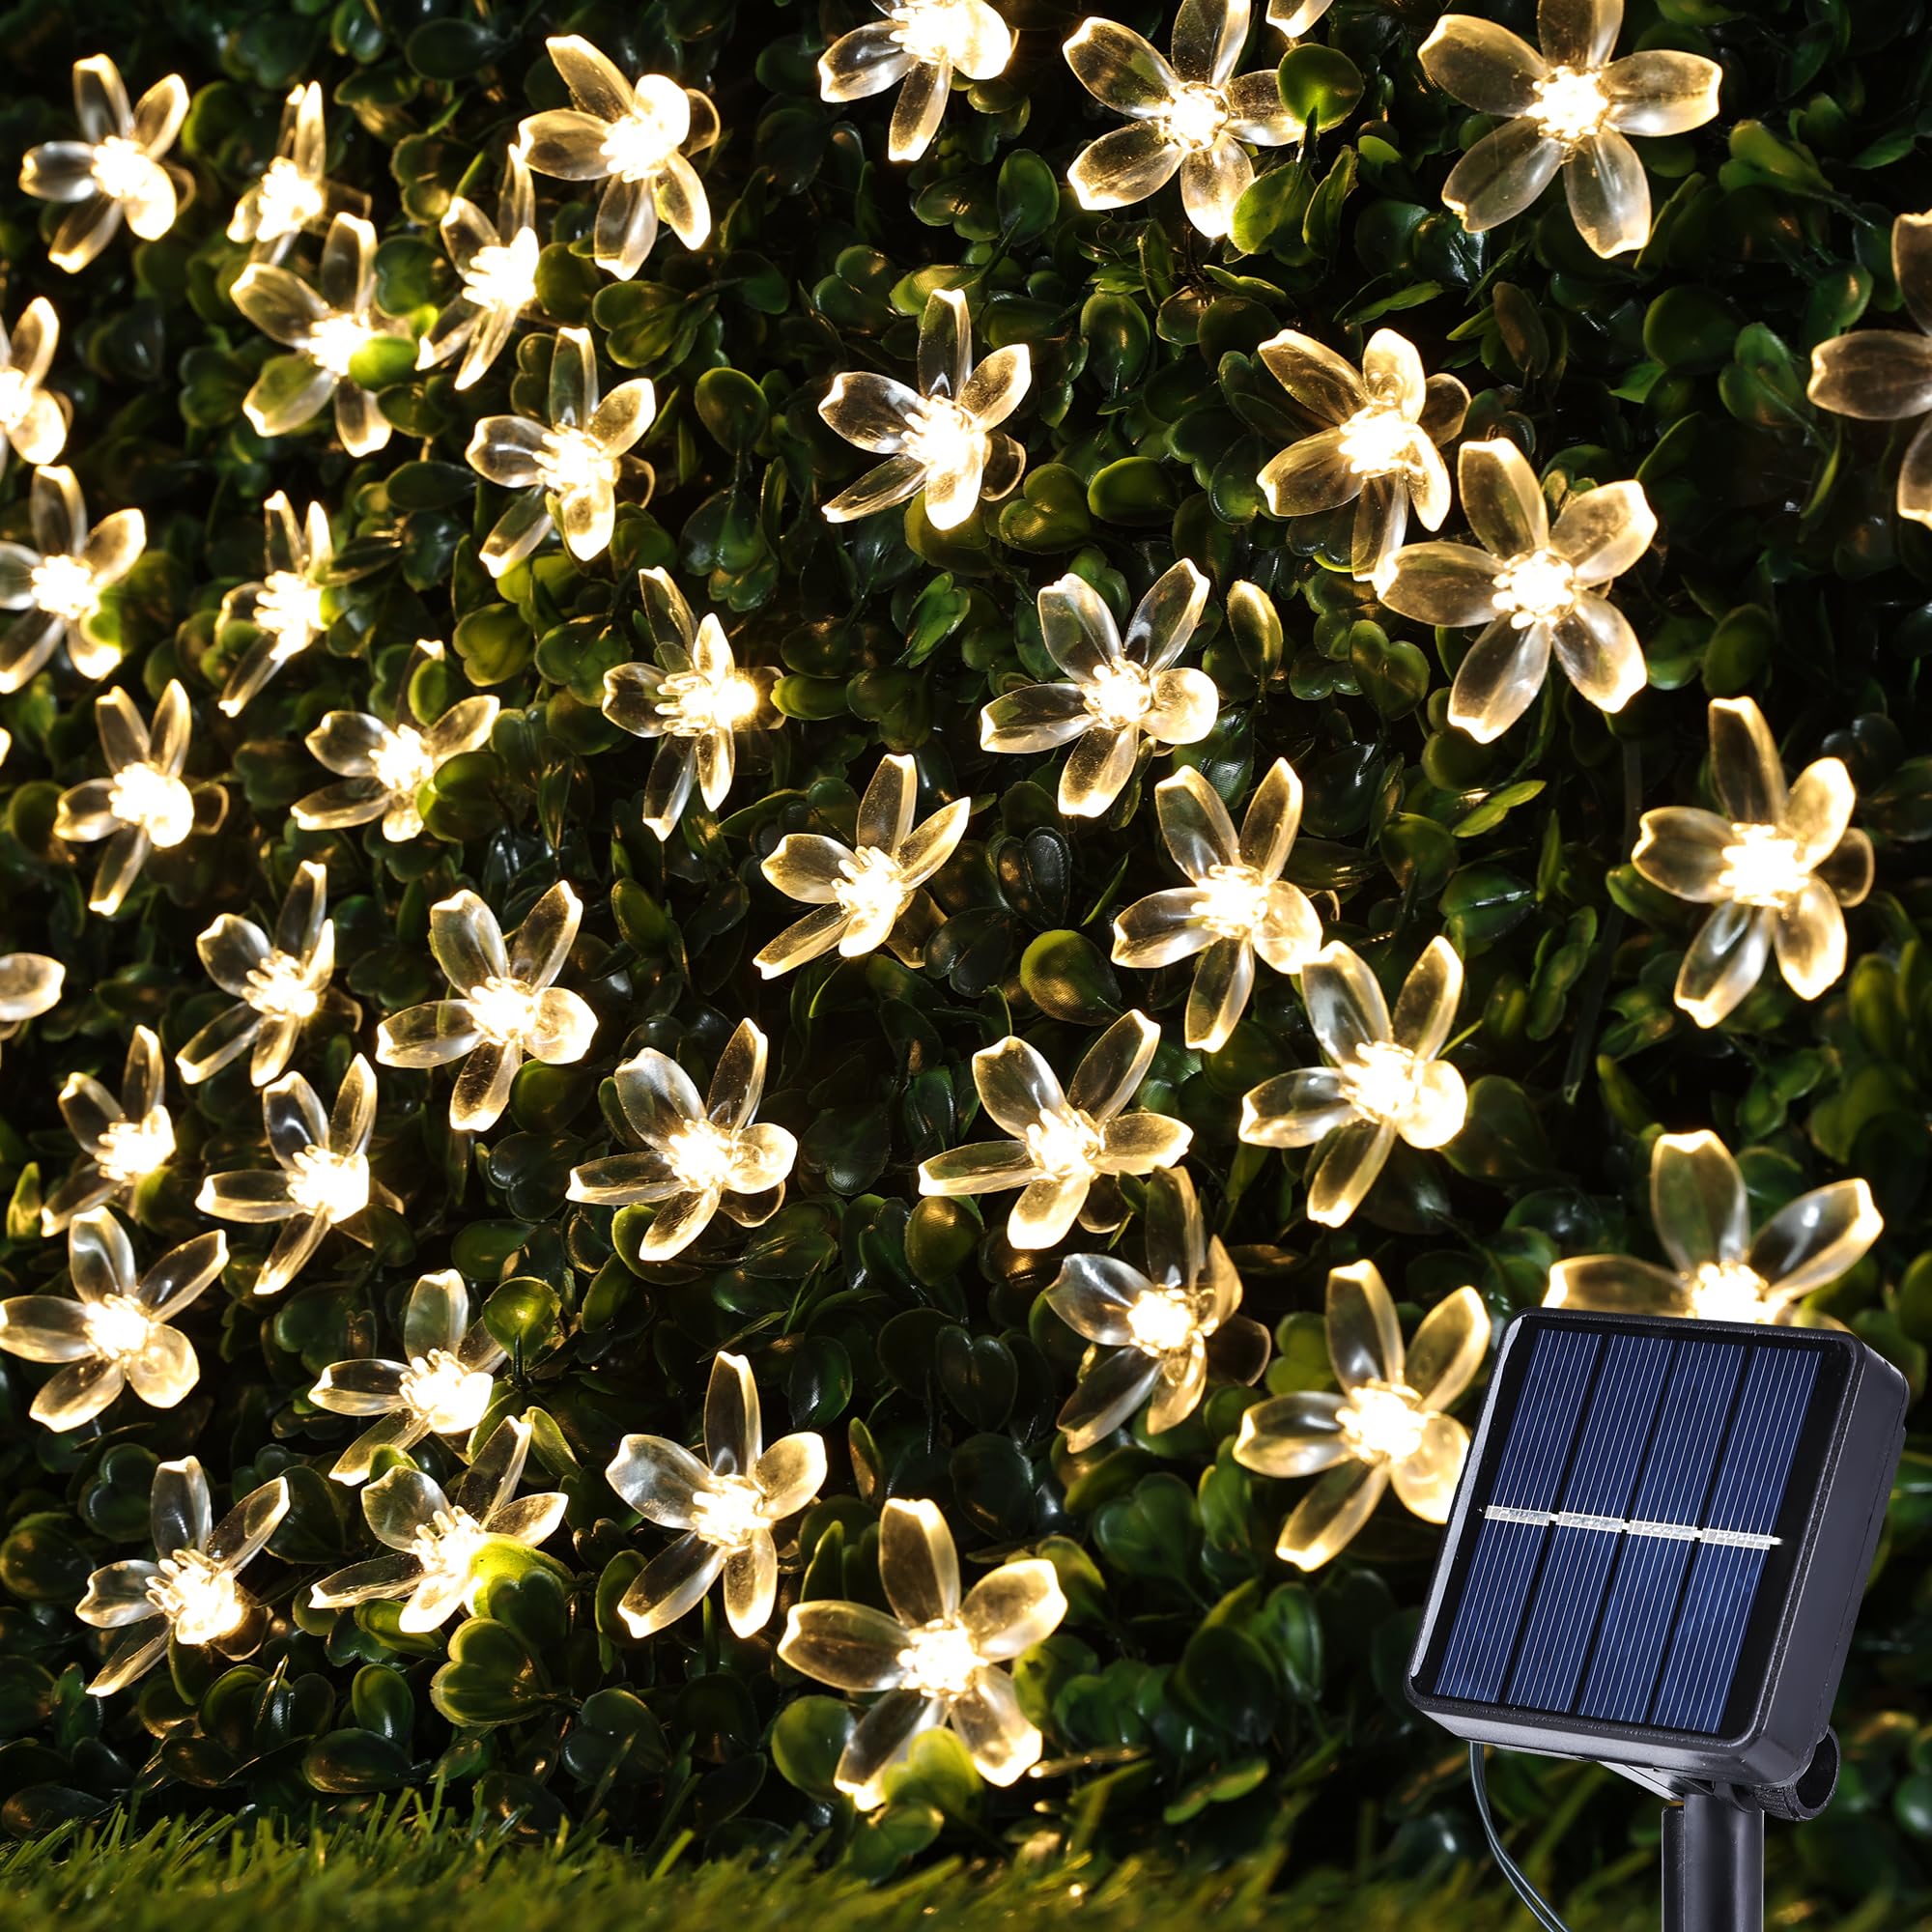
Figure 1: Illuminated Joomer Solar Cherry Blossom String Lights held in hands.
Safety Information
- Ensure the solar panel is installed in a location that receives direct sunlight for at least 6-8 hours daily for optimal charging.
- Do not immerse the solar panel or string lights in water for extended periods, despite their waterproof rating.
- Keep away from open flames or extreme heat sources.
- Do not attempt to modify or disassemble the product. This may void the warranty and pose safety risks.
- Store in a cool, dry place when not in use for prolonged periods.
Package Contents
Upon opening the package, please verify that all components are present and undamaged:
- 1 x Joomer Solar Cherry Blossom String Light (50 LED)
- 1 x Solar Panel with Ground Spike Assembly
- 1 x User's Manual
Product Features
- Solar Powered: No external power source or wiring required.
- Automatic On/Off: Integrated light sensor automatically turns lights on at dusk and off at dawn.
- 8 Lighting Modes: Multiple modes available to suit various decorative needs.
- Memory Function: Remembers the last selected lighting mode after power off.
- IP65 Waterproof: Designed to withstand various outdoor weather conditions, including rain and snow.
- Easy Installation: Simple setup with no complex wiring.
- Length: Approximately 22 feet (6.5 feet lead cable included).
- Bulb Spacing: 0.33 feet (0.1 meter).
Setup Instructions
- Unpack Components: Carefully remove all items from the packaging.
- Assemble Solar Panel: Attach the connecting rod and spike to the solar panel unit. Ensure they are securely fastened.
- Position Solar Panel: Choose an outdoor location where the solar panel can receive at least 6-8 hours of direct sunlight daily. Avoid shaded areas from trees, buildings, or other obstructions. The panel's angle can be adjusted for optimal sun exposure.
- Initial Charge: Before first use, ensure the solar panel is switched to the "ON" position (refer to Operating Instructions) and allow it to charge in direct sunlight for a full day (6-8 hours). This ensures the built-in battery is fully charged.
- Install String Lights: Unwind the string lights and arrange them in your desired location, such as around a garden, patio, fence, or tree.

Figure 2: Solar panel assembly and control buttons diagram.

Figure 3: Lights installed on a garden bush.
Operating Instructions
- Power On/Off: Locate the ON/OFF button on the back of the solar panel unit. Press this button to turn the lights on or off. For automatic operation, ensure the switch is in the "ON" position.
- Select Lighting Mode: Locate the "MODE" button on the back of the solar panel unit. Press this button repeatedly to cycle through the 8 different lighting modes. The built-in memory chip will save your last selected mode.
- Automatic Operation: Once the solar panel is charged and the power switch is in the "ON" position, the lights will automatically illuminate at dusk and turn off at dawn.
Maintenance
- Clean Solar Panel: Regularly wipe the solar panel with a soft, damp cloth to remove dust, dirt, or debris. A clean panel ensures maximum sunlight absorption and efficient charging.
- Inspect Wiring: Periodically check the wiring for any signs of damage or wear.
- Winter Storage: If storing the lights for an extended period, especially during winter months with less sunlight, ensure the battery is fully charged before storage. Store in a cool, dry place.
Troubleshooting
| Problem | Possible Cause | Solution |
|---|---|---|
| Lights do not turn on at night. | Solar panel not receiving enough sunlight. | Relocate the solar panel to an area with direct sunlight for 6-8 hours daily. Ensure no obstructions are blocking the panel. |
| Power switch is OFF. | Ensure the ON/OFF switch on the solar panel is in the "ON" position. | |
| Initial charge insufficient. | Allow the solar panel to charge for a full day in direct sunlight before first use. | |
| Lights are dim or only stay on for a short time. | Insufficient charging due to cloudy weather or dirty solar panel. | Clean the solar panel surface. Ensure it receives maximum direct sunlight. Performance may vary on cloudy days. |
| Battery capacity reduced over time. | Solar batteries have a finite lifespan. Consider replacing the internal rechargeable battery if performance significantly degrades after extended use (consult manufacturer for compatible battery types). |
Specifications
- Brand: Joomer
- Model Number: TH-S50-002
- Number of LEDs: 50
- Light Color: Warm White
- Total Length: Approximately 22 ft (6.7 m)
- Lead Cable Length: 6.5 ft (2 m)
- Bulb Spacing: 0.33 ft (0.1 m)
- Power Source: Solar Powered
- Special Features: Automatic On-Off, 8 Lighting Modes, Memory Function
- Waterproof Rating: IP65
- Material: Plastic
- Item Weight: 8.1 ounces (approx. 230g)
Warranty and Support
For warranty information or technical support, please refer to the product packaging or contact Joomer customer service directly through the retailer where the product was purchased. Please have your model number (TH-S50-002) and purchase date available when contacting support.