1. Introduction
Thank you for choosing the WKM 10x16 FT Greenhouse. This manual provides essential information for the safe and efficient assembly, operation, and maintenance of your new greenhouse. Please read all instructions carefully before beginning assembly and retain this manual for future reference.
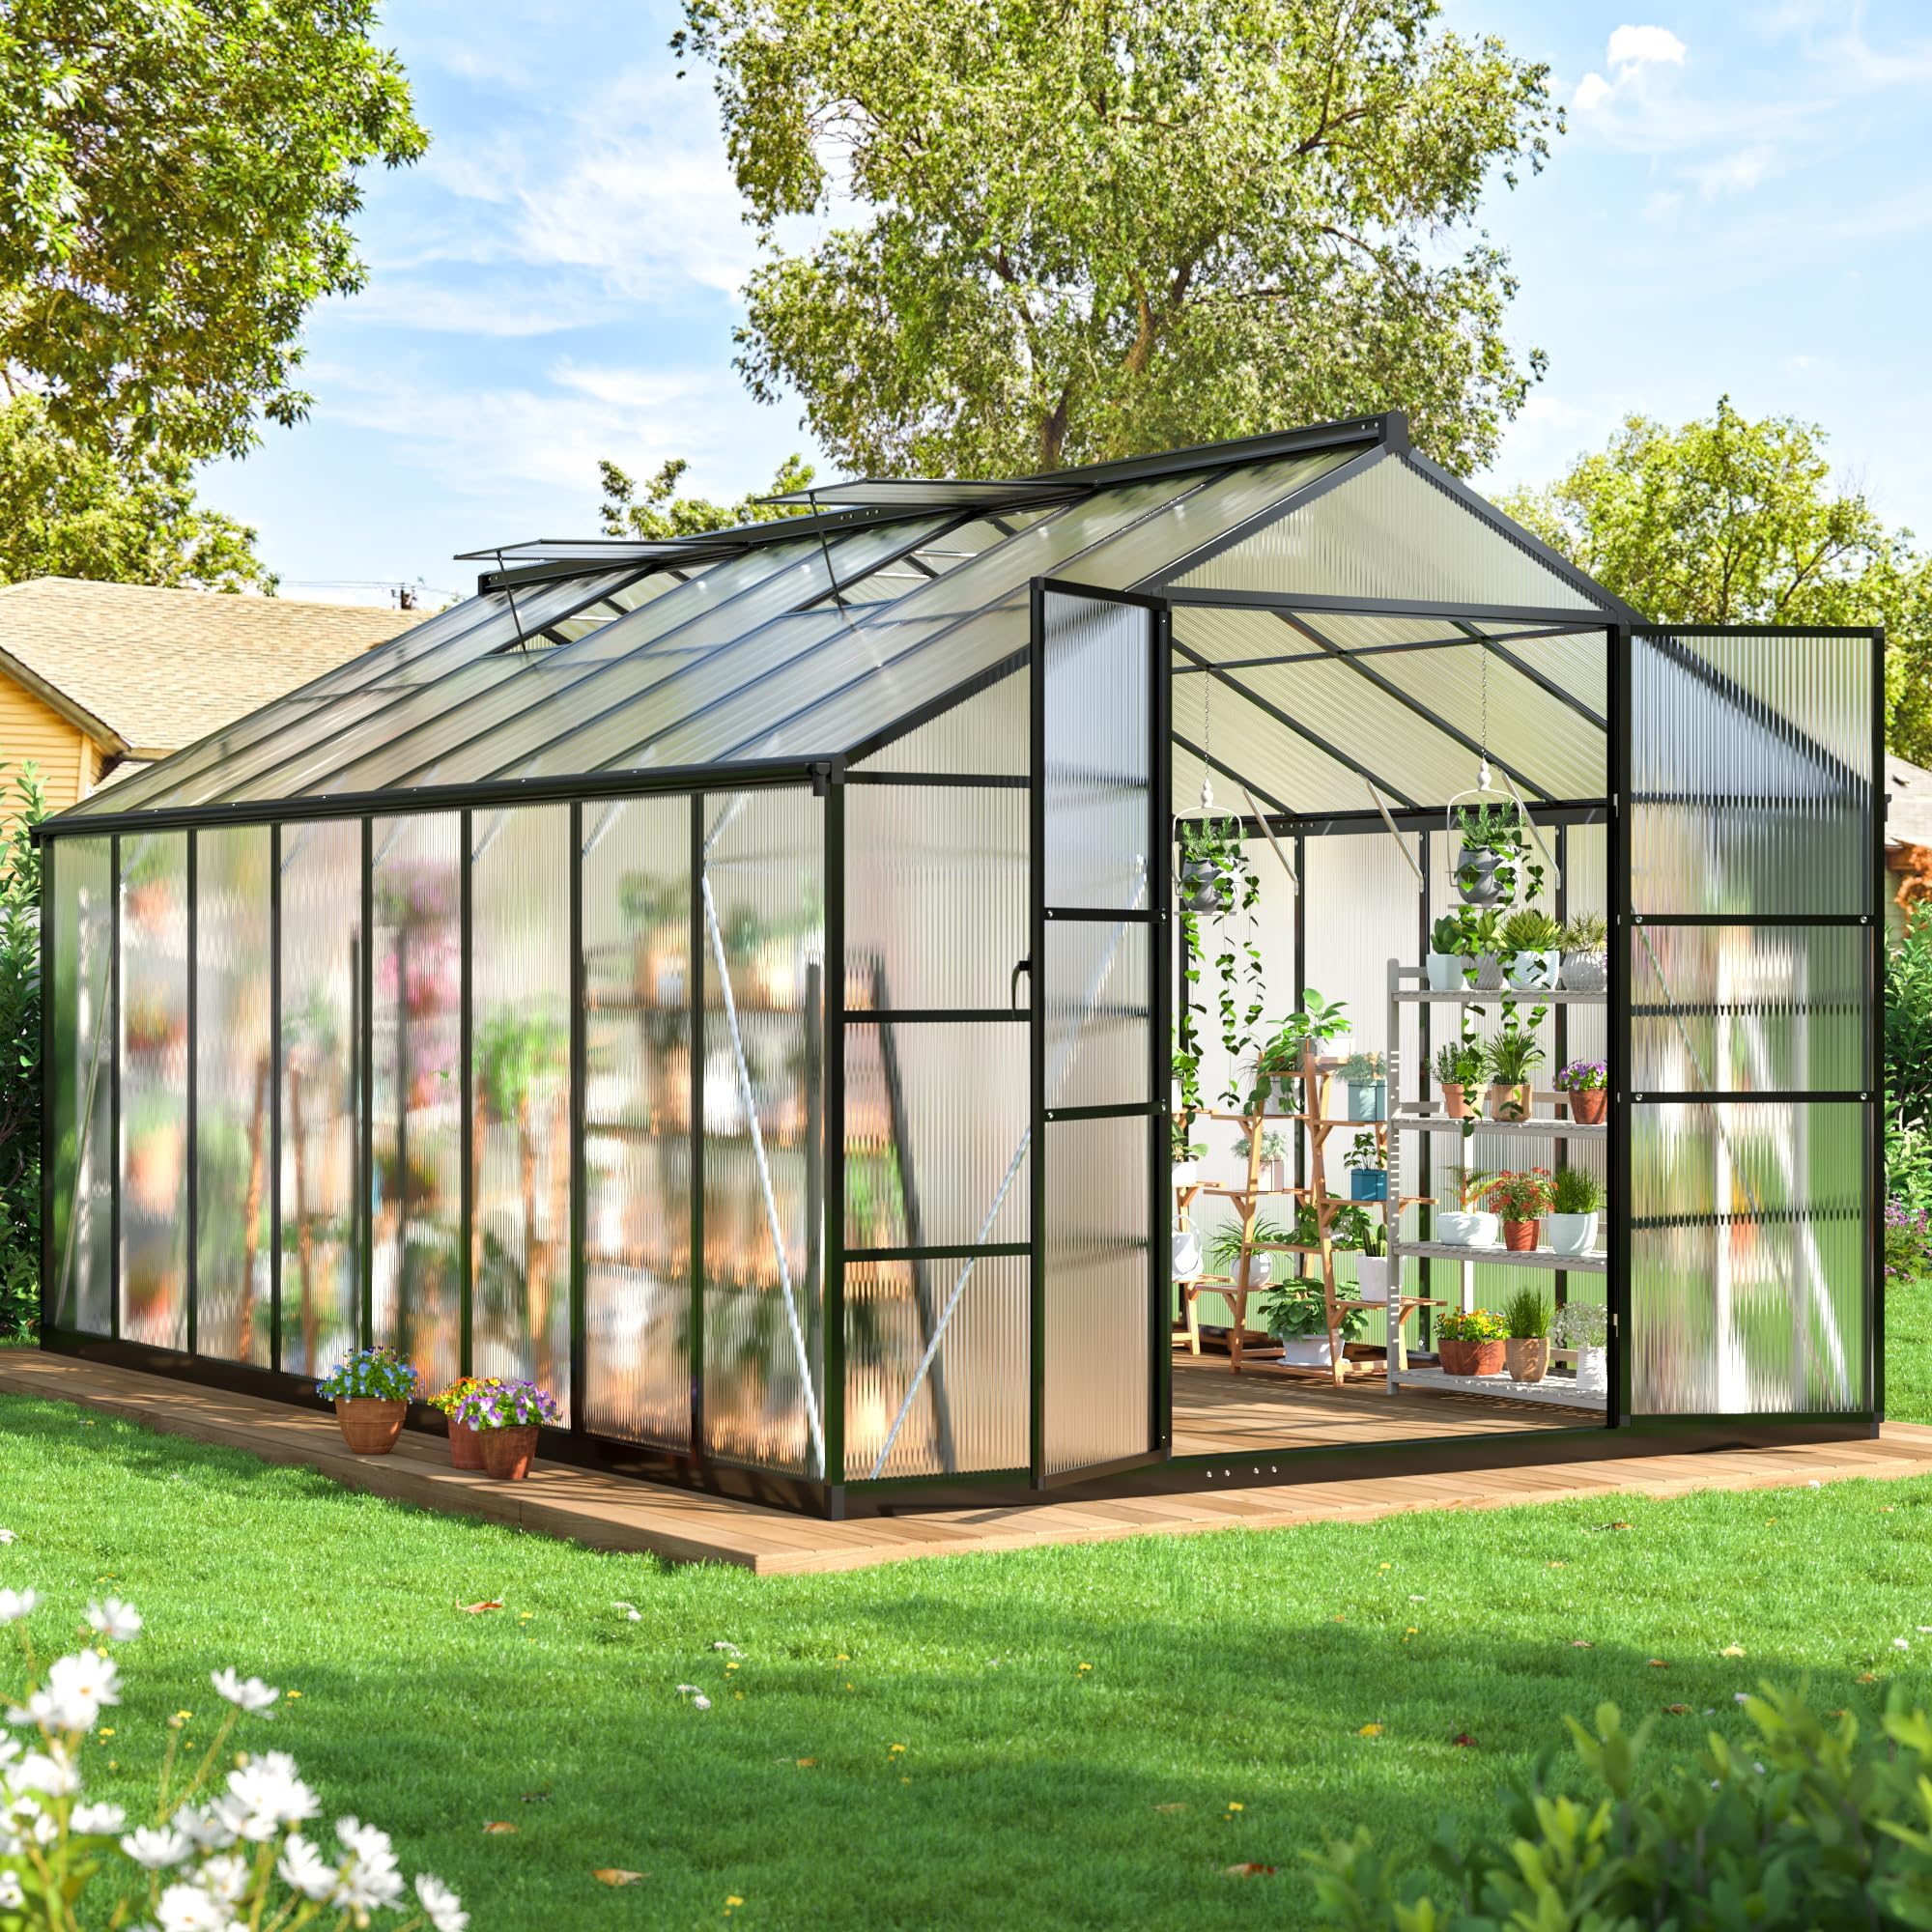
Image 1.1: Fully assembled WKM 10x16 FT Greenhouse.
2. Safety Guidelines
- Always wear appropriate safety gear, including gloves and eye protection, during assembly.
- Ensure the assembly area is clear of obstructions and children.
- Do not attempt to assemble the greenhouse in strong winds or adverse weather conditions.
- Securely anchor the greenhouse to the ground using appropriate methods (e.g., soil anchors, concrete footings) to prevent wind damage.
- Regularly inspect the structure for loose parts or damage, especially after severe weather.
- Keep all heating devices, if used, away from polycarbonate panels and ensure proper ventilation to prevent overheating.
3. Component Checklist
Before beginning assembly, unpack all components and verify against the parts list provided in your packaging. Ensure all parts are present and undamaged. If any parts are missing or damaged, contact customer service immediately.
Key components include:
- Aluminum frame profiles
- Polycarbonate panels
- Roof vent assembly
- Door assembly with handle and lock
- Fasteners and connectors
- Reinforced support rods
- Built-in gutter system components
4. Assembly Instructions
The WKM greenhouse features a streamlined slide-in panel assembly system designed for rapid installation. Follow the steps below carefully.
4.1 Site Preparation
Choose a level site for your greenhouse. For enhanced stability, consider anchoring the footings in soil or concrete. A solid, level foundation is crucial for the structural integrity of the greenhouse.
4.2 Frame Assembly
Assemble the aluminum frame according to the diagrams provided in your specific instruction booklet. Ensure all connections are secure. The reinforced sidewalls and base contribute to improved wind and snow resistance.

Image 4.1: Detail of the built-in gutter system and reinforced support rods.
4.3 Panel Installation
Insert the polycarbonate panels into the frame's channels. The slide-in system facilitates quick installation and ensures a tight seal. Ensure the anti-UV coated side of the panels faces outwards to block harmful rays while allowing beneficial sunlight.

Image 4.2: View of inserted PC panels and the adjustable roof vent mechanism.
4.4 Door and Roof Vent Installation
Install the door assembly, ensuring the metal handle and lockable mechanism function correctly. Attach the adjustable roof vent(s) as per the instructions. These vents are crucial for personalized airflow control.
5. Operating Instructions
5.1 Ventilation Control
Your greenhouse features upgraded, adjustable roof vents with 5 settings. Adjust the vent position to control internal temperature and humidity. Open vents on warm days to prevent overheating and close them during cooler periods or adverse weather.
5.2 Environmental Protection
The polycarbonate panels are coated with an anti-UV layer, protecting plants from harmful UV radiation while optimizing light transmission. The robust aluminum frame and panel design offer protection against wind, rain, and snow, ensuring a stable growing environment year-round.

Image 5.1: Greenhouse designed to withstand various weather conditions.
6. Maintenance
- Cleaning: Clean polycarbonate panels periodically with mild soap and water. Avoid abrasive cleaners or tools that could scratch the surface.
- Frame Inspection: Annually inspect the aluminum frame for any signs of corrosion or loose fasteners. Tighten as necessary.
- Panel Integrity: Check panels for cracks or damage, especially after strong winds or heavy snowfall. Replace damaged panels to maintain insulation and structural integrity.
- Gutter System: Ensure the built-in gutter system is clear of debris to allow for proper water drainage.
- Anchoring: Verify that the greenhouse remains securely anchored to its foundation, particularly before and after periods of high wind.
7. Troubleshooting
7.1 Instability/Wind Damage
If the greenhouse feels unstable or shows signs of wind damage, immediately check all anchoring points. Ensure the base is firmly secured to the ground or concrete. Verify that all frame connections are tight and panels are fully seated in their channels. Additional bracing may be required in areas prone to extreme weather.
7.2 Vague Assembly Instructions
If you encounter unclear steps during assembly, refer to the detailed diagrams in your instruction booklet. Pay close attention to the orientation of parts, especially where holes or specific fittings are critical for subsequent steps. If confusion persists, contact customer service for clarification.
7.3 Missing or Damaged Parts
Upon unboxing, if any parts are missing or appear damaged, do not proceed with assembly. Contact WKM customer service with your product model and a description of the issue for assistance with replacements.
8. Specifications
| Feature | Detail |
|---|---|
| Brand | WKM |
| Model | 10x16 FT Greenhouse |
| Product Dimensions (L x W x H) | 190.1"L x 120.1"W x 98"H |
| Cover Material | Polycarbonate (PC) with Anti-UV layer |
| Frame Material | Aluminum |
| Color | Black |
| Number of Doors | 1 |
| Number of Vents | 1 (Adjustable roof vent) |

Image 8.1: Detailed dimensions of the greenhouse.
9. Warranty and Customer Support
9.1 Warranty Information
WKM products are manufactured to high-quality standards. For specific warranty details regarding your 10x16 FT Greenhouse, please refer to the warranty card included with your product or contact WKM customer service.
9.2 Customer Support
WKM offers worry-free after-sales service. If you have any installation inquiries, require assistance with parts, or need expert gardening advice, our customer service team is available 24/7 to help. Please have your product model and purchase information ready when contacting support.
Contact information can be found on the WKM official website or your purchase documentation.