1. Product Overview
The Scatach 6000A 150PSI Jump Starter with Air Compressor is a versatile portable device designed for vehicle emergencies and general utility. It combines a powerful jump starter for various vehicle types, a high-pressure air compressor for tire inflation, a portable power bank for charging electronic devices, and an integrated LED light for illumination and signaling.

Image: The Scatach 6000A Jump Starter with Air Compressor shown alongside various vehicles it can support, including cars, trucks, motorcycles, and ATVs.
Key Features:
- Powerful Jump Starter: 6000A peak current, capable of starting 12V vehicles with up to 10.0L Gas or 8.0L Diesel engines.
- Integrated Air Compressor: 150PSI maximum pressure, inflates car tires quickly. Includes 3 nozzles and 4 selectable units (PSI, BAR, KPA, KG/cm²).
- Portable Power Bank: Charges electronic devices via USB-C.
- LED Light: Features flashlight, SOS signal, and strobe modes.
- Safety Protections: 10 layers of protection including short-circuit, reverse connection, low/high temperature, low voltage, and overload protection.
- LED Display: Real-time display for battery status, tire pressure, and operational modes.
2. What's in the Box
Before using your Scatach Jump Starter with Air Compressor, please ensure all components are present and in good condition.

Image: A visual representation of all items included in the product package, laid out neatly.
Package Contents:
- 1 x Scatach Jump Starter with Air Compressor
- 1 x Smart Jumper Cables
- 1 x USB-C Charging Cable
- 1 x Air Hose
- 3 x Air Nozzles (various types for different inflatables)
- 1 x User Manual (this document)
- 1 x Storage Bag
3. Setup and Initial Charging
Initial Charging:
It is recommended to fully charge the jump starter before its first use. Use the provided USB-C charging cable to connect the device to a suitable power source (e.g., wall adapter, car charger, or computer USB port). The LED display will indicate the charging status and battery level.
Connecting Jumper Cables:
The smart jumper cables are designed for safe and easy connection. Ensure the jump starter is turned off before connecting the cables.
- Locate the jumper cable port on the jump starter.
- Firmly insert the blue end of the smart jumper cables into the jump starter's port.
Connecting Air Hose:
For tire inflation, attach the air hose to the designated port on the device.
- Screw the air hose securely onto the air output port of the jump starter.
- Select the appropriate nozzle for your inflatable item and attach it to the other end of the air hose.
4. Operating Instructions
4.1 Jump Starting a Vehicle
Follow these steps carefully to safely jump start your vehicle. Ensure the jump starter has sufficient power before beginning.

Image: A visual guide showing the four steps for jump starting a vehicle: preparing the jump starter, connecting cables to the battery, starting the vehicle, and removing the jumper.
- Prepare the Jump Starter: Make sure the jump starter is adequately charged and the smart jumper cables are securely plugged into the jump starter's port.
- Connect to Vehicle Battery: Connect the RED clamp to the vehicle battery's positive (+) terminal. Connect the BLACK clamp to the vehicle battery's negative (-) terminal.
- Start Your Vehicle: Once the clamps are correctly connected, turn on the jump starter (if it doesn't activate automatically) and then start your vehicle's engine.
- Remove Jumper Cables: After the vehicle starts, immediately remove the jumper cables from the vehicle battery, first the black clamp, then the red clamp. Then disconnect the cables from the jump starter.
Important Safety Note:
- Do not touch the red and black clamps together.
- Do not attempt to jump start a frozen battery.
- If the vehicle does not start after 3 attempts, discontinue use and consult a mechanic.
Video: Demonstration of the Scatach Jump Starter with Air Compressor, highlighting its compact size and functionality for jump starting vehicles.
4.2 Using the Air Compressor
The integrated air compressor allows for quick and convenient inflation of tires and other inflatables.

Image: The Scatach Jump Starter with Air Compressor connected to a car tire, demonstrating its inflation capability.

Image: A detailed diagram illustrating the steps to operate the air pump function, including turning on, switching inflation function, selecting product type, setting pressure, and starting inflation.
- Turn On: Press the power button to turn on the device.
- Activate Inflation: Long press the power button to switch to the inflation function.
- Select Item Type: Press the mode button to cycle through different inflation types (car, bicycle, motorcycle, ball).
- Set Pressure Unit: Long press the mode button for 3 seconds to switch between PSI, BAR, KPA, and KG/cm².
- Adjust Target Pressure: Use the '+' and '-' buttons to set the desired target pressure.
- Start Inflation: Press the power button again to begin inflation. The device will automatically stop when the target pressure is reached.
4.3 Using as a Portable Power Bank
The device can charge your electronic gadgets on the go.
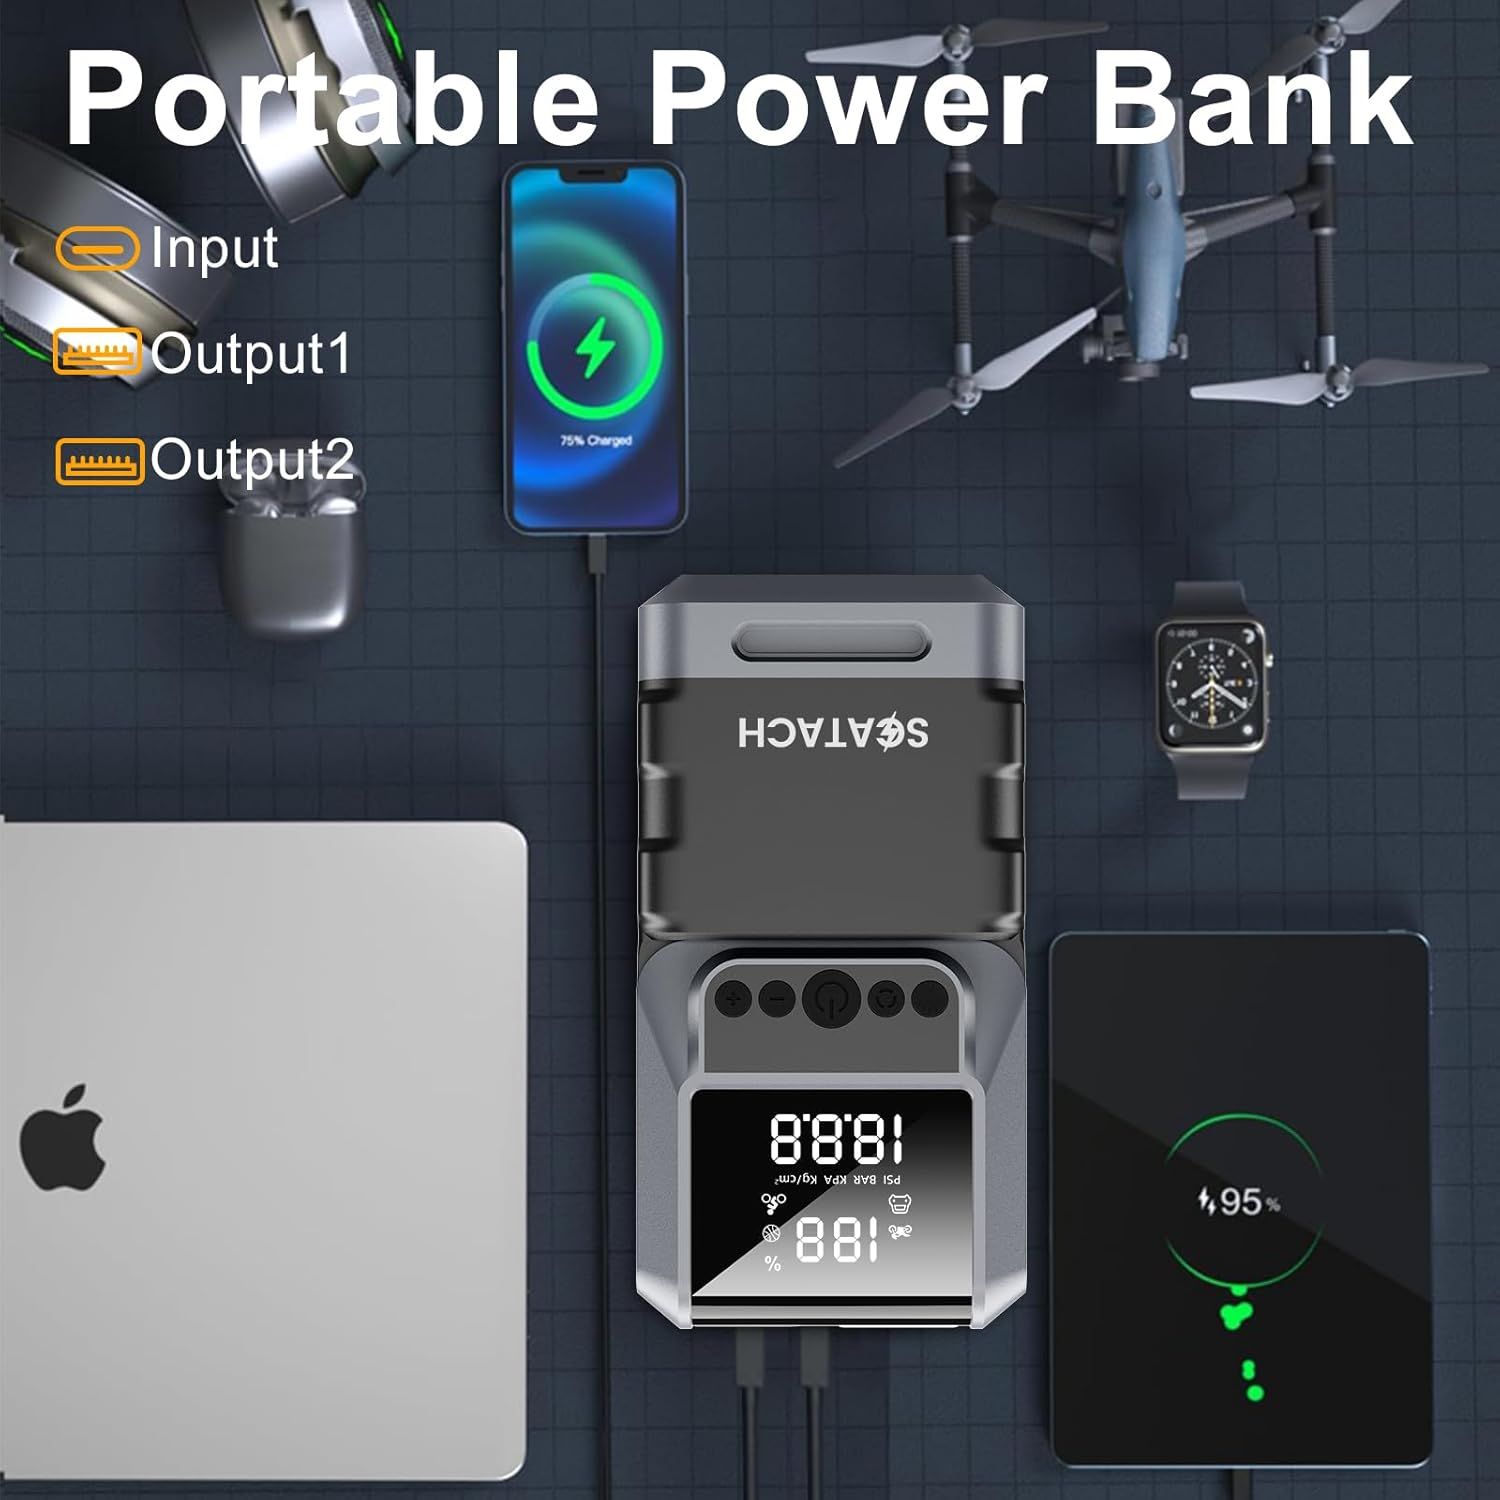
Image: The Scatach Jump Starter connected via USB to charge a smartphone and a tablet, demonstrating its power bank functionality.
- Connect your electronic device to the USB output port(s) on the jump starter using a compatible charging cable.
- The jump starter will automatically begin charging your device.
4.4 Using the LED Light
The built-in LED light provides illumination and emergency signaling.

Image: The Scatach Jump Starter with its powerful 400 Lumen LED light shining brightly, indicating its use as a flashlight.
- Press the dedicated light button to cycle through the different light modes: Flashlight, SOS signal, and Strobe.
- Press again to turn off the light.
5. Maintenance
Proper maintenance ensures the longevity and optimal performance of your Scatach Jump Starter with Air Compressor.
Charging:
- Recharge the device after each use, especially after jump starting a vehicle or using the air compressor extensively.
- If not used regularly, charge the device every 3-6 months to maintain battery health.
Cleaning and Storage:
- Wipe the device with a soft, dry cloth. Do not use harsh chemicals or abrasive cleaners.
- Store the device in its provided storage bag in a cool, dry place, away from direct sunlight and extreme temperatures.
- Keep out of reach of children.
6. Troubleshooting
If you encounter issues with your device, refer to the following common problems and solutions.
Device Not Turning On:
- Ensure the device is charged. Connect it to a power source and check the LED display.
- Press and hold the power button for a few seconds to ensure it's not just a short press.
Vehicle Not Starting:
- Verify that the jumper cables are correctly connected to the battery terminals (red to positive, black to negative).
- Check if the clamps have good contact with the battery terminals. Clean any corrosion if necessary.
- Ensure the jump starter has sufficient charge.
- If the vehicle still doesn't start after 3 attempts, there might be a larger issue with the vehicle's battery or engine. Consult a professional mechanic.
Air Compressor Not Inflating:
- Ensure the air hose is securely attached to both the device and the item being inflated.
- Check that the correct inflation mode and target pressure are set on the LED display.
- Verify the device has enough battery charge.
- Ensure the selected nozzle is appropriate for the item.
Error Codes/Safety Protections:
The device is equipped with 10 safety protections. If an error occurs, the LED display may show a warning or the device may shut down. Common protections include:

Image: A graphic detailing the 10 safety protections, including reverse polarity, short circuit, over charge, overload, reverse charge, reverse connection, low voltage, over temperature, over current, and low temperature protection.
- Reverse Polarity Protection: Ensures correct connection to battery terminals.
- Short-Circuit Protection: Prevents damage from accidental short circuits.
- Over-Charge/Over-Discharge Protection: Protects the internal battery.
- Over-Temperature Protection: Shuts down if the device overheats.
If a protection is triggered, disconnect the device, allow it to cool down if necessary, and re-evaluate the connections or operating conditions before attempting to use it again.
7. Specifications
| Feature | Specification |
|---|---|
| Brand | Scatach |
| Model Number | Q13B |
| Peak Amperage | 6000 Amps |
| Battery Capacity | 12000 Milliamp Hours |
| Battery Type | Lithium Polymer |
| Max Engine Size (Gas) | 10.0 Liters |
| Max Engine Size (Diesel) | 8.0 Liters |
| Air Compressor Pressure | 150 PSI |
| Product Dimensions (D x W x H) | 2" x 3" x 7" |
| Item Weight | 1.2 Kilograms |
| LED Light Output | 400 Lumens |
| Operating Temperature Range | -4°F to 140°F (-20°C to 60°C) |
8. Warranty and Support
Warranty Information:
The Scatach Jump Starter with Air Compressor (Model Q13B) comes with a 1-Year Manufacturer Warranty. This warranty covers defects in materials and workmanship under normal use.
Please retain your proof of purchase for warranty claims.
Technical Support:
For any questions, technical assistance, or warranty inquiries, please refer to the contact information provided with your purchase or visit the official Scatach website. Lifetime technical support is offered for this product.