1. Introduction
This manual provides detailed instructions for the installation, operation, and maintenance of your LASERTAIL 12.1 Inch Android 13 Head Unit for Ford Explorer models (2011-2019). Please read this manual thoroughly before installation and use to ensure proper function and safety.
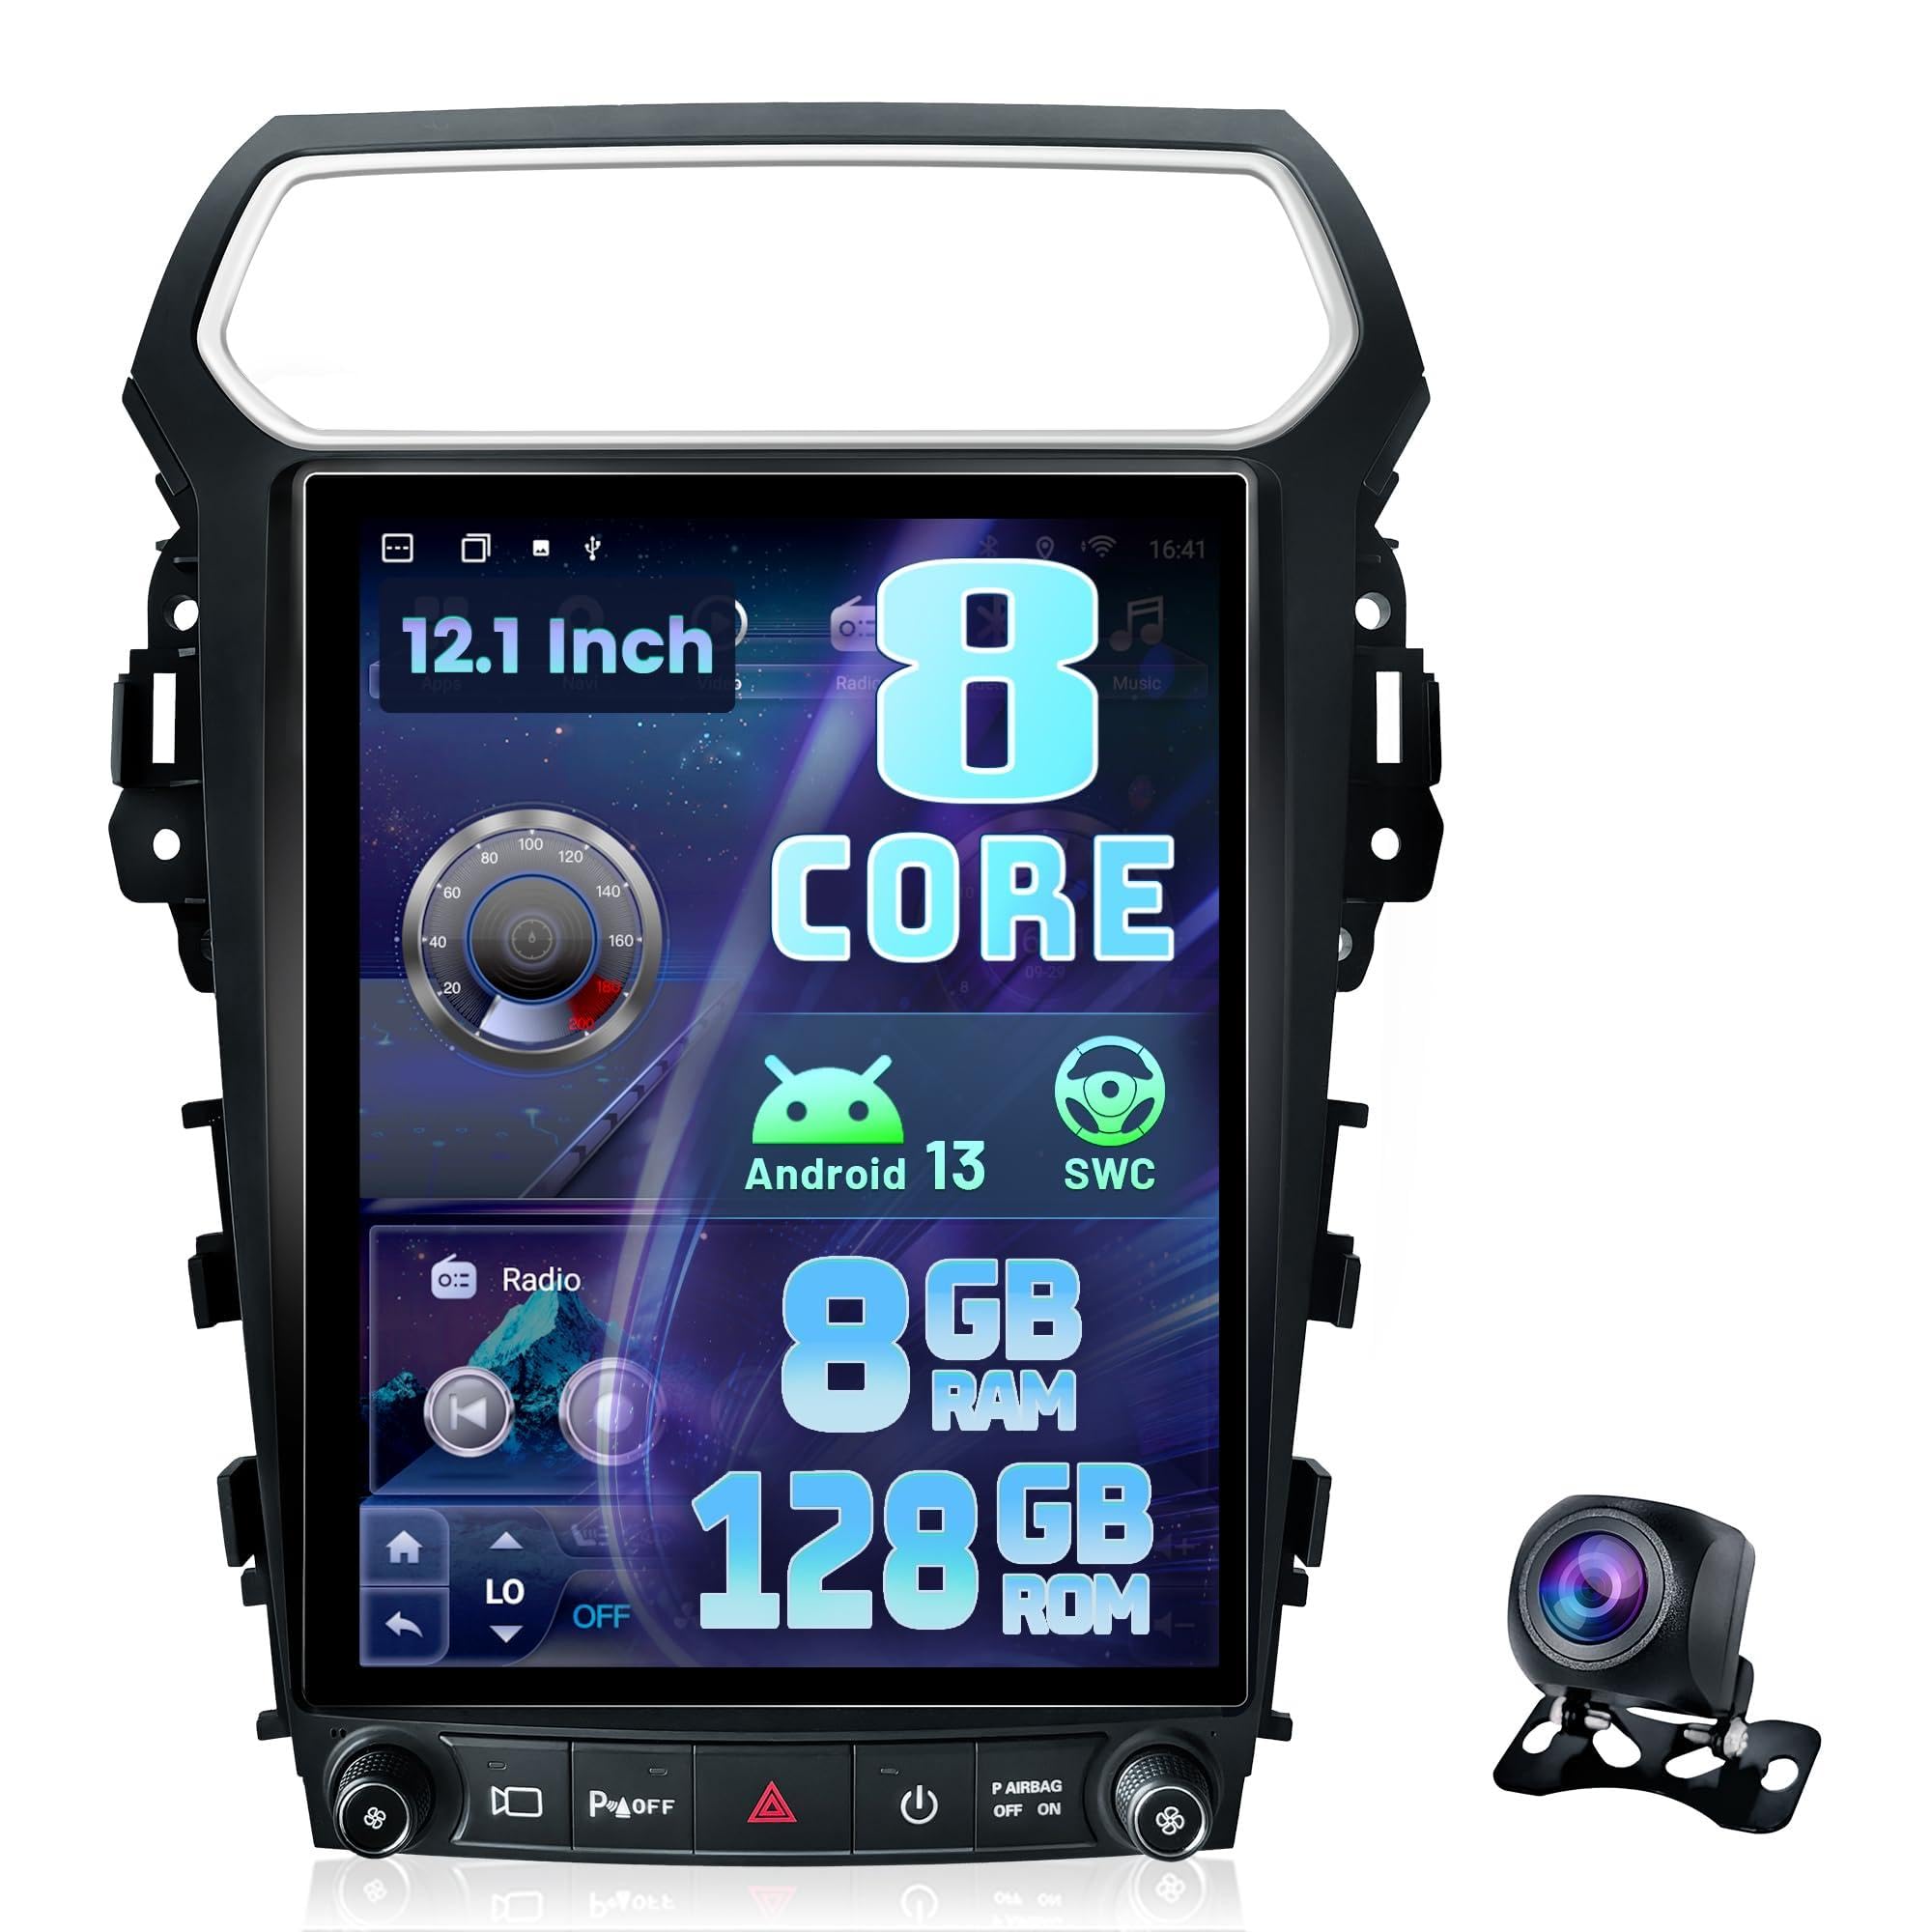
The LASERTAIL 12.1 Inch Android 13 Head Unit seamlessly integrates into the Ford Explorer dashboard.
2. Safety Information
- Ensure the vehicle's ignition is off and the battery is disconnected before beginning installation to prevent electrical shorts or damage.
- Professional installation is recommended. If you are unsure about any step, consult a qualified technician.
- Do not operate the device in a manner that distracts you from driving. Always prioritize road safety.
- Ensure all wiring is properly insulated and secured to prevent interference or damage.
3. Package Contents
Verify that all items are present in your package:
- Car radio (1 unit)
- Installation kit (1 set)
- 1080P backup camera (1 unit)
- Installation instruction (1 manual)
- Function instruction (1 manual)

All components included in the product package.
4. Setup and Installation
4.1 Pre-Installation Notes
- Some car models may require cutting two clips on the top of the product and using backup clips for installation.
- Ensure the vehicle's battery is healthy or connected to a charger during installation and setup.
4.2 Wiring Connections
Carefully connect all wiring harnesses as shown in the diagrams and videos. Ensure all connections are secure.

Connect the main wire harness to the radio unit.
Video: Wire harness connection for Ford Explorer radio.
4.2.1 Power Cable and CANBUS
Connect the main power cable and ensure the CANBUS box is properly connected. The CANBUS module is crucial for retaining factory functions.
4.2.2 USB Cables
Connect the provided USB cables to the corresponding ports on the head unit. These are used for data transfer and charging.
4.2.3 Radio Antenna
Connect the radio antenna to the ANT port on the head unit.
4.2.4 GPS Antenna
Connect the GPS antenna to the GPS port. Position the antenna in a location with a clear view of the sky for optimal signal reception.
4.2.5 Rear Camera Cable
Connect the rear camera cable to the designated input. If using the included 1080P backup camera, connect it as shown. If retaining the OEM camera, ensure the correct adapter is used.

Connect the backup camera.
4.2.6 Microphone Cable
Connect the external microphone cable for improved call quality and voice commands.
4.3 AC Settings Configuration
Correct AC settings are crucial for proper climate control functionality. After installation, navigate to the Car Settings menu on the head unit:
- Go to "Car Setting" --- "Air conditioning type setting status".
- For automatic AC, select "OEM Automatic air conditioning type 1 or 2".
- For manual AC, select "OEM Manual air conditioning type 1 or 2".
- Connect to the internet and complete agreement selection: 05: Simple Soft - 41:Ford - 1e:Other Ford RP3 models - Public - OK. Do not select other options, otherwise the AC control will not work.
Video: Air conditioning settings configuration.
4.4 Steering Wheel Control Setup
The unit supports original steering wheel controls. Access the Steering Wheel Control settings in the system menu to map functions like volume, track skip, and call answer/reject.

Steering wheel control interface.
5. Operating Instructions
5.1 Wireless CarPlay and Android Auto
The head unit supports wireless CarPlay and Android Auto. Connect your smartphone via Bluetooth or Wi-Fi to access navigation, music, messages, and calls directly on the screen.
Video: Connect Wireless CarPlay.

Wireless CarPlay and Android Auto interface.
5.2 GPS Navigation
Utilize the built-in GPS module for online or offline map navigation. Download your preferred navigation apps from the Google Play Store.

GPS Navigation interface.
5.3 Bluetooth 5.0
Connect your phone via Bluetooth 5.0 for stable hands-free calls and audio streaming. Access your phone book directly from the head unit.
5.4 5Ghz Wi-Fi Connectivity
Connect to 5Ghz Wi-Fi for high-speed internet access, allowing you to download apps, stream content, and browse online.
5.5 AM/FM/RDS Radio
Enjoy your favorite radio stations with the built-in AM/FM/RDS tuner. The RDS function provides station information and traffic updates.
5.6 DSP with 48 EQ
Customize your audio experience with the Digital Sound Processor (DSP) featuring 48 EQ bands, 8 sound effects, and bass boost. Adjust sound fields for optimal listening.
5.7 Split Screen Functionality
Multitask efficiently with the split-screen feature, allowing you to run two applications side-by-side, such as navigation and music playback.
5.8 Mirror Link
Synchronize your smartphone screen with the head unit for easy viewing and control of your phone's content.
5.9 1080P Backup Camera
The included HD waterproof 1080P backup camera provides clear reversing images with night vision and a 170° wide-angle view, enhancing parking safety.

1080P Backup Camera view.
5.10 Cooling Fan
The integrated cooling fan helps maintain optimal operating temperature for the car radio, prolonging its service life. It can be set to start based on CPU temperature or volume.

Cooling Fan settings interface.
6. Troubleshooting
If you encounter any issues, refer to the following common problems and solutions:
- AC/Heater Control Not Working: Ensure you have connected to the internet and completed the agreement selection: 05: Simple Soft - 41:Ford - 1e:Other Ford RP3 models - Public - OK. Also, verify the correct AC type is selected in "Car Setting" --- "Air conditioning type setting status" (OEM Automatic type 1 or 2 for auto AC; OEM Manual type 1 or 2 for manual AC).
- Steering Wheel Control Does Not Work: Check if the serial port cable (8-pin) is correctly inserted. If a CANBUS box is on the power cable, there is no need to learn the SWC; otherwise, check "Canbus agreement" settings.
- No Sound: Make sure the amplifier control wire is connected. Check that the "select canbus agreement" setting is correct. Verify audio wiring for disconnections or poor contact.
- Abnormal or Distorted Reverse Camera Display: Go to Setting > Reverse > Reversing system selection and select "NTSC".
- Unit Cannot Turn On: Please refer to the installation instructions and contact technical support if the issue persists.

Troubleshooting guide for common issues.
7. Specifications
| Feature | Specification |
|---|---|
| Brand | LASERTAIL |
| Vehicle Service Type | SUV |
| Screen Size | 12.1 Inches |
| Operating System | Android 13 |
| Processor | UIS7862 Octa-Core |
| RAM | 8GB DDR4 |
| ROM | 128GB |
| Display Type | LCD, Capacitive Touchscreen |
| Connectivity Technology | Bluetooth 5.0, USB, 5Ghz Wi-Fi |
| Audio Output Mode | Stereo with DSP 48 EQ |
| Supported Navigation System | GPS (North America maps) |
| Included Components | Car radio, Installation kit, 1080P backup camera, Installation instruction, Function instruction |
8. Warranty and Support
Your LASERTAIL head unit comes with a 1-Year Warranty.
For any problems during installation or use, please send a detailed description of the issue to our technical support team. Providing your order ID, car model, and details of the problem will help us assist you efficiently.
The manufacturer is LASERTAIL.