1. Introduction
This manual provides essential information for the proper installation, operation, maintenance, and troubleshooting of your replacement drive belt for Craftsman snowblowers. This drive belt (model foxwpart#1225.04894) is designed as a compatible replacement for Craftsman Snowblower Models 536.886621, 536.886623, and 536.886650. Please read these instructions carefully before proceeding with installation or maintenance to ensure safe and effective use.
It is important to compare the physical appearance and dimensions of this replacement belt with your original belt to confirm compatibility, in addition to verifying the model numbers.
2. Safety Information
Always prioritize safety when working with machinery. Failure to follow safety precautions can result in serious injury or damage to equipment.
- Disconnect Power: Before performing any maintenance or installation, ensure the snowblower's engine is off and the spark plug wire is disconnected to prevent accidental starting.
- Wear Protective Gear: Use appropriate personal protective equipment, including gloves and eye protection.
- Read Snowblower Manual: Refer to your snowblower's original owner's manual for specific safety instructions and procedures related to belt replacement.
- Secure Equipment: Ensure the snowblower is stable and cannot move during the installation process.
- Proper Tools: Use the correct tools for the job to avoid damage to fasteners or components.
3. Setup and Installation
Replacing a drive belt typically involves accessing the belt housing and carefully removing the old belt before installing the new one. The exact steps may vary slightly depending on your specific snowblower model. Always consult your snowblower's service manual for detailed, model-specific instructions.
General Installation Steps:
- Prepare Snowblower: Ensure the snowblower is on a flat, stable surface. Disconnect the spark plug wire.
- Access Belt Housing: Locate and remove any covers, shields, or bolts that secure the belt housing. This often involves removing the bottom plate or side panels.
- Relieve Tension: Identify the tensioning mechanism (e.g., idler pulley, spring) and relieve tension on the old belt.
- Remove Old Belt: Carefully remove the old drive belt from the pulleys. Note its routing path for reference.
- Inspect Pulleys: Check pulleys for wear, damage, or debris. Clean them if necessary.
- Install New Belt: Route the new drive belt (foxwpart#1225.04894) around the pulleys, following the same path as the old belt. Ensure it is seated correctly in all grooves.
- Apply Tension: Re-engage the tensioning mechanism to apply proper tension to the new belt. The belt should be snug but not overly tight.
- Reassemble: Reattach all covers, shields, and bolts removed earlier.
- Test Operation: Reconnect the spark plug wire. Start the snowblower and engage the drive system briefly to ensure the new belt operates smoothly without slipping or unusual noise.
4. Operating Considerations
After installing the new drive belt, observe the snowblower's operation during its first use. The drive belt is crucial for transmitting power from the engine to the wheels or auger. Proper installation ensures efficient power transfer.
- Smooth Engagement: The drive system should engage smoothly without jerking or excessive noise.
- Consistent Speed: The snowblower's drive speed should be consistent with the engine RPM.
- No Slipping: The belt should not slip under load. If slipping occurs, check belt tension and pulley alignment.
5. Maintenance
Regular inspection and maintenance of your drive belt will extend its lifespan and ensure reliable snowblower performance.
- Visual Inspection: Periodically inspect the belt for signs of wear, cracking, fraying, glazing, or stretching. Replace the belt if any significant damage is observed.
- Cleanliness: Keep the belt and pulleys free from dirt, debris, oil, and grease, which can cause premature wear and slipping.
- Tension Check: Ensure the belt maintains proper tension. An overly loose belt can slip, while an overly tight belt can cause excessive wear on the belt and bearings.
- Storage: When storing the snowblower for extended periods, ensure the belt is not under extreme tension or exposed to harsh environmental conditions.
6. Troubleshooting
If you experience issues with your snowblower's drive system after belt replacement, consider the following common problems and solutions:
| Problem | Possible Cause | Solution |
|---|---|---|
| Drive system not engaging or slipping | Incorrect belt tension, worn belt, oil/grease on belt/pulleys, misaligned pulleys. | Adjust belt tension, replace belt if worn, clean belt and pulleys, check pulley alignment. |
| Unusual noise (squealing, grinding) | Belt slipping, worn bearings in pulleys, debris in belt path. | Check belt tension, inspect pulleys for wear, remove debris. |
| Belt breaking prematurely | Overly tight belt, misaligned pulleys, damaged pulleys, incorrect belt type. | Verify correct belt tension, check pulley alignment and condition, ensure correct belt model. |
If troubleshooting steps do not resolve the issue, consult a qualified service technician or refer to your snowblower's official service manual.
7. Specifications
This replacement drive belt is manufactured to specific dimensions to ensure compatibility with the listed Craftsman snowblower models.
- Part Number: foxwpart#1225.04894
- Compatibility: Craftsman Snowblower Models 536.886621, 536.886623, 536.886650
- Overall Length: Approximately 841 mm (33.11 inches)
- Width: Approximately 9.5 mm (0.37 inches)
- Height/Thickness: Approximately 5.9 mm (0.23 inches)
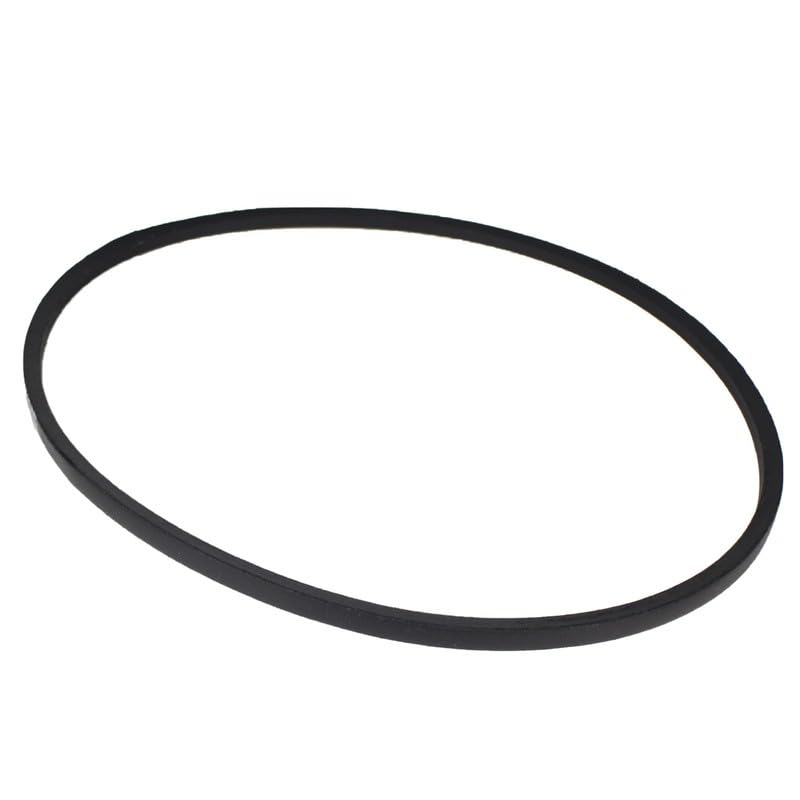
Image 1: Drive Belt Dimensions. This diagram illustrates the key dimensions of the replacement drive belt, including its overall length, width, and height, which are crucial for ensuring proper fit and function in compatible snowblower models.
8. Warranty Information
As a replacement spare part, specific warranty details may vary. Please refer to the seller's return policy or contact the seller directly for information regarding any applicable warranty or return options for this product. Generally, replacement parts are covered by the seller's standard return policy, which typically allows for returns within a specified period if the item is defective or not as described.
9. Support
For further assistance, questions regarding installation, or troubleshooting that is not covered in this manual, please contact the seller or manufacturer directly. When contacting support, please provide the product model number (foxwpart#1225.04894) and your snowblower's model number for efficient service.
Manufacturer: Foxwparts
Seller: Foxwook (as per Amazon listing)
For general inquiries or to report issues, please refer to the contact information provided by your point of purchase.


