
Introduction
Thank you for choosing the SideKing 1.35 Gallon Battery Powered Sprayer. This electric sprayer is designed for efficient and effortless application of liquids for various tasks, including watering, fertilizing, weed control, and pest control. Its battery-powered operation eliminates manual pumping, providing consistent pressure and ease of use. This manual provides essential information for the safe and effective operation and maintenance of your sprayer.

Image: A person using the SideKing 1.35 Gallon Battery Powered Sprayer in a garden, demonstrating its ease of use.
Safety Information
Always wear appropriate protective clothing and eye/face protection when using this product. Keep the product away from heat sources and open flames. Do not use this product with incompatible chemicals. Always follow the manufacturer's instructions for proper handling, usage, maintenance, and disposal.
Setup
Before first use, ensure all components are present and correctly assembled. Refer to the diagram below for component identification and assembly steps.
Included Components:
- 1.35 Gallon Tank
- Battery Handle
- Telescopic Wand
- Hose
- 4 Nozzles (Fan, Cone, Dual, 6-Hole)
- USB Charging Cable
- Shoulder Strap
- Measure Cup
- Anti-Kinking Coil Spring
- Spare O-Rings
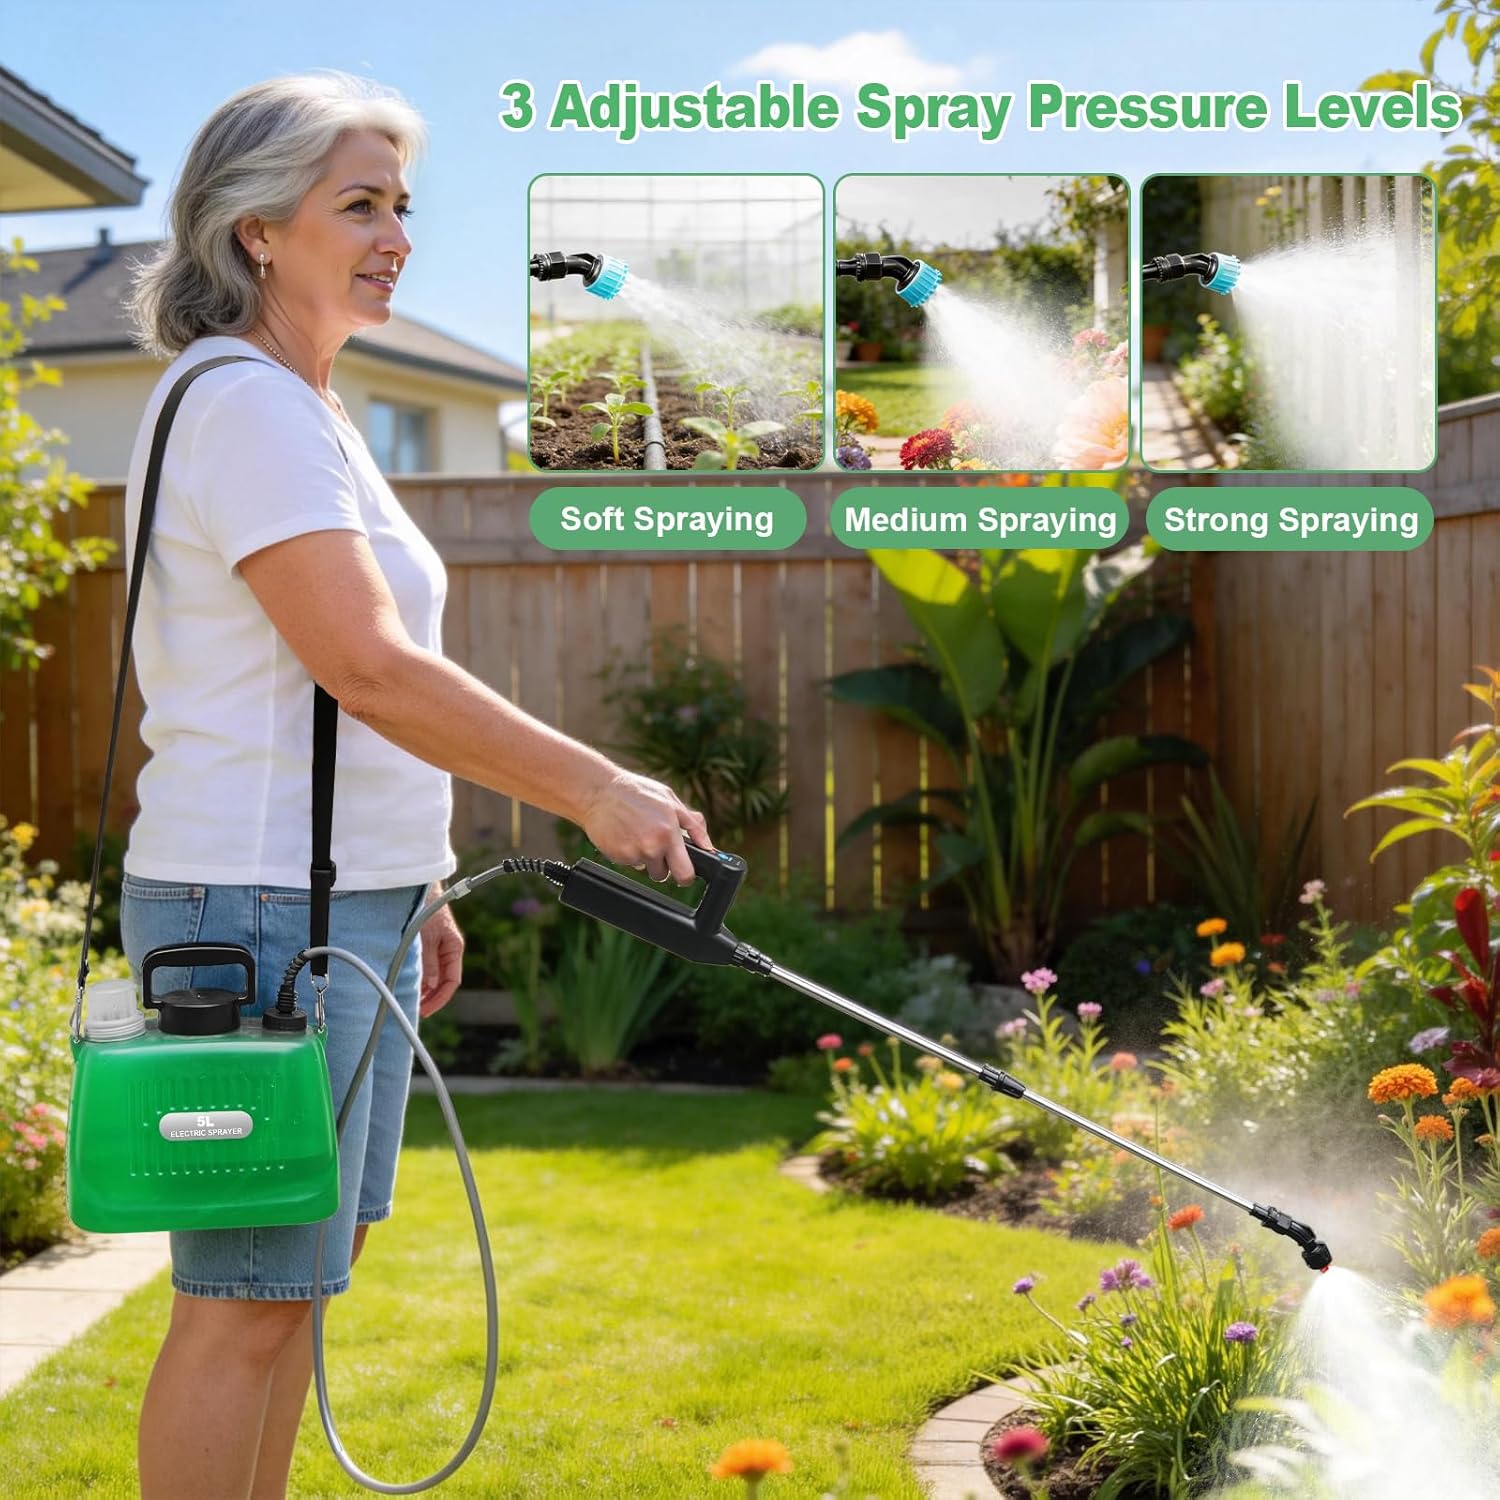
Image: All components of the SideKing 1.35 Gallon Battery Powered Sprayer laid out.
Assembly Steps:
- Install the Nozzle: Choose the desired nozzle and screw it onto the end of the telescopic wand until secure.
- Connect the Wand to Handle: Insert the telescopic wand into the battery handle.
- Secure the Hose to Handle: Unscrew the nut on the battery handle. Pass the screw nut through the water hose. Insert the hosepipe into the tail end of the handle, then tighten the nut to seal the hosepipe.
- Connect the Hose to Tank: Insert the water pipe into the spout of the tank and tighten the nut securely.
- Attach Shoulder Strap: Clip the adjustable shoulder strap to the designated attachment points on the tank for comfortable carrying.
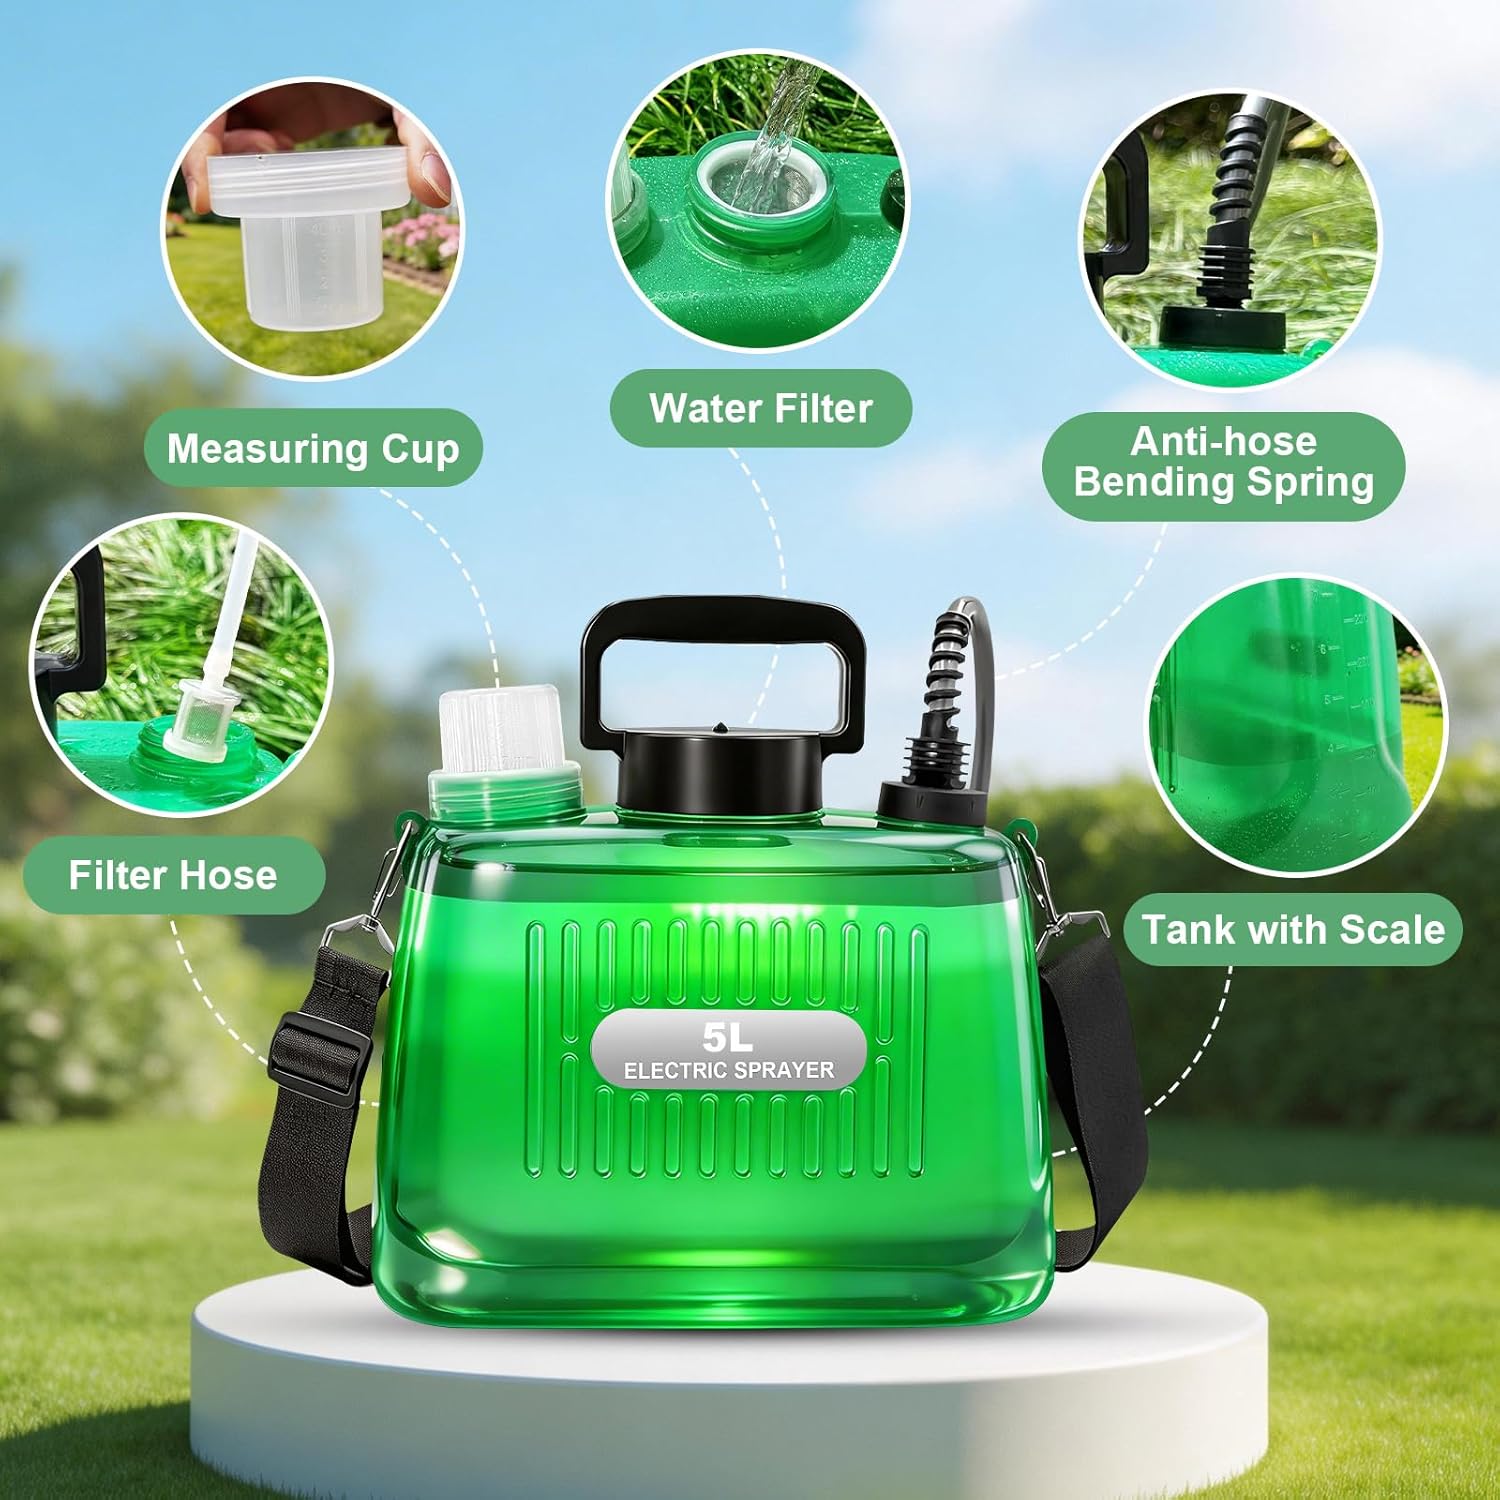
Image: Visual guide showing six steps for assembling the SideKing Battery Powered Sprayer.
Charging the Battery:
The sprayer is powered by a rechargeable lithium battery system (2*2000mAh). Connect the USB charging cable to the battery handle and a suitable USB power source. The LED battery indicator on the handle will show charging status. A full charge provides up to 3 hours of continuous operation.

Image: Illustration showing the battery capacity (2*2000mAh), charging time (3 hours), and working time (180 minutes) of the sprayer.
Operating Instructions
Filling the Tank:
Unscrew the tank cap. Use the provided measuring cup to accurately add your desired liquid (water, fertilizer, weed killer, etc.). The tank features a wide mouth for easy, mess-free filling and a built-in filter to prevent clogging. Do not overfill beyond the 1.35-gallon capacity.

Image: Detailed view of the sprayer tank highlighting features like the measuring cup, water filter, anti-hose bending spring, filter hose, and tank with scale markings.
Adjusting Spray Pressure:
The sprayer offers 3 adjustable pressure settings (Low, Medium, High) for versatile application. Use the control buttons on the battery handle to select the appropriate pressure:
- Low Pressure: Ideal for delicate plant misting or light watering.
- Medium Pressure: Suitable for routine lawn care and general applications.
- High Pressure: Provides a powerful stream for weed killer application, pest control, or cleaning tasks.

Image: Close-up of the sprayer handle, showing the battery indicator and the On/Off and pressure adjustment buttons.
Using the Telescopic Wand and Nozzles:
The telescopic wand extends up to 23.6 inches, allowing you to reach high branches or dense shrubs. The four specialized nozzles provide different spray patterns:
- Fan Nozzle: For broad, even coverage.
- Cone Nozzle: For a conical spray pattern, good for general use.
- Dual Nozzle (F Type): For two streams, increasing coverage.
- 6-Hole Nozzle: For a fine, gentle mist.

Image: Four different nozzle types (6-hole pattern, cone, fan, and F-type dual nozzle) for the SideKing sprayer, demonstrating their spray patterns.
Demonstration Video:
Video: Official SideKing demonstration of the 1.35 Gallon Battery Powered Sprayer, showcasing its three pressure settings and general operation.
Maintenance
Proper maintenance ensures the longevity and optimal performance of your SideKing sprayer.
- Cleaning After Use: After each use, especially when using chemicals, rinse the tank thoroughly with clean water. Run clean water through the hose and wand to flush out any residue.
- Filter Maintenance: Regularly check and clean the water filter located in the tank to prevent clogging.
- Nozzle Care: If a nozzle becomes clogged, carefully remove it and clean any debris. Use a fine needle if necessary to clear small openings.
- Battery Storage: Store the sprayer with a partially charged battery in a cool, dry place. Avoid storing in extreme temperatures.
- Winter Storage: If storing for extended periods or in freezing conditions, ensure the tank, hose, and wand are completely drained and dry to prevent damage.
Troubleshooting
| Problem | Possible Cause | Solution |
|---|---|---|
| Sprayer does not turn on or has low pressure. | Battery is low or depleted. | Charge the battery fully. Ensure the USB cable is properly connected. |
| No spray or inconsistent spray pattern. | Nozzle is clogged or partially blocked. | Remove and clean the nozzle. Use a fine needle to clear any blockages. |
| No spray or inconsistent spray pattern. | Tank filter is clogged. | Remove and clean the tank filter. |
| Liquid leaks from connections. | Connections are not tightened properly or O-rings are damaged. | Ensure all nuts and connections are securely tightened. Replace damaged O-rings with spares. |
| Battery indicator blinks continuously while charging. | This may indicate a charging status or a full charge, depending on the model. | Allow sufficient time for charging (approx. 3 hours). If blinking persists after 3 hours, the battery may be fully charged. Consult customer support if performance is affected. |
Specifications
- Brand: SideKing
- Model Name: YX2405ML-2574
- Tank Volume: 1.35 gallons (5 liters)
- Power Source: Battery Powered (2*2000mAh Lithium Battery System)
- Charging Time: Approximately 3 hours
- Working Time: Up to 180 minutes (3 hours) on a single charge
- Maximum Pressure: 60 psi
- Hose Length: 63 inches
- Telescopic Wand Extension: Up to 23.6 inches
- Material: Durable HDPE Plastic
- Included Nozzles: Fan Nozzle, Cone Nozzle, Dual Nozzle (F Type), 6-Hole Nozzle
- Color: Forest Green

Image: Diagram illustrating the dimensions of the SideKing 1.35 Gallon Electric Sprayer, including tank height and width, and wand extension.
Warranty and Support
The SideKing 1.35 Gallon Battery Powered Sprayer is backed by a 12-month professional service warranty. For any questions, technical assistance, or warranty claims, please contact SideKing customer support through your retailer or the official SideKing website. Please have your model number (YX2405ML-2574) and purchase date available when contacting support.