1. Introduction
This manual provides essential information for the safe and efficient operation of your Pumptiva P011-NEW Portable Tire Inflator. Please read it thoroughly before first use and retain it for future reference.
The Pumptiva P011-NEW is a versatile, portable air compressor designed for quick and accurate inflation of various items, including car tires, motorcycle tires, bicycle tires, and sports balls. It features a powerful 150 PSI motor, digital pressure gauge with auto shut-off, and multiple preset inflation modes for convenience and safety.
2. What's in the Box
Verify that all items listed below are included in your package:
- Pumptiva P011-NEW Tire Inflator
- Storage Bag
- Ball Needle
- Nozzle for Swimming Ring
- Nozzle for Air Mattress
- Presta Valve Adapter
- Fuse
- Type-C Charging Cable
- User Manual

Figure 2.1: Pumptiva P011-NEW Tire Inflator and included accessories.
3. Product Overview
The Pumptiva P011-NEW is designed for portability and ease of use. Key features include a digital display, control buttons, and various ports for charging and inflation.
3.1. Components and Controls
- Digital Display: Shows real-time pressure, preset pressure, battery level, and selected mode.
- Power Button: Long press to turn on/off, short press to start/stop inflation.
- Mode Button (M): Short press to switch between preset modes (Car, Motorcycle, Bicycle, Ball). Long press to switch pressure units (PSI, BAR, KPA, kg/cm²).
- +/- Buttons: Adjust preset pressure values.
- Light Button: Activates the LED light with 3 modes (General, SOS, Flashing).
- Inflation Hose Port: Connect the flexible inflation hose.
- USB-C Charging Port: For recharging the device.
- USB-A Output Port: Can be used as a power bank to charge other devices.

Figure 3.1: Digital display showing accurate real-time tire pressure.
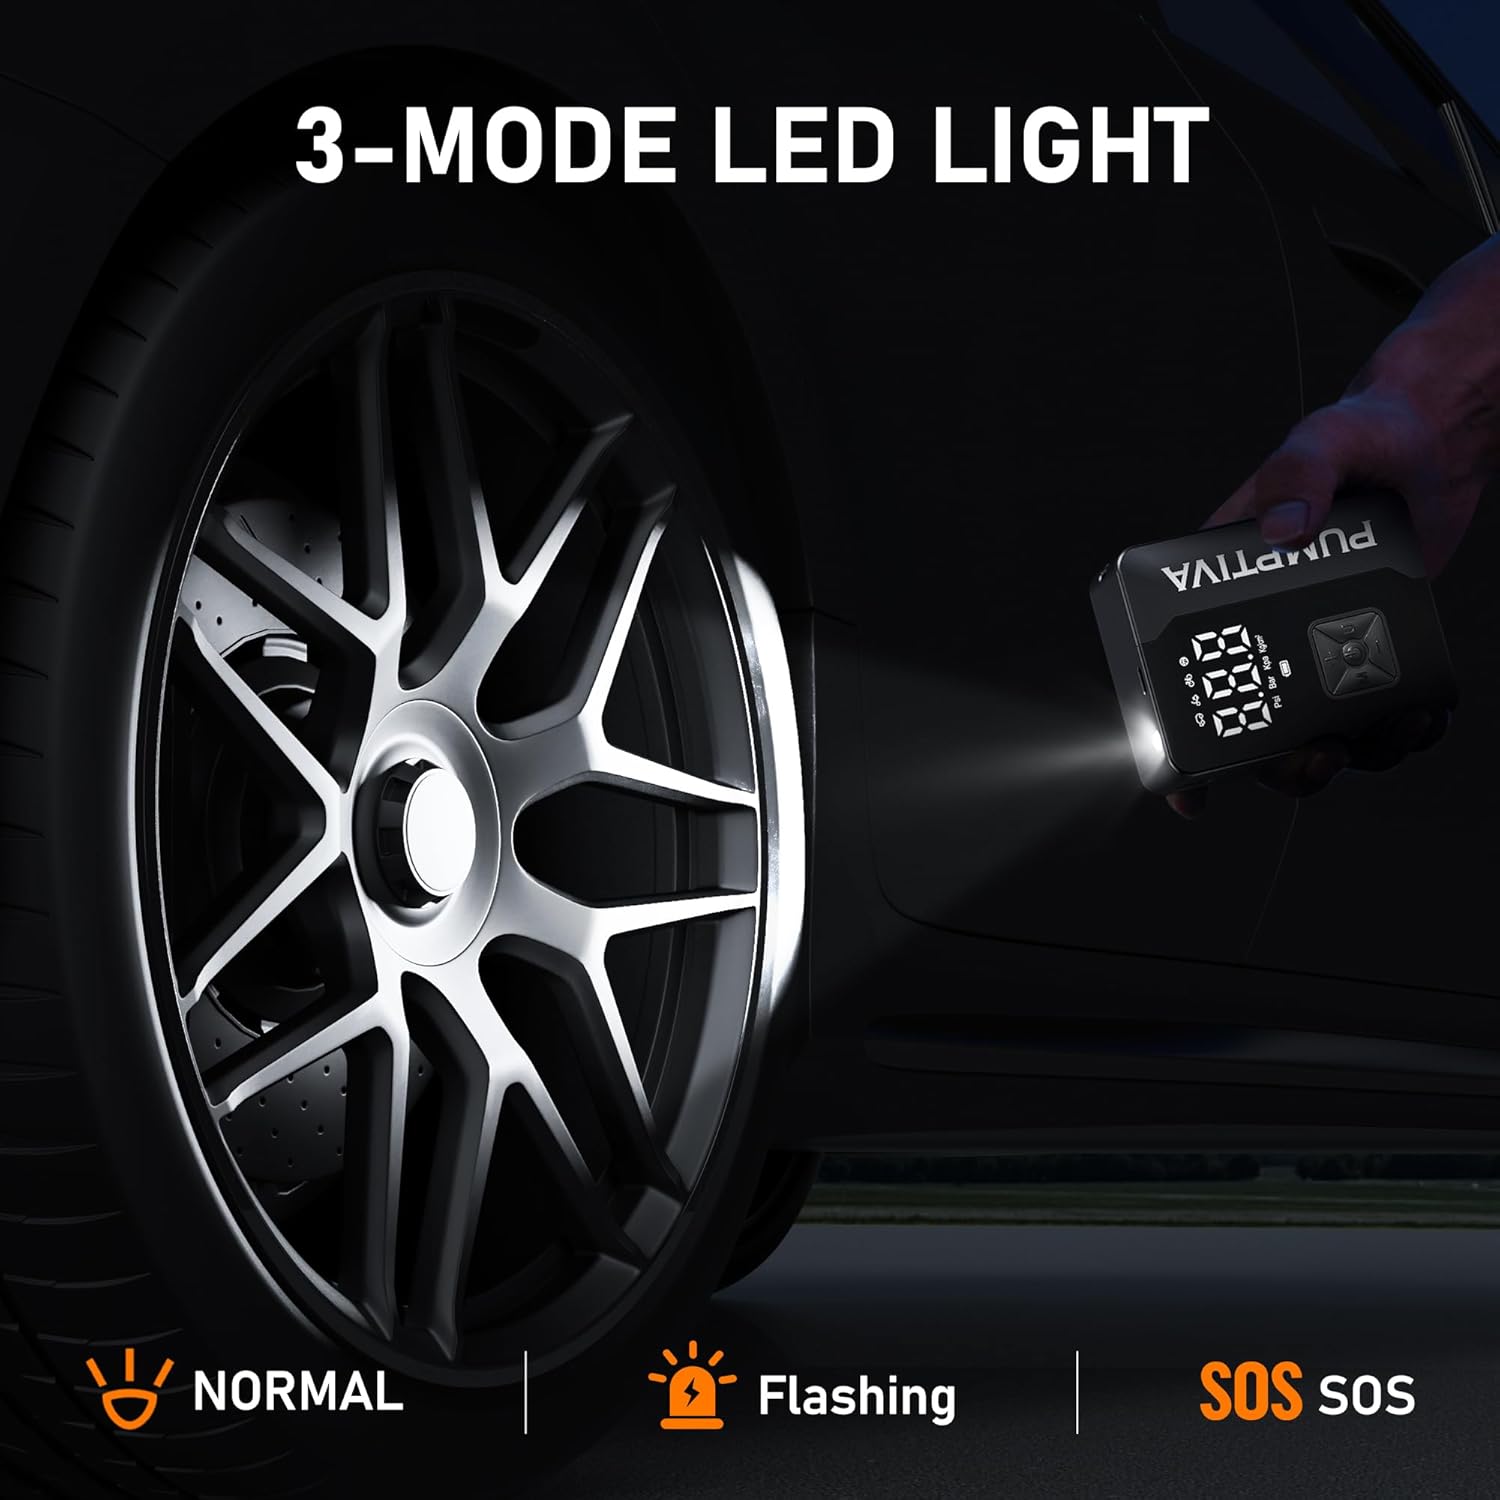
Figure 3.2: The 3-mode LED light for emergency situations.
4. Setup
4.1. Initial Charging
Before first use, fully charge the device using the provided Type-C charging cable. Connect the cable to the USB-C port on the inflator and a compatible USB power adapter (not included). The battery indicator on the digital display will show charging progress.
4.2. Attaching the Inflation Hose
Screw the flexible inflation hose securely into the inflation hose port on the top of the device. Ensure a tight connection to prevent air leakage.
4.3. Selecting the Correct Nozzle
Choose the appropriate nozzle adapter for the item you intend to inflate:
- Standard Schrader Valve: For most car, motorcycle, and mountain bike tires (no adapter needed, directly connect the hose).
- Presta Valve Adapter: For road bikes and some mountain bikes.
- Ball Needle: For sports balls.
- Nozzle for Swimming Ring/Air Mattress: For inflatable toys and airbeds.
Attach the selected nozzle adapter to the end of the inflation hose.
5. Operating Instructions
5.1. Power On/Off
Long press the power button for 3 seconds to turn the device on or off.
5.2. Selecting Inflation Mode and Units
- Short press the Mode (M) button to cycle through preset modes: Car, Motorcycle, Bicycle, and Ball.
- Long press the Mode (M) button to switch between pressure units: PSI, BAR, KPA, and kg/cm².

Figure 5.1: The 4 preset inflation modes for various items.
5.3. Setting Desired Pressure
Once a mode is selected, use the +/- buttons to adjust the target pressure. The digital display will show the current real-time pressure and the preset target pressure.
5.4. Starting and Stopping Inflation
Connect the inflation hose with the appropriate nozzle to the item's valve. Ensure a secure connection.
- Short press the Power Button to begin inflation. The device will automatically stop when the preset pressure is reached.
- To manually stop inflation at any time, short press the Power Button again.

Figure 5.2: Fast inflation in progress for a car tire.

Figure 5.3: Auto shut-off feature for hands-free operation.
5.5. Using the LED Light
Short press the Light Button to cycle through the three LED light modes: General illumination, SOS signal, and Flashing warning light. Long press to turn off the light.
6. Maintenance
- Keep the device clean and free from dust and debris.
- Store the inflator and all accessories in the provided storage bag when not in use.
- Avoid exposing the device to extreme temperatures or direct sunlight for prolonged periods.
- Ensure the charging port is dry before connecting the charging cable.
7. Troubleshooting
| Problem | Possible Cause | Solution |
|---|---|---|
| Device does not turn on. | Low battery or device is off. | Charge the device fully. Long press the power button to turn on. |
| Inflation is slow or not working. | Hose not securely connected, wrong nozzle, or item is severely deflated. | Ensure hose and nozzle are tightly connected. Verify correct nozzle for item. For severely deflated items, it may take longer. |
| Device stops before reaching preset pressure. | Low battery or internal safety mechanism activated. | Recharge the device. Allow the device to cool down if it has been running continuously for a long time. |
| Inaccurate pressure reading. | Loose connection or sensor issue. | Ensure the hose is securely connected. If the issue persists, contact customer support. |
8. Specifications
| Feature | Detail |
|---|---|
| Brand | Pumptiva |
| Model | P011-NEW |
| Color | Black |
| Material | Acrylonitrile Butadiene Styrene |
| Power Source | Battery Powered |
| Maximum Pressure | 150 PSI |
| Item Weight | 1.19 pounds |
| Product Dimensions | 3.15 x 2 x 6.42 inches |
| Special Features | Automatic Shut-Off, LCD Display, Lightweight, Portable, Quick Inflation, 3-Mode LED Light |
9. Safety Information
- Do not leave the inflator unattended while operating.
- Keep out of reach of children.
- Avoid over-inflating items; always refer to the manufacturer's recommended pressure.
- Do not operate the device in wet conditions or near flammable liquids/gases.
- If the device becomes excessively hot during use, turn it off and allow it to cool down before continuing.
- Do not disassemble or attempt to repair the device yourself. Contact qualified personnel for service.
10. Warranty and Support
Pumptiva offers a 2-Year Warranty Service for this product. Additionally, we provide Lifetime After-Sales Service to ensure your satisfaction.
For returns or exchanges, a 90-day return or exchange policy is available through your purchase channel.
For any questions, technical support, or warranty claims, please contact Pumptiva customer service. Answers are available 24 hours a day.
Visit the Pumptiva Store for more information.


