
1. Introduction
Thank you for choosing the Moovora 4K Action Camera. This compact and versatile camera is designed to capture your adventures in stunning 4K or 1080P resolution, featuring a 120° wide-angle lens, Wi-Fi connectivity, and a robust waterproof casing. Please read this manual carefully before use to ensure optimal performance and longevity of your device.
2. Package Contents
Verify that all items listed below are included in your package. If any items are missing or damaged, please contact customer support.

Figure 2.1: All included accessories and the Moovora 4K Action Camera.
- Moovora Thumb Camera (1 pc)
- Side Mount (1 pc)
- 360° Adapter (1 pc)
- Curved and Flat Base (1 pc)
- Swivel Back Clip (1 pc)
- Memory Card (1 pc) - Note: Capacity may vary.
- Card Reader (1 pc)
- Waterproof Case (1 pc)
- Edges (1 pc) - Presumably frame or protective edges.
- Helmet Mount (1 pc)
- Magnetic Suction Lanyard (1 pc)
- Data Cable (1 pc) - USB Type-C
- Cycling Mount (1 pc)
3. Product Overview
Familiarize yourself with the camera's components and features.

Figure 3.1: Moovora 4K Action Camera main unit and key features.
3.1 Camera Features
- 4K/1080P Video Recording: Capture high-resolution video.
- 120° Wide-Angle Lens: Broader field of view.
- Wi-Fi Connectivity: Real-time viewing, transfer, and sharing via smartphone.
- Magnetic Mounting: Integrated magnetic adsorption for quick attachment.
- Portable Clip Design: Easily attach to pockets, backpacks, or belts.
- Loop Recording: Automatically overwrites old files when storage is full.
- Waterproof up to 30m: With the included waterproof case.
- Electronic Image Stabilization (EIS): For smoother footage.
- Night Vision: Enhanced low-light performance.
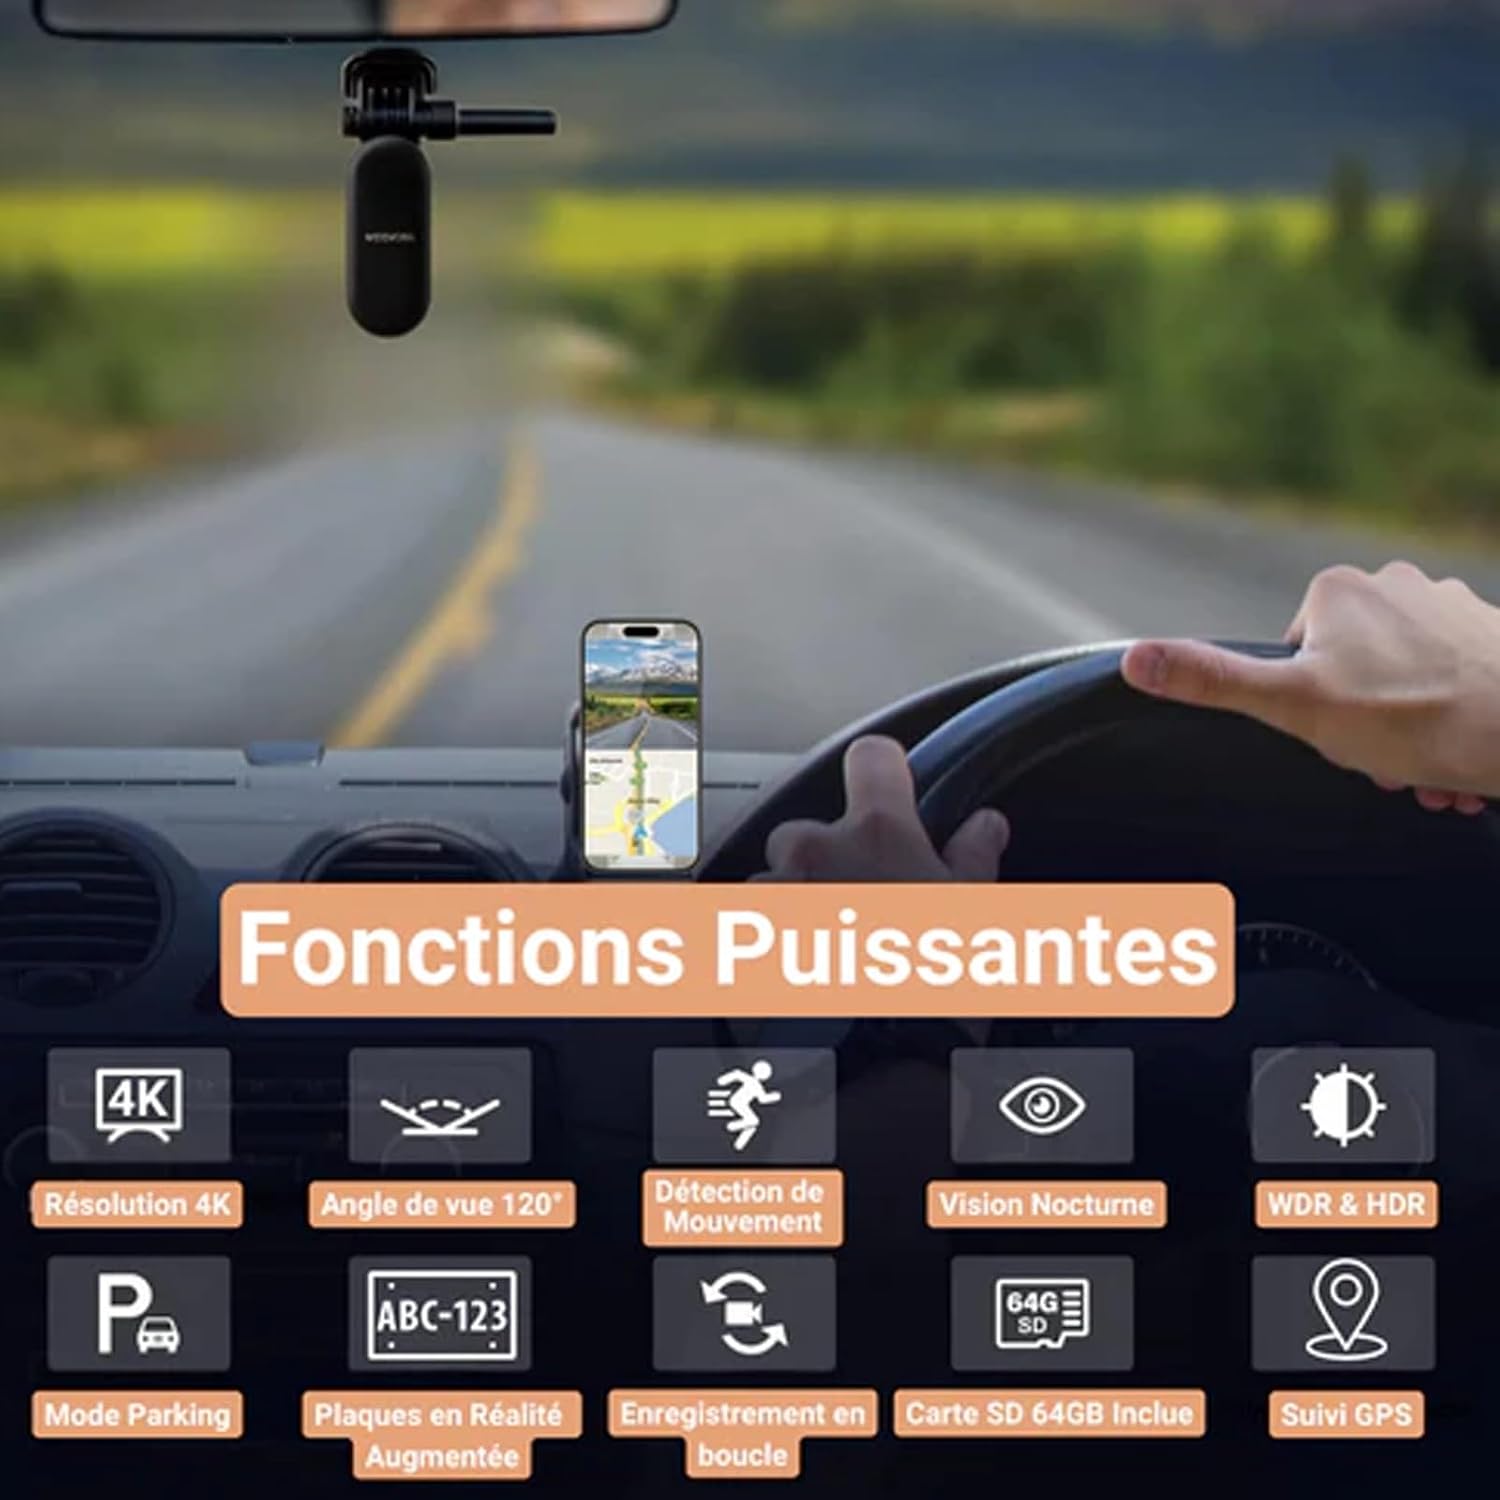
Figure 3.2: Overview of powerful camera functions.
4. Setup
4.1 Charging the Camera
Before first use, fully charge the camera. Connect the supplied USB Type-C data cable to the camera's Type-C interface and the other end to a 5V/2A USB power adapter (not included) or a computer USB port. The charging time is approximately 120 minutes.
- Charging Indicator: Observe the LED indicator for charging status.
- Recording While Charging: The camera supports recording while charging.
4.2 Inserting a Memory Card
The camera requires a TF (microSD) card for storing recordings. It supports cards up to 256GB. Ensure the card is inserted correctly before powering on the camera.
- Locate the memory card slot on the camera.
- Gently insert the TF card with the gold contacts facing the correct direction (refer to the camera's markings).
- Push the card in until it clicks into place. To remove, push again until it springs out.
Note: A memory card is included in the package. Format the memory card in the camera settings before first use for optimal performance.
4.3 Powering On/Off
- Power On: Press and hold the Power button for a few seconds until the indicator light turns on.
- Power Off: Press and hold the Power button for a few seconds until the indicator light turns off.
5. Operating Instructions
5.1 Basic Recording
- Start Recording: Once powered on, the camera typically starts recording automatically or with a single press of the record button.
- Stop Recording: Press the record button again to stop recording.
- Indicator: A flashing LED usually indicates active recording.
5.2 Taking Photos
Switch to photo mode (if available, specific button not detailed) and press the shutter button to capture a still image.
5.3 Wi-Fi Connection and App Usage
The camera supports real-time Wi-Fi connection for viewing, transferring, and sharing content via your smartphone.
- Download the dedicated Moovora app from your smartphone's app store.
- Turn on the camera's Wi-Fi (refer to camera settings or a dedicated Wi-Fi button).
- On your smartphone, go to Wi-Fi settings and connect to the camera's Wi-Fi network (SSID and password usually found on the camera or in the app).
- Open the Moovora app to access live view, playback, and settings.
5.4 Loop Recording
The camera features loop recording, which automatically overwrites the oldest files when the memory card is full. This ensures continuous recording without manual intervention. You can usually adjust the loop recording duration in the camera settings via the app.
5.5 Using the Waterproof Case
For underwater activities or protection against heavy rain, use the included waterproof case. Ensure the camera is securely placed inside the case and all latches are properly sealed before submersion. The case provides water resistance up to 30 meters.
5.6 Mounting Options
Utilize the various included accessories for flexible mounting:

Figure 5.1: Examples of various mounting angles and positions.
- Magnetic Adsorption: Attach directly to metallic surfaces.
- Swivel Back Clip: For attaching to clothing, backpacks, or belts.
- Helmet Mount: Securely attach to helmets for POV footage.
- Cycling Mount: For bicycles and motorcycles.
- Curved and Flat Bases: For adhesive mounting on various surfaces.
6. Maintenance
6.1 Cleaning
- Use a soft, dry cloth to clean the camera body.
- For the lens, use a specialized lens cleaning cloth and solution to avoid scratches.
- Ensure the waterproof case seals are free of dirt or debris before closing.
6.2 Storage
- Store the camera in a cool, dry place, away from direct sunlight and extreme temperatures (-10°C to 60°C).
- Remove the memory card if storing for extended periods.
- Charge the battery periodically (every 3-6 months) if not in use to maintain battery health.
7. Troubleshooting
| Problem | Possible Cause | Solution |
|---|---|---|
| Camera does not power on. | Low battery; faulty battery; power button issue. | Charge the camera fully. Ensure the power button is pressed correctly. |
| Cannot record video. | No memory card; memory card full; memory card error; incorrect mode. | Insert a TF card. Delete old files or replace the card. Format the card. Switch to video recording mode. |
| Wi-Fi connection fails. | Wi-Fi not enabled on camera; incorrect password; app issue. | Enable camera Wi-Fi. Verify Wi-Fi password. Restart camera and smartphone. Reinstall the app. |
| Poor video quality. | Lens dirty; low light conditions; incorrect resolution settings. | Clean the lens. Ensure adequate lighting. Set video resolution to 4K or 1080P. |
| Camera freezes or crashes. | Software glitch; memory card issue. | Perform a soft reset (if available, or hold power button for 10+ seconds). Format or replace the memory card. |
8. Specifications
| Feature | Detail |
|---|---|
| Video Format | MP4 (ASF) |
| Video Recording Resolution | 4K, 1080P |
| Frame Rate | 30 fps |
| Photo Sensor Technology | BSI CMOS |
| Lens Type | Wide Angle |
| Max Focal Length | 1 Millimeter |
| Min Focal Length | 1 Millimeter |
| Connectivity Technology | USB, Wi-Fi |
| Supported Audio Format | AAC, MP3 |
| Memory Card Support | TF card, up to 256GB |
| Charging Voltage | 5V/2A |
| Charging Time | Approximately 120 minutes |
| Product Dimensions | 64.5 x 28 x 20 mm |
| Operating Temperature | -10°C to 60°C |
| Storage Temperature | -10°C to 60°C |
| Water Resistance Level | Waterproof (with case, up to 30m) |
| Image Stabilization | Electronic Image Stabilization (EIS) |
| Form Factor | Ultra compact |
9. Safety Information
- Do not expose the camera to extreme temperatures or direct sunlight for prolonged periods without the waterproof case.
- Avoid dropping or subjecting the camera to severe impacts.
- Keep the camera away from strong magnetic fields.
- Do not attempt to disassemble or modify the camera, as this will void the warranty and may cause damage.
- Ensure the waterproof case is properly sealed before any water exposure.
- Use only specified charging voltage (5V/2A) to prevent damage.
10. Warranty and Support
Specific warranty details are not provided in the product information. Please refer to the retailer's return policy or contact the seller directly for warranty information and technical support.
For further assistance, please visit the manufacturer's website or contact their customer service.