Introduction
This manual provides detailed instructions for the installation, setup, operation, and maintenance of your Junsun 9" HD IPS Car Radio Stereo. This unit is designed for Ford F150 models from 2009 to 2012, offering advanced features such as Wireless CarPlay, Android Auto, 5G WiFi, GPS navigation, DSP sound processing, and Bluetooth 5.0 connectivity. Please read this manual thoroughly before use to ensure proper functionality and safety.
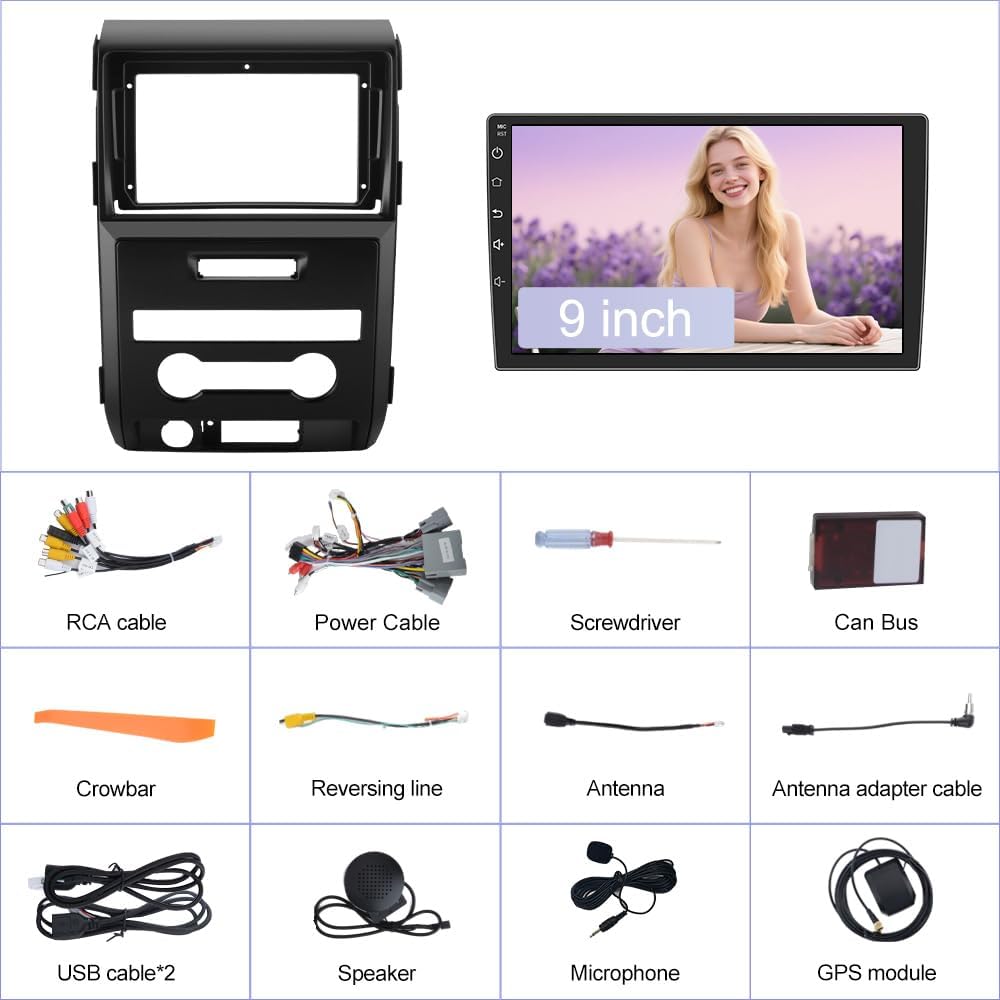
What's in the Box
Verify that all components are present before beginning installation:
- Head Unit
- Wire cables
- Crowbar (for panel removal)
- Frame (installation frame)

Specifications
| Brand | Junsun |
| Model Name | JS-US-XT892SCF150912L-FXXX |
| Screen Size | 9 Inches |
| Display Type | IPS |
| Resolution | 1280x720 |
| Memory Storage Capacity | 64 GB ROM |
| RAM | 2 GB |
| Connectivity Technology | Bluetooth, Ethernet, USB, Wi-Fi (5G) |
| Special Features | Bluetooth, Lane Assist, Radar Warning, Touchscreen, Wireless CarPlay/Android Auto, GPS, DSP, RDS, AM/FM Stereo |
| Compatible Vehicle Type | Ford F150 (2009-2012) |
| Supported Satellite Navigation System | GPS (North America Map Type) |
Installation
The Junsun Car Radio Stereo is designed for genuine Plug & Play installation, preserving original vehicle features. Follow these steps carefully:
1. Removing the Factory Radio
Carefully remove the existing factory radio unit from your Ford F150 dashboard. Use the provided crowbar tool to gently pry open the dashboard panels to access the mounting screws and wiring harnesses. Disconnect all cables from the factory unit.

2. Preparing the New Unit
Transfer the necessary components from your old radio's bezel to the new Junsun unit's frame. This typically includes climate control buttons and other small modules. Secure them with screws.
3. Wiring Connections
Connect the vehicle-specific harness provided with your Junsun stereo directly into your car's factory wiring. Ensure all connections are secure. No cutting or splicing of factory wires is required for basic functionality.

4. Final Assembly
Once all connections are made, carefully mount the new head unit into the dashboard opening. Secure it with screws and reattach any removed trim panels. Test the unit's functionality before fully reassembling the dashboard.
Setup
1. Initial Power On and System Check
After installation, turn on your vehicle's ignition to power the head unit. The system will boot up, displaying the Junsun logo. Allow it to fully load.
2. 5G WiFi Connection
Connect the head unit to a 5G WiFi network or your phone's hotspot to enable online features, download apps, and access real-time online maps.

3. Bluetooth 5.0 Pairing
Pair your smartphone via Bluetooth 5.0 for hands-free calling, contact syncing, and high-quality audio streaming. An external microphone is included for enhanced call clarity.

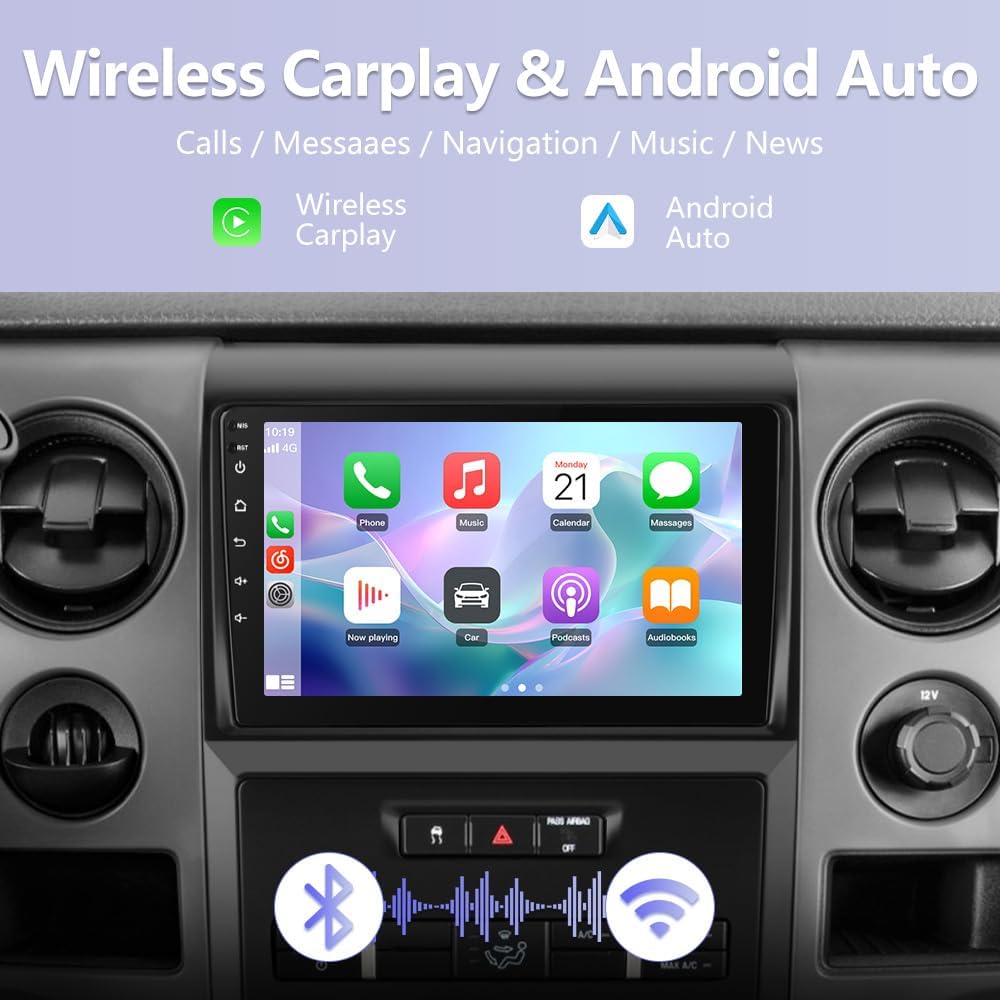
4. Wireless CarPlay & Android Auto
Connect your iPhone or Android device wirelessly for seamless integration of navigation, music, messages, and other apps. The unit supports both wireless Apple CarPlay (via Bluetooth) and feature-rich Android Auto (via Bluetooth and USB).
5. UI Theme Selection
Choose from three customizable interface themes to match your personal style. Navigate to the settings menu to change the UI theme.
Operating Instructions
1. GPS Navigation
Utilize the built-in navigation software for real-time traffic updates and smooth travel. The HD screen ensures clear visibility of all navigation details. Supports online and offline maps.

2. Steering Wheel Control
Control your audio experience and other settings directly from your steering wheel buttons. This plug-and-play feature enhances safety and convenience.

3. AM/FM Radio with RDS
Stay connected with a premium FM/AM radio, offering clear reception and RDS capabilities for traffic updates and news.
4. DSP Sound System
Experience superior sound quality with the integrated DSP (Digital Signal Processor). Adjust audio settings using the 36-band EQ for a personalized and immersive music experience.


Troubleshooting
Backup Camera Issues
If your backup camera image is not displaying, ensure the camera cable is correctly connected to the Backup Camera Video Input cable (not the CVBS cable in the RCA harness). Also, verify that the reverse signal wire (blue wire in the power harness, 3rd from the black ground wire) is properly connected to the reverse control wire. Do not cut off the power and ground wires on the extension cable; separate and insulate them individually to prevent short circuits. In the settings, ensure "Reverse Mode Selection" is set to "AUTO".
Factory Settings Password
The factory setting password for your Ford F150 radio is 3368. This is used to access advanced configuration options.
Maintenance
To ensure optimal performance and longevity of your Junsun Car Radio Stereo, follow these general maintenance guidelines:
- Keep the Screen Clean: Use a soft, lint-free cloth to gently wipe the HD IPS touchscreen. Avoid abrasive cleaners or harsh chemicals that could damage the display.
- Software Updates: Stay ahead with wireless updates for your Android 13 head unit. These updates resolve software issues and boost security. Access updates via the system settings.
- Avoid Extreme Temperatures: Protect the unit from prolonged exposure to direct sunlight or extreme cold, which can affect performance and lifespan.
- Check Connections: Periodically ensure all wiring connections are secure and free from corrosion.
Warranty & Support
Your Junsun Car Radio Stereo comes with a 1-year manufacturer's warranty.
Professional After-Sales Support
Our dedicated team is available 24/7 to assist you with any inquiries or issues. Trained in product knowledge, we ensure quick responses to your needs even on weekdays.
