1. Introduction
The Towallmark 72-inch rubber parking curbs are designed to assist with precise vehicle positioning and prevent accidental impacts in garages, driveways, and parking areas. Constructed from heavy-duty, weather-resistant rubber, these wheel stoppers provide a durable and highly visible solution for managing parking spaces. This manual provides essential information for the proper installation, operation, and maintenance of your parking curbs.
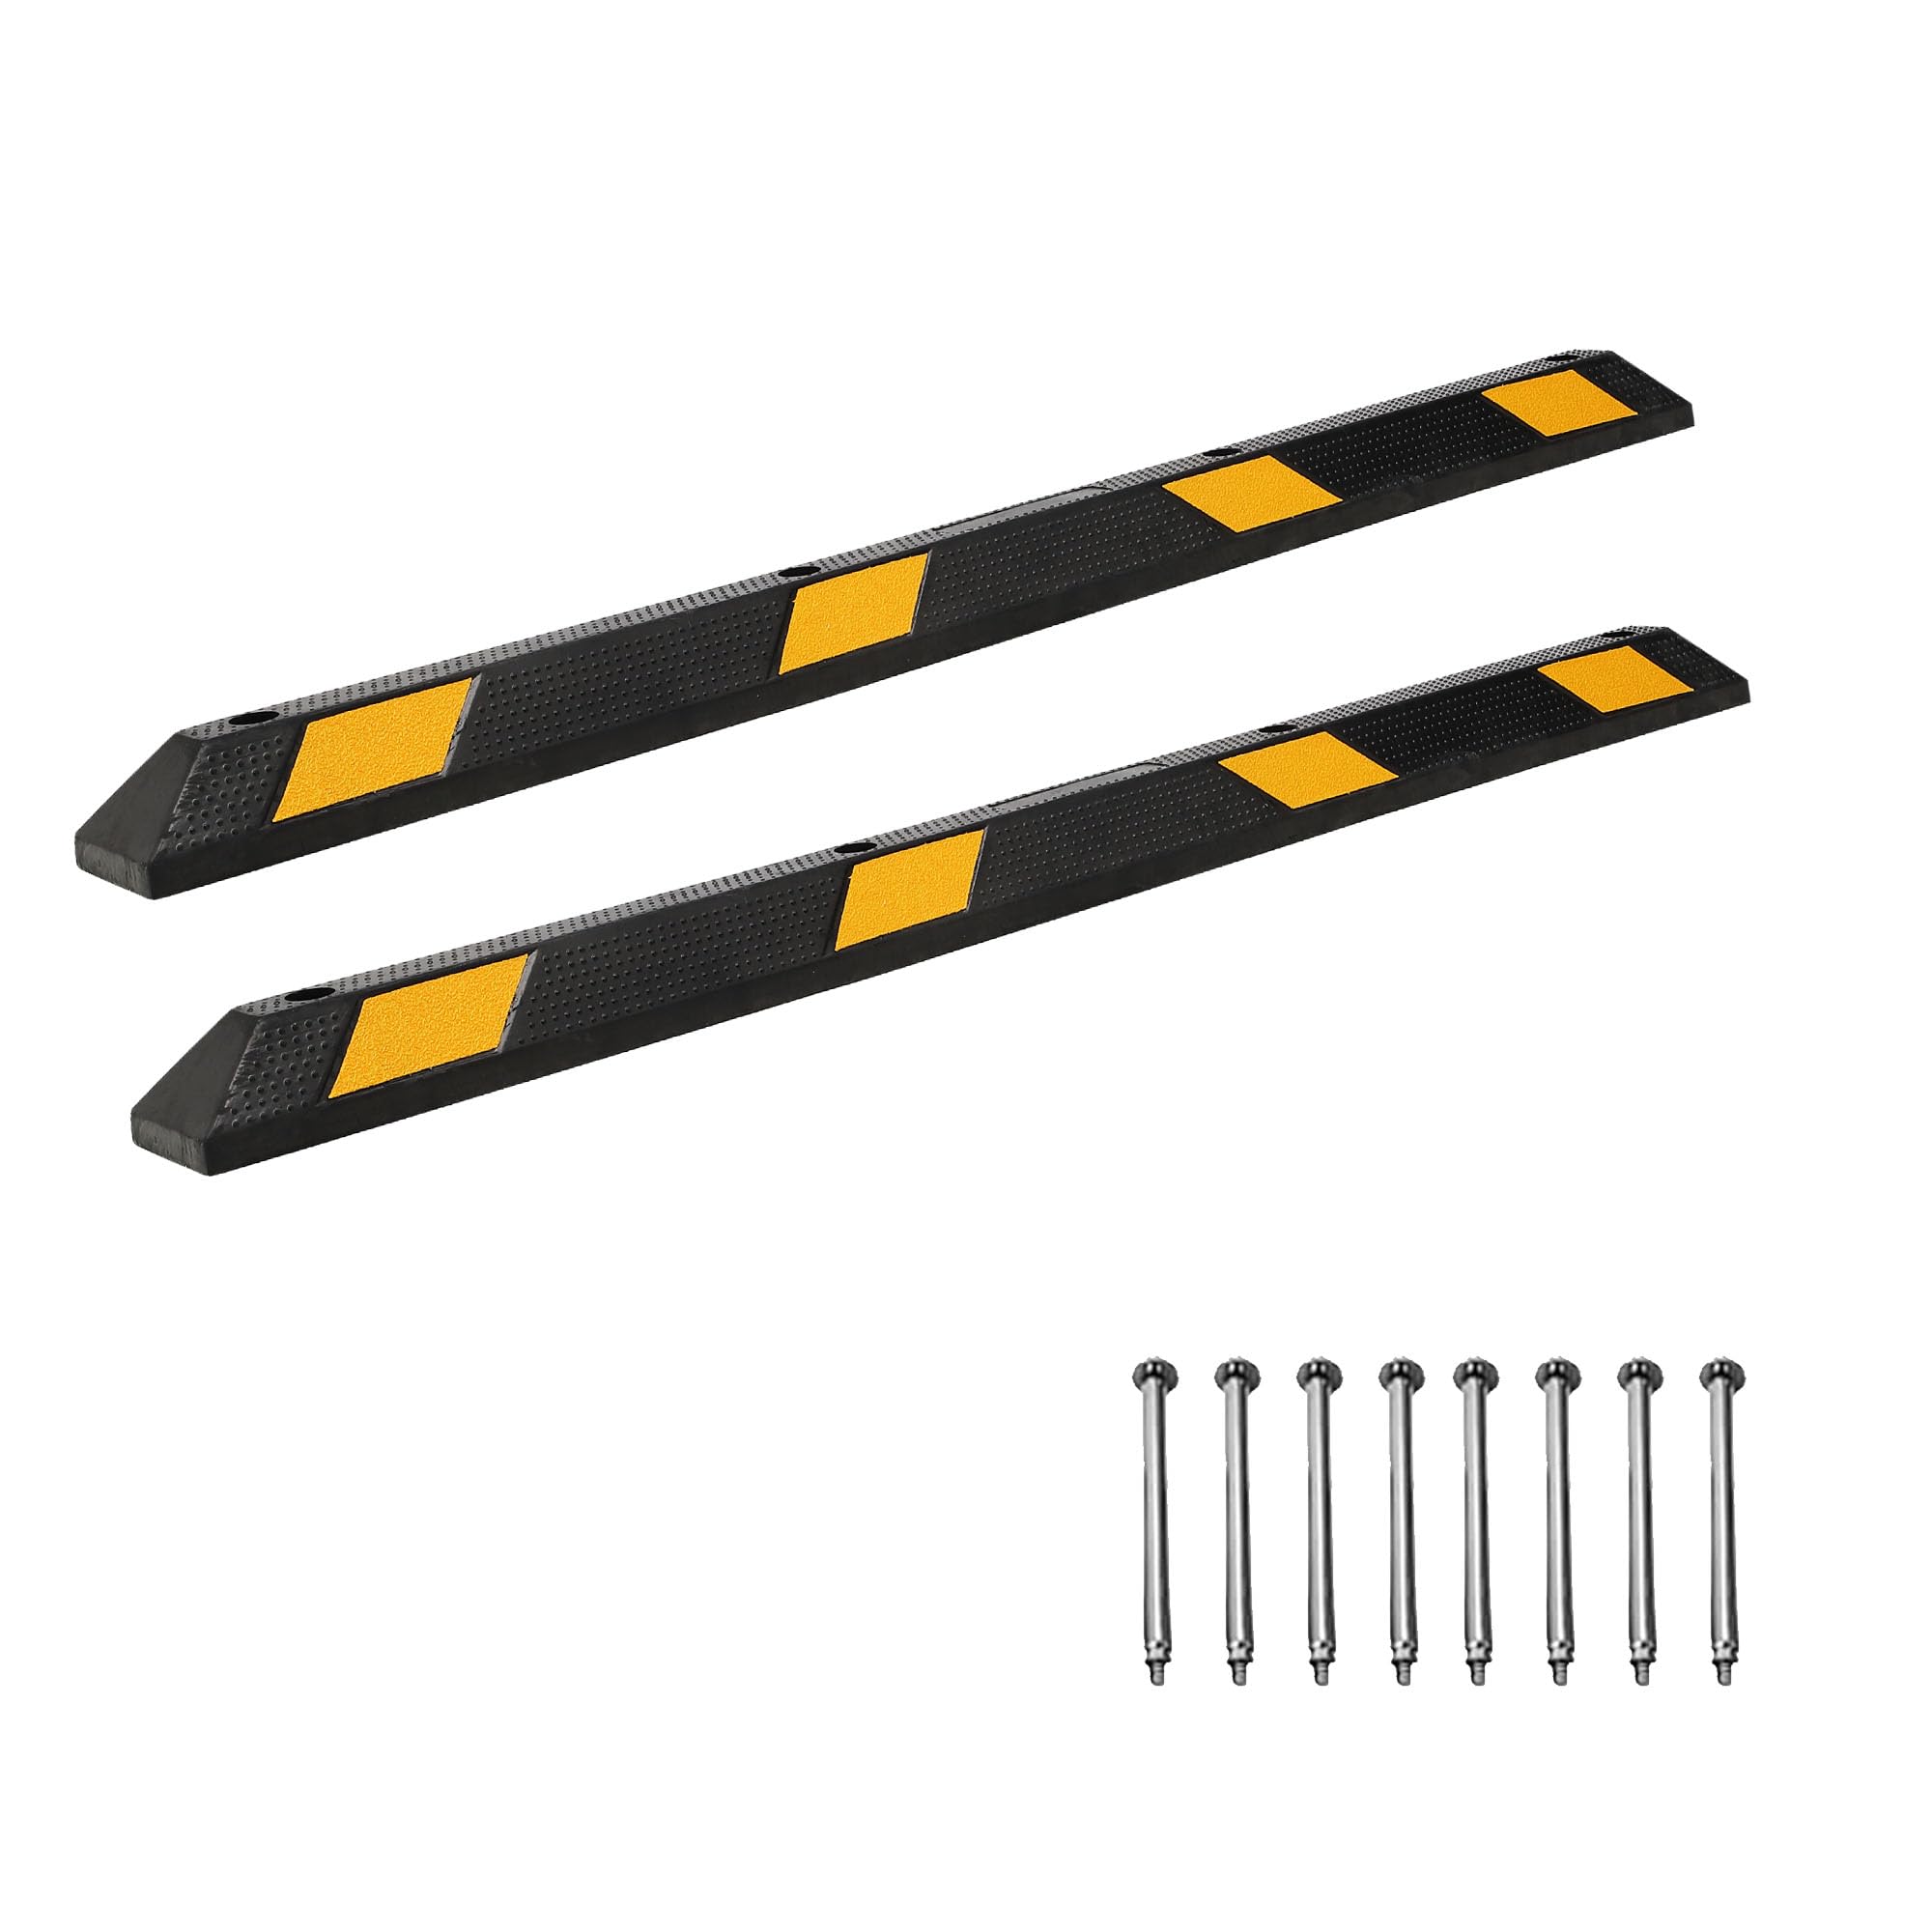
Image 1.1: Towallmark 72-inch rubber parking curbs installed in a parking lot.
2. Package Contents
Verify that all components are present in the package:
- 2 x Towallmark 72-Inch Rubber Parking Curbs
- 1 x Hardware Pack (for installation)
3. Product Features
The Towallmark rubber parking curbs offer the following key features:
- Heavy-Duty Construction: Made from durable rubber, designed to resist cracking, warping, and fading.
- High Weight Capacity: Capable of supporting up to 44,000 pounds.
- Enhanced Visibility: Equipped with bright yellow reflective strips for clear visibility day and night.
- Weatherproof Design: Resistant to various weather conditions and UV exposure.
- Easy Installation: Features pre-drilled holes for straightforward mounting.
- Versatile Application: Suitable for use in garages, driveways, and commercial parking lots.

Image 3.1: Detail of the eco-friendly rubber material and reflective strips.

Image 3.2: Visual representation of product characteristics.
4. Specifications
| Attribute | Value |
|---|---|
| Product Name | Rubber Parking Curb |
| Product Size (L x W x H) | 72 inches x 6 inches x 4 inches |
| Material | Rubber |
| Weight Capacity | 44,000 lbs |
| Item Weight (2-Pack) | 71.9 pounds |
| Model Number | PAU_3M3M67WV_LIBO_DFUdAcfl |
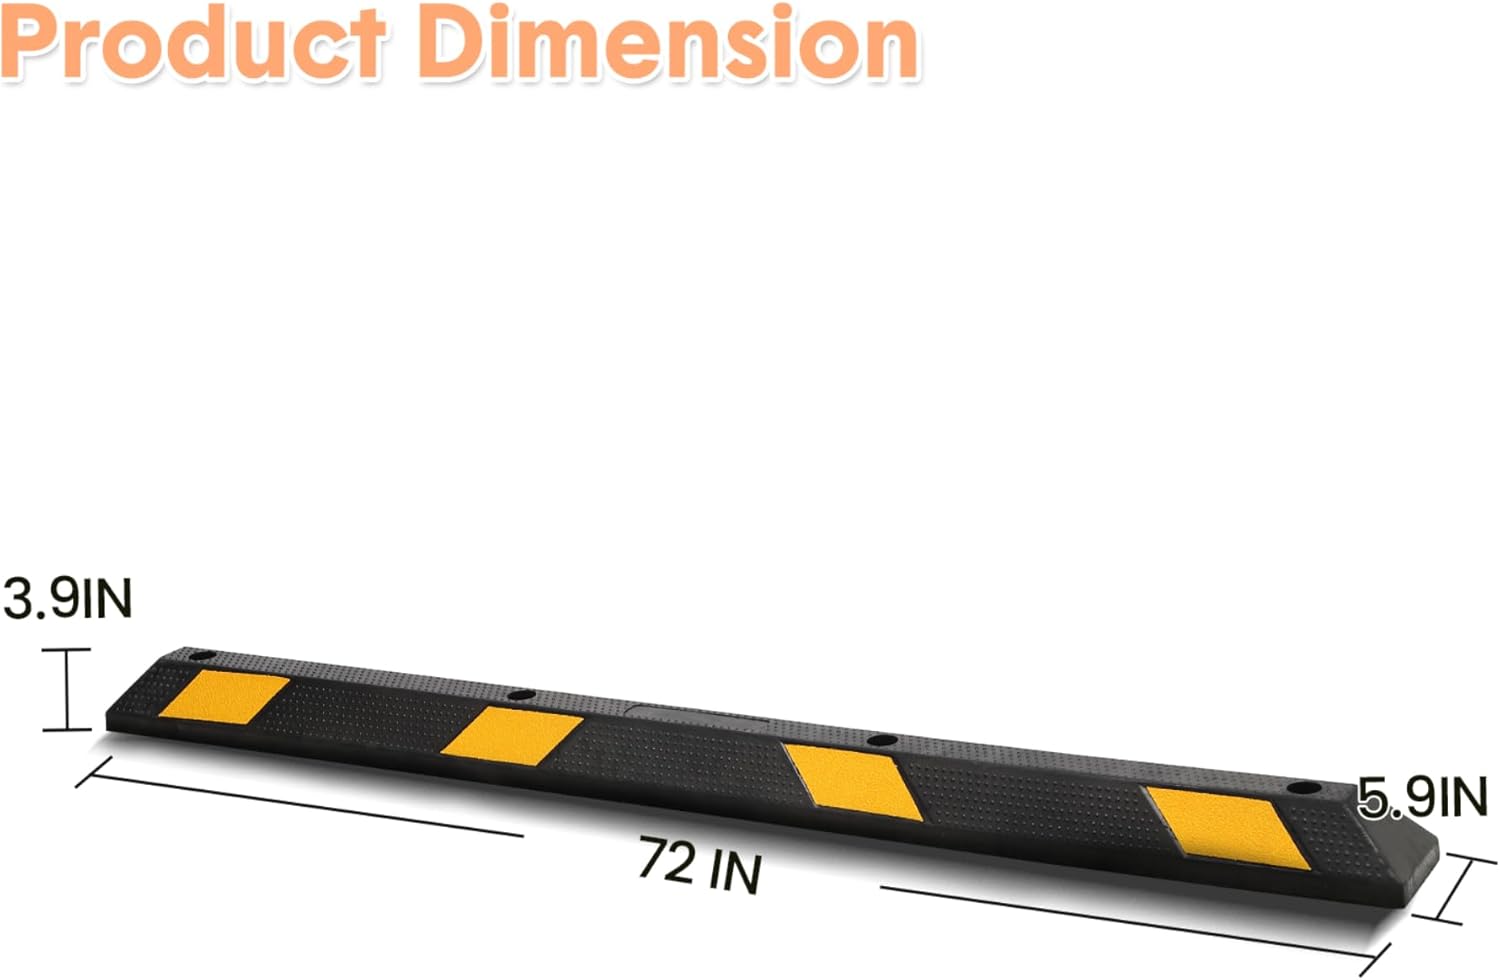
Image 4.1: Product dimension diagram.
5. Setup and Installation
Follow these steps for secure installation of your Towallmark parking curbs:
- Prepare the Surface: Ensure the installation surface (concrete, asphalt, or garage floor) is clean, flat, and free of debris to prevent shifting.
- Position the Curb: Place the rubber parking curb in the desired location. Mark the positions of the pre-drilled holes on the surface.
- Pilot Drill: Using an appropriate drill bit for your surface, pilot drill each marked hole. Remove the parking curb.
- Deepen Holes: Drill each hole again to the required depth for the provided hardware.
- Insert Hardware: Reposition the parking curb over the drilled holes. Insert the hammer inserts (if applicable) into each hole, then secure with the provided screws or bolts.
- Tighten Securely: Tighten all hardware firmly to ensure maximum stability. Do not overtighten.
Important Installation Notes:
- Always use the pre-drilled holes and provided hardware for optimal security.
- Regularly check that mounting bolts or hardware remain tight and secure, especially after heavy use or exposure to extreme weather.

Image 5.1: Step-by-step installation guide for the parking curb.
6. Operating Instructions
The parking curbs are designed to provide a clear stopping point for vehicles. To use effectively:
- Approach Slowly: Drive your vehicle slowly towards the parking curb until your tires make contact.
- Stop Gently: The curb will provide a tactile and audible signal to stop, preventing you from overshooting your parking spot.
- Proper Positioning: Position the parking curb in a location that provides enough space for your vehicle to stop safely without interfering with doors, walkways, or other obstacles.
Safety Precautions:
- Do not exceed the weight capacity of 44,000 pounds to avoid damaging the curb or your vehicle.
- Always exercise caution when parking, even with the aid of parking curbs.
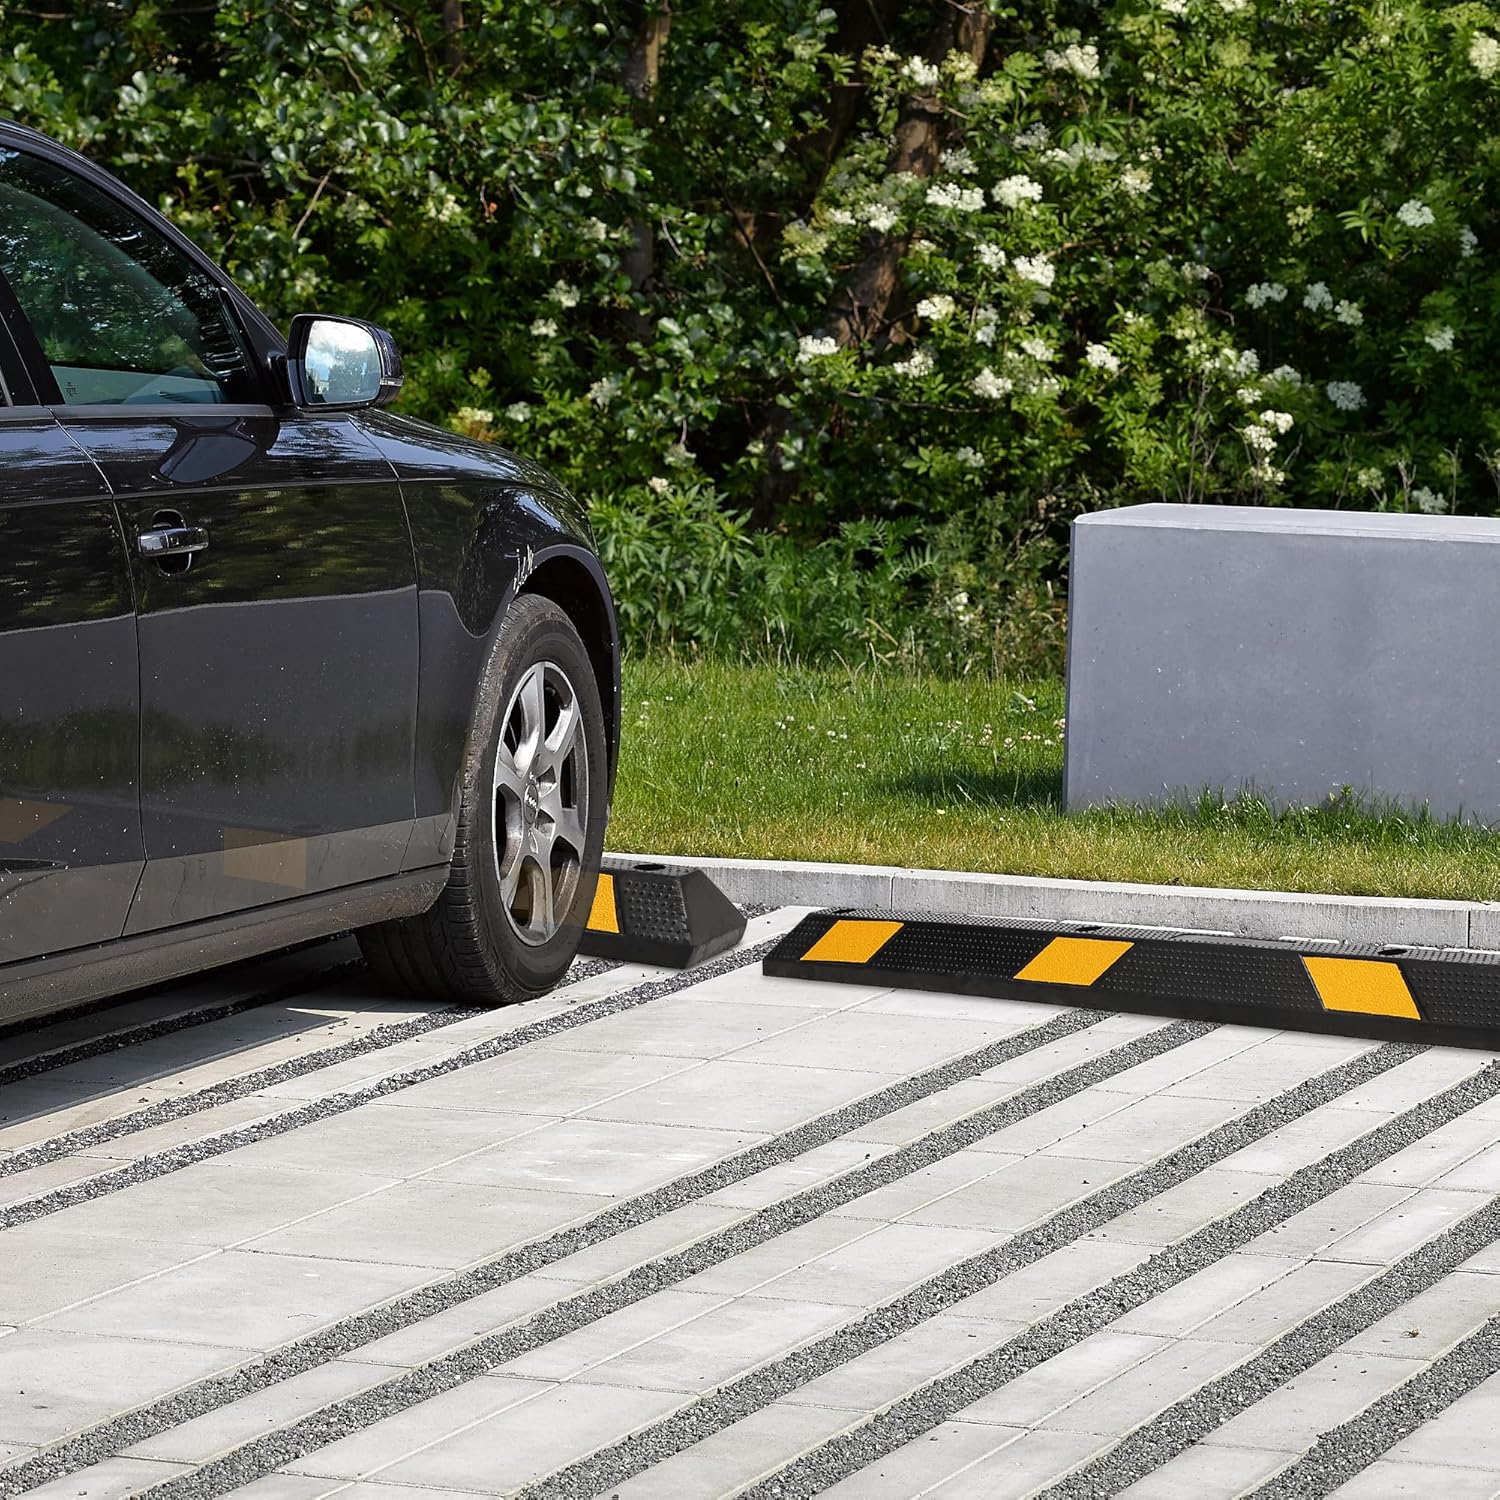
Image 6.1: A vehicle correctly parked against a Towallmark parking curb.

Image 6.2: Examples of Towallmark parking curbs in different usage scenarios.
7. Maintenance
To ensure the longevity and effectiveness of your parking curbs:
- Regular Inspection: Periodically inspect the parking curbs for any signs of damage, cracking, or excessive wear.
- Check Hardware: Regularly verify that the mounting bolts or screws are tight and secure. Re-tighten if necessary.
- Cleaning: If the reflective strips or rubber surface become dirty, clean with mild soap and water. Avoid harsh chemicals that could degrade the material.
8. Troubleshooting
Here are solutions to common issues you might encounter:
- Curb is Shifting: This usually indicates loose mounting hardware or an uneven installation surface. Re-tighten all bolts/screws. If the surface is uneven, consider re-installing on a flatter area or shimming as appropriate.
- Reflective Strips Losing Brightness: Clean the reflective strips with mild soap and water to remove dirt and grime that may be obscuring their visibility.
- Visible Damage to Curb: If the rubber curb shows significant cracks, breaks, or deformation that compromises its function or safety, it should be replaced.
9. Warranty and Support
Towallmark products are manufactured to high-quality standards. For any questions, concerns, or support regarding your parking curbs, please refer to your purchase documentation or contact Towallmark customer service.
You can also visit the official Towallmark store for more information: Towallmark Store