
1. Introduction
The SKYBASIC Children's Digital Microscope is a portable and easy-to-use scientific tool designed for exploring the microscopic world. Featuring a 2.0-inch IPS color display and up to 1000x magnification, it allows users to observe intricate details of various objects. This device supports both photo and video recording and can be connected to a PC for a larger viewing experience.
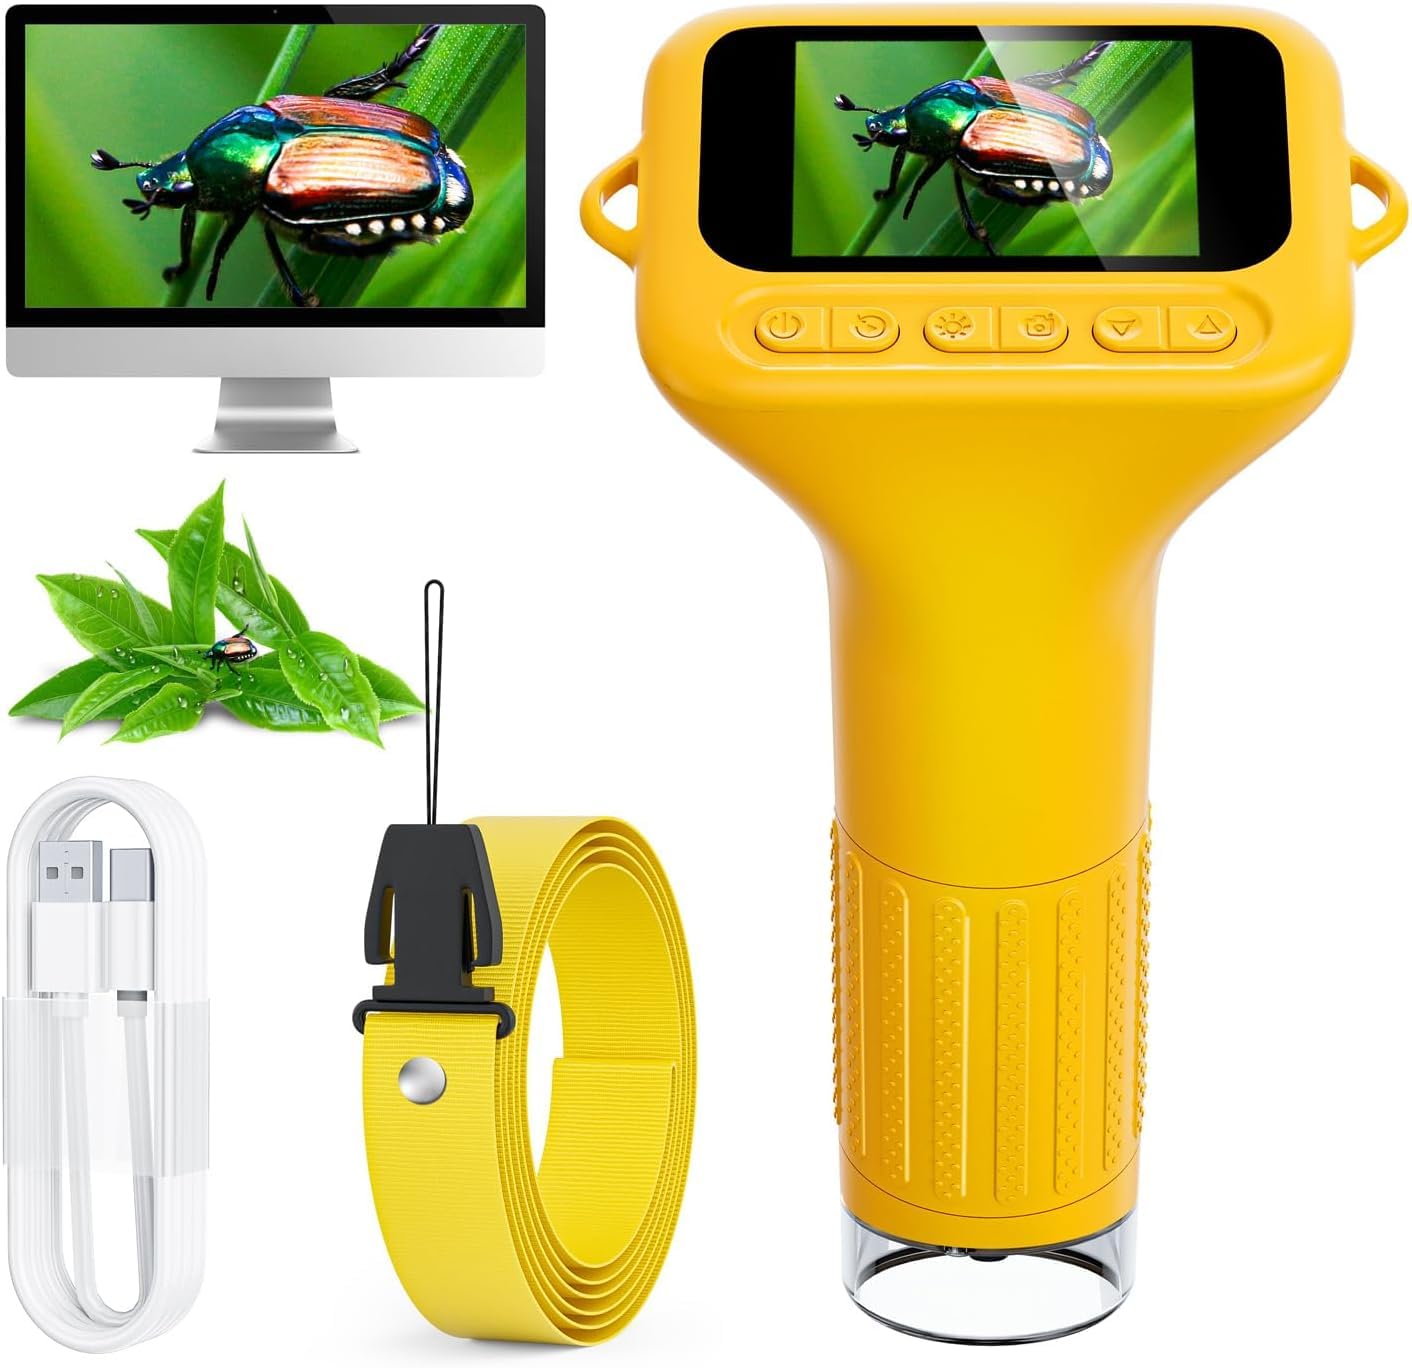
Figure 1.1: The SKYBASIC Children's Digital Microscope in yellow.
2. Package Contents
Please verify that all items listed below are included in your package:
- Digital Microscope Unit (x1)
- Carrying Strap (x1)
- USB Cable (x1) - Note: Power adapter is not included.
- Instruction Manual (x1)
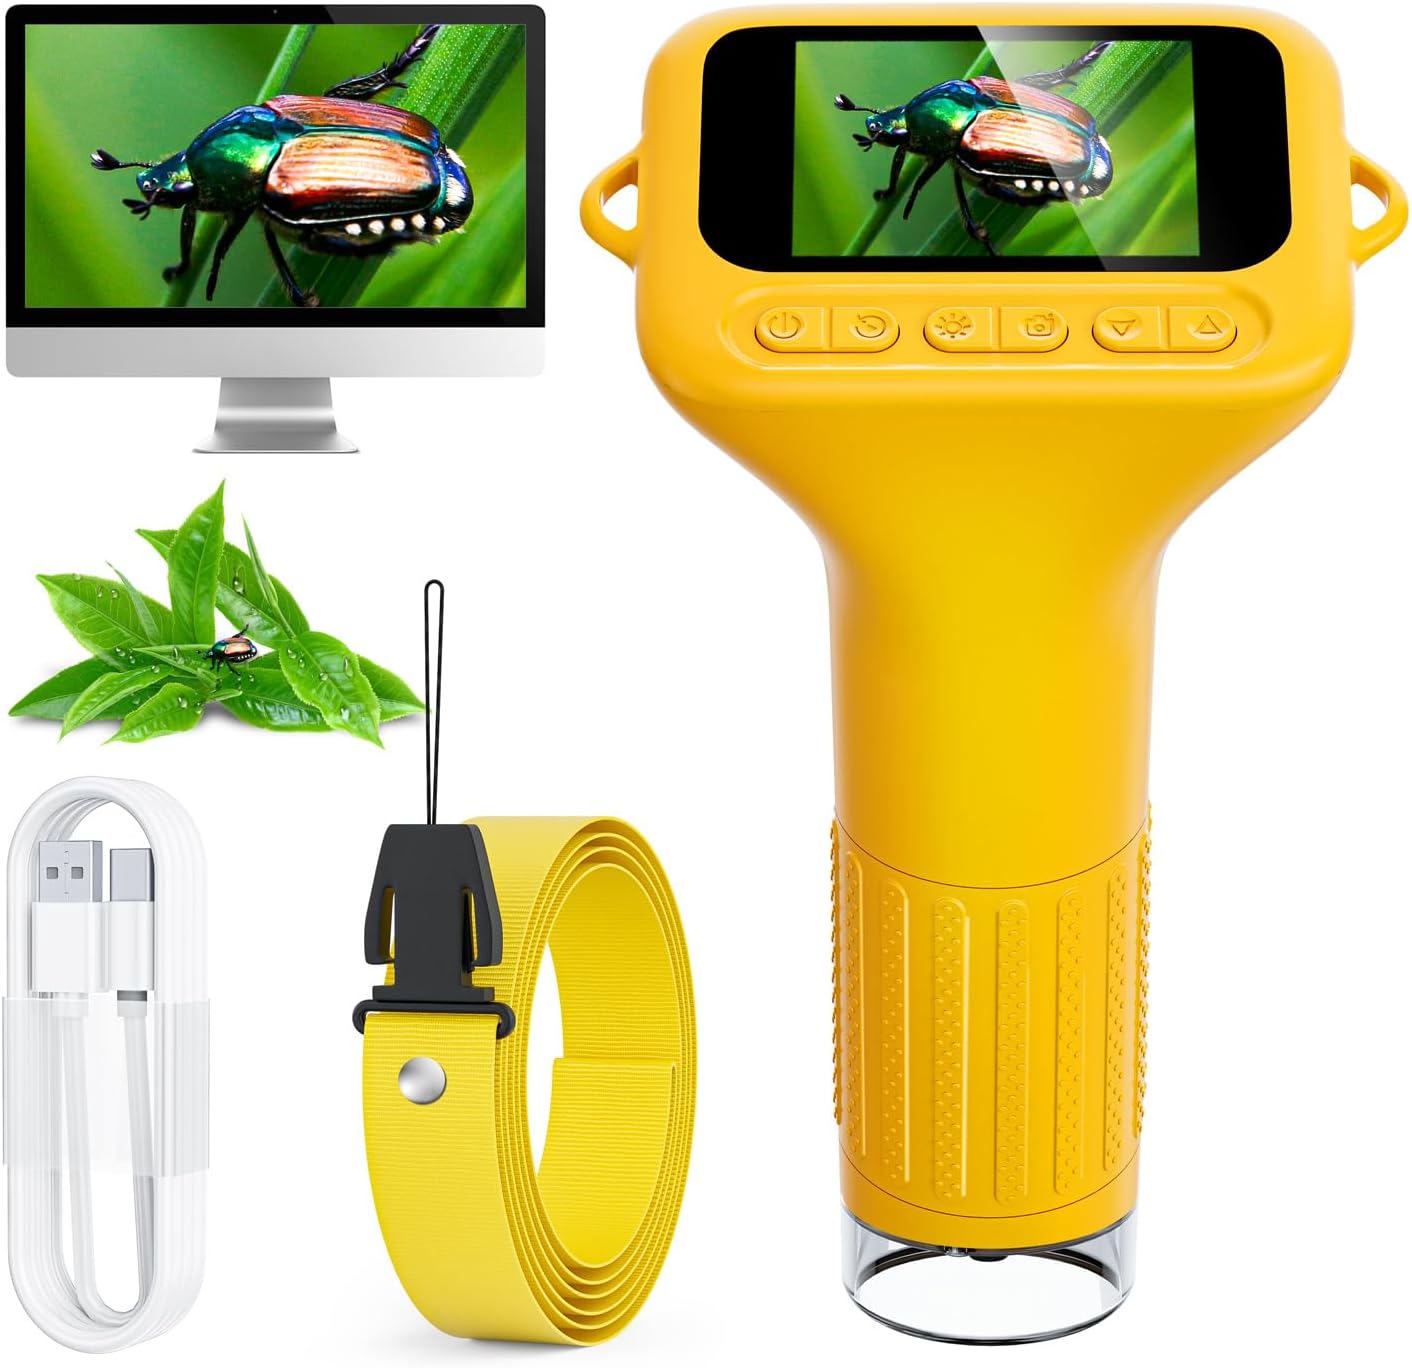
Figure 2.1: Included accessories: microscope, USB cable, and carrying strap.
3. Parts Diagram
Familiarize yourself with the various components and controls of your digital microscope.
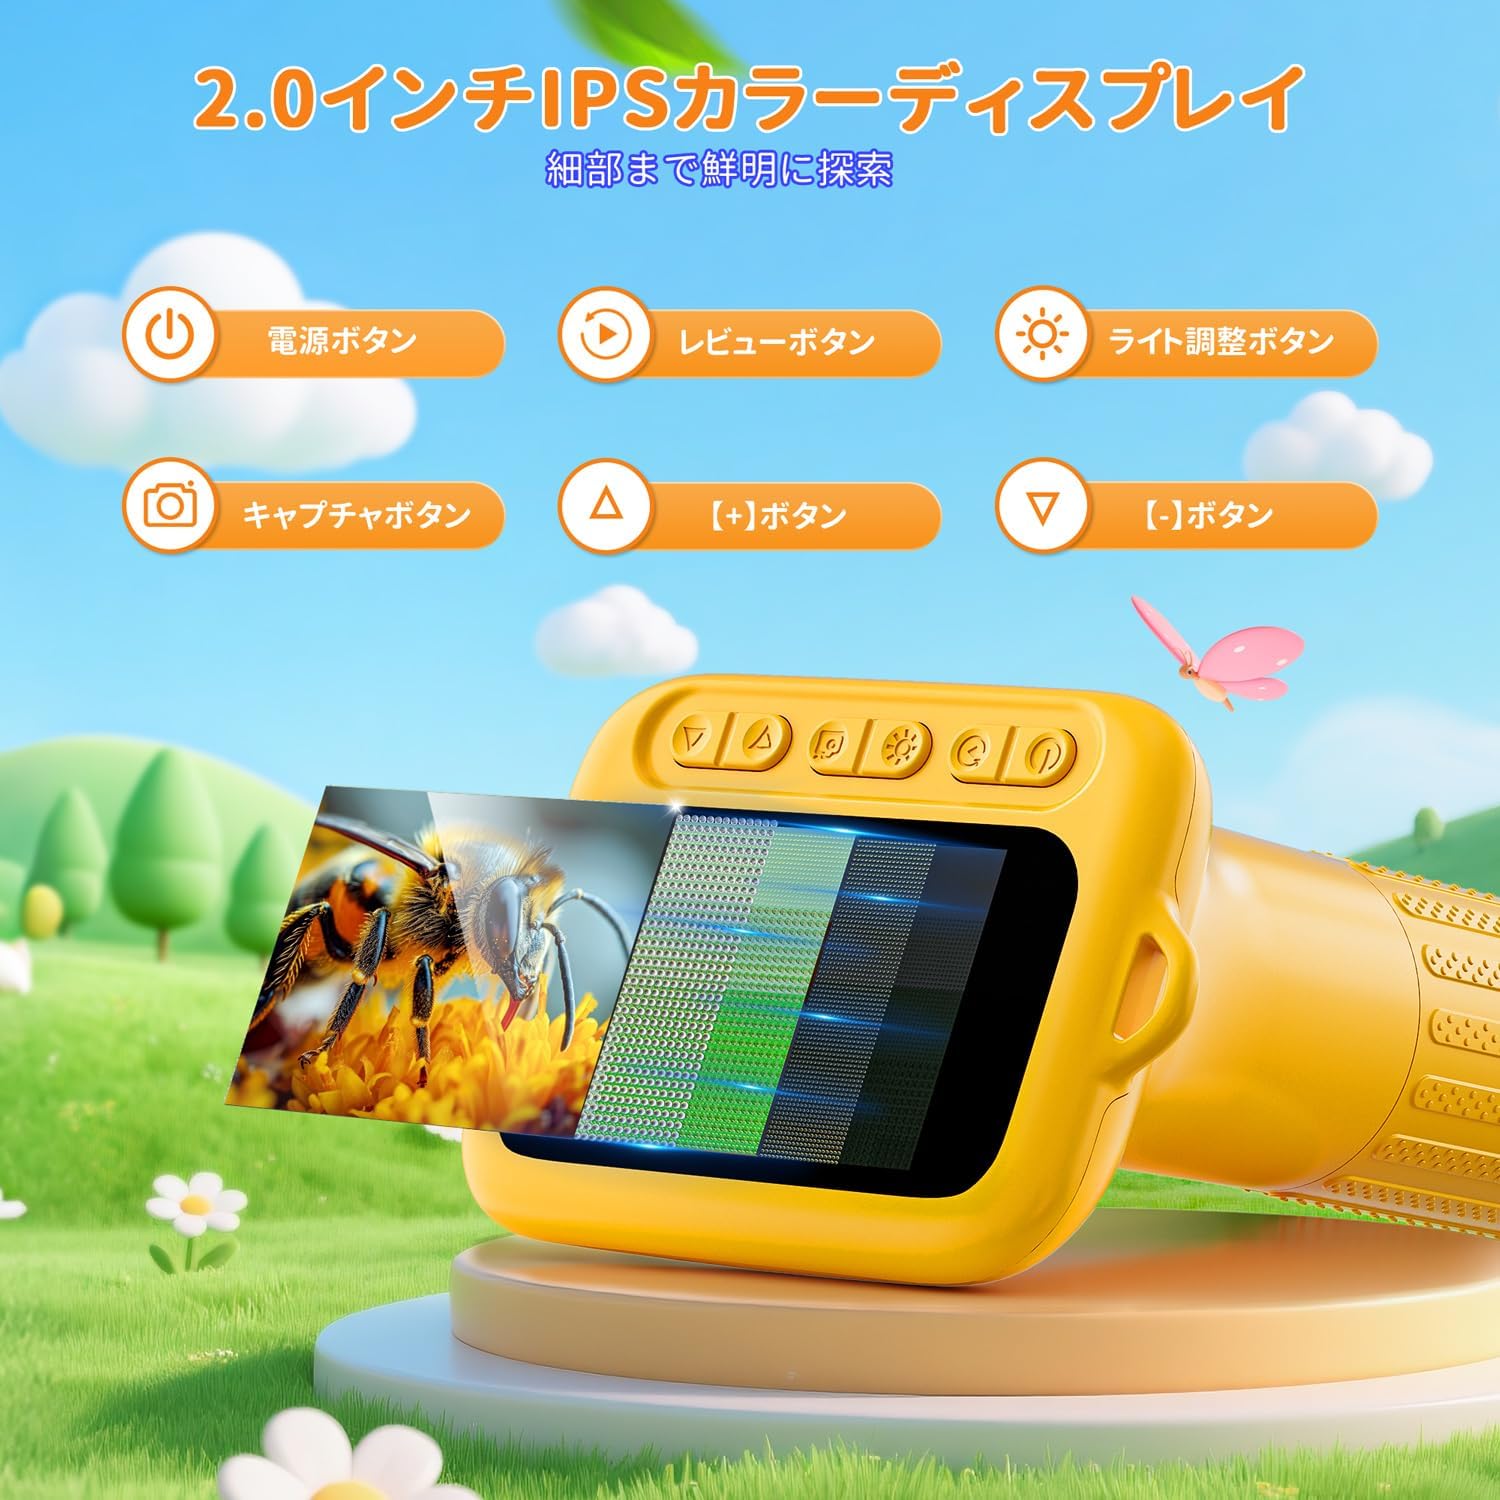
Figure 3.1: Front view with controls. 1. Power Button, 2. Review Button, 3. Light Adjustment Button, 4. Capture Button, 5. [+] Button, 6. [-] Button.

Figure 3.2: Lens and LED illumination system. The microscope features a high-resolution lens and 8 adjustable LED lights for optimal viewing.
4. Setup
4.1. Charging the Device
Before first use, fully charge the microscope. Connect the provided USB cable to the microscope's charging port and to a USB power source (e.g., computer, USB wall adapter). The charging indicator will show the charging status.
4.2. Powering On/Off
Press and hold the Power Button (1) for a few seconds to turn the microscope on or off. The 2.0-inch IPS screen will illuminate.
4.3. Attaching the Carrying Strap
Attach the yellow carrying strap to the designated loop on the microscope for easy portability and to prevent accidental drops.
5. Operation
5.1. Observing Objects
- Turn on the microscope using the Power Button.
- Place the microscope's lens directly over the object you wish to observe.
- Rotate the Focus Wheel (located on the barrel of the microscope) to adjust the focus until the image on the screen is clear.
- Use the Light Adjustment Button (3) to cycle through different LED brightness levels for optimal illumination.

Figure 5.1: Adjusting focus for clear observation.
5.2. Capturing Photos and Videos
The microscope supports one-touch photo and video recording.
- To take a photo: Press the Capture Button (4) once. The image will be saved to the internal storage. The microscope can store approximately 200 photos internally without an SD card.
- To record a video: Press and hold the Capture Button (4) to start recording. Press again to stop. Note: A TF (microSD) card (up to 64GB, not included) is required for video recording.
5.3. Reviewing Captured Media
Press the Review Button (2) to enter playback mode. Use the [+] Button (5) and [-] Button (6) to navigate through your photos and videos.
5.4. PC Connection
Connect the microscope to a computer using the provided USB cable to view observations on a larger screen or transfer files.
- Connect the microscope to your PC via the USB cable.
- The microscope will be recognized as a webcam or storage device.
- Compatible operating systems include Windows Vista/XP/7/8/10/11 and macOS X 11.0 or later.
- Note: Apple laptops equipped with a Type-C interface are not supported for direct connection.

Figure 5.2: Connecting the microscope to a PC.
6. Maintenance
6.1. Cleaning
- Use a soft, dry cloth to clean the microscope's body.
- For the lens, use a specialized lens cleaning cloth and solution to avoid scratches.
- Do not use abrasive cleaners or solvents.
6.2. Storage
- Store the microscope in a cool, dry place away from direct sunlight and extreme temperatures.
- Keep it away from dust and moisture.
- Ensure the device is turned off before storing.
7. Troubleshooting
| Problem | Possible Cause | Solution |
|---|---|---|
| Device does not turn on. | Low battery. | Charge the device using the USB cable. |
| Image is blurry. | Incorrect focus. | Rotate the Focus Wheel to adjust. |
| Screen is too dark/bright. | LED brightness needs adjustment. | Press the Light Adjustment Button to change brightness. |
| Cannot record video. | No TF (microSD) card inserted. | Insert a compatible TF card (up to 64GB). |
| PC connection not working. | Incorrect cable, unsupported OS, or driver issue. | Ensure correct USB cable is used. Verify OS compatibility. Try a different USB port. |
8. Specifications
- Brand: SKYBASIC
- Model Number: inskam375 (SK-375-Y-X-JP)
- Light Source Type: LED
- Color: Yellow
- Actual Angle of View: 30 degrees
- Maximum Magnification: 1000X
- Objective Lens Description: High-resolution lens
- PC Compatibility: Windows Vista/XP/7/8/10/11, macOS X 11.0 and above (Type-C Apple laptops not supported)
- Internal Storage: Approximately 200 photos (no TF card needed for photos)
- External Storage: Supports TF card up to 64GB (for video recording)
9. Warranty and Support
SKYBASIC is committed to providing high-quality products and reliable service. If you encounter any issues or have questions regarding your SKYBASIC Children's Digital Microscope, please do not hesitate to contact our friendly support team. We are dedicated to ensuring your complete satisfaction.
For assistance, please refer to the contact information provided with your purchase or visit the official SKYBASIC website.