Introduction
Thank you for choosing the LUXOAK 70 Inch TV Stand. This manual provides detailed instructions for assembly, operation, maintenance, and troubleshooting to ensure safe and proper use of your new furniture. Please read this manual thoroughly before beginning assembly and retain it for future reference.
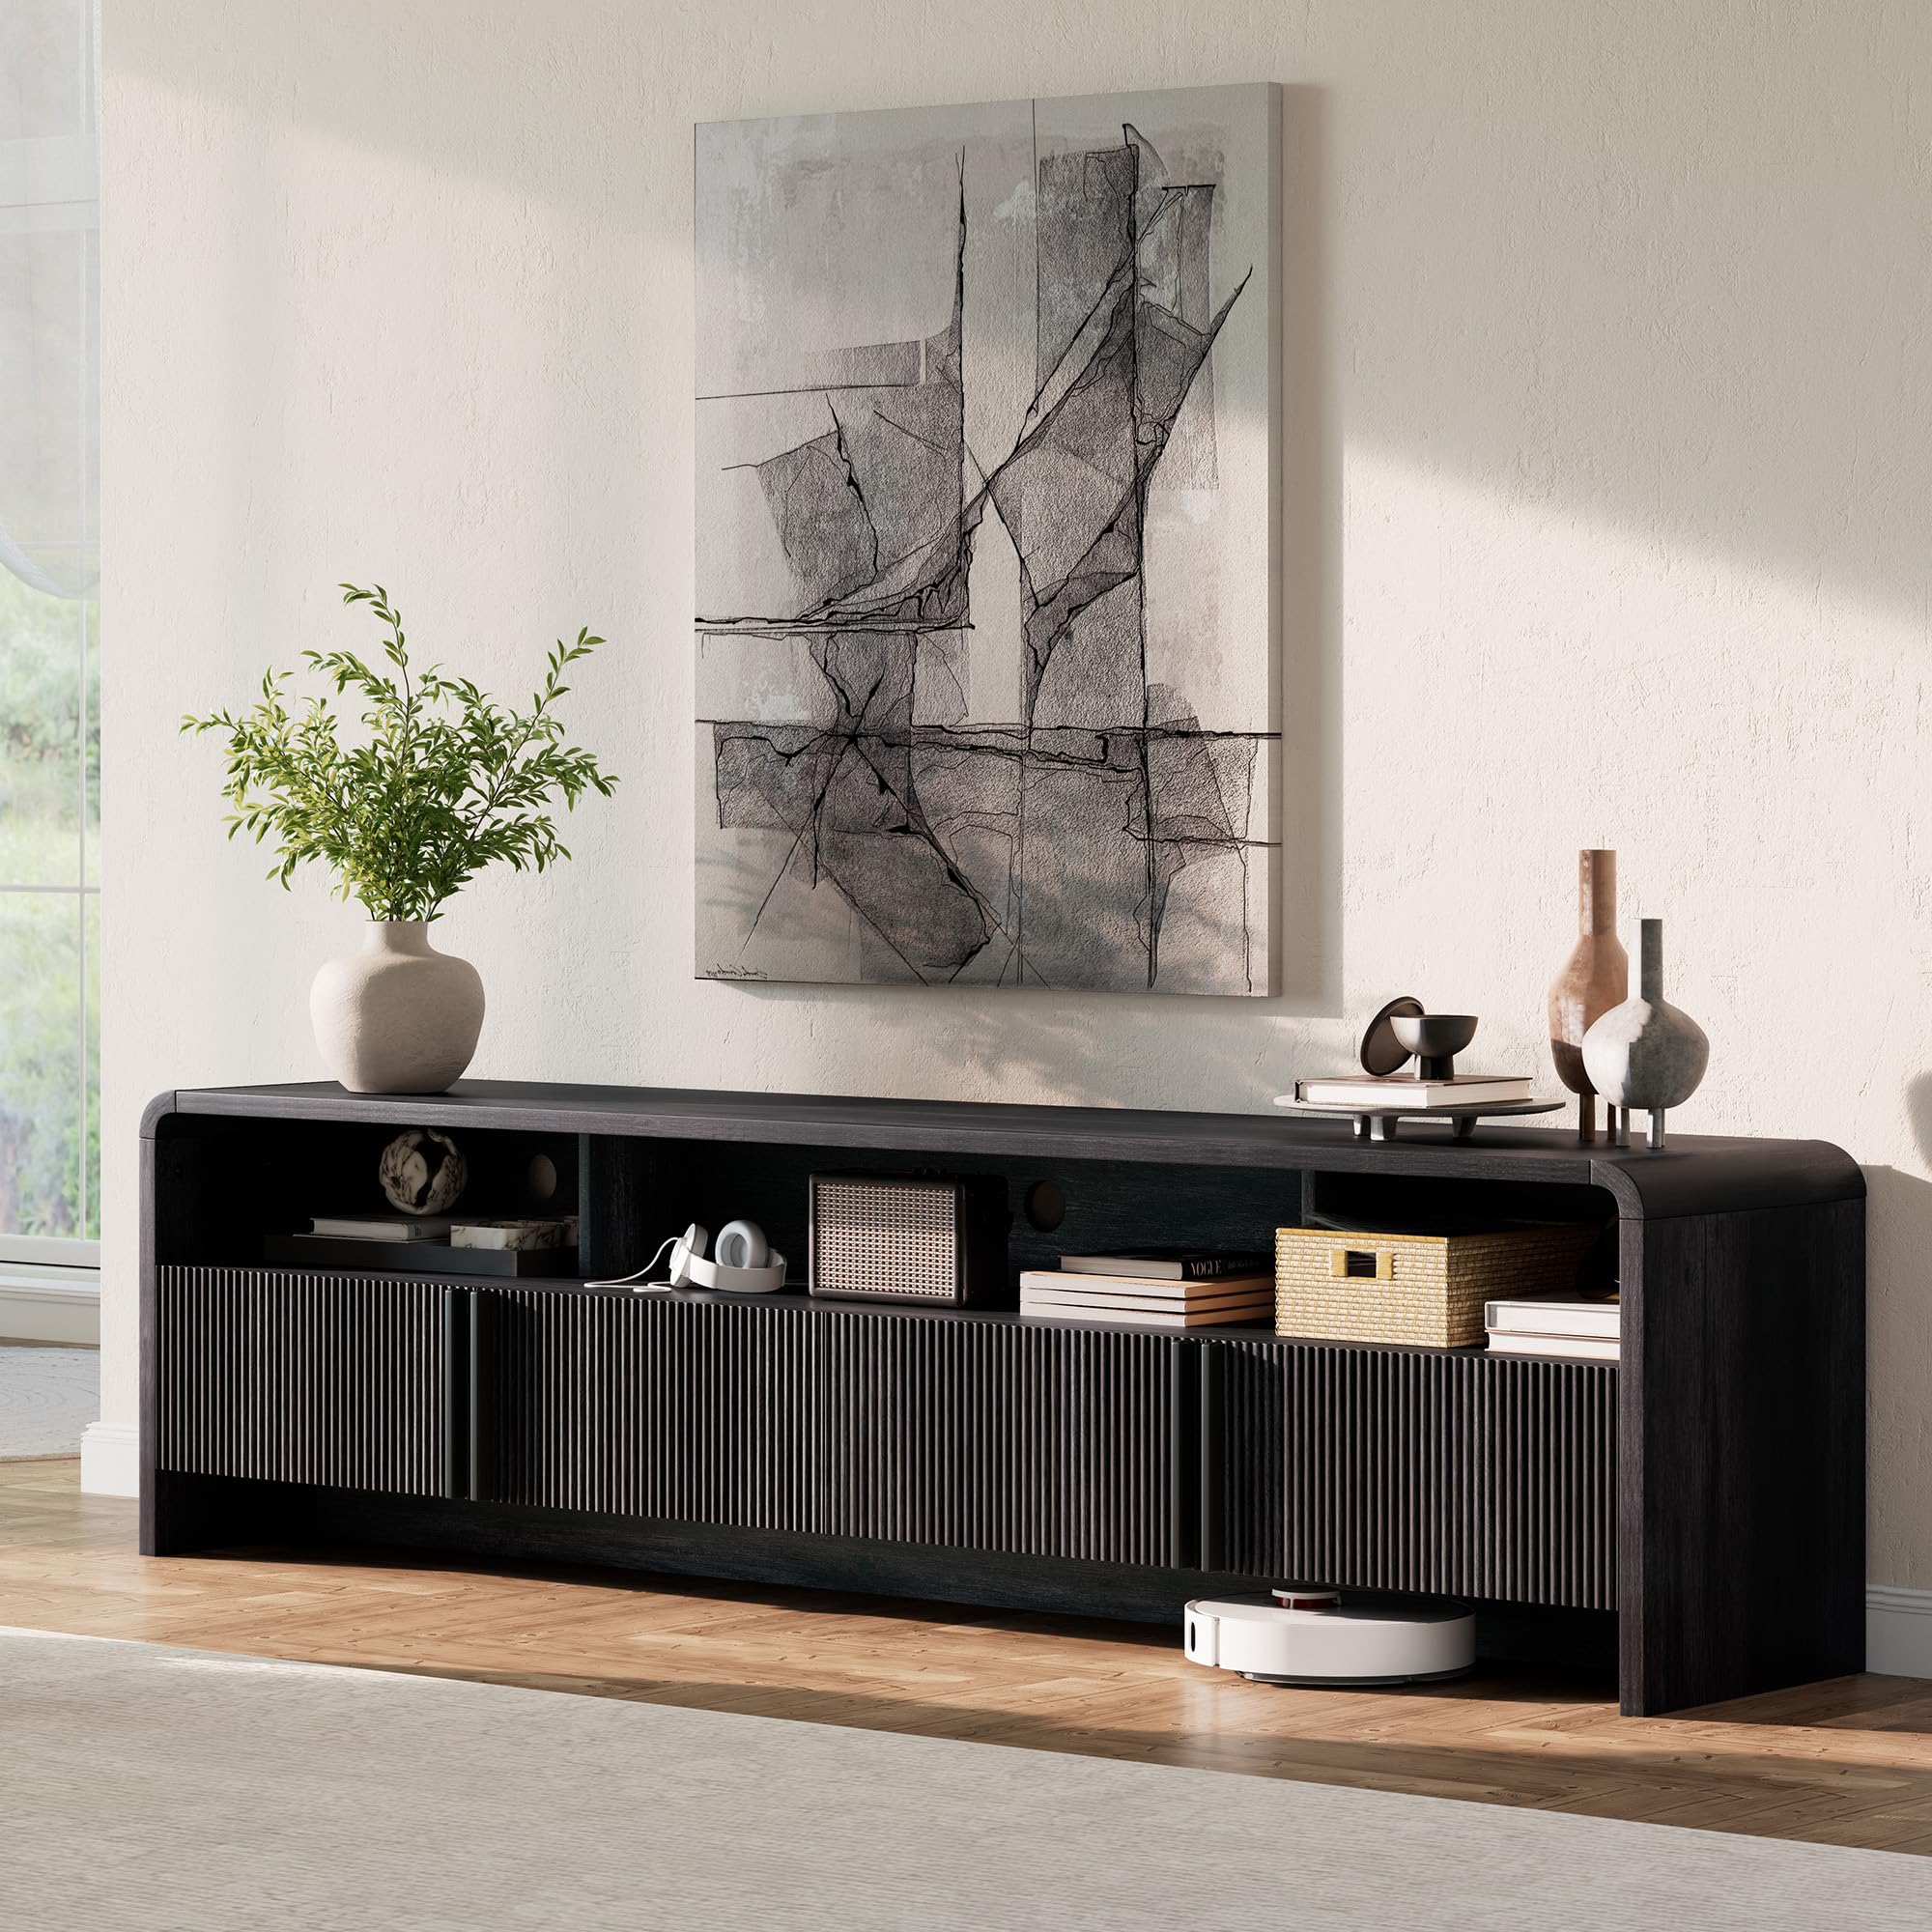
Figure 1: LUXOAK 70 Inch TV Stand, front view. This image displays the overall design of the TV stand, featuring its dark grey finish and vertical textured doors.
Safety Information
Important Safety Instructions:
- Always secure the furniture to the wall using the included anti-tip kit to prevent tipping. This is crucial for safety, especially in households with children or pets.
- Keep away from children and pets during assembly and ensure all small parts are out of reach.
- Do not overload the TV stand. Refer to the specifications section for weight limits.
- Ensure all screws and fasteners are tightened securely before use. Periodically check and re-tighten as necessary.
Package Contents
Before assembly, verify that all components listed below are present and undamaged. If any parts are missing or damaged, please contact customer support.
| Component | Description | Quantity |
|---|---|---|
| Top Panel | Main tabletop surface | 1 |
| Side Panels | Left and Right side supports | 2 |
| Bottom Panel | Base of the TV stand | 1 |
| Shelf Panels | Internal shelves for storage | Varies |
| Back Panels | Rear support panels | Varies |
| Cabinet Doors | Fluted front doors | 2 |
| Hardware Pack | Screws, dowels, hinges, handles, anti-tip kit | 1 |
| Assembly Instructions | Printed guide | 1 |
Setup and Assembly
The LUXOAK TV Stand is designed for straightforward assembly. Pre-drilled components and included instructions allow two adults to complete assembly in approximately 30 minutes. We recommend assembling on a soft, clean surface to prevent scratches.
Before You Begin

Figure 2: Assembly overview. This image illustrates that assembly requires multiple steps, is recommended for two adults, and includes necessary tools.
- Tools Required: A Phillips head screwdriver is typically sufficient.
- Two-Person Assembly: For ease and safety, two adults are recommended for assembly.
- Clear Workspace: Ensure you have enough space to lay out all components.
Assembly Steps (General Guide)
- Unpack all components and hardware. Verify against the package contents list.
- Attach cam locks and dowels to the designated panels as per the included diagram.
- Connect the side panels to the bottom panel, ensuring proper alignment.
- Insert internal shelves and secure them.
- Attach the top panel to the assembled structure.
- Install the cabinet doors using the provided hinges. Refer to the troubleshooting section for door alignment adjustments.
- Attach the pine wood handles to the cabinet doors.
- Install the anti-tip device to the back of the TV stand and secure it to a wall stud.

Figure 3: Product details display. This image highlights the pine wood handle, cable management feature, and soft-close hinges for smooth operation.
Operating Instructions
The LUXOAK TV Stand is designed for convenient media storage and display.
Media Device Placement
- Place your television on the wide tabletop. Ensure the TV base fits securely within the stand's dimensions.
- Utilize the three open compartments for media devices such as soundbars, DVD players, or gaming consoles.
- The two enclosed cabinets provide discreet storage for other items, keeping your living space tidy.

Figure 4: Ample storage space. This image demonstrates the versatile storage options for game consoles, routers, books, and decorative items.
Cable Management
The TV stand features built-in cable management holes in the back panels of the open compartments. Route your device cables through these openings to keep them organized and out of sight, contributing to a cleaner aesthetic.
Maintenance
Proper care will help maintain the appearance and longevity of your LUXOAK TV Stand.
- Cleaning: The matte surface is easy to clean. Wipe with a soft, damp cloth. Avoid harsh chemicals or abrasive cleaners, which can damage the finish.
- Spills: Immediately wipe up any spills to prevent staining or damage to the engineered wood.
- Sunlight: Avoid prolonged exposure to direct sunlight to prevent fading.
- Heat: Do not place hot items directly on the surface. Use coasters or protective pads.
- Hardware: Periodically check all screws and fasteners to ensure they remain tight. Re-tighten if necessary.
Troubleshooting
This section addresses common issues you might encounter with your TV stand, particularly regarding door alignment.
Cabinet Door Alignment
If your cabinet doors appear misaligned (uneven gaps, not level, or not flush), you can adjust them using the hinges. The hinges allow for three-way adjustment.

Figure 5: Hinge adjustment guide. This diagram illustrates how to use screws A, B, and C on the hinges to correct door gaps, level, and depth for perfect alignment.
- Adjusting Side-to-Side (Gap between doors): Adjust screw C on the hinge to micro-adjust the door horizontally.
- Adjusting Up and Down (Door not level): Loosen screws A on the mounting plate to adjust the door vertically. Re-tighten once level.
- Adjusting In and Out (Door depth not even): Loosen screws B on the hinge arm to adjust the door's depth. Re-tighten once flush.
Video Guide: Align Cabinet Doors
Video 1: This video demonstrates how to quickly align the cabinet doors using the hinge adjustment screws, covering common scenarios for gaps, leveling, and depth.
Specifications
Detailed specifications for the LUXOAK 70 Inch TV Stand (Model CTS112).

Figure 6: Product specifications. This image provides a visual representation of the TV stand's dimensions and a table detailing its key measurements and weight capacities.
| Feature | Detail |
|---|---|
| Model Number | CTS112 |
| Brand | LUXOAK |
| Overall Dimensions (L x W x H) | 70.1" x 15.7" x 19.7" |
| Material Type | Engineered Wood |
| Item Weight | 88.1 Pounds |
| Top Load Capacity | Up to 250 lbs (accommodates TVs up to 80 inches) |
| Shelf Load Capacity | 110 lbs (estimated, based on similar products and general usage) |
| Assembly Required | Yes (approx. 30 minutes for two adults) |
| Additional Features | 3 Open Cubbies & 2 Storage Cabinets, Elegant Curved Edge Design, Fluted Door Panel, Modern Minimalist Style, Stable Lowboard Structure, Cable Management |
Warranty and Support
Warranty Information
Specific warranty details are typically provided with your purchase documentation. Please refer to the warranty card or contact the seller directly for information regarding coverage and terms. Generally, products are covered against manufacturing defects for a limited period from the date of purchase.
Customer Support
If you have any questions, require assistance with assembly, or need to report missing/damaged parts, please contact the seller or manufacturer through your purchase platform. Provide your order number and product model (CTS112) for faster service.