1. Introduction
Thank you for choosing the GarveeHome 73-inch Tall Narrow Arched Bookcase. This metal arched storage cabinet with a glass door and drawer is designed to provide elegant and functional storage for your living room, kitchen, or office. Its slim, space-saving design and modern aesthetic make it a versatile addition to any home. This manual provides detailed instructions for assembly, operation, maintenance, and safety to ensure you get the most out of your new cabinet.
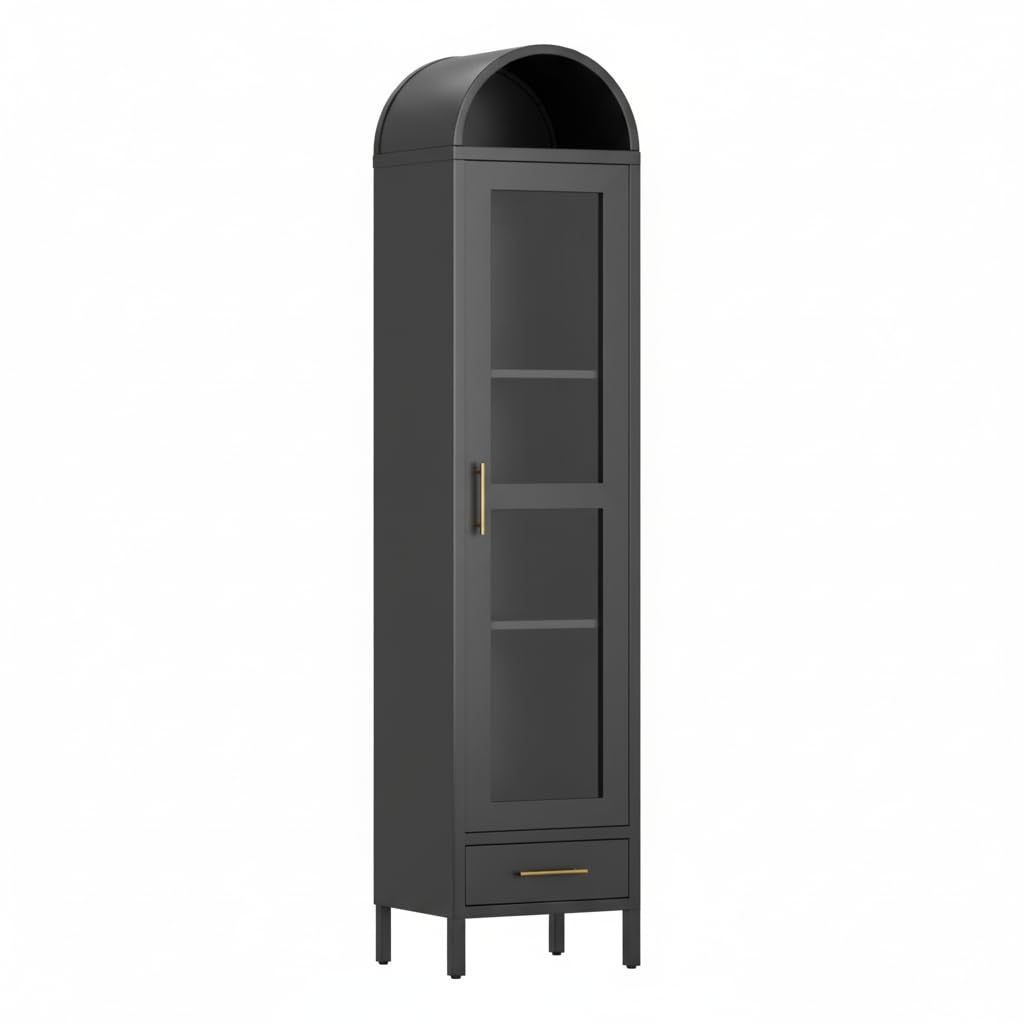
Image 1: The GarveeHome 73-inch Tall Narrow Arched Bookcase. This image displays the overall design of the black metal cabinet, highlighting its arched top, glass door for display, and a convenient lower drawer for concealed storage.
2. Safety Guidelines
Please read and follow these safety guidelines carefully to prevent injury and damage to the product.
- Before Assembly: Carefully unpack all parts and verify that all components and hardware are included. Do not proceed with assembly if any parts are missing or damaged.
- Assembly Surface: Assemble the cabinet on a flat, stable, and clean surface to ensure proper setup and prevent scratching.
- Hardware Usage: Use only the labeled parts and hardware provided. Avoid over-tightening screws to prevent damage to the metal frame and powder coating.
- Anti-Tip Kit: Always install the included anti-tip safety kit to anchor the cabinet to the wall. This is crucial for stability and preventing accidental tipping, especially in households with children or pets.
- Placement: Keep the cabinet away from direct sunlight, excessive moisture, and heat sources (e.g., radiators, fireplaces) to preserve the finish and avoid rusting or warping.
- Weight Distribution: Distribute weight evenly on shelves and in the drawer. Do not overload the cabinet.
- Moving the Cabinet: When moving the cabinet, empty it first and lift it carefully. Do not drag the cabinet, as this may damage the legs or floor.
3. Package Contents
Before beginning assembly, ensure all the following components are present and undamaged:
- Metal Arched Cabinet Frame components (various panels and supports)
- Glass Door panel(s)
- Drawer components
- Shelves (if applicable)
- Hardware pack (screws, bolts, cam locks, hinges, drawer slides, etc.)
- Anti-tip safety kit (wall anchor, strap, screws)
- Assembly tools (e.g., Allen wrench, screwdriver - may be included)
- Instruction Manual (this document)
If any parts are missing or damaged, please contact GarveeHome customer support immediately.
4. Setup and Assembly
Assembly is designed to be straightforward. Follow these step-by-step instructions carefully. It is recommended to have a second person assist with assembly for safety and ease.
- Prepare the Area: Clear a spacious, flat, and clean area for assembly. Lay down the protective foam packaging or a blanket to prevent scratches to the cabinet parts and your floor.
- Identify Parts: Unpack all components and lay them out. Refer to the included parts diagram (if provided) to identify each piece. All parts are clearly labeled.
- Assemble the Base Frame: Begin by connecting the base frame components using the specified hardware. Ensure all connections are secure but do not fully tighten screws until instructed.
- Attach Side Panels: Secure the side panels to the base frame. Pay attention to the orientation of each panel.
- Install Shelves: Insert any fixed or adjustable shelves into their designated slots or attach them with the appropriate hardware.
- Assemble the Drawer: Follow the specific instructions for assembling the drawer box and installing the drawer slides onto both the drawer and the cabinet frame.
- Attach the Glass Door: Carefully attach the hinges to the glass door and then to the cabinet frame. Adjust the hinges as needed to ensure the door closes properly and aligns evenly.
- Install the Arched Top: Secure the arched top section to the main cabinet frame.
- Final Tightening: Once all major components are assembled and aligned, go back and securely tighten all screws and bolts. Do not overtighten.
- Install Anti-Tip Kit: Position the cabinet in its desired location. Attach the anti-tip strap to the back of the cabinet and then securely anchor it to a wall stud using the provided hardware. This step is critical for safety.
Refer to the detailed step-by-step guides and diagrams included in your packaging for visual assistance during assembly.
5. Operating Instructions
The GarveeHome Arched Bookcase is designed for displaying and storing various items.
- Display Area: Use the glass-enclosed shelves to showcase books, decorative items, china, or collectibles. The glass door protects items from dust while keeping them visible.
- Drawer Storage: The lower drawer provides concealed storage for items you wish to keep out of sight, such as remotes, documents, or small accessories.
- Weight Capacity: Avoid placing excessively heavy items on the shelves or in the drawer. Refer to the product specifications for maximum weight limits per shelf/drawer if available.
- Door Operation: Open and close the glass door gently to prevent stress on the hinges and glass.
6. Maintenance
Proper care will ensure the longevity and appearance of your GarveeHome cabinet.
- Cleaning the Frame: The powder-coated steel frame can be wiped clean with a soft, damp cloth. Avoid abrasive cleaners, harsh chemicals, or scouring pads, as these can damage the finish.
- Cleaning the Glass: Use a standard glass cleaner and a soft, lint-free cloth for the glass door. Spray cleaner onto the cloth, not directly onto the glass, to prevent overspray onto the metal frame.
- Dusting: Regularly dust the cabinet with a dry, soft cloth to prevent dust buildup.
- Robot Vacuum Clearance: The raised base of the cabinet provides clearance for robot vacuums, allowing for easy floor cleaning underneath without moving the cabinet.
- Hardware Check: Periodically check all screws and bolts to ensure they remain tight. Retighten if necessary, but do not overtighten.
- Avoid Moisture: Wipe up any spills immediately to prevent water damage or rust.
7. Troubleshooting
If you encounter any issues with your GarveeHome cabinet, refer to these common solutions:
- Cabinet is Wobbly:
- Ensure the cabinet is on a flat, level surface.
- Check all assembly screws and bolts to ensure they are fully tightened.
- Verify the anti-tip kit is securely installed and properly anchored to the wall.
- Door Does Not Close Properly:
- Check hinge alignment. Most hinges allow for minor adjustments using a screwdriver.
- Ensure the cabinet frame is square and not twisted.
- Drawer Sticks or Does Not Slide Smoothly:
- Ensure drawer slides are correctly installed and aligned on both the drawer and the cabinet.
- Check for any obstructions in the drawer slides.
- Verify all drawer assembly screws are tight.
- Missing or Damaged Parts:
- Do not attempt to force assembly with incorrect or damaged parts.
- Contact GarveeHome customer support immediately for replacement parts.
8. Specifications
| Brand | GarveeHome |
| Model Name | XHgxHcDlk4d3ST7PrHhgXwK82f |
| Color | Black |
| Material | Powder-Coated Steel, Glass |
| Overall Dimensions (H x W x D) | 72.83 x 16.3 x 15.35 inches (185 x 41.4 x 39 cm) |
| Item Weight | 63.93 Pounds (29 kg) |
| Assembly Required | Yes |
| Anti-Tip Kit Included | Yes |
9. Warranty and Support
GarveeHome is committed to providing quality products and customer satisfaction. Your GarveeHome cabinet comes with dedicated customer support.
- Lifetime Support: GarveeHome offers lifetime support for its products. If you have any questions, concerns, or require assistance with your cabinet, please do not hesitate to contact us.
- Contact Information: For support, replacement parts, or warranty inquiries, please refer to the contact information provided in your product packaging or visit the official GarveeHome website.
- Proof of Purchase: Please retain your proof of purchase for any warranty claims or support requests.