1. Introduction
The RiVOG Portable PT-260 is a compact, ink-less thermal label printer designed for various labeling needs. It features Bluetooth 4.0 connectivity, allowing wireless operation with iOS, Android, and Windows devices. This manual provides essential information for setting up, operating, and maintaining your PT-260 printer.
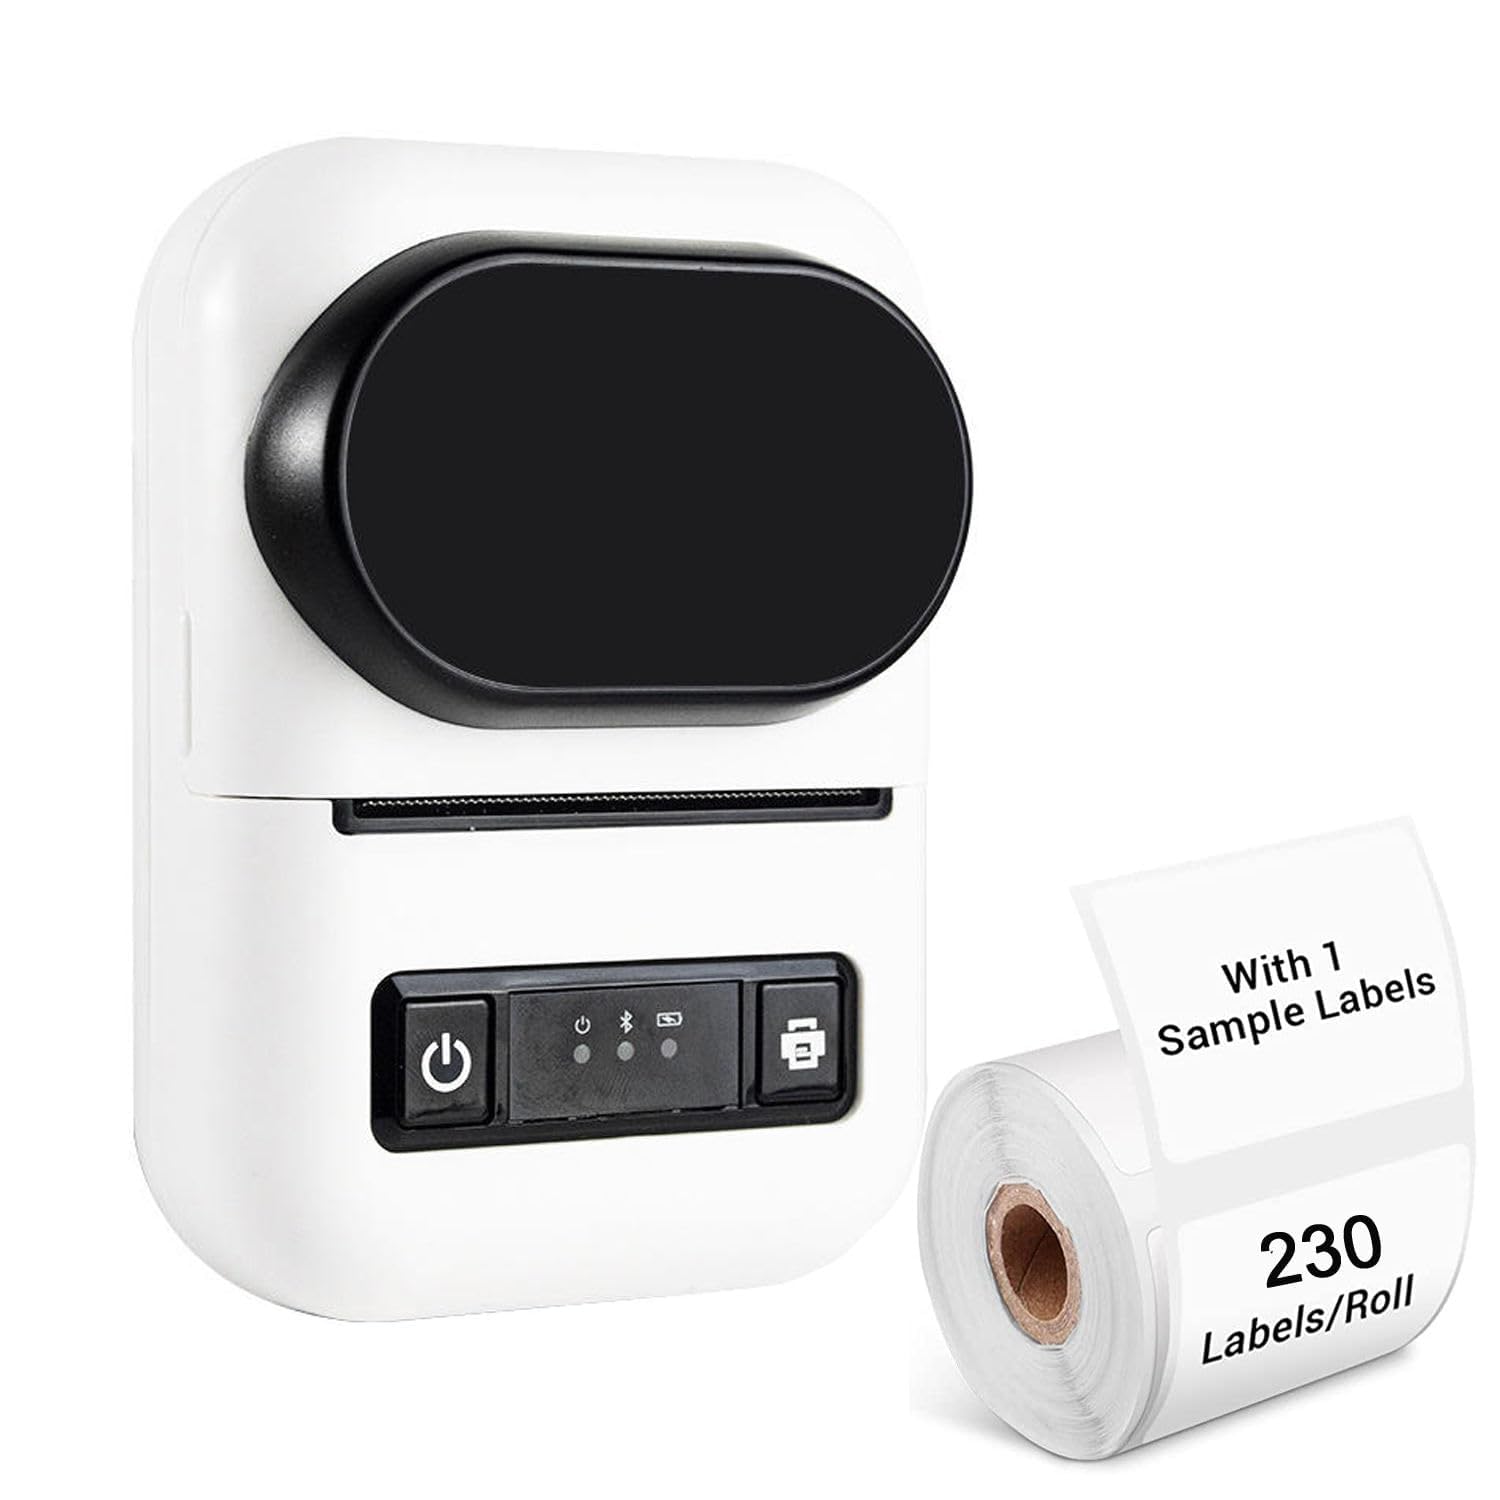
Image 1.1: RiVOG Portable PT-260 Thermal Label Printer overview.
2. Package Contents
Verify that all items are present in the package:
- 1N Thermal Printer
- 1N Pole (for paper roll)
- 1N Adapter
- 1N Charging Cable (Type-C USB)
- 1N User Manual

Image 2.1: Contents of the RiVOG PT-260 package, including the printer, adapter, charging cable, paper roll pole, and a sample paper roll.
3. Device Layout
Familiarize yourself with the main components of the PT-260 printer:
- HD Display: Shows printer status and information.
- Power Button: Turns the printer on/off.
- Cover Opening and Closing Key: Releases the top cover for paper loading.
- USB Type-C Port: For charging and wired connection.
- Paper Exit Slot: Where printed labels emerge.

Image 3.1: Front and side view of the PT-260, highlighting the HD display and the cover opening mechanism.

Image 3.2: The translucent material allows for easy monitoring of the remaining paper roll.
4. Initial Setup
4.1 Charging the Printer
Before first use, fully charge the printer. Connect the provided Type-C USB cable to the printer and the adapter to a power outlet. The 1500mAh battery typically takes 2-4 hours to fully charge.

Image 4.1: The PT-260 is powered by a 1500mAh rechargeable battery, offering extended use.
4.2 Loading Thermal Paper
- Press the cover opening key to open the top cover of the printer.
- Insert a thermal paper roll (max 57mm width) into the paper compartment, ensuring the printing side faces the print head.
- Pull a small length of paper out of the paper exit slot.
- Close the top cover firmly until it clicks into place.
4.3 App Installation and Bluetooth Pairing
- Download the DLabel app from your device's app store (available for iOS and Android). For Windows, ensure Bluetooth is enabled.
- Turn on the PT-260 printer by pressing and holding the power button.
- Enable Bluetooth on your smartphone, tablet, or computer.
- Open the DLabel app (or your device's Bluetooth settings) and search for available devices. Select "PT-260" to pair.
- Once paired, the printer status on the HD display or within the app will indicate a successful connection.
5. Basic Operation
5.1 Printing Labels
The DLabel app provides a user-friendly interface for creating and printing labels.
- Open the DLabel app on your connected device.
- Choose from over 500 preloaded templates or create a custom label design.
- Enter or import your label data. The app supports Excel batch printing for efficiency.
- Preview the label to ensure accuracy.
- Tap the print button in the app to send the label data to the PT-260 printer.
5.2 OCR Text Recognition
The PT-260 supports OCR (Optical Character Recognition) technology through the DLabel app, allowing you to convert text from images into editable formats.
- Within the DLabel app, select the OCR function.
- Use your device's camera to capture an image containing text, or select an existing image from your gallery.
- The app will process the image and convert the recognized text into an editable format.
- You can then edit, save, or print the recognized text as a label.
6. Maintenance
6.1 Cleaning the Printer
As a thermal printer, the PT-260 does not use ink or ribbons, simplifying maintenance. However, regular cleaning of the print head and paper path is recommended to ensure optimal print quality.
- Turn off the printer and disconnect it from the power source.
- Open the top cover.
- Gently wipe the print head (the dark strip inside the printer) with a lint-free cloth lightly dampened with isopropyl alcohol.
- Clean any paper dust or debris from the paper path.
- Allow the printer to dry completely before closing the cover and turning it on.
6.2 Battery Care
To prolong battery life:
- Avoid fully discharging the battery frequently.
- Store the printer in a cool, dry place if not used for extended periods.
- Recharge the battery periodically if stored for a long time to prevent deep discharge.
7. Troubleshooting
If you encounter issues with your PT-260 printer, refer to the following common problems and solutions:
- Printer does not turn on: Ensure the battery is charged. Connect the printer to the charger and try again.
- Cannot connect via Bluetooth:
- Ensure Bluetooth is enabled on both the printer and your device.
- Make sure the printer is within range (typically 10 meters).
- Restart both the printer and your device.
- Forget the device in your Bluetooth settings and re-pair.
- Poor print quality or blank prints:
- Check if the thermal paper is loaded correctly with the printing side facing the print head.
- Ensure you are using thermal paper, as regular paper will not print.
- Clean the print head as described in the Maintenance section.
- Replace the paper roll if it is old or damaged.
- Printer not responding to print commands:
- Verify that the printer is connected to your device via Bluetooth.
- Check the DLabel app for any error messages.
- Ensure there is enough paper in the printer.
8. Technical Specifications
| Model | PT-260 |
| Print Type | Ink-less Thermal Printing (Black & White) |
| Connectivity | Bluetooth 4.0, Type-C USB |
| Battery | 1500mAh Rechargeable Lithium-ion |
| Charging Time | 2-4 hours |
| Continuous Work Time | 24 hours |
| Standby Time | 7 days (100 hours) |
| Printing Speed | 60-150mm/s |
| Max Print Width | 57mm |
| Resolution | 203dpi |
| Dimensions (LxWxH) | 120mm x 85mm x 60mm (12 x 6 x 8.5 cm) |
| Weight | 230g (excluding paper rolls) |
| Paper Type | Thermal Paper (Roll) |
| Supported Systems | iOS, Android, Windows |
| App | DLabel |
| OCR Support | Yes |

Image 8.1: Physical dimensions of the PT-260 printer.

Image 8.2: The compact size and light weight of the PT-260 make it highly portable.
9. Warranty and Support
For warranty information and technical support, please refer to the documentation provided at the time of purchase or contact your retailer. Keep your purchase receipt as proof of purchase for warranty claims.