1. Introduction
This manual provides detailed instructions for the assembly, installation, operation, and maintenance of your GDFStudio 24-inch Bathroom Vanity with Ceramic Sink Combo. This freestanding vanity is designed for small bathrooms, guest rooms, and compact apartments, offering functional storage and a durable ceramic sink.
Please read all instructions carefully before beginning assembly and retain this manual for future reference.
2. Safety Information
- Always use appropriate tools and follow safety guidelines during assembly.
- Ensure all connections are secure before use.
- Do not overload shelves or drawers beyond their stated weight capacities.
- Keep small parts and hardware away from children to prevent choking hazards.
- If any parts are missing or damaged, do not attempt to assemble the product. Contact customer support immediately.
3. Package Contents
Verify that all components are present and undamaged before proceeding with assembly.
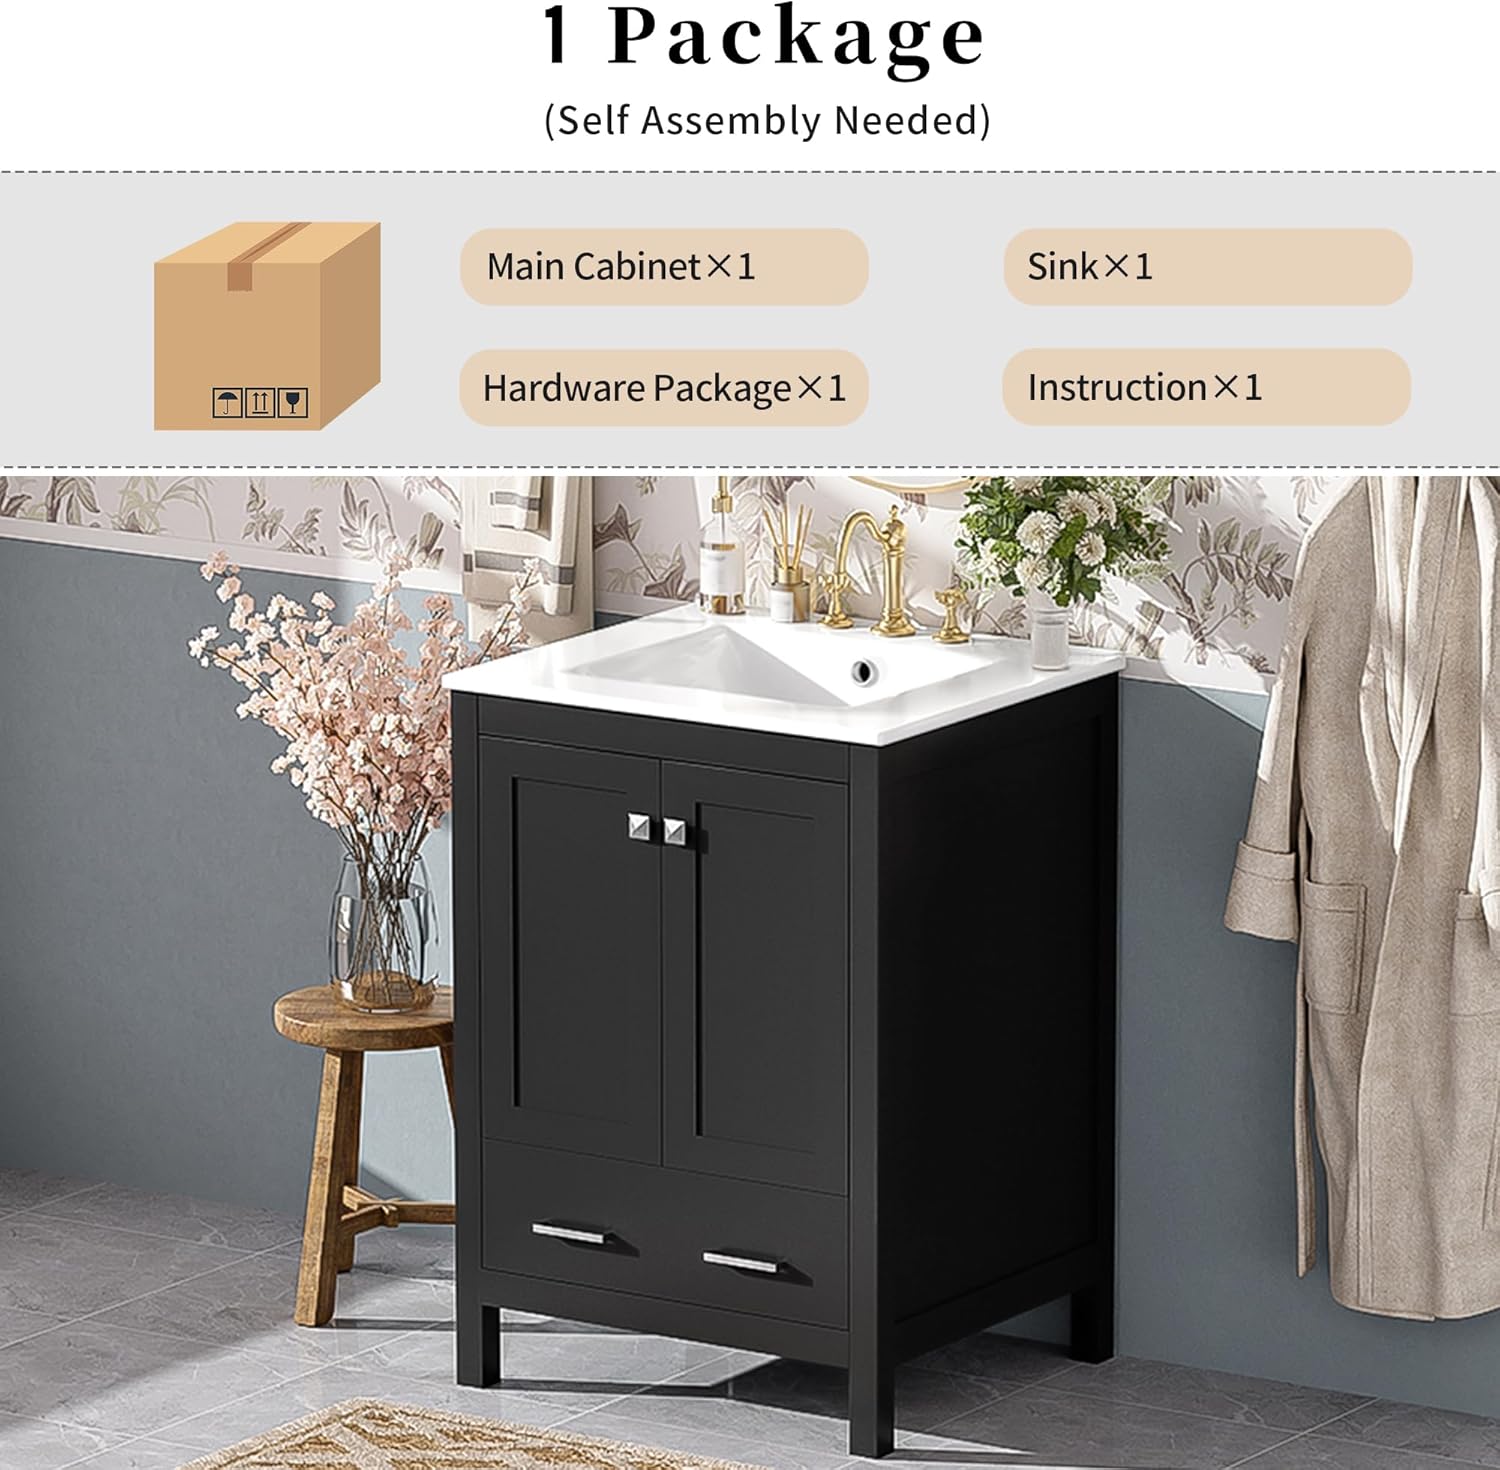
Image showing the package contents: Main Cabinet, Sink, Hardware Package, and Instruction Manual.
- Main Cabinet (1)
- Ceramic Sink (1)
- Hardware Package (1)
- Instruction Manual (1)
4. Specifications
| Feature | Detail |
|---|---|
| Product Dimensions (Overall) | 24" W × 18.3" D × 33.9" H |
| Sink Dimensions | 24" W × 18.3" D × 5.9" H |
| Vanity Body Dimensions | 23.2" W × 17.9" D × 33.1" H |
| Weight Capacity (Shelf) | 80 lbs |
| Weight Capacity (Drawer) | 10 lbs |
| Materials | Solid Rubberwood Frame, MDF Panels, Ceramic Sink, Zinc-Alloy Handles |
| Faucet Holes | 3 pre-drilled for 4" centerset faucets |
| Color | Black |
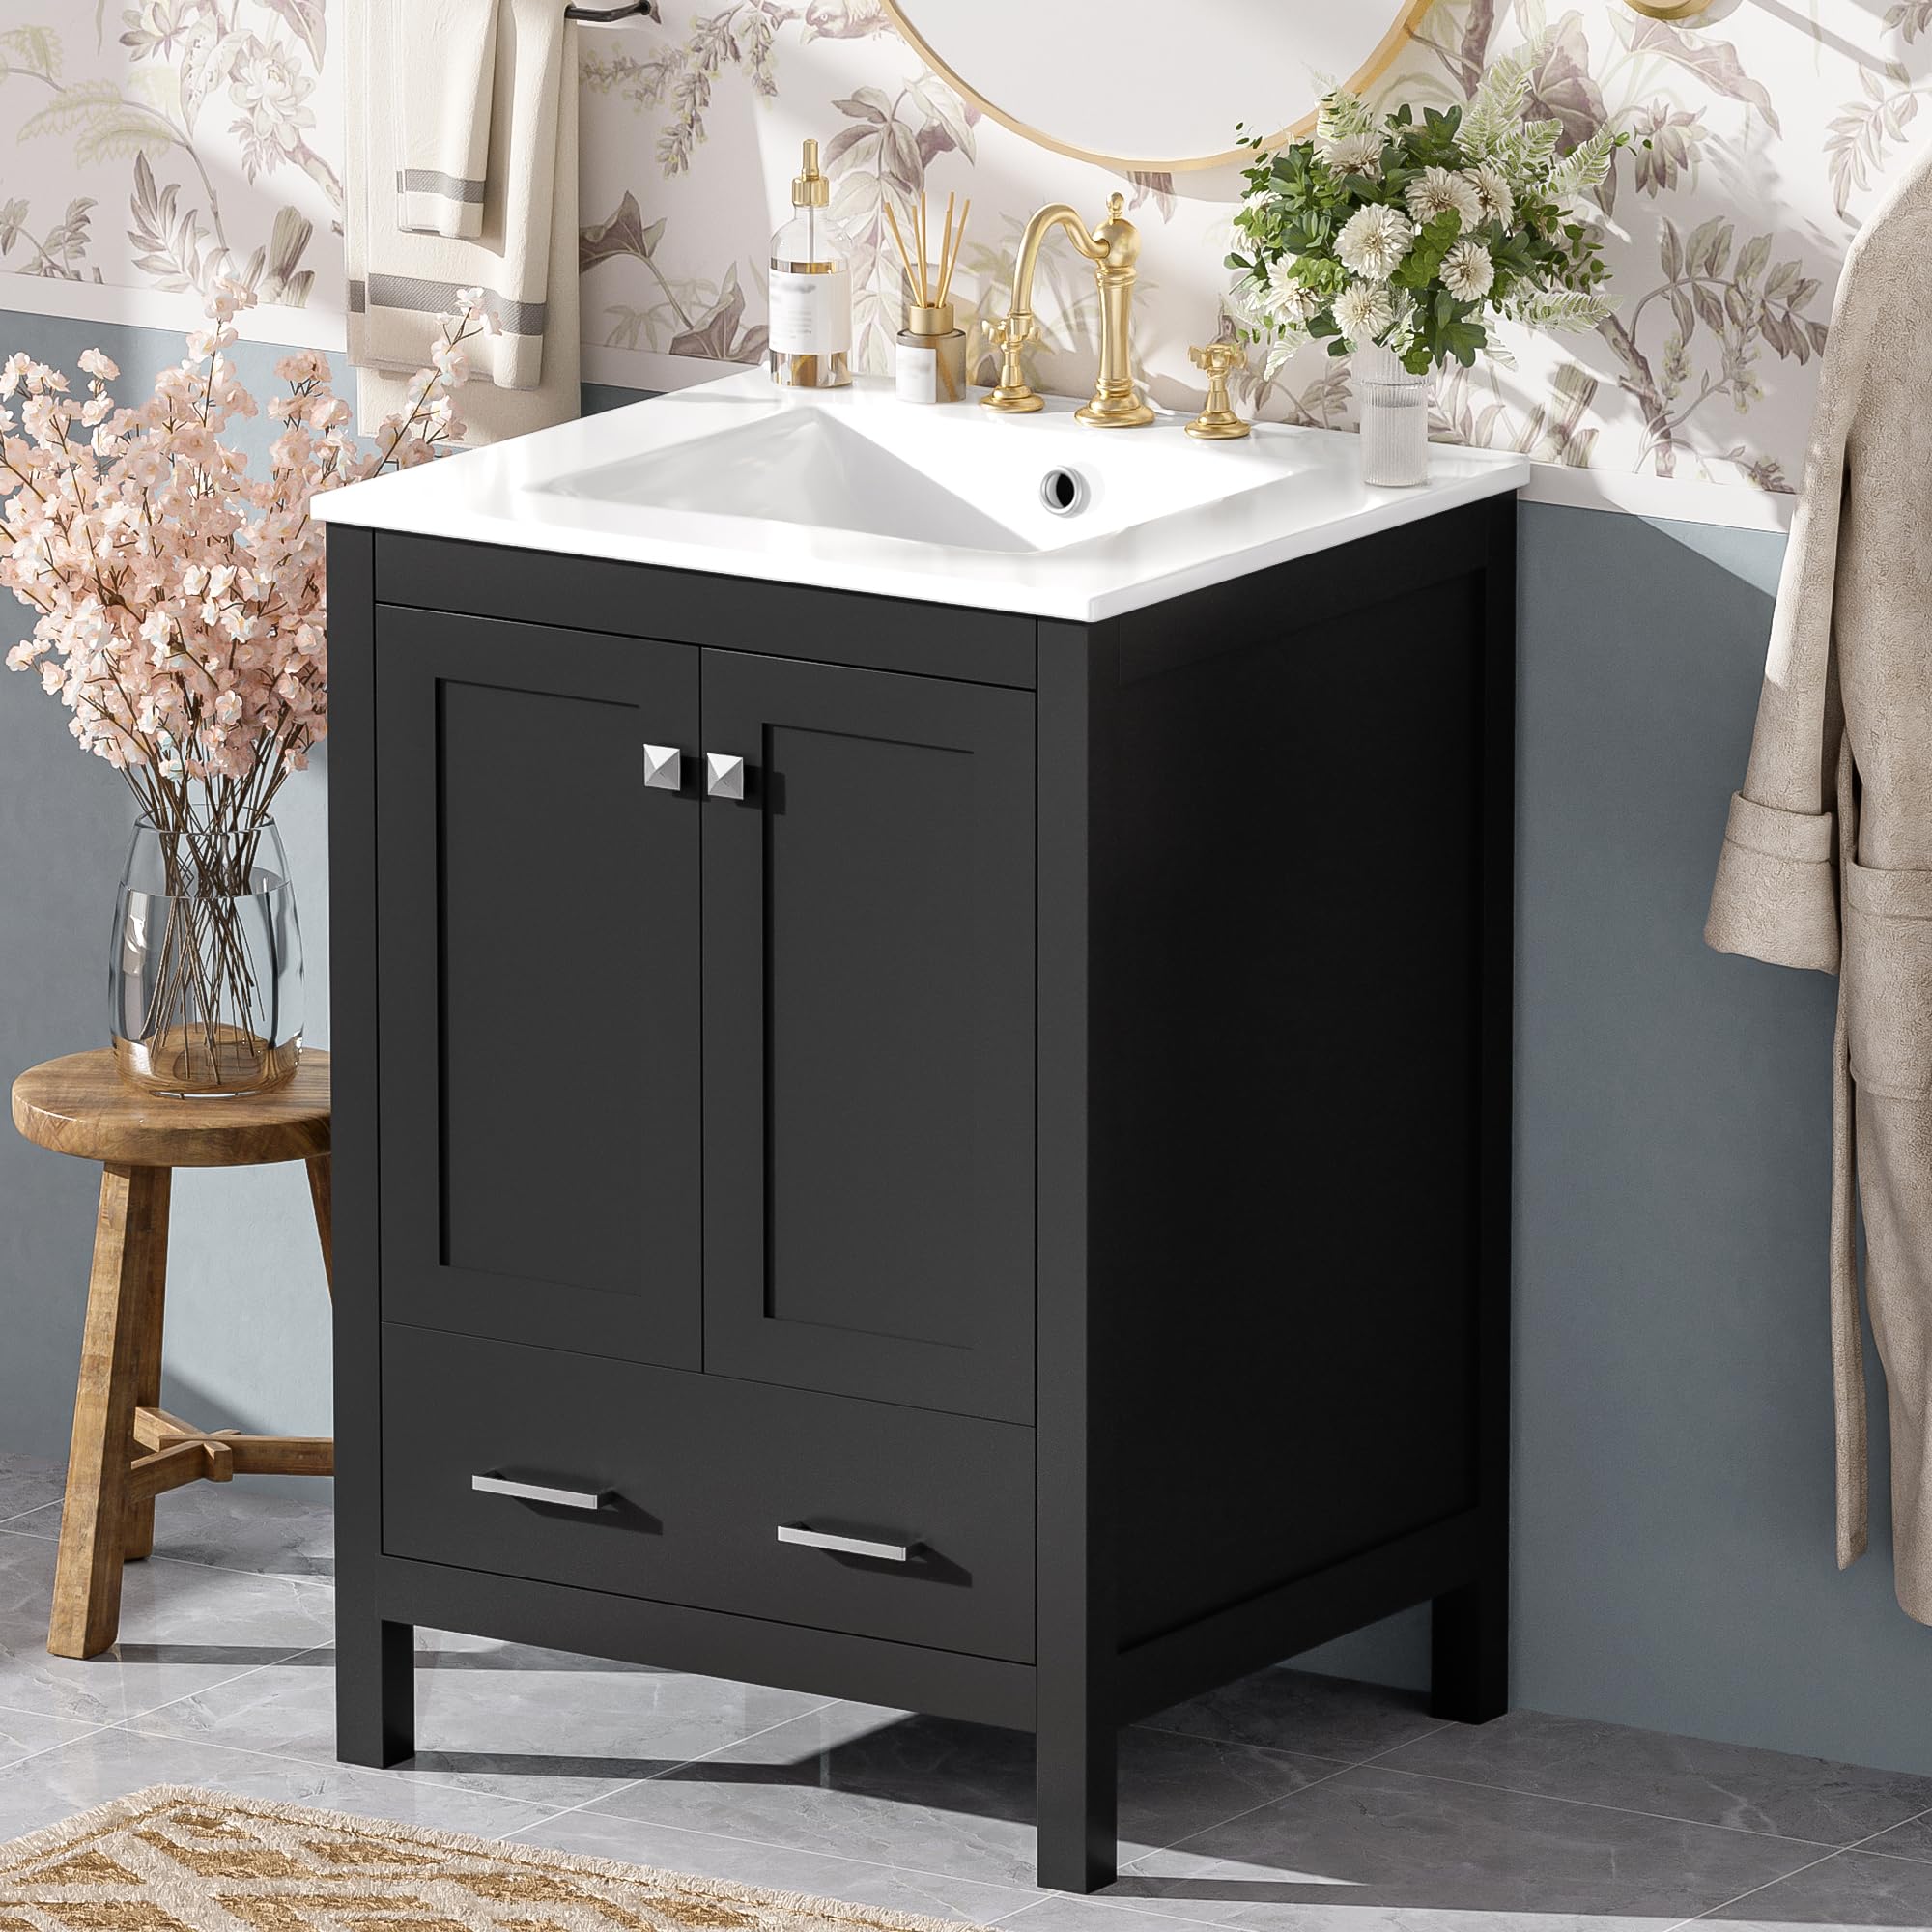
Image of the assembled GDFStudio 24-inch bathroom vanity with ceramic sink.

Detailed diagram showing the overall dimensions of the vanity, including cabinet, sink, and drawer measurements.

Detailed diagram showing the dimensions of the ceramic sink, including basin size, faucet hole spacing, and overflow location.
5. Setup and Installation
Assembly is required. Please follow the included assembly instructions provided in the hardware package. Ensure you have all necessary tools before starting.
5.1 Assembly Steps (General Overview)
- Unpack Components: Carefully remove all parts from the packaging and lay them out on a clean, soft surface to prevent scratches. Verify all parts against the package contents list.
- Assemble Cabinet Frame: Follow the specific instructions in your hardware package to connect the side panels, back panel, and base of the vanity cabinet using the provided hardware.
- Install Drawer Slides: Attach the drawer slides to the cabinet interior according to the instructions.
- Assemble Drawer: Construct the drawer box and attach the drawer front. Install the drawer onto the slides.
- Attach Doors: Mount the soft-close hinges to the cabinet doors and then attach the doors to the cabinet frame. Adjust hinges as needed for proper alignment.
- Install Door Racks: Secure the dual-layer storage racks to the inside of the cabinet doors.
- Place Ceramic Sink: Carefully place the ceramic sink onto the top of the assembled cabinet. Ensure it is properly aligned with the cabinet edges.
- Connect Plumbing: Install your chosen faucet (not included) into the pre-drilled holes on the sink. Connect the drain and water supply lines (not included) through the rear access panel. Ensure all plumbing connections are watertight.

Image showing the vanity with its doors and drawer open, highlighting the internal storage compartments and the soft-close mechanisms.

Close-up images detailing the solid wood frame, painted finish, silver zinc alloy handle, and soft-close door hinges.
6. Operating Instructions
Your GDFStudio bathroom vanity is designed for daily use in a bathroom environment.
- Soft-Close Doors: The cabinet features soft-close hinges to prevent slamming. Gently push the doors to close them; they will automatically slow down for a quiet closure.
- Drawer Usage: The drawer includes a divider for organizing smaller items. Pull the drawer open and push it closed. Avoid forcing the drawer if it encounters resistance.
- Storage: Utilize the adjustable interior shelves, the divider drawer, and the dual-layer door racks for organizing toiletries, towels, and other bathroom essentials.

Image illustrating the various storage options: under-sink space, standard drawer with divider, and double-layer door storage shelves.
7. Maintenance
7.1 Cleaning the Vanity
- Cabinet: Wipe the cabinet surfaces with a soft, damp cloth. Avoid abrasive cleaners or harsh chemicals that could damage the painted finish. Dry immediately with a clean cloth.
- Ceramic Sink: The high-gloss ceramic surface is easy to clean. Use a mild soap and water solution with a soft sponge or cloth. Rinse thoroughly and dry to prevent water spots. Avoid using abrasive pads or strong chemical cleaners that can scratch the surface.
- Hardware: Clean zinc-alloy handles with a soft, dry cloth. Do not use chemical cleaners on metal hardware.
7.2 General Care
- Avoid prolonged exposure to excessive moisture. Wipe up spills immediately.
- Periodically check all hardware connections and tighten if necessary.
- Do not place extremely hot items directly on the ceramic sink or cabinet surfaces.
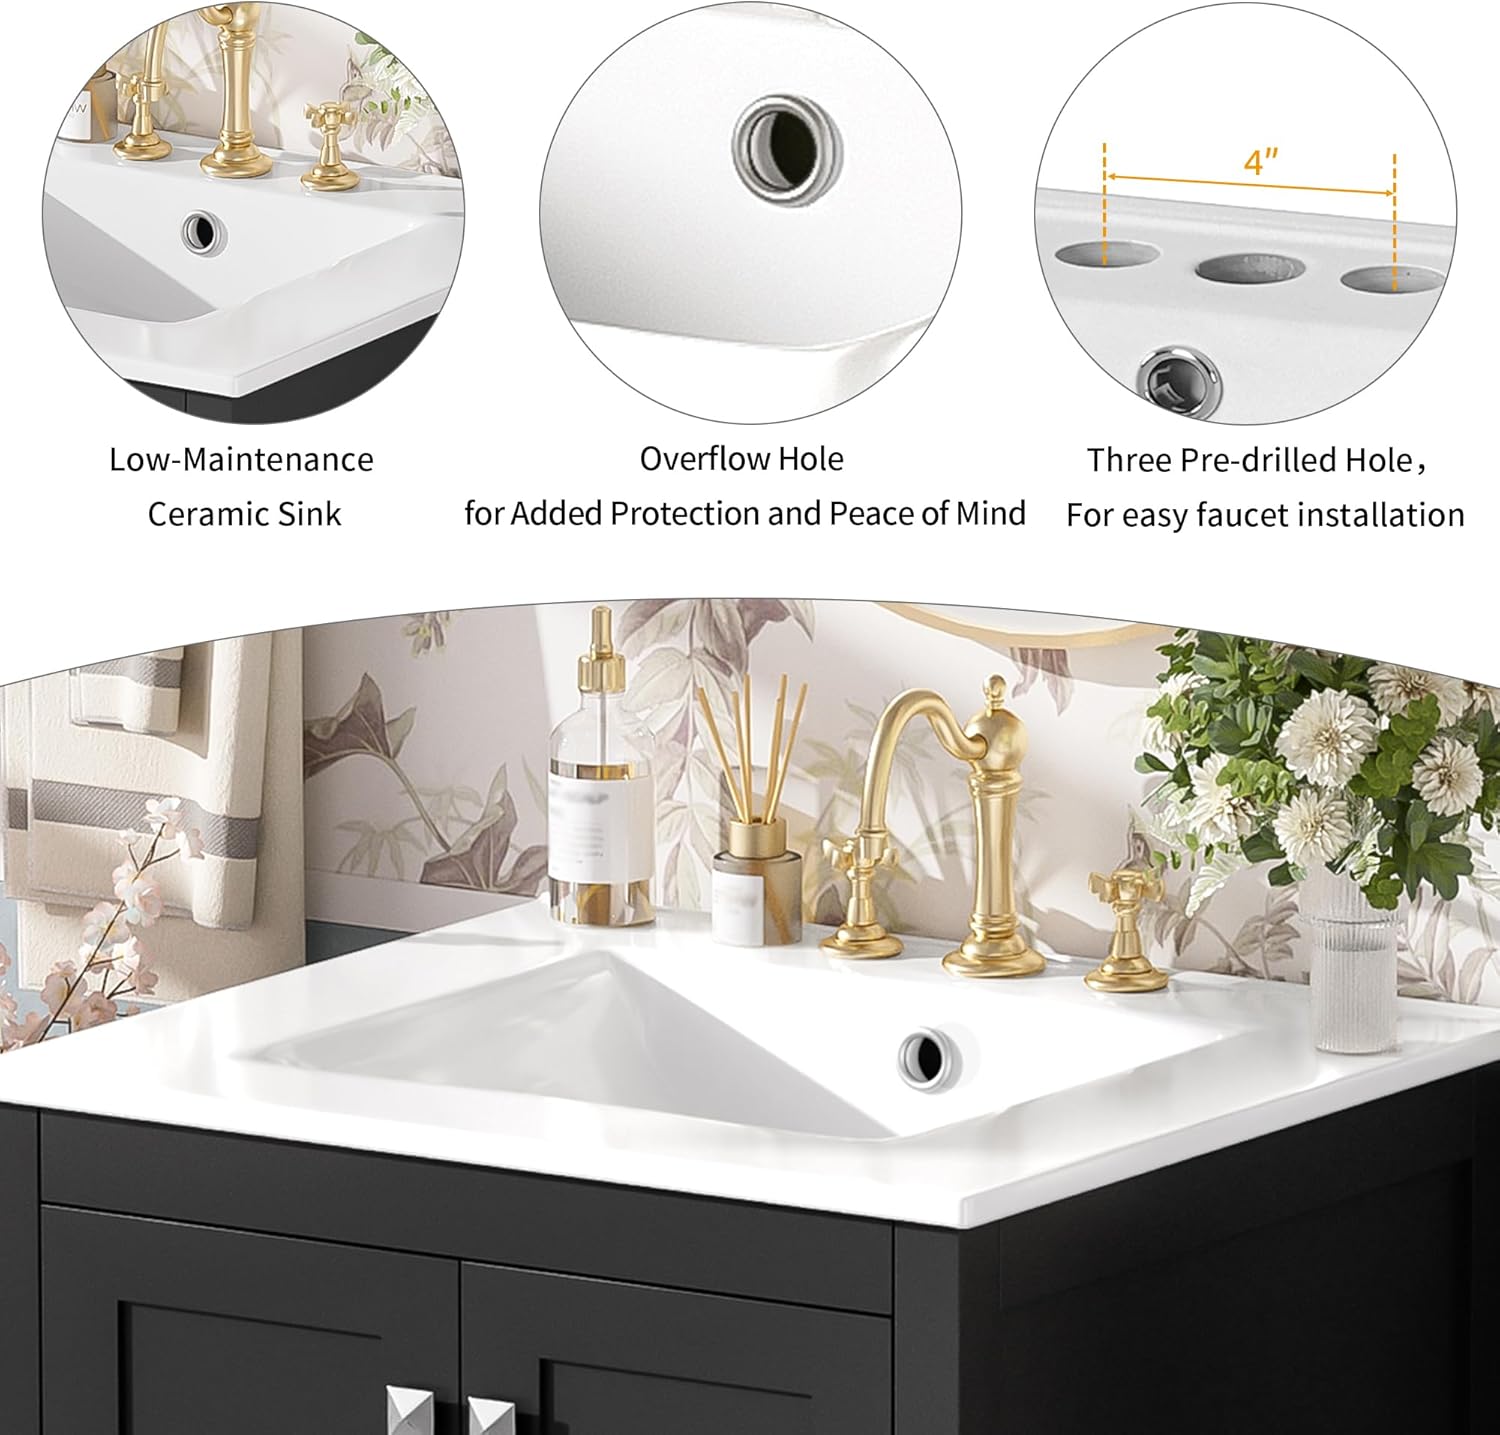
Close-up view of the ceramic sink, highlighting its low-maintenance surface, overflow hole for protection, and three pre-drilled holes for faucet installation.
8. Troubleshooting
| Problem | Possible Cause | Solution |
|---|---|---|
| Doors do not close properly or are misaligned. | Hinges are loose or require adjustment. | Adjust the screws on the soft-close hinges to align the doors. Refer to the hinge manufacturer's instructions for specific adjustment methods. |
| Drawer does not slide smoothly. | Drawer slides are misaligned or obstructed. | Ensure the drawer slides are correctly installed and free from obstructions. Check that the drawer is not overloaded. |
| Water leakage from sink or faucet. | Loose plumbing connections or improper sealant. | Check all plumbing connections (faucet, drain, supply lines) for tightness. Apply plumber's putty or silicone sealant as needed around the drain and faucet base. If issues persist, consult a professional plumber. |
| Vanity feels unstable. | Loose assembly hardware or uneven floor. | Ensure all assembly screws are tightened. If the floor is uneven, use shims under the vanity's feet to stabilize it. |
9. Warranty
This GDFStudio product is covered by a 90-day manufacturer's warranty from the date of purchase. This warranty covers defects in materials and workmanship under normal use. It does not cover damage resulting from improper assembly, misuse, accident, alteration, or lack of proper maintenance.
Please retain your proof of purchase for warranty claims.
10. Customer Support
For assistance with assembly, product-related questions, or warranty claims, please contact our dedicated support team:
Email: amazonvendorfeedback@gdfstudio.zendesk.com
Our team is available to provide support and ensure your satisfaction with your GDFStudio product.