Introduction
This manual provides detailed instructions for the proper setup, operation, and maintenance of your ZHIXJIA H16 4K Digital Camera. Please read this manual thoroughly before using the camera to ensure optimal performance and longevity. This compact and portable camera is designed for ease of use, making it suitable for beginners and enthusiasts alike, capturing high-quality photos and videos.
What's in the Box
Upon opening your ZHIXJIA H16 Digital Camera package, you should find the following items:
- ZHIXJIA H16 Digital Camera Body
- USB-C Charging Cable
- Lanyard
- 64GB SD Card
- User Manual (this document)
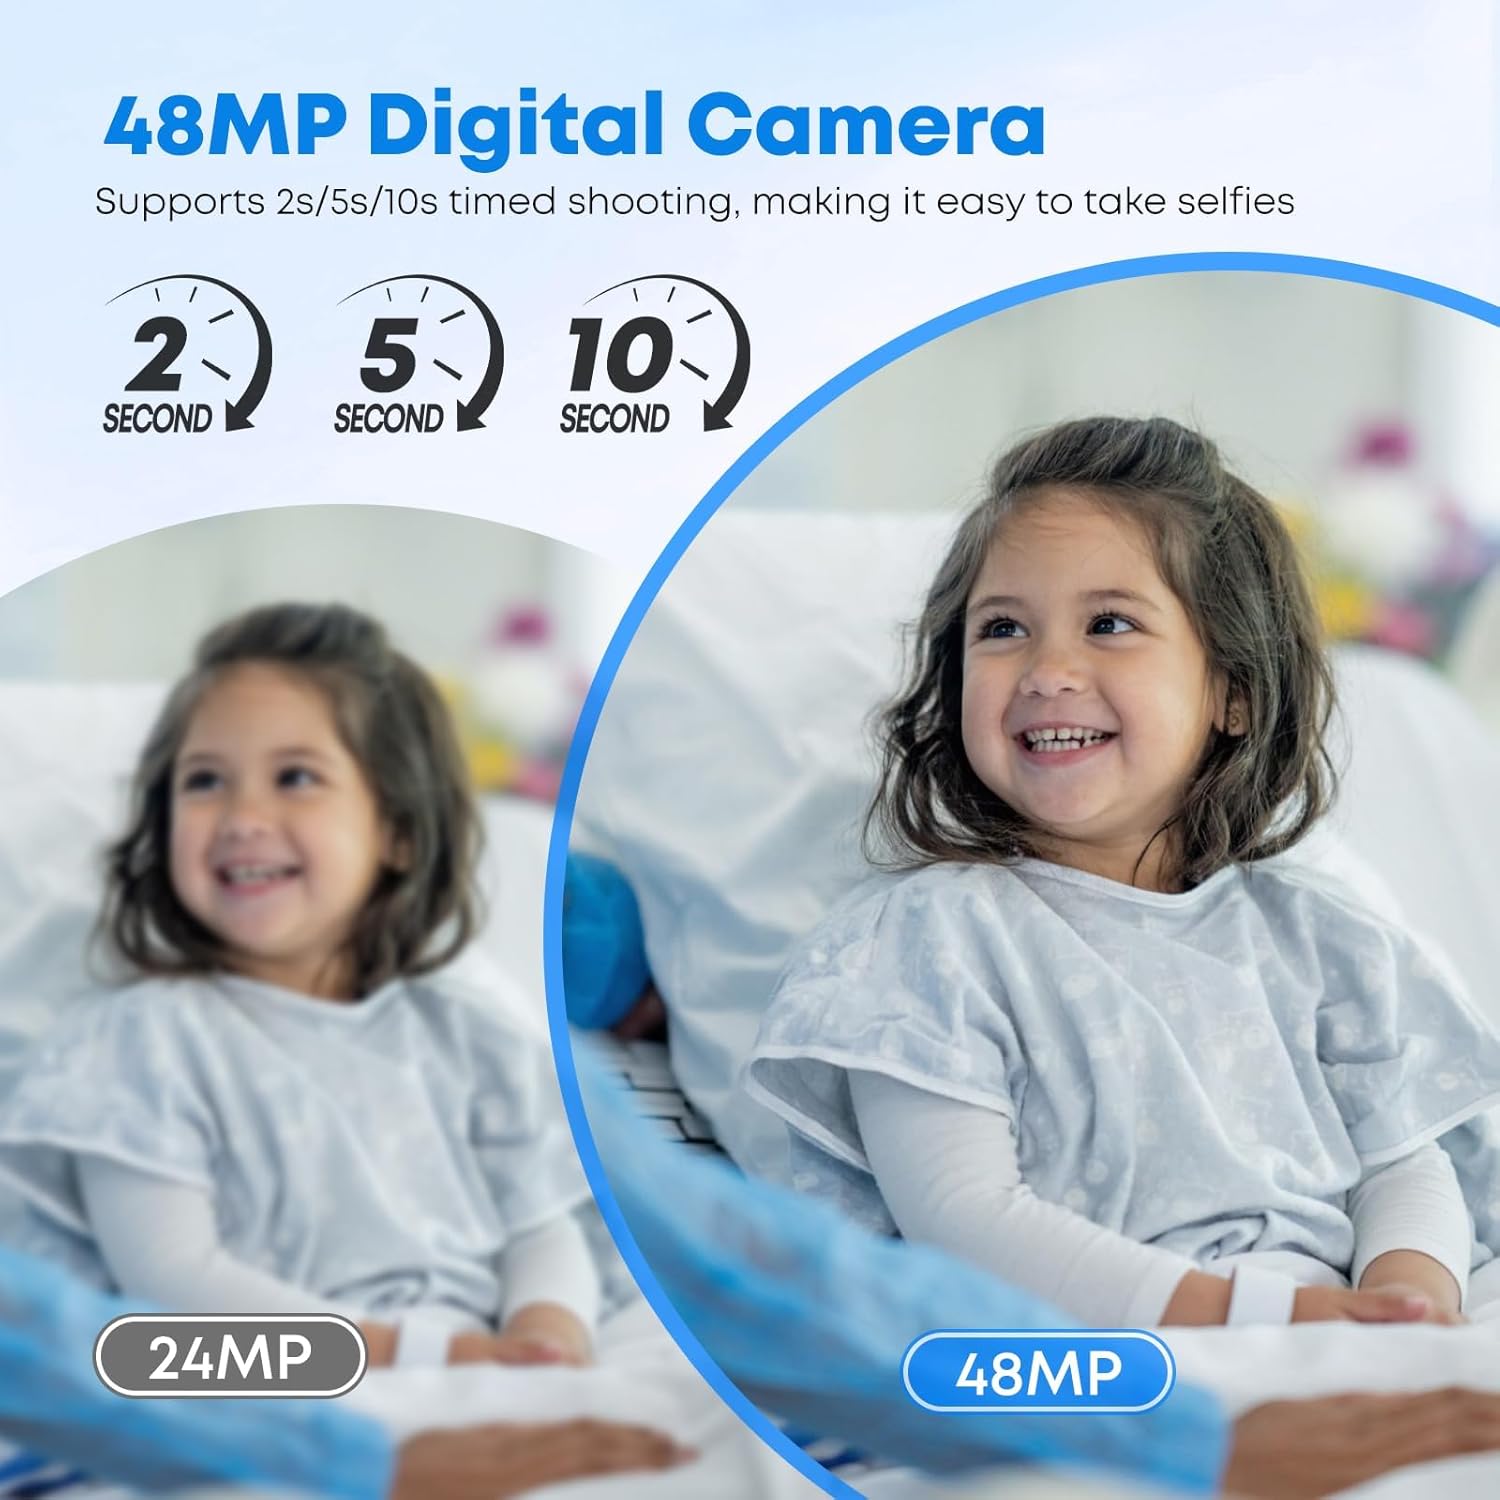
Image: The ZHIXJIA H16 Digital Camera shown with its included accessories: a USB-C charging cable, a lanyard, and a 64GB SD card.
Setup
1. Inserting the SD Card
The camera requires an SD card to store photos and videos. A 64GB SD card is included with your purchase.
- Locate the SD card slot on the side of the camera.
- Insert the 64GB SD card into the slot with the metal contacts facing the front of the camera.
- Push the card gently until it clicks into place. It will only fit in one direction.

Image: Visual guide for inserting the SD card into the camera and connecting it to a computer for file transfer.
2. Charging the Camera
Before first use, ensure the camera is fully charged using the provided USB-C cable.
- Connect the small end of the USB-C cable to the camera's USB-C port.
- Connect the larger end of the USB-C cable to a USB power adapter (not included) or a computer's USB port.
- The indicator light will show red during charging and turn off when fully charged.

Image: The camera connected via USB-C for charging, indicating a red light for charging and light off for full charge.
3. Attaching the Lanyard
Attach the lanyard for secure handling and to prevent accidental drops.
- Thread the thin loop of the lanyard through the small eyelet on the side of the camera.
- Pass the larger part of the lanyard through the loop you just created and pull tight to secure.
- Adjust the lanyard length as needed for comfort around your neck or wrist.
Video: This video demonstrates the unboxing of the ZHIXJIA H16 Digital Camera, including how to attach the lanyard and insert the memory card. It also shows the camera's power-on sequence and basic operation, such as zooming and navigating settings.
Operating the Camera
1. Power On/Off
To power on the camera, press and hold the power button located on the top right side of the camera. To power off, press and hold the same button.
2. Basic Photo and Video Capture
The camera features a dedicated shutter button for taking photos and a mode switch button to toggle between photo and video modes.
- Taking Photos: In photo mode, press the shutter button halfway to focus, then press fully to capture the image.
- Recording Videos: In video mode, press the shutter button once to start recording and again to stop.

Image: A detailed diagram highlighting the camera's buttons and their respective functions for easy navigation and operation.
3. Zoom Function (16X Digital Zoom)
Use the 'W' and 'T' buttons on the back of the camera to adjust the 16X digital zoom.
- Press 'T' to zoom in (telephoto).
- Press 'W' to zoom out (wide-angle).

Image: Examples of the camera's 16X digital zoom, illustrating how to capture distant subjects with clarity.
4. Flash Settings
The camera includes a built-in flash for low-light conditions. Press the flash button (often integrated with the directional pad) to cycle through flash modes:
- Auto Flash: Camera automatically determines if flash is needed.
- Fill Flash: Flash fires for every shot.
- Flash Off: Flash is disabled.

Image: A visual comparison demonstrating the effectiveness of the built-in flash in brightening photos taken in darker environments.
5. Shooting Modes and Effects
The camera offers various modes and effects to enhance your photography and videography:
- Timed Shooting: Set a delay (2s, 5s, 10s) before the photo is taken, ideal for selfies or group shots.
- Continuous Shooting: Capture a series of photos rapidly.
- Anti-Shake: Digital image stabilization to reduce blur from camera movement.
- Beautifying Effect: Enhances facial features in portraits.
- Motion Detection: Automatically records when motion is detected.
- Loop Video: Records video in a continuous loop, overwriting older footage.
- Music Player: Play audio files directly on the camera.
- System Settings: Access various camera configurations.

Image: An overview of the camera's diverse operational modes, including options for different lighting, continuous capture, and special effects.

Image: A visual representation of the timed shooting function, showing how to set delays for capturing photos.
6. Settings Menu Navigation
To access and adjust camera settings, press the 'MENU' button. Use the directional pad to navigate through options and 'OK' to select.
- Language: Change the display language.
- Time Stamp: Enable or disable date/time overlay on photos/videos.
- Frequency: Adjust screen refresh rate.
- Screen Bright: Adjust display brightness.
- Screen Saver: Set inactivity time before screen turns off.
- Auto Power Off: Configure automatic shutdown time.
- Beep Sound: Adjust or turn off camera sounds.
- Date/Time: Set current date and time.
- Format: Format the SD card (this will erase all data).
- Default Setting: Restore camera to factory settings.
Transferring Files
You can transfer photos and videos from your camera to a computer or other devices using the USB-C cable or an SD card reader.
1. Using the USB-C Cable
- Connect the camera to your computer using the provided USB-C cable.
- The camera should appear as a removable disk drive on your computer.
- Navigate to the 'DCIM' folder to access your photos and videos.
- Copy the desired files to your computer.
2. Using an SD Card Reader
- Safely remove the SD card from the camera.
- Insert the SD card into a compatible card reader.
- Connect the card reader to your computer.
- Access the files on the SD card and transfer them to your computer.

Image: Step-by-step guide on how to transfer images and videos from the camera's SD card to a computer.
Maintenance
Proper care ensures the longevity and performance of your camera.
- Cleaning: Use a soft, dry cloth to clean the camera body. For the lens, use a specialized lens cleaning cloth and solution. Avoid harsh chemicals.
- Storage: Store the camera in a cool, dry place away from direct sunlight and extreme temperatures. If storing for extended periods, ensure the battery is partially charged (around 50%) and remove it if possible.
- Battery Care: Avoid fully discharging the battery frequently. Charge it regularly, even if not in use, to maintain battery health.
- SD Card Care: Handle the SD card carefully. Avoid bending or exposing it to water or extreme temperatures. Format the card periodically to maintain optimal performance.
Troubleshooting
If you encounter issues with your ZHIXJIA H16 camera, refer to the following common solutions:
| Problem | Solution |
|---|---|
| Camera does not power on. | Ensure the battery is charged. Connect the camera to a power source using the USB-C cable. If the issue persists, try a different charging cable or power adapter. |
| Images are blurry. | Check if the lens is clean. Ensure there is sufficient light. Activate the Anti-Shake function in the settings. Hold the camera steady when taking pictures. |
| SD card error message. | Reinsert the SD card. Try formatting the SD card (this will erase all data, so back up first). Try a different SD card. |
| Cannot transfer files to computer. | Ensure the USB-C cable is securely connected to both the camera and the computer. Try a different USB port or cable. Ensure the camera is powered on when connected. |
| Camera freezes or becomes unresponsive. | Remove and reinsert the battery (if detachable) or press and hold the power button for 10 seconds to force a restart. |
Specifications
Key technical specifications for the ZHIXJIA H16 Digital Camera:
- Model Name: H16
- Brand: ZHIXJIA
- Maximum Webcam Image Resolution: 48 MP
- Effective Still Resolution: 48 MP
- Video Resolution: 2160p (4K UHD)
- Optical Zoom: 16x (Digital Zoom)
- Image Stabilization: Anti-shake
- Photo Sensor Technology: CCD
- Photo Sensor Size: 1.5-inch
- Screen Size: 2.8 inches
- Connectivity Technology: USB (Type-C)
- Supported File Format: JPEG (Photos), MP4 (Videos)
- Battery Type: Lithium Ion
- Item Weight: 0.26 Kilograms
- Color: Black
Warranty and Support
The ZHIXJIA H16 Digital Camera comes with a 2-year warranty from the date of purchase, covering manufacturing defects. For warranty claims, technical support, or further inquiries, please contact ZHIXJIA customer service through their official channels or visit the ZHIXJIA Store on Amazon.