Introduction
Thank you for choosing the KUXISA Portable Tire Inflator Air Compressor, Model 1. This device is designed for convenient and efficient inflation of various items, including car tires, motorcycle tires, bicycle tires, and sports balls. Its compact size and rechargeable battery make it an ideal accessory for on-the-go use. Please read this manual thoroughly before operating the device to ensure safe and optimal performance.
Safety Instructions
- Always keep the device away from children.
- Do not operate the inflator in wet conditions or near flammable liquids or gases.
- Ensure the inflation hose is securely connected to both the inflator and the item being inflated before starting.
- Do not over-inflate items. Always refer to the manufacturer's recommended pressure for tires and balls.
- Avoid continuous operation for extended periods to prevent overheating. Allow the device to cool down if it becomes hot.
- Use only the charging cable provided or recommended by the manufacturer.
- Do not disassemble or attempt to repair the device yourself. Contact customer support for assistance.
Product Overview
The KUXISA Portable Tire Inflator Air Compressor features a compact design with an integrated display for pressure readings and controls. It includes a flexible inflation hose and various nozzles for different applications.
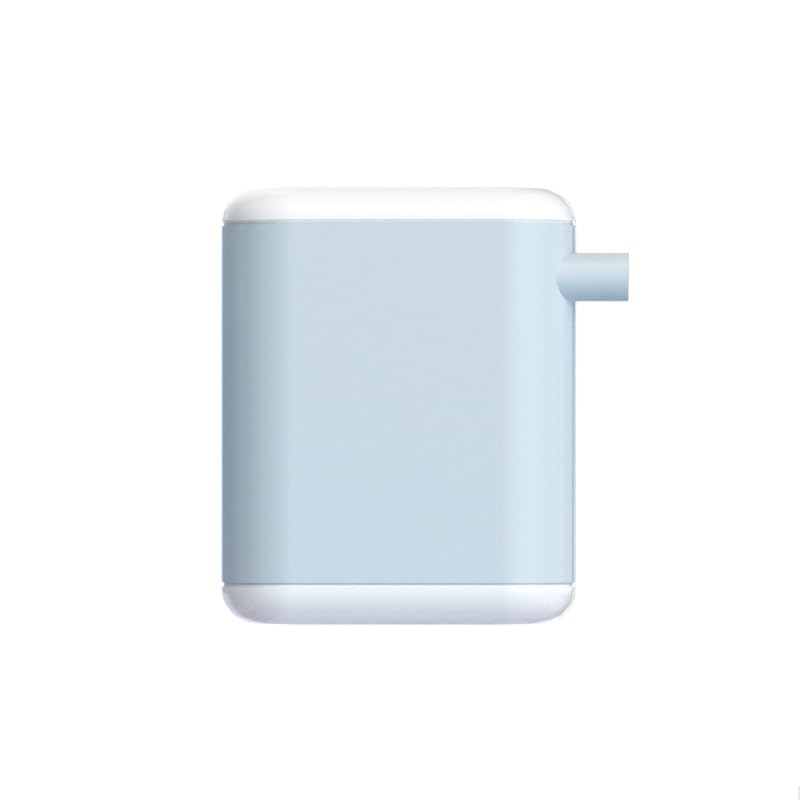
Image showing the compact design of the KUXISA Portable Tire Inflator Air Compressor, highlighting its portability.
Key Components:
- Main Unit: Houses the motor, battery, and control panel.
- Digital Display: Shows current pressure, target pressure, and battery level.
- Control Buttons: For power, mode selection, and pressure adjustment.
- Inflation Hose: Connects the inflator to the item being inflated.
- Nozzle Adapters: Various adapters for different valve types (e.g., Presta, Schrader, ball needle).
- Charging Port: For recharging the internal battery.
Setup
- Initial Charge: Before first use, fully charge the inflator's internal battery. Connect the provided charging cable to the charging port on the device and to a suitable USB power source. The display will indicate charging status.
- Attach Hose: Screw the inflation hose securely onto the inflator's air outlet port.
- Select Nozzle: Choose the appropriate nozzle adapter for the item you intend to inflate and attach it to the end of the inflation hose.
Operating Instructions
- Power On: Press and hold the power button to turn on the inflator. The digital display will illuminate, showing the current pressure and default mode.
- Select Mode: Press the mode button to cycle through different inflation modes (e.g., Car, Motorcycle, Bicycle, Ball). Each mode may have a default pressure setting.
- Set Target Pressure: Use the '+' and '-' buttons to adjust the desired target pressure. The unit of pressure (PSI, BAR, KPA, kg/cm²) can usually be changed by a short press of the mode button or a dedicated unit button.
- Connect to Item: Securely connect the nozzle adapter to the valve stem of the item you wish to inflate. Ensure there are no air leaks. The display will show the current pressure of the item.
- Start Inflation: Press the power button again to start the inflation process. The inflator will automatically stop once the target pressure is reached.
- Disconnect: Carefully disconnect the nozzle from the item's valve. A small amount of air may escape, which is normal.
- Power Off: Press and hold the power button to turn off the inflator. If left idle, the device may automatically power off after a period of inactivity.
Silent Inflation Feature:
This portable tire inflator is designed to operate with reduced noise levels, approximately 50% quieter compared to many standard inflator pumps, enhancing user comfort during operation.
Maintenance
- Cleaning: Wipe the exterior of the inflator with a soft, dry cloth. Do not use harsh chemicals or abrasive cleaners.
- Storage: Store the device in a cool, dry place, away from direct sunlight and extreme temperatures. Ensure the battery is partially charged (around 50%) before long-term storage to prolong battery life.
- Battery Care: Recharge the battery regularly, even if not in frequent use, to maintain its health. Avoid completely draining the battery before recharging.
- Hose and Nozzles: Inspect the inflation hose and nozzles for any signs of wear or damage before each use. Replace if necessary.
Troubleshooting
- Device does not turn on:
- Ensure the battery is charged. Connect to a charger and try again.
- Check if the power button is pressed and held for the required duration.
- Inflator not inflating or inflating slowly:
- Verify that the inflation hose and nozzle are securely connected to both the inflator and the item's valve, with no air leaks.
- Check if the target pressure is set correctly and is higher than the current pressure.
- Ensure the battery has sufficient charge.
- Inaccurate pressure reading:
- Ensure the connection to the valve is tight and free of leaks.
- Calibrate the device if a calibration option is available (refer to specific device instructions if applicable).
- Compare the reading with a known accurate pressure gauge.
- Device overheats:
- Stop operation immediately and allow the device to cool down for at least 15-20 minutes.
- Avoid continuous operation for more than 10-15 minutes at a time.
Specifications
| Brand | KUXISA |
| Model Number | 1 |
| Item Weight | 0.14 Kilograms |
| Lithium Battery Energy Content | 3600 Watt Hours |
| Manufacturer | KUXISA |
| UPC | 735167568963 |
| Unit Count | 1.0 Count |
| ASIN | B0G6JMQZP6 |
| GTIN | 735167568963 |
Warranty and Support
For warranty information and customer support, please refer to the documentation included with your purchase or visit the official KUXISA website. Keep your purchase receipt as proof of purchase for any warranty claims.