1. Introduction and Overview
This document provides instructions for the installation, operation, maintenance, and troubleshooting of the Generic Range Oven Broil Unit Heating Element. This element is designed as a replacement part for specific Kenmore range oven models, ensuring consistent heat for broiling functions and restoring proper cooking performance.
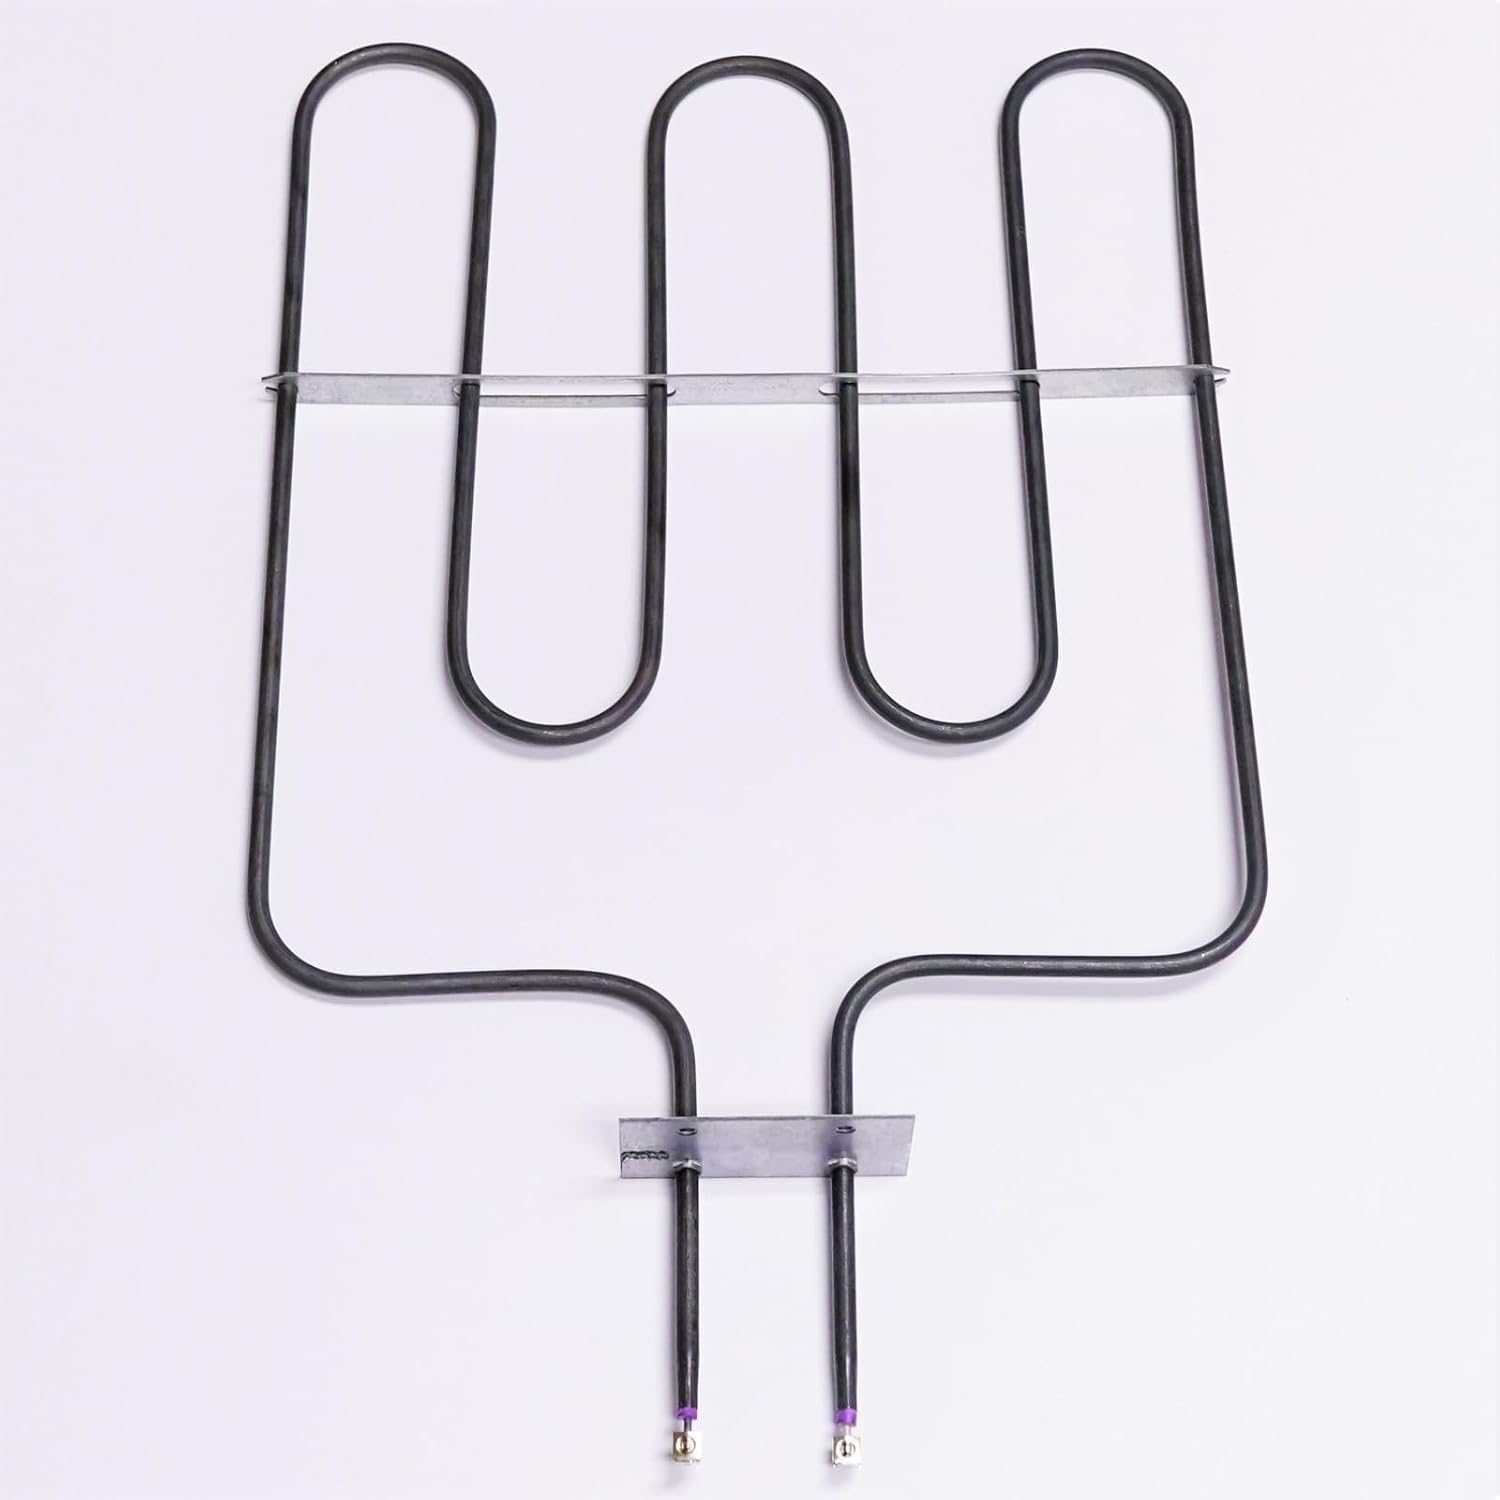
Image 1: Full view of the Range Oven Broil Unit Heating Element, showing its coiled design and terminal connections.
2. Safety Information
Read all safety warnings before proceeding with installation or maintenance.
- Disconnect Power: Always disconnect power to the oven at the circuit breaker or fuse box before attempting any installation, removal, or maintenance. Failure to do so can result in electric shock or serious injury.
- Wear Protective Gear: Wear appropriate personal protective equipment, such as work gloves and eye protection, to prevent injury from sharp edges or debris.
- Professional Assistance: If you are unsure about any step of the installation process, consult a qualified appliance technician.
- Secure Installation: Ensure the new element is securely installed and all electrical connections are tight before restoring power to the appliance.
- Hot Surfaces: Oven elements become extremely hot during operation. Allow the oven to cool completely before handling any internal components.
3. Compatibility
This heating element is compatible with the following Kenmore oven models. Please verify your oven's model number before purchasing and installing this part.
- 790.46593504, 790.46593505
- 790.46594500, 790.46594501, 790.46594502, 790.46594503, 790.46594504
- 790.46599500, 790.46599501, 790.46599502, 790.46599503, 790.46599504
- 790.46602500, 790.46602501, 790.46602502
- 790.46603500, 790.46603501
- 790.46604500, 790.46604501
- 790.46762900, 790.46762901, 790.46762902, 790.46762903, 790.46762904, 790.46762905, 790.46762906, 790.46762907, 790.46762908
- 790.46763900
4. Setup and Installation
Follow these steps to replace your oven's broil heating element. Refer to your oven's specific service manual for detailed instructions if available.
- Disconnect Power: Turn off the power to your oven at the main circuit breaker or fuse box. Verify that the power is off before proceeding.
- Access Element: Open the oven door. The broil element is located at the top of the oven cavity.
- Remove Securing Screws: Locate and remove any screws or clips that secure the existing broil element to the oven's back wall or ceiling.
- Pull Element Forward: Carefully pull the old element forward a few inches to expose the electrical terminals at the back.
- Disconnect Wires: Note the position of the wires, then carefully disconnect them from the terminals of the old element. It may be helpful to take a picture.
- Remove Old Element: Once wires are disconnected, fully remove the old element from the oven.
- Connect New Element: Connect the wires to the terminals of the new broil element. Ensure connections are firm and secure.

Image 2: Close-up view of the element terminals, showing the connection points for electrical wiring.

Image 3: Close-up view of the element's mounting plate, illustrating how it secures to the oven structure.
- Secure New Element: Slide the new element into its position, aligning it with the mounting holes. Reinstall the screws or clips to secure the element firmly.
- Restore Power: Close the oven door. Restore power to the oven at the circuit breaker or fuse box.
- Test Functionality: Turn on the oven and select the 'Broil' function to ensure the new element heats up properly.
5. Operating
Once the broil heating element is installed, its operation is controlled by your oven's existing settings. To use the broil function:
- Select the 'Broil' setting on your oven's control panel.
- Allow the oven to preheat. The broil element should begin to glow red, indicating it is heating.
- Monitor your food closely during broiling, as temperatures are high and cooking times are short.
If the element does not heat or glows unevenly, refer to the Troubleshooting section.
6. Maintenance
The broil heating element requires minimal maintenance. Regular inspection and cleaning of the oven cavity are recommended.
- Visual Inspection: Periodically inspect the element for any visible signs of damage, cracks, or corrosion. If damage is observed, the element may need replacement.
- Oven Cleaning: Keep the oven interior clean. Excessive grease or food buildup on or around the element can affect its performance and lifespan. Always ensure the oven is cool and power is disconnected before cleaning.
- Avoid Impact: Be careful not to strike the element with cookware or cleaning tools, as this can cause damage.
7. Troubleshooting
If you encounter issues with your new broil heating element, consider the following common problems and solutions:
- Element Not Heating:
- Ensure the oven has power and the circuit breaker has not tripped.
- Verify that the electrical wires are securely connected to the element terminals.
- Check if the oven's control board or thermostat is functioning correctly. If other oven functions are also failing, the issue may not be with the element itself.
- Uneven Heating:
- Confirm that the element is fully seated and secured in its mounting brackets.
- While this element is designed for even heat distribution, if uneven heating persists, other oven components (e.g., thermostat, control board) may require inspection by a qualified technician.
- Element Sparking or Arcing:
- Immediately disconnect power to the oven. This indicates a serious electrical fault.
- Inspect the element for damage or improper wiring. Do not restore power until the issue is resolved by a qualified technician.
If troubleshooting steps do not resolve the issue, it is recommended to contact a qualified appliance repair technician.
8. Specifications
| Product Type | Range Oven Broil Unit Heating Element |
| Brand | Generic |
| Manufacturer | khanhvy |
| Material | Durable, high-temperature materials |
| Compatibility | Kenmore oven models (refer to Section 3) |
| ASIN | B0G6D3FZPC |
9. Warranty and Support
For specific warranty information regarding this Generic Range Oven Broil Unit Heating Element, please refer to your original purchase documentation or contact the seller directly. Support for installation or troubleshooting beyond the scope of this manual may be available from the seller or a qualified appliance technician.