Introduction
This manual provides instructions for the assembly, operation, maintenance, and troubleshooting of your Axglo V1 Golf Push Cart. Please read this manual thoroughly before using the product to ensure proper function and longevity.
Setup and Assembly
1. Unfolding the Cart
The Axglo V1 Golf Push Cart features a patented one-step folding design for quick setup.
- Place the cart on a flat, stable surface.
- Lift the handle upwards.
- Gently tap near the front wheel with your foot to release the locking mechanism.
- Continue to unfold until the cart is fully extended and locks into the open position.
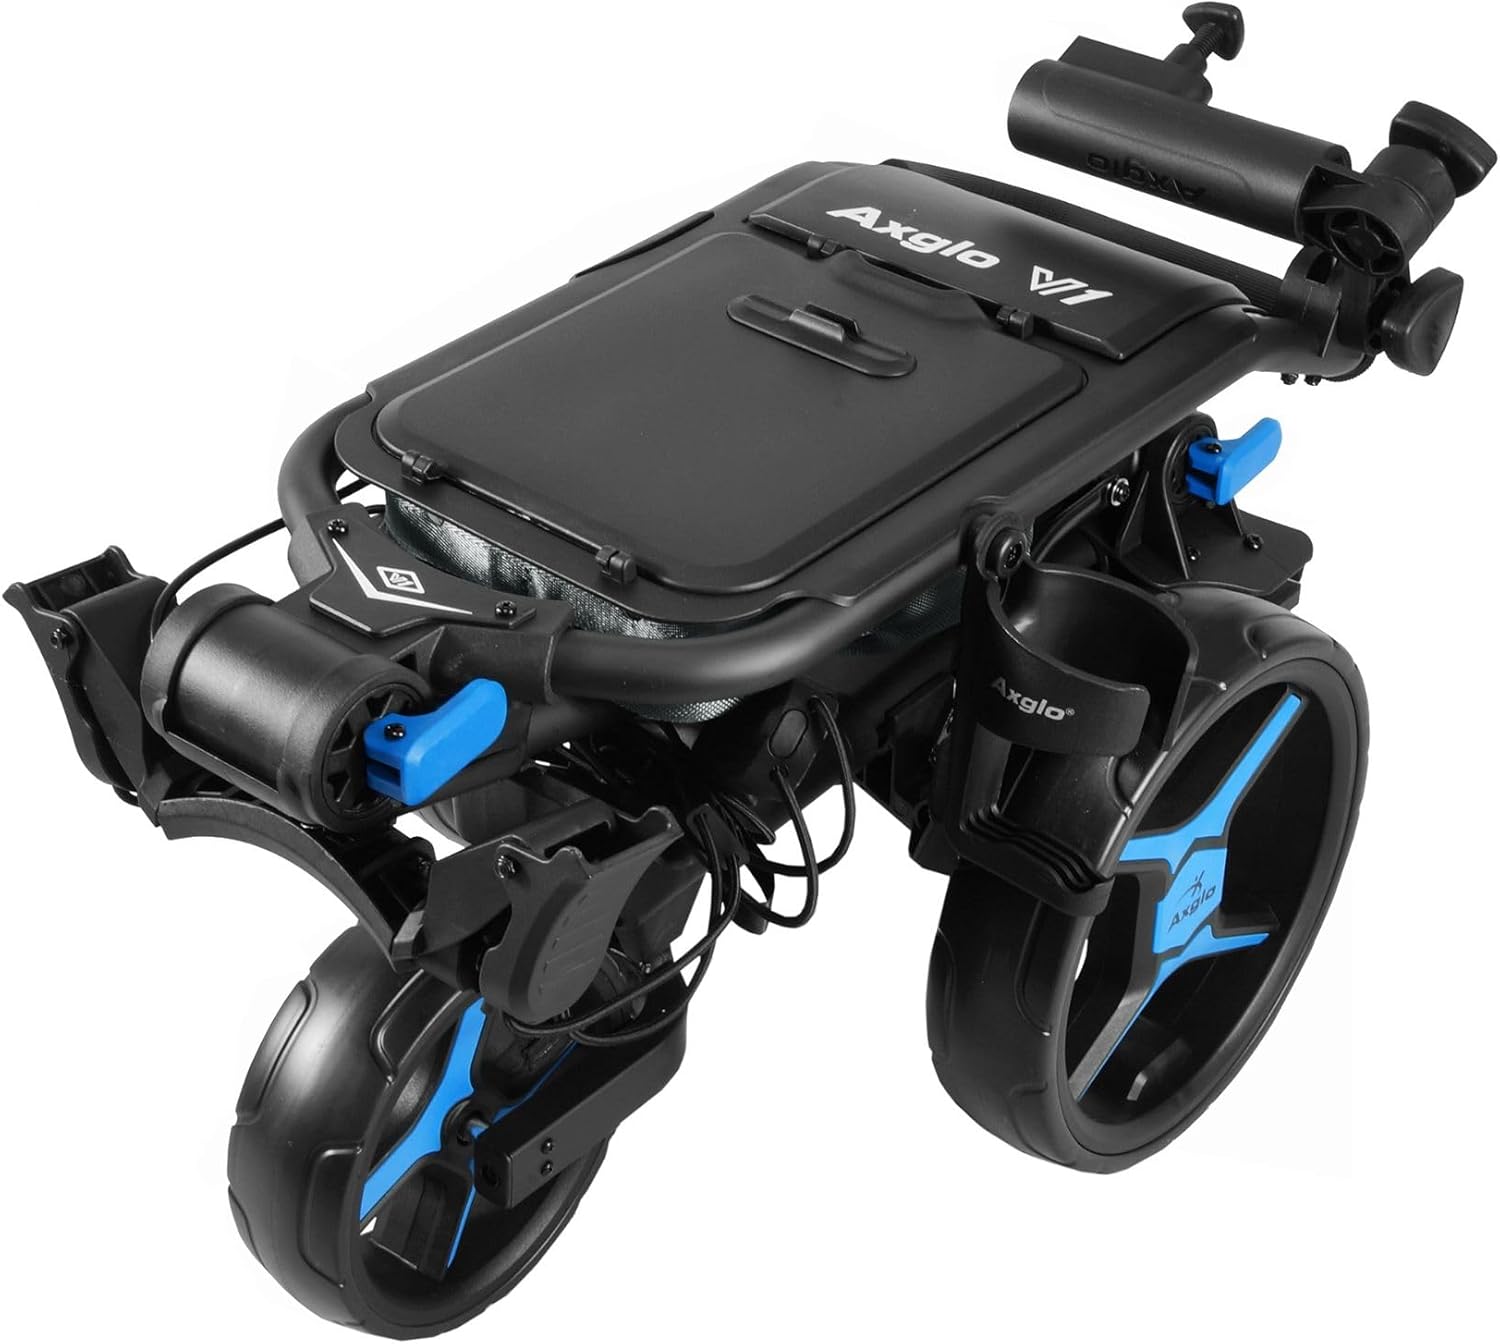
Image: The Axglo V1 Golf Push Cart shown in its fully unfolded, ready-to-use position. The handle is extended, and all three wheels are deployed.
2. Attaching/Removing Rear Wheels
The rear wheels are designed for quick release to facilitate compact storage.
- To Attach: Align the wheel axle with the hub on the cart frame. Press the quick-release button on the wheel and push the wheel onto the axle until it clicks securely into place. Ensure the wheel is firmly attached by pulling on it gently.
- To Remove: Press and hold the quick-release button located at the center of the wheel hub. Pull the wheel straight off the axle.
3. Adjusting Handle Height
The handle height is adjustable to accommodate various user preferences.
- Locate the handle adjustment mechanism (typically a lever or knob) near the base of the handle.
- Release the mechanism.
- Adjust the handle to your desired height.
- Securely lock the adjustment mechanism.
4. Securing Your Golf Bag
The cart is equipped with a secure bag holding rack and adjustable straps to fit most golf bag sizes.
- Place your golf bag onto the upper and lower bag supports.
- Fasten the adjustable straps around your golf bag, ensuring a snug fit to prevent movement during transport.
Operating Instructions
1. Using the Hand Brake
The integrated hand brake provides controlled stopping, especially on uneven terrain or inclines.
- To Engage: Push the brake lever down or forward (depending on design) until it locks into place.
- To Release: Pull the brake lever up or back to disengage the brake.
- Always engage the brake when the cart is stationary to prevent unintended movement.
2. Utilizing Storage Consoles
The cart features two large storage compartments for your golfing essentials and personal items.
- Open the console lids to access the compartments.
- Store items such as golf balls, tees, rangefinders, scorecards, snacks, and other small accessories.
- Close the lids securely to protect contents during movement.
3. Beverage and Umbrella Holders
For added convenience, the cart includes dedicated holders.
- Beverage Holder: Place your drink container securely in the designated holder.
- Umbrella Holder: Insert the handle of your golf umbrella into the holder. Ensure it is stable before proceeding.
Maintenance
1. Cleaning
- After each use, wipe down the cart frame and wheels with a damp cloth to remove dirt, grass, and debris.
- For stubborn dirt, use a mild soap solution and rinse thoroughly.
- Ensure the cart is completely dry before folding and storing to prevent rust or mildew.
2. Wheel Care
The Axglo V1 features airless, maintenance-free wheels.
- Regularly check wheels for any signs of damage or excessive wear.
- Ensure the quick-release mechanisms for the rear wheels are clean and functioning smoothly.
- Keep the wheel axles free of debris to ensure smooth rotation.
3. Storage
To maximize the lifespan of your cart, store it properly.
- Fold the cart into its compact position.
- If desired, remove the rear wheels for even more compact storage.
- Store the cart in a dry, cool place, away from direct sunlight and extreme temperatures.
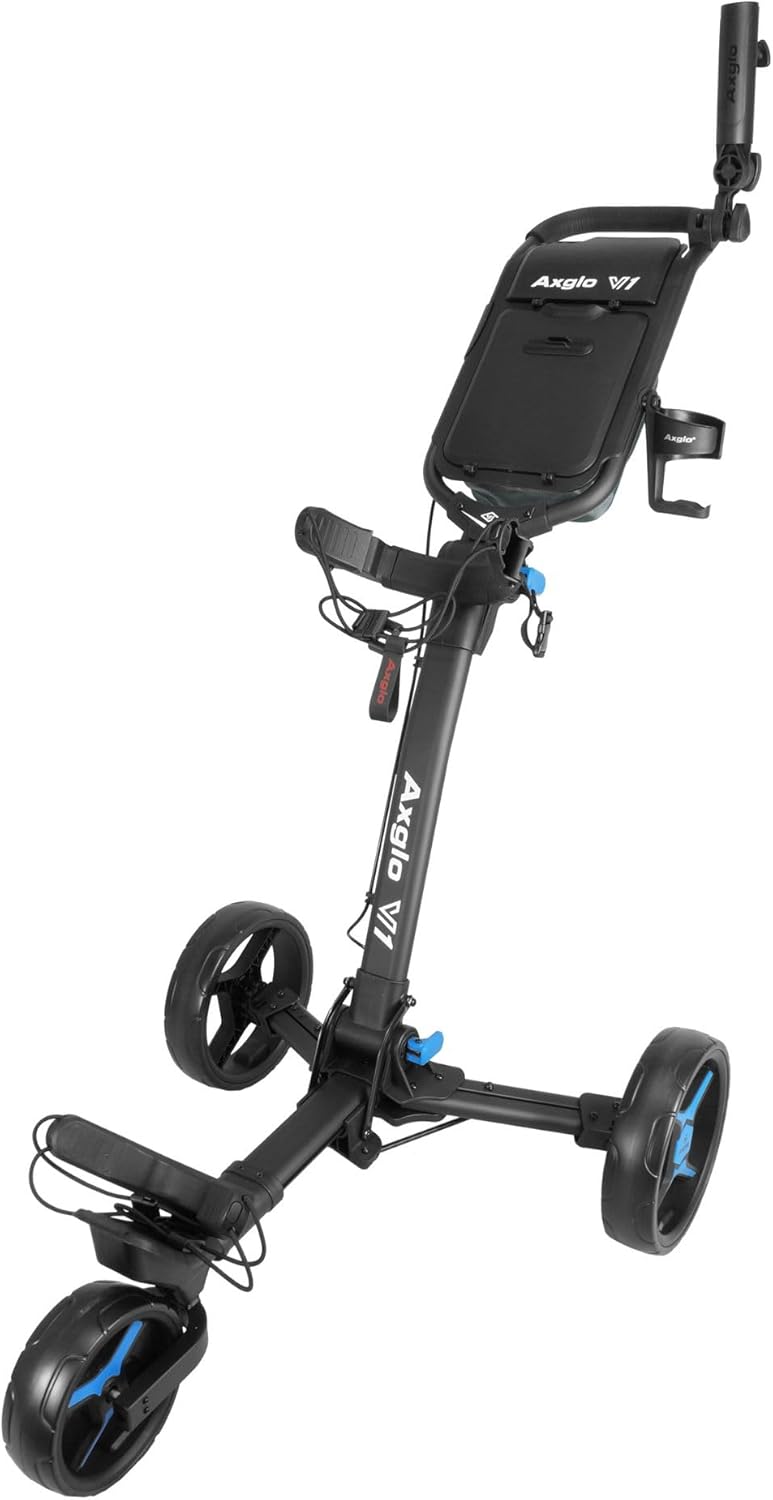
Image: The Axglo V1 Golf Push Cart shown in its ultra-compact folded position, ideal for storage and transport.
Troubleshooting
This section addresses common issues you might encounter with your Axglo V1 Golf Push Cart.
Cart Does Not Fold/Unfold Smoothly
- Check for Obstructions: Ensure no debris or foreign objects are caught in the folding mechanisms.
- Lubrication: Apply a silicone-based lubricant to pivot points and moving parts if they feel stiff. Avoid oil-based lubricants as they can attract dirt.
- Locking Mechanism: Verify that the locking mechanism near the front wheel is fully disengaged when attempting to fold/unfold.
Brake Not Engaging/Releasing Properly
- Cable Tension: The brake cable might need adjustment. Consult a qualified technician if you are unsure how to adjust it.
- Debris: Check if any dirt or debris is interfering with the brake pads or lever mechanism. Clean as necessary.
- Wear: Inspect brake pads for wear. Worn pads may need replacement.
Wheels Wobble or Do Not Rotate Freely
- Secure Attachment: For rear wheels, ensure they are fully engaged with the quick-release mechanism and clicked into place.
- Axle Cleanliness: Remove any hair, string, or debris that may be wrapped around the wheel axles.
- Damage: Inspect wheels for any visible damage or cracks. If a wheel is damaged, it may need replacement.
Specifications
| Feature | Detail |
|---|---|
| Model Name | V1 |
| Brand | Axglo |
| Item Weight | 18.5 Pounds |
| Item Dimensions (LxWxH) | 24 x 31 x 47 inches (Unfolded) |
| Material | Polyester (for certain components) |
| Color (Current Variant) | Black/Blue |
| Included Components | (1) Axglo V1 Golf Push Cart |
| Folding Design | Ultra Compact, One-Step Folding |
| Wheels | Three, Airless, Maintenance-Free (Quick Release Rear Wheels) |
| Brake System | Easy Engage/Release Hand Brake |
| Storage | Dual Storage Consoles |
| Additional Features | Adjustable Handle Height, Secure Bag Rack, Beverage Holder, Umbrella Holder |
Warranty Information
The Axglo V1 Golf Push Cart comes with a 1 Year Limited Warranty. This warranty covers manufacturing defects in materials and workmanship under normal use. It does not cover damage caused by misuse, accidents, unauthorized modifications, or normal wear and tear. Please retain your proof of purchase for warranty claims.
Customer Support
If you have any questions, require assistance, or need to make a warranty claim, please contact Axglo customer support. Refer to the product packaging or the official Axglo website for the most current contact information.


