
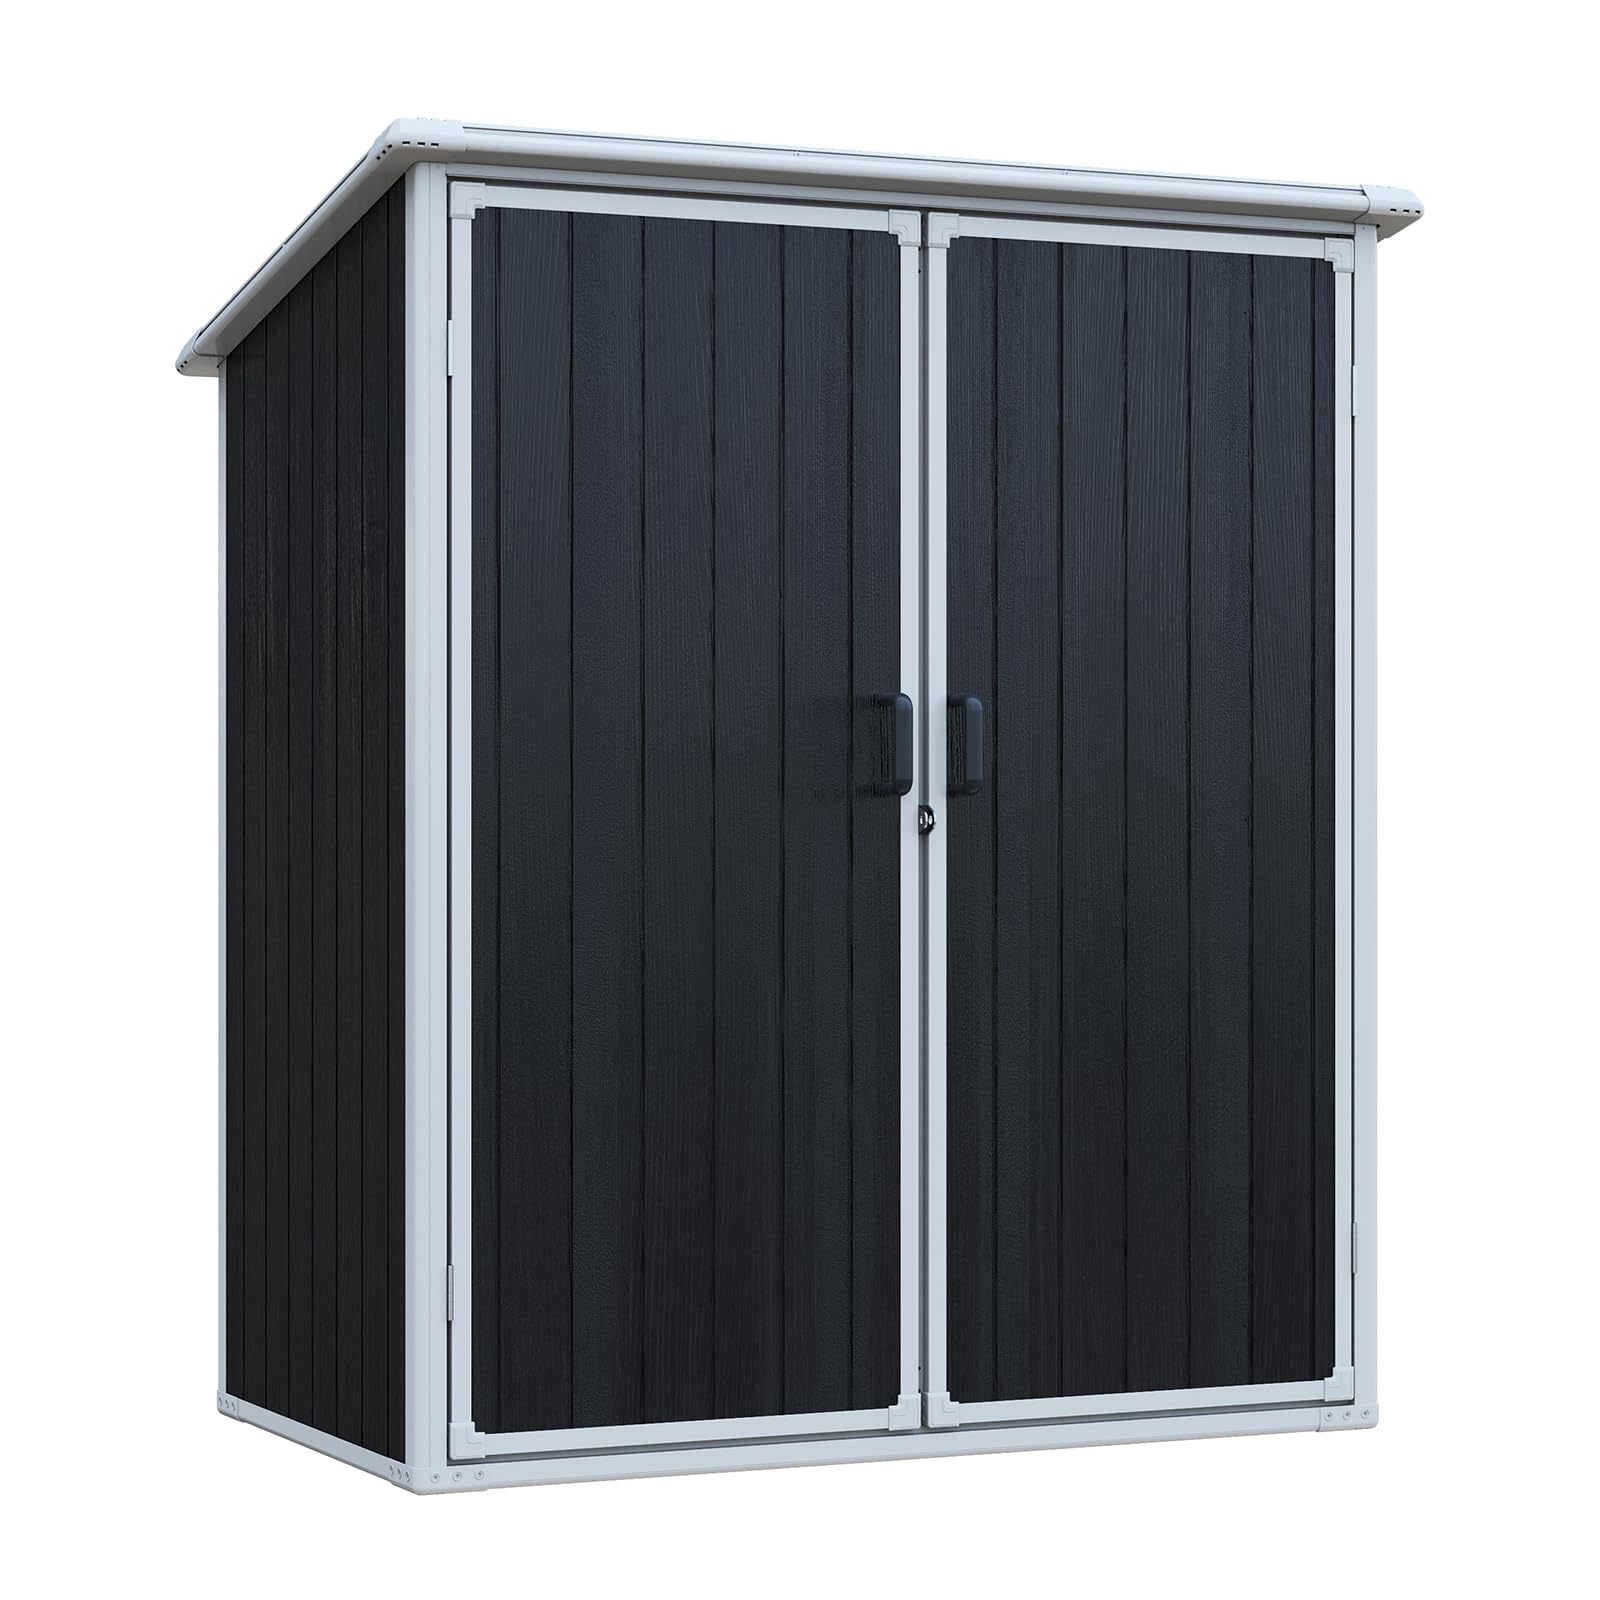
Introduction
This manual provides essential instructions for the assembly, operation, and maintenance of your IMagacFun 5x3 FT Outdoor Storage Shed. Please read this manual thoroughly before beginning assembly or use to ensure proper installation and safe operation. Keep this manual for future reference.
Safety Information
- Always wear appropriate safety gear, such as gloves and eye protection, during assembly.
- Ensure the assembly area is clear of obstructions and children.
- Do not attempt to assemble the shed in strong winds or adverse weather conditions.
- Secure the shed to a level, stable surface to prevent tipping. Anchoring hardware may be required (not included).
- Do not store flammable liquids or hazardous materials inside the shed.
- Keep doors closed and locked when not in use to prevent unauthorized access and protect contents.
Package Contents
Your IMagacFun 5x3 FT Outdoor Storage Shed is typically delivered in two boxes. Please verify all components are present before beginning assembly. Refer to the packing list provided with your product for a detailed inventory. Key components include:
- Resin wall panels
- Roof panels
- Door panels with handles and lock mechanism
- Metal frame connectors and supports
- Hardware kit (screws, bolts, protective caps)
- Base frame components

Image: A notice indicating that the storage shed will be delivered in two separate boxes.
Setup and Assembly Instructions
Assembly of the IMagacFun storage shed is designed to be straightforward. Follow these general steps, referring to the detailed assembly guide included in your package for specific diagrams and hardware identification.
Preparation:
- Choose a flat, level surface for installation.
- Unpack all components and lay them out, verifying against the parts list.
- Gather necessary tools: screwdriver, wrench, possibly a drill (for anchoring).
Assembly Steps:
- Assemble the Base Frame: Connect the base frame components according to the instructions, ensuring all corners are square and secure.
- Install Wall Panels: Attach the resin wall panels to the base frame and to each other using the provided metal connectors and hardware. Ensure panels are correctly oriented.
- Attach Roof Structure: Secure the roof support beams and then the roof panels. Pay attention to the anti-water accumulation holes for proper drainage.
- Install Doors: Mount the door panels using the hinges. Ensure the doors swing freely and align correctly.
- Install Locking Mechanism: Attach the gate lock and handles to the doors. Test the locking mechanism for proper function.
- Apply Protective Caps: Cover exposed screw heads and edges with protective caps for a finished look and enhanced safety.
- Anchor the Shed: For stability, especially in windy conditions, anchor the shed to the ground using appropriate anchoring hardware (not supplied).

Image: Close-up details of the shed's construction, highlighting metal connectors, an upgraded anti-water accumulation hole, the gate lock, edge protection, and the metal-reinforced threshold.

Image: Further product details illustrating the mainland anchor point, the wooden-look resin material, a protective cap, and a hinge mechanism.
Operating Instructions
Accessing the Shed:
To open the shed, unlock the gate lock and pull the handles. The double doors provide wide access for storing larger items. To close, simply push the doors shut until they latch, then engage the lock for security.
Storage Capacity:
The shed offers ample space for various items, including garden tools, equipment, outdoor toys, sports gear, and pool accessories. Its design allows for versatile use, such as a utility room, pet house, garbage bin enclosure, or general storage.

Image: The interior of the shed, demonstrating its storage potential with various tools and equipment neatly organized on a pegboard system.

Image: Visual examples illustrating the shed's adaptability for various uses, including a utility room, a pet house, a garbage bin enclosure, and a general storage shed.
Maintenance
Cleaning:
Clean the shed periodically with mild soap and water. Avoid abrasive cleaners or harsh chemicals that could damage the resin material. Rinse thoroughly with clean water.
Weather Protection:
The shed is constructed from high-quality resin, providing effective rain and UV protection. Regular inspection for any damage to panels or seals will help maintain its weather resistance. Ensure the anti-water accumulation holes are clear of debris to allow proper drainage.

Image: A split image showing the shed under sunny conditions with a UV protection icon, and under heavy rain with a waterproof icon, illustrating its weather-resistant properties.
Troubleshooting
- Doors do not close properly: Check for obstructions in the door path or hinges. Ensure the shed is on a level surface. Adjust hinges if necessary.
- Water leakage: Verify that all panels are securely fastened and that the roof is correctly installed. Ensure anti-water accumulation holes are not blocked. Check for any cracks or damage to the resin panels.
- Shed feels unstable: Confirm that the shed is anchored to the ground. Ensure all frame connectors and screws are tightened.
- Difficulty with lock: Ensure the doors are fully closed and aligned before attempting to lock. Lubricate the lock mechanism if it feels stiff.
Specifications
| Feature | Detail |
|---|---|
| Brand | IMagacFun |
| Model Number | W540S000xx |
| Product Dimensions (D x W x H) | 32.67" x 60.22" x 63.78" |
| Material | Resin |
| Color | Black |
| Item Weight | 92 Pounds |
| Assembly Required | Yes |

Image: A diagram illustrating the external dimensions of the shed in feet, including height, width, and depth.
Warranty and Support
For warranty information or technical support, please refer to the documentation included with your purchase or contact IMagacFun customer service directly. Ensure you have your model number (W540S000xx) and purchase details available when contacting support.