
1. Introduction
This manual provides comprehensive instructions for the installation, operation, maintenance, and troubleshooting of your Oskkude 7-inch Android 14 Car Stereo. Please read this manual thoroughly before installation and use to ensure proper functionality and safety. Keep this manual for future reference.
2. Product Overview
Key Features:
- 7-inch HD IPS Touch Screen
- Android 14.0 Operating System (2GB RAM + 32GB ROM)
- Wireless CarPlay & Android Auto Support
- Built-in WiFi for Online/Offline GPS Navigation
- Bluetooth Connectivity for Hands-Free Calling and Audio Streaming
- Steering Wheel Control (SWC) Compatibility
- Support for AHD Backup Camera (included)
- FM/RDS Radio Tuner
- Split Screen Functionality
- Mirror Link Functionality
Package Contents:
Verify that all items are present in the package before proceeding with installation.

Image: Oskkude Car Stereo and included accessories.
- Oskkude 7-inch Car Stereo Head Unit
- Power Cables (2)
- USB Cables (2)
- Camera Input Cable
- USB Adapter Cable
- GPS Antenna
- RCA Input/Output Cables
- Canbus Box
- Rearview Camera with Extension Cable
- External Microphone
- Frame Removal Tool
- Instruction Manual
3. Setup and Installation
This car stereo is designed for direct fit in Toyota Solara models from 2004 to 2008. Professional installation is recommended to ensure correct wiring and functionality.
Wiring Diagram:
Refer to the following diagram for proper connection of all cables. Ensure all connections are secure before powering on the unit.

Image: Detailed wiring connections for the car stereo unit.
- Power Cable: Connect to the vehicle's power harness.
- USB Cables: For connecting external USB devices or for wired CarPlay/Android Auto.
- GPS Antenna: Mount in a location with a clear view of the sky for optimal signal reception.
- RCA Input/Output: For external audio/video devices and amplifier connections.
- Rearview Camera Input: Connect the included rearview camera.
- External Microphone: Connect for improved call quality.
4. Operating Instructions
4.1 Basic Controls and Screen Power
The unit features touch-sensitive buttons on the side of the screen for basic functions like Power, Home, Back, and Volume. To power down the screen, tap and hold the power button on the side of the unit.
Video: Demonstrates how to set side keys and power down the screen.
4.2 Touchscreen Calibration
If the touchscreen response is inaccurate, you may need to calibrate it. To calibrate, use all five fingers to tap and hold on the screen for approximately 10 seconds until a calibration prompt appears. Follow the on-screen instructions by tapping the 'X' marks as they appear.
Video: Guide on how to calibrate the touchscreen using a five-finger tap.
4.3 Wireless CarPlay & Android Auto
Connect your iOS or Android smartphone wirelessly to access navigation, make calls, send messages, and listen to music through the car stereo. This feature allows for voice control via Siri or Google Assistant.
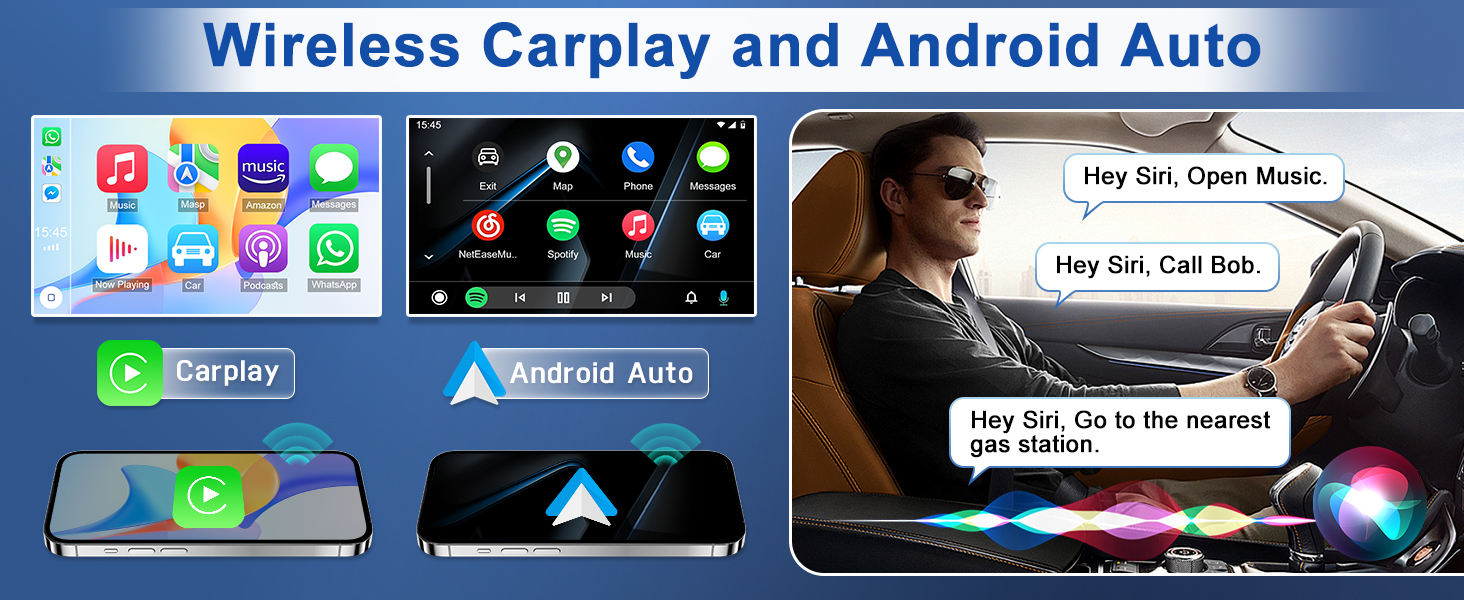
Image: Displaying the Wireless CarPlay and Android Auto interfaces.
4.4 GPS Navigation & WiFi
The unit includes a built-in WiFi module and supports both online and offline navigation applications. Connect to a WiFi hotspot to download offline maps or use online navigation services like Google Maps, Waze, or Here Maps.
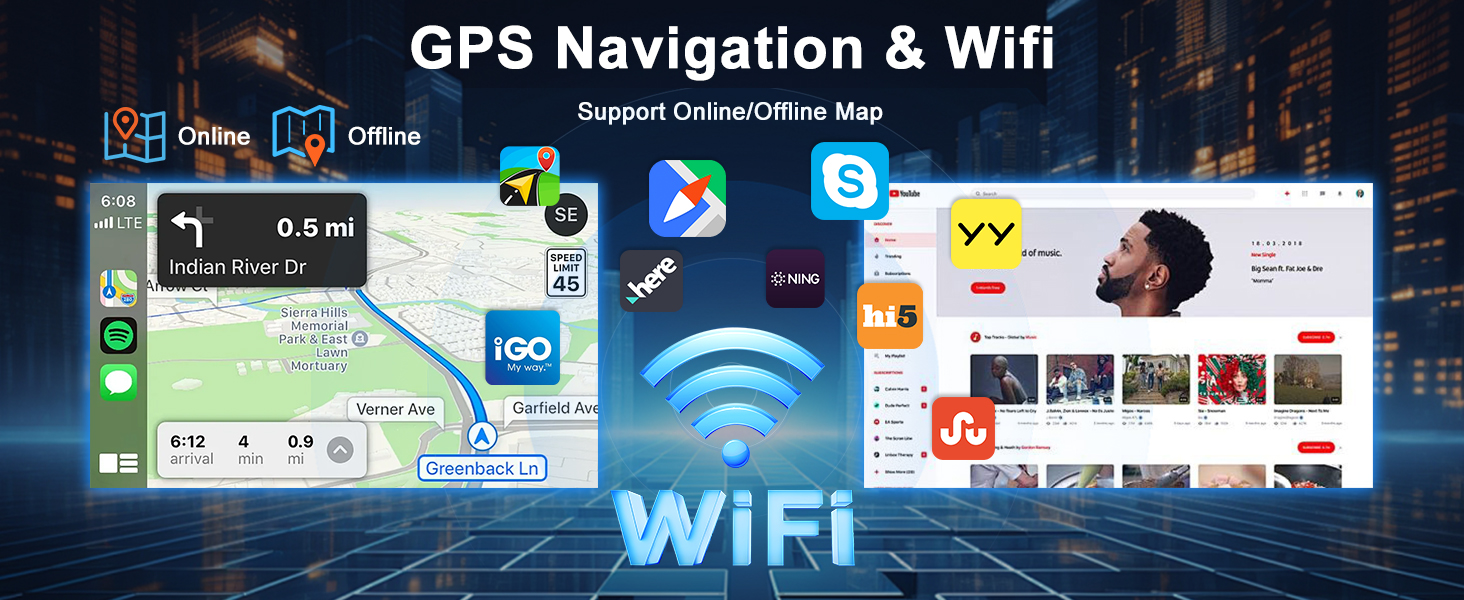
Image: Illustrates GPS navigation with online/offline map support and WiFi connectivity.
4.5 Bluetooth Connectivity
Utilize the built-in Bluetooth for hands-free calling and wireless audio streaming. Pair your smartphone to the unit to manage calls and enjoy your music library.
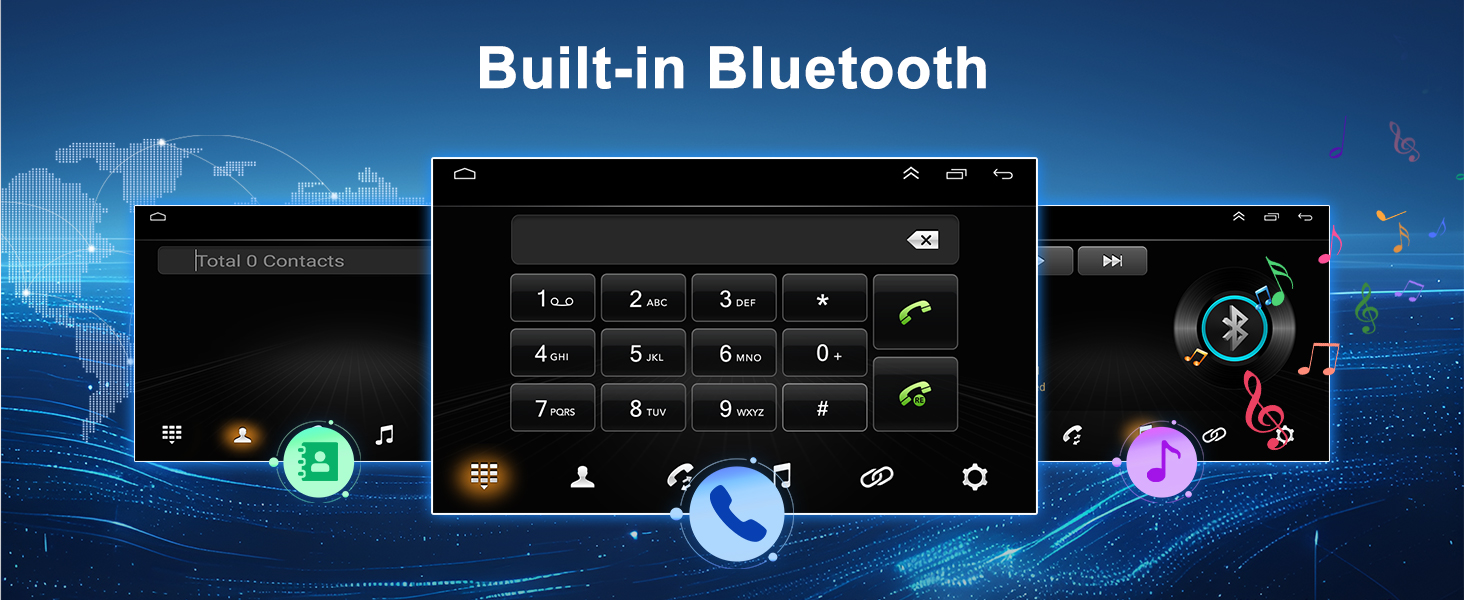
Image: Shows the Bluetooth interface for calls and music.
4.6 Steering Wheel Control (SWC) Programming
The unit supports existing steering wheel controls. To program the controls, navigate to 'Car Settings' > 'Factory Settings' (password: 000000) > 'Touch Learning' or 'SWC Type' > 'Learning Type'. Follow the on-screen prompts to assign functions to your steering wheel buttons.
Video: Instructions on how to program steering wheel control keys.
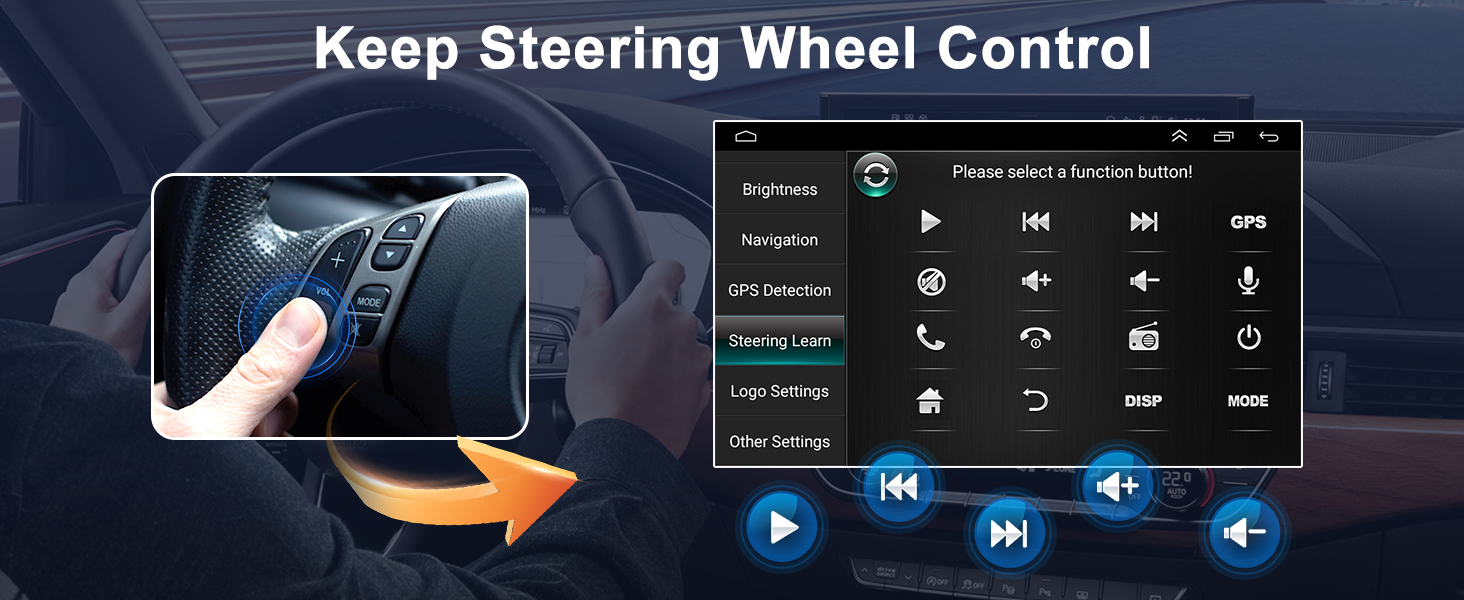
Image: Demonstrates the steering wheel control learning interface.
4.7 Rear View Camera
The included IP68 waterproof rearview camera provides clear parking assistance with night vision. The display automatically switches to the rearview image when the vehicle is in reverse.

Image: Illustrates the rearview camera view with parking guidelines.
4.8 Split Screen Functionality
Operate two applications simultaneously using the split-screen feature. For example, you can navigate while listening to music.
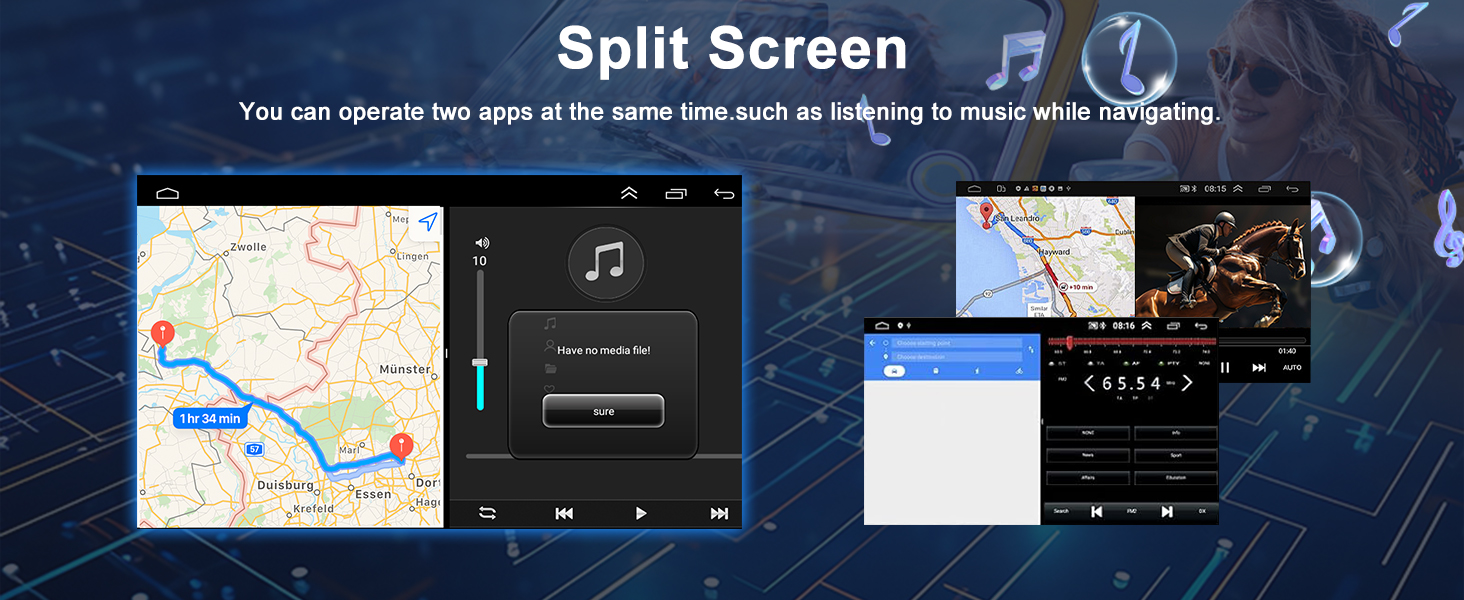
Image: Shows two applications running side-by-side on the split screen.
4.9 FM/RDS Radio
The built-in FM/RDS radio supports automatic and manual station searching. Save your favorite radio stations for quick access.
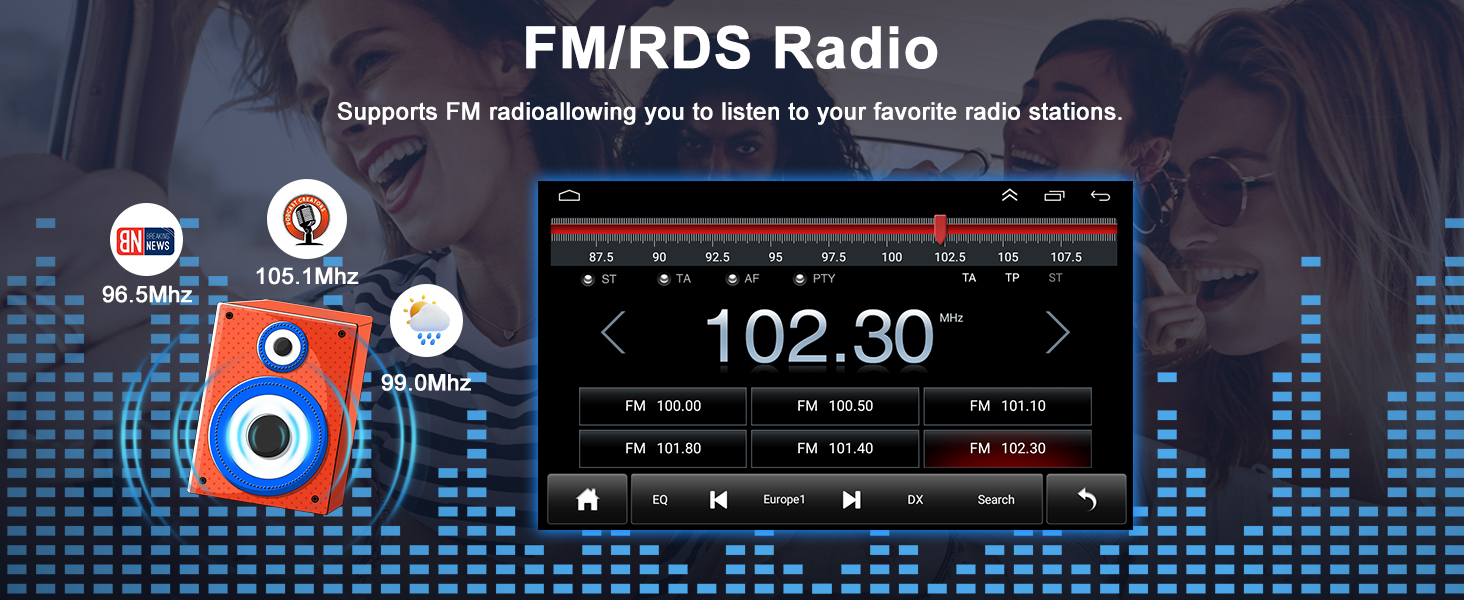
Image: Displays the FM/RDS radio tuning interface.
4.10 HD IPS Touchscreen
The 7-inch IPS touchscreen offers a clear and vibrant visual experience with a resolution of 1024x600. The full-touch interface ensures smooth operation.
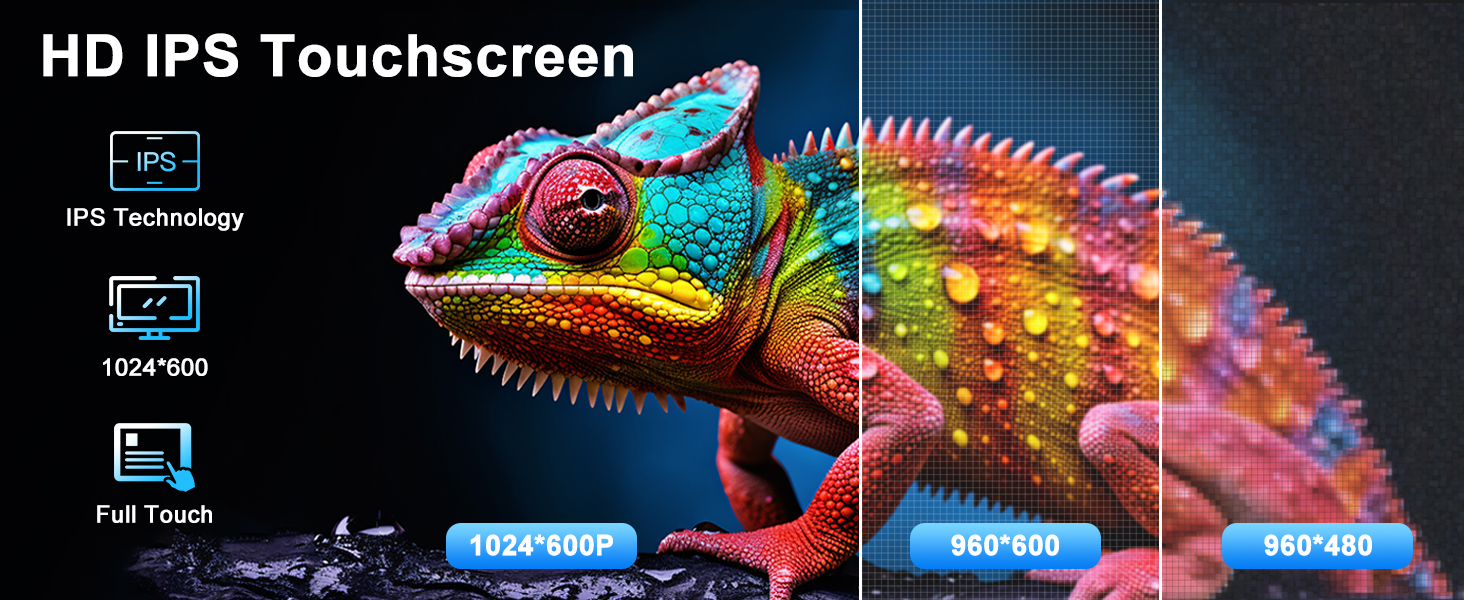
Image: Highlights the features of the HD IPS touchscreen, including resolution and touch response.
4.11 Mirror Link
Use the Mirror Link function to cast your smartphone screen directly to the car radio display. This allows you to view navigation maps, play videos, and access other content from your phone on the larger screen.
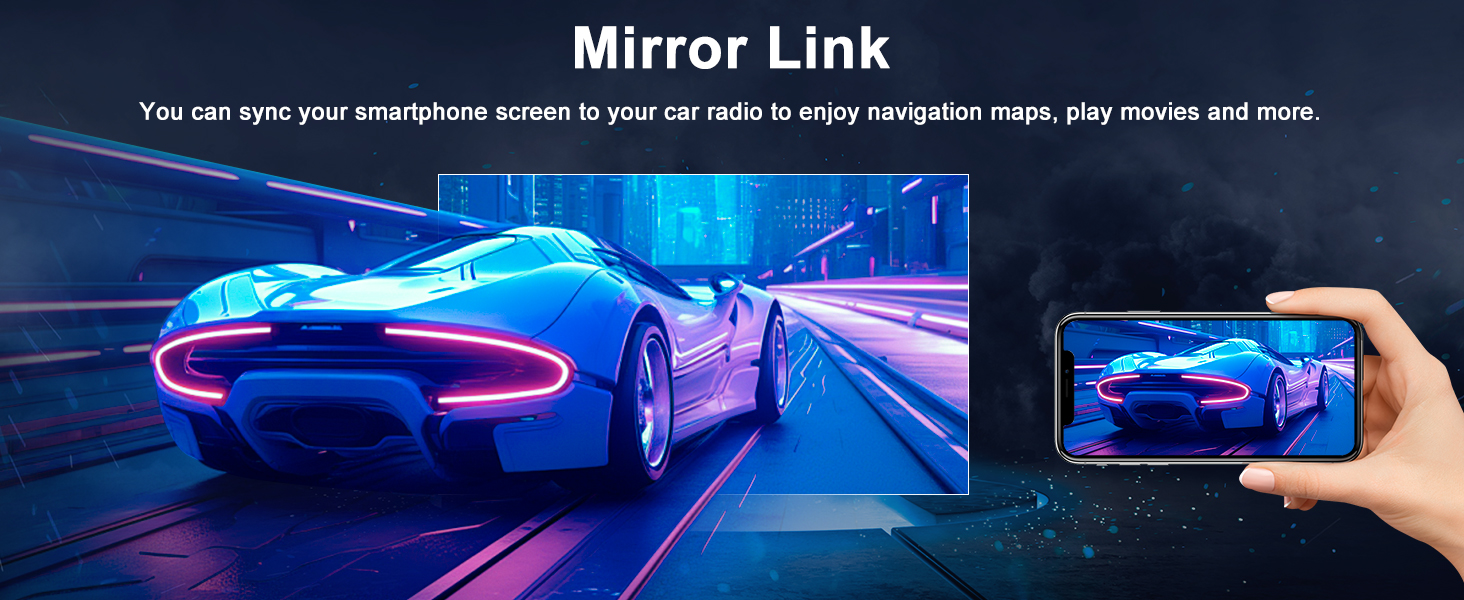
Image: Depicts a smartphone screen mirrored onto the car stereo display.
5. Maintenance
To ensure the longevity and optimal performance of your car stereo, follow these maintenance guidelines:
- Cleaning: Use a soft, dry cloth to clean the screen and exterior. Avoid abrasive cleaners or solvents.
- Temperature: Avoid exposing the unit to extreme temperatures, both hot and cold.
- Moisture: Keep the unit dry and away from moisture.
- Software Updates: Periodically check for and install software updates to improve performance and add new features.
6. Troubleshooting
If you encounter issues with your car stereo, refer to the troubleshooting guide below or consult the official troubleshooting video.
General Troubleshooting Guide:
Video: Essential troubleshooting guide for common car stereo issues.
Backup Camera Format and Resolution Setup Steps:
Incorrect backup camera display can often be resolved by adjusting the format and resolution settings.
- Tap the settings icon to open the settings menu.
- Select 'Factory Settings', then enter the password '8888'.

Image: Steps 1 and 2 for accessing backup camera settings.
- Navigate to 'Protocol Parameter Settings'.
- Select 'Reverse video resolution settings'.
- Select the correct setting based on your camera type. For the included camera, keep the default AHD/25.

Image: Steps 3, 4, and 5 for configuring backup camera resolution.
7. Specifications
| Feature | Description |
|---|---|
| Brand | Oskkude |
| Model Number | TISU-12-DYY-250713X-023 |
| Operating System | Android 14 |
| RAM + ROM | 2GB RAM + 32GB ROM |
| Screen Size | 7 Inch |
| Display Type | IPS Touchscreen |
| Connectivity | Bluetooth, USB, Wi-Fi |
| Audio Output Mode | Stereo |
| Control Method | Touch |
| Compatible Devices | For Toyota Solara 2004-2008 |
8. Warranty and Support
For warranty information, technical support, or any inquiries regarding your Oskkude car stereo, please contact the manufacturer or your point of purchase. Keep your purchase receipt and product model number handy for faster service.
Manufacturer: Oskkude