Introduction
This manual provides comprehensive instructions for the installation, operation, and maintenance of the XYIANG ZK IN01-A Biometric Fingerprint Time Attendance and Access Control System. Please read this manual thoroughly before using the device to ensure proper functionality and safety.
Safety Information
- Ensure the device is installed in a dry environment, away from direct sunlight and extreme temperatures.
- Use only the specified power adapter (12V DC 1.5A) to prevent damage.
- Do not attempt to disassemble or repair the device yourself. Refer to qualified service personnel.
- Keep the fingerprint sensor clean and free from dust or liquids.
Product Overview
The ZK IN01-A is an advanced biometric fingerprint reader designed for time attendance and access control applications. It features a color TFT screen, a ZK optical sensor, and supports various communication methods.
Key Features:
- Color TFT screen with GUI interface for ease of use.
- ZK optical sensor for reliable fingerprint recognition.
- Fast 1-second user recognition.
- Supports fingerprint and/or PIN verification.
- Optional integrated proximity or smart card reader.
- Built-in Serial and Ethernet ports for communication.
- Multi-language support.
- Built-in battery backup providing approximately 4 hours of continuous operation.
- Optional built-in wireless or GPRS for wireless communication.
- Real-time 1-touch data export for third-party applications.
- SDK available for OEM customers and software developers.
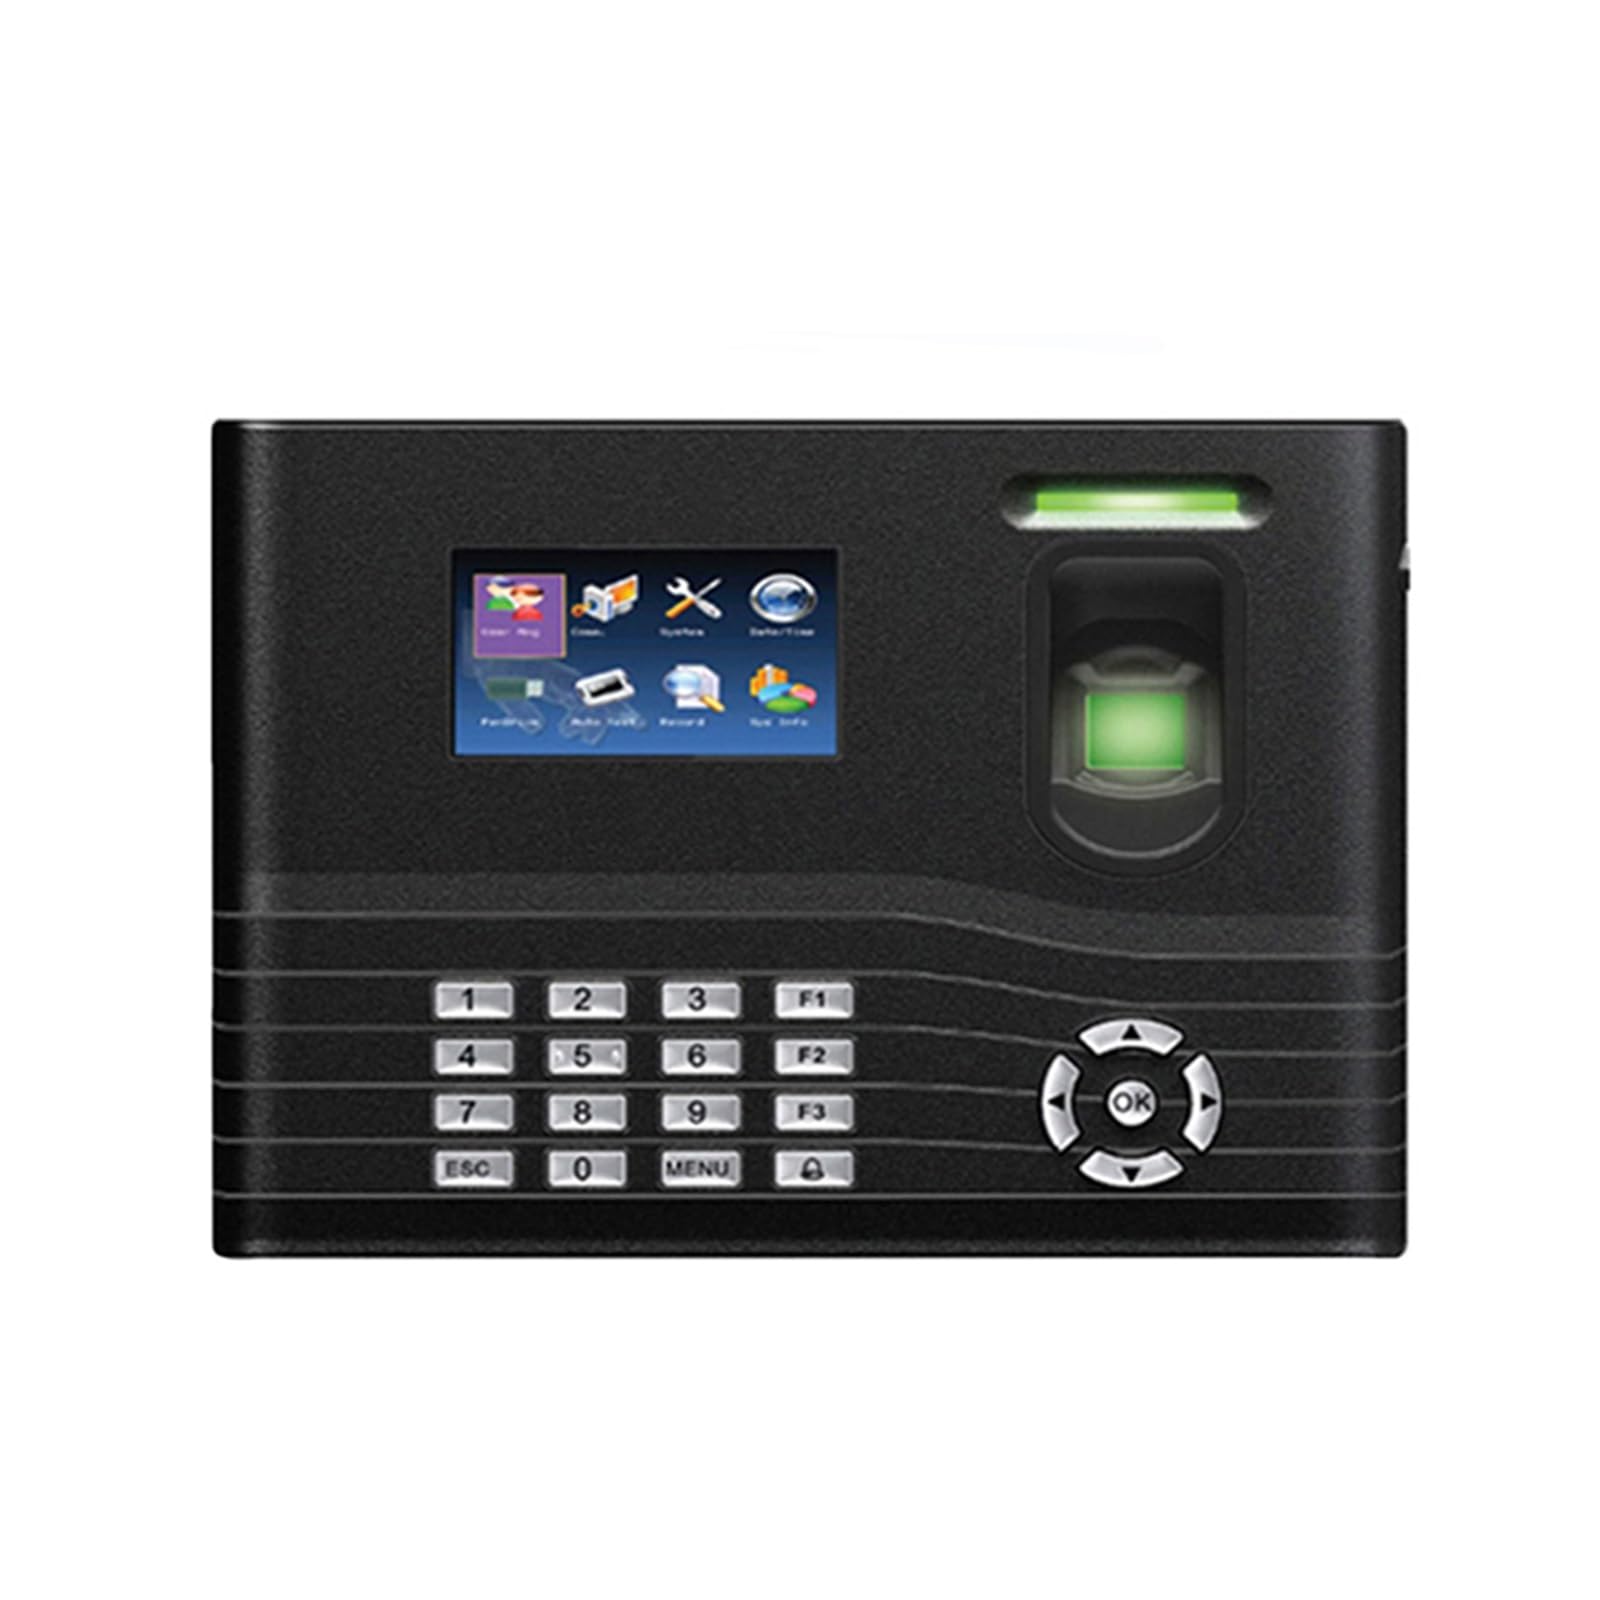
Figure 1: Front view of the ZK IN01-A device, displaying the screen, keypad, and fingerprint scanner.
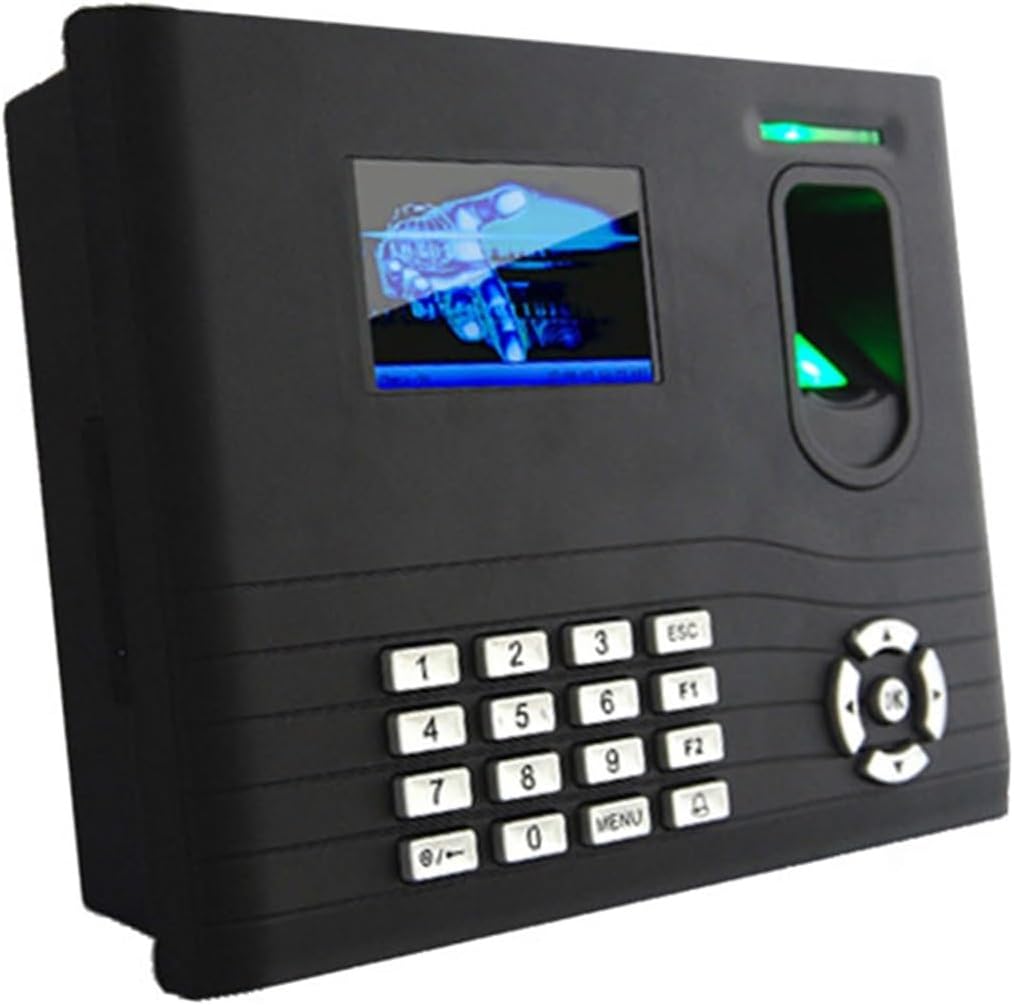
Figure 2: Angled view of the ZK IN01-A, showing the device's profile and button arrangement.
Setup
1. Mounting the Device
Choose a suitable location for mounting the device, ensuring it is at an appropriate height for all users to access the fingerprint sensor and screen comfortably. Use the provided mounting template (if available) to mark drilling points.
- Drill holes at the marked positions.
- Secure the mounting plate (if separate) to the wall using screws.
- Attach the ZK IN01-A device to the mounting plate or directly to the wall.
2. Wiring Connections
Connect the power supply, network cable (Ethernet), and any access control peripherals (electric lock, door sensor, exit button, alarm, doorbell) to the appropriate ports on the back of the device.

Figure 3: Back panel interface and wiring diagram for the ZK IN01-A, detailing connections for power, network, and access control components.
- Power: Connect the 12V DC 1.5A power adapter.
- TCP/IP: Connect an Ethernet cable for network communication.
- USB-Client/Host: Use for data transfer or connecting USB devices.
- Access Control: Wire electric locks, door sensors, exit buttons, alarms, and doorbells as per the diagram.
- RS232/RS485: For serial communication with other devices.
3. Initial Power-On
After all connections are secure, plug in the power adapter. The device will power on, and the TFT screen will display the boot-up sequence. Follow the on-screen prompts for initial configuration, such as language selection and date/time settings.
Operating Instructions
1. User Registration
To register a new user, navigate to the "User Management" menu on the device. You can register users by fingerprint, PIN, or optional RFID card.
- Press the MENU button.
- Select "User Mgt." and then "New User".
- Enter a User ID.
- Select "Enroll FP" to register a fingerprint. Place the finger on the sensor three times as prompted.
- Optionally, set a PIN or enroll an RFID card.
- Assign user roles (e.g., Administrator, User).
- Save the user information.
2. Time Attendance
Users can clock in and out using their registered fingerprint, PIN, or card.
- Fingerprint: Place the registered finger on the optical sensor. A successful verification will be indicated on the screen.
- PIN: Enter the User ID, then press OK, enter the PIN, and press OK again.
- Card: Present the registered RFID card to the card reader.
The device will automatically record the time and status (e.g., In/Out) based on the Automatic Status Switch setting.
3. Access Control
For access control functionality, users verify their identity using their registered credentials. Upon successful verification, the connected electric lock will disengage for a set duration.
- Ensure the access control settings (e.g., door open time, anti-pass back) are configured in the system menu.
- Users present their fingerprint, PIN, or card to the device.
- If verification is successful, the door will unlock.
4. Data Management
Transaction data can be exported via USB or TCP/IP.
- USB Data Export: Connect a USB flash drive to the USB-Host port. Navigate to the "Data Mgt." menu and select "Download Attlog" or "Download User Info".
- TCP/IP Data Export: Ensure the device is connected to a network and configured with a valid IP address. Use the provided software SDK or compatible third-party applications to retrieve data from the device over the network.
Maintenance
- Cleaning: Regularly wipe the fingerprint sensor and screen with a soft, dry cloth. Do not use abrasive cleaners or liquids directly on the device.
- Firmware Updates: Check the manufacturer's website for available firmware updates to ensure optimal performance and security. Follow the update instructions carefully.
- Data Backup: Periodically back up all transaction data and user information to an external storage device or server to prevent data loss.
- Battery Maintenance: The built-in battery provides backup power. If the device is not used for extended periods, ensure it is charged periodically to maintain battery health.
Troubleshooting
| Problem | Possible Cause | Solution |
|---|---|---|
| Device does not power on. | No power supply; faulty adapter; internal issue. | Check power connection. Ensure adapter is working. If problem persists, contact support. |
| Fingerprint not recognized. | Finger not placed correctly; sensor dirty; fingerprint not enrolled; damaged fingerprint. | Ensure finger is clean and dry. Place finger flat on sensor. Clean sensor. Re-enroll fingerprint if necessary. |
| Data export fails via USB. | USB drive not formatted correctly; drive full; faulty USB port. | Ensure USB drive is FAT32 formatted. Check available space. Try a different USB drive. |
| Network connection issues. | Incorrect IP settings; faulty Ethernet cable; network configuration problem. | Verify IP address, subnet mask, and gateway settings. Check Ethernet cable. Consult network administrator. |
Specifications
| Feature | Detail |
|---|---|
| Fingerprint Capacity | 3,000 |
| Card Capacity | 10,000 (Optional) |
| Transaction Capacity | 100,000 |
| Hardware Platform | ZEM560 |
| Sensor | ZK Optical Sensor |
| Algorithm Version | ZK Finger V10.0 (default V9.0 also supported) |
| Communication | RS232, RS485, TCP/IP, USB-Client, USB-Host |
| Access Control Interface | Electric Lock, Door Sensor, Exit Button, Alarm, Door Bell |
| Wiegand Signal | Input & Output |
| Standard Functions | Work Code, SMS, DLST, Self-Service Query, Automatic Status Switch, Back-up Battery, Anti-pass Back |
| Optional Functions | ID/Mifare Card, Extensible Barcode, Scheduled-bell, Web-server, SOAP, 9 Digit User ID, GPRS |
| Display | 3-inch TFT Screen |
| Power Supply | 12V DC 1.5A |
| Operating Temperature | 0°C - 45°C (32°F - 113°F) |
| Operating Humidity | 20% - 80% |
| Dimensions (WxHxD) | 210 x 157 x 50 mm |

Figure 4: Dimensions of the ZK IN01-A device.
Warranty and Support
For warranty information and technical support, please refer to the documentation provided with your purchase or contact XYIANG customer service. Keep your purchase receipt as proof of purchase.
Manufacturer: XYIANG
ASIN: B0G5XVLC3Q