1. Important Safety Instructions
Please read all instructions carefully before using the appliance and retain them for future reference. Failure to follow these instructions may result in electric shock, fire, or serious injury.
- Ensure the appliance is placed on a stable, flat, heat-resistant surface, away from edges.
- Do not immerse the appliance, power cord, or plug in water or any other liquid.
- Keep out of reach of children. This appliance features a child lock function to prevent accidental dispensing.
- Use only clean, potable water in the water tank.
- Do not operate the appliance if the power cord or plug is damaged, or if the appliance malfunctions or has been damaged in any manner.
- Always unplug the appliance from the power outlet before cleaning, filling, or when not in use.
- The appliance is made from BPA-free, food-grade materials for your safety.
2. Product Overview
The Generic Instant Hot Water Dispenser provides on-demand hot water with adjustable temperature and volume settings. Its compact design and user-friendly interface make it ideal for various hot beverage preparations.
2.1 Components
- Main Unit with Dispensing Spout
- Large Color LED Display / Control Panel
- Removable Water Tank (3.5L / 0.92 Gallon) with Handle
- Drip Tray
- Power Cord
2.2 Product Diagram
Refer to the image below for a visual representation of the dispenser's main parts.
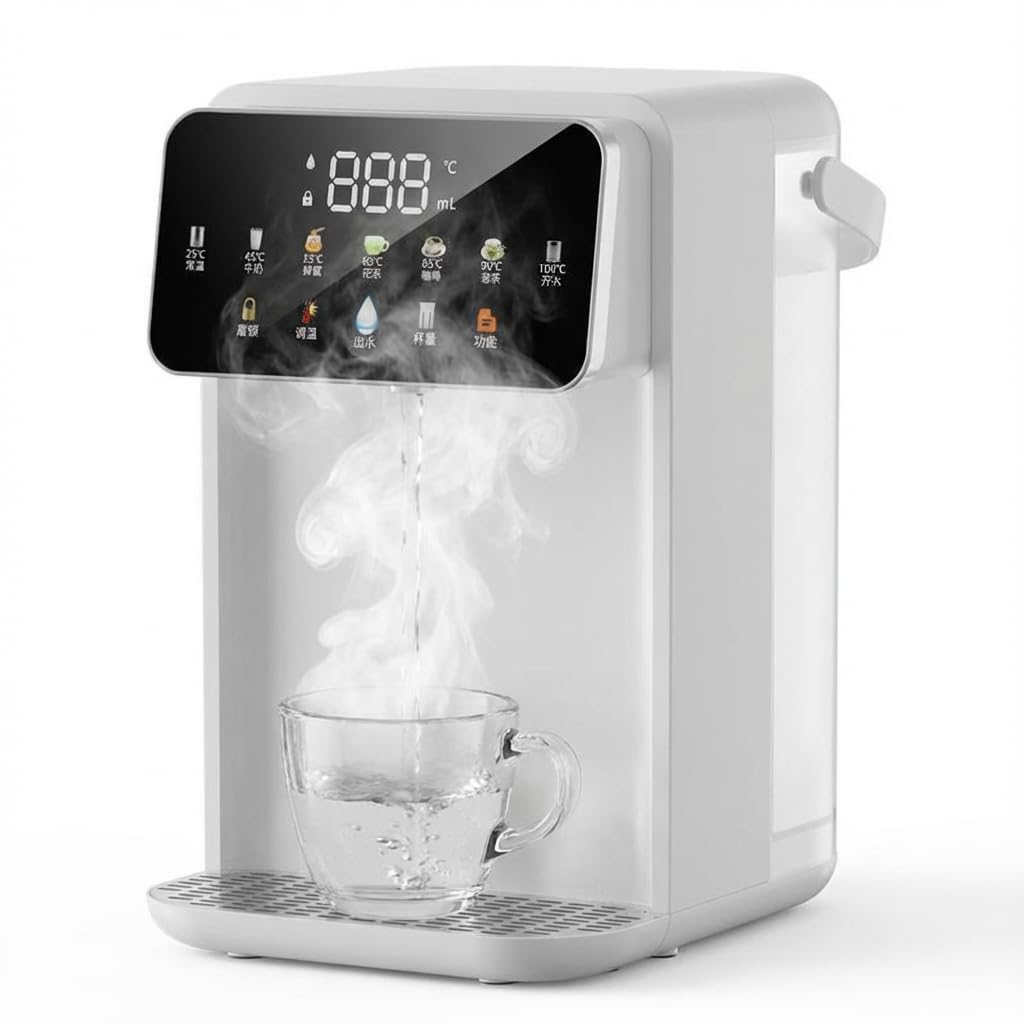
Image 1: Front view of the Generic Instant Hot Water Dispenser. It shows the main unit with a black finish, a large color LED display on the front, a dispensing spout, and a removable water tank on the back. A drip tray is visible at the base.
3. Setup
3.1 Unpacking and Placement
- Carefully remove all packaging materials from the dispenser.
- Place the dispenser on a clean, dry, stable, and heat-resistant countertop. Ensure there is adequate space around the unit for ventilation.
- Insert the drip tray into its designated slot at the base of the dispenser.
3.2 Initial Cleaning
- Remove the water tank from the back of the unit by lifting it using its handle.
- Wash the water tank and drip tray with warm, soapy water. Rinse thoroughly and dry.
- Wipe the exterior of the main unit with a damp cloth. Do not use abrasive cleaners.
- Reattach the water tank to the main unit.
3.3 Filling the Water Tank
- Fill the water tank with clean, potable water up to the MAX fill line. Do not overfill.
- Ensure the water tank is securely placed back on the unit.
4. Operating Instructions
4.1 Powering On
- Plug the power cord into a grounded electrical outlet.
- The color LED display will illuminate, indicating the dispenser is in standby mode.
4.2 Selecting Temperature
The dispenser offers 7 preset temperature settings for various beverages:
- 77°F (Normal): Room temperature water.
- 113°F (Baby Formula): Ideal for preparing baby formula.
- 130°F (Honey): Suitable for dissolving honey.
- 150°F (Scented Tea): Perfect for delicate scented teas.
- 185°F (Coffee): Optimal for brewing coffee.
- 195°F (Tea): Great for most black and herbal teas.
- 212°F (Boiling): For instant noodles, boiling tea, or sterilization.
To select a temperature, touch the temperature icon on the LED display and cycle through the options until your desired temperature is shown.
4.3 Selecting Volume
Choose from 8 volume settings to dispense the precise amount of water:
- 5 oz
- 6 oz
- 8 oz
- 10 oz
- 12 oz
- 14 oz
- 15 oz
- 17 oz
To select a volume, touch the volume icon on the LED display and cycle through the options until your desired volume is shown.
4.4 Dispensing Water
- Place your cup or mug on the drip tray, centered under the dispensing spout.
- Ensure the water tank is filled and the desired temperature and volume are selected.
- Press the 'Dispense' button on the LED display. The dispenser will rapidly heat and dispense the selected volume of water.
- Water dispensing will stop automatically once the selected volume is reached. You can manually stop dispensing at any time by pressing the 'Dispense' button again.
4.5 Child Lock Function
To activate the child lock, press and hold the child lock icon on the display for a few seconds. Once activated, the dispenser will not dispense water until the child lock is deactivated. To deactivate, press and hold the child lock icon again.
5. Maintenance
5.1 Cleaning the Water Tank and Drip Tray
- Unplug the dispenser from the power outlet.
- Remove the water tank and drip tray.
- Wash them with warm, soapy water and a soft sponge. Rinse thoroughly and dry completely before reassembling.
- It is recommended to clean these parts weekly, or more frequently with heavy use.
5.2 Cleaning the Exterior
- Wipe the exterior of the dispenser with a soft, damp cloth.
- Do not use harsh chemicals, abrasive cleaners, or scouring pads, as these can damage the surface.
5.3 Descaling
Over time, mineral deposits (limescale) can build up inside the dispenser, affecting performance. Descale the unit every 1-3 months, depending on water hardness and usage.
- Unplug the dispenser and empty the water tank.
- Fill the water tank with a descaling solution (e.g., a mixture of white vinegar and water, or a commercial descaling agent designed for water heaters) according to the product's instructions.
- Place a large heat-resistant container under the dispensing spout.
- Plug in the dispenser and run several cycles at the highest temperature setting until the water tank is empty.
- Rinse the water tank thoroughly and refill with fresh, clean water.
- Run 2-3 full cycles with fresh water to flush out any remaining descaling solution.
6. Troubleshooting
If you encounter any issues with your dispenser, please refer to the table below for common problems and solutions.
| Problem | Possible Cause | Solution |
|---|---|---|
| Dispenser does not power on. | Not plugged in or power outlet issue. | Ensure the power cord is securely plugged into a working outlet. Check the circuit breaker. |
| No water dispenses. | Water tank is empty or not properly seated. Child lock is active. | Fill the water tank. Ensure the tank is correctly installed. Deactivate the child lock. |
| Water is not hot enough. | Incorrect temperature setting. Limescale buildup. | Verify the selected temperature. Perform a descaling cycle. |
| Slow dispensing or reduced flow. | Limescale buildup. | Perform a descaling cycle. |
| Leaking from the unit. | Water tank not properly seated. Drip tray full. | Ensure the water tank is correctly installed. Empty the drip tray. If leaking persists, discontinue use and contact support. |
7. Specifications
| Feature | Detail |
|---|---|
| Model Name | Instant Hot Water Dispenser Countertop |
| Brand | Generic |
| Capacity | 3.5 Liters (0.92 Gallons) |
| Color | Black |
| Dimensions (H x W x D) | 11.81" H x 7.48" W x 9.45" D (approximate) |
| Heating Time | 1-3 seconds to boiling |
| Temperature Settings | 7 presets: 77°F, 113°F, 130°F, 150°F, 185°F, 195°F, 212°F |
| Volume Settings | 8 presets: 5, 6, 8, 10, 12, 14, 15, 17 oz |
| Material | BPA-free, food-grade materials |
| Special Features | Color LED Display, Child Lock, Quiet Operation, Night Light |
8. Warranty and Support
This product comes with a standard manufacturer's warranty. For specific warranty details, please refer to the documentation included with your purchase or contact the retailer. If you require technical support or have questions not covered in this manual, please contact the customer service department of your retailer.