
Introduction
This manual provides comprehensive instructions for the installation, operation, and maintenance of your Generic 4-in-1 Security Camera. This camera is designed for reliable surveillance with 1080P Full HD resolution, infrared night vision, and IP66 waterproofing, making it suitable for various environments such as schools and warehouses. Please read this manual thoroughly before use to ensure proper setup and optimal performance.
Package Contents
Verify that all items listed below are included in your package:
- 1 x Generic 4-in-1 Security Camera
- 3 x Mounting Screws
- 3 x Expansion Tubes
- 1 x User Manual
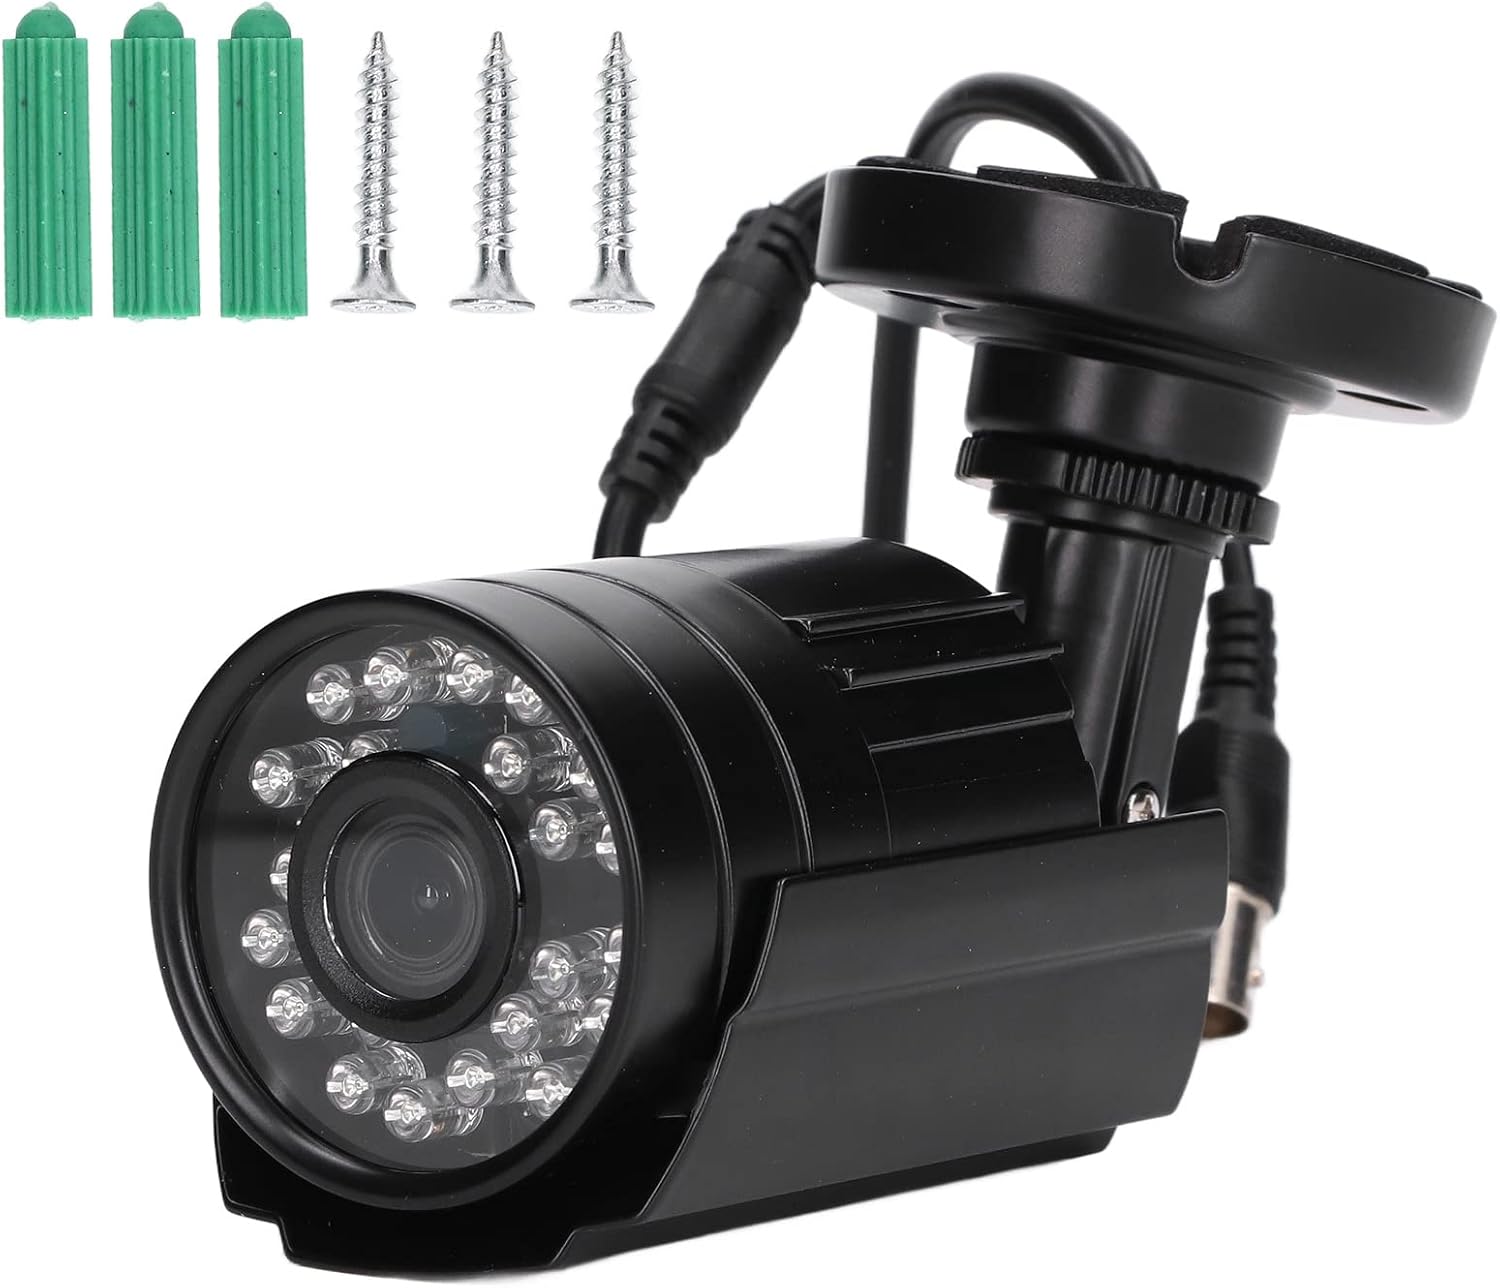
Image: The security camera shown alongside the included mounting screws and expansion tubes.
Setup
1. System Selection (PAL/NTCS)
Before installation, ensure the camera's video system matches your Digital Video Recorder (DVR) system. The camera supports both PAL and NTCS formats. Refer to your DVR's specifications to determine the correct system.
- NTCS System: Primarily used in Japan, the United States, Canada, Mexico, and other 60Hz countries.
- PAL System: Primarily used in China, Asia, Europe, and most of Africa.
2. Physical Installation
- Choose a Location: Select a suitable location for the camera, ensuring it provides the desired viewing angle and coverage. Consider factors like lighting, potential obstructions, and proximity to power and video cables.
- Mount the Camera:
- Position the camera's mounting base against the desired surface.
- Mark the drilling points through the holes on the mounting base.
- Drill pilot holes at the marked points. Insert the expansion tubes if mounting into drywall or masonry.
- Secure the camera's mounting base to the surface using the provided screws.
- Adjust Angle: Loosen the adjustment screws on the camera bracket to set the desired viewing angle. Tighten the screws once the camera is positioned correctly.

Image: A side view of the security camera, highlighting its adjustable mounting bracket for flexible positioning.

Image: The underside of the camera's mounting base, showing the screw holes for secure installation.
3. Wiring and Connection
The camera features a tail line interface with a 12V power input and a BNC interface for video signal output.
- Connect Power: Connect a 12V DC power adapter (not included) to the camera's power input interface.
- Connect Video: Connect a BNC cable (not included) from the camera's BNC interface to the corresponding video input on your DVR system.
- Power On: Once all connections are secure, power on your DVR and the camera.

Image: The security camera with its integrated power input and BNC video output cables.
Operating Instructions
1. Day and Night Conversion
The camera supports automatic day and night conversion via its IR-CUT filter. In low-light conditions, the camera will automatically switch to infrared night vision mode, activating its built-in 24 infrared LEDs to provide clear images up to 30 meters.

Image: A close-up front view of the security camera, showing the array of infrared LEDs surrounding the central lens.
2. Signal Output
This 4-in-1 camera supports AHD, TVI, CVI, and CVBS signal outputs, ensuring broad compatibility with various analog DVR systems. The signal type can typically be switched via a joystick on the camera cable or through the DVR's interface, depending on the specific model and DVR capabilities.
Maintenance
- Cleaning: Regularly clean the camera lens and housing with a soft, damp cloth. Avoid using harsh chemicals or abrasive materials that could scratch the lens or damage the finish.
- Cable Inspection: Periodically check all cables for signs of wear, damage, or loose connections. Ensure waterproof seals are intact for outdoor installations.
- Firmware Updates: Check with your DVR manufacturer for any available firmware updates that might improve camera compatibility or performance.
- Environmental Protection: Although the camera is IP66 waterproof, extreme weather conditions (e.g., heavy snow, direct lightning strikes) can still affect performance. Consider additional protective measures if installed in harsh environments.
Troubleshooting
| Problem | Possible Cause | Solution |
|---|---|---|
| No image on screen |
|
|
| Poor image quality / blurry image |
|
|
| Night vision not working |
|
|
Specifications
| Feature | Detail |
|---|---|
| Model Name | Genericvgt5e8sk70-12 |
| Resolution | 2MP (1080P Full HD) |
| Lens | 3.6mm |
| Angle | 110 degrees |
| Day And Night Conversion | Support IR-CUT |
| Shutter Speed | 1/50 (1/60) second to 1/10,000 second |
| Tail Line Interface | 12V power input, BNC interface |
| Signal Transmission | AHD, TVI, CVI, CVBS signal output |
| Infrared Night Vision | Built-in 24 infrared LEDs, effective distance 20-30m |
| Power Consumption | Maximum 4W |
| Waterproof Grade | IP66 |
| Working Temperature | -20°C to 50°C (-4°F to 122°F) |
| Material | Alloy steel |
| Dimensions (L x W x H) | 19 x 8 x 7 centimetres (approximate) |
Warranty Information
This Generic Security Camera comes with a manufacturer warranty for 90 days from the date of purchase. This warranty covers defects in materials and workmanship under normal use. Please retain your proof of purchase for warranty claims. The warranty does not cover damage caused by misuse, accidents, unauthorized modifications, or improper installation.
Support
For technical assistance, troubleshooting beyond this manual, or warranty inquiries, please contact your retailer or the manufacturer directly. Please have your product model number (Genericvgt5e8sk70-12) and purchase information ready when contacting support.