
1. Introduction
Thank you for choosing the XCYIKML HORACO 2.5GbE Network Switch. This unmanaged switch is designed to provide high-performance network connectivity for home labs, small offices, and other environments requiring fast and reliable data transfer. Featuring four 2.5 Gigabit Ethernet RJ45 ports and two 10 Gigabit SFP+ fiber optic slots, it offers versatile connectivity options for various devices.
This manual provides detailed instructions for setting up, operating, and maintaining your network switch to ensure optimal performance and longevity.
2. Product Overview
The HORACO 2.5GbE Network Switch is engineered to meet the demands of high-bandwidth applications, supporting devices such as NAS servers, WiFi 6 Access Points, WiFi 6 Routers, and high-performance computers. Its unmanaged design ensures a simple plug-and-play experience without complex configuration.
- 4x 2.5GbE RJ45 Ports: Provides high-speed wired connections for compatible devices.
- 2x 10G SFP+ Slots: Offers ultra-fast fiber optic connectivity for uplink or high-speed device connections.
- Unmanaged: No software configuration required, simply connect and use.
- Compact Design: Space-saving form factor suitable for various setups.

Figure 1: The HORACO 2.5GbE Network Switch is designed to support high-performance 2.5G devices, including NAS servers, WiFi 6 access points, and computers, ensuring efficient data flow across your network.
3. Setup Instructions
The HORACO 2.5GbE Network Switch is designed for easy installation. Follow these steps to get your switch operational:
- Unpack the Switch: Carefully remove the switch and its accessories from the packaging. Ensure all components are present: the switch unit and the power adapter.
- Connect Power: Plug the provided power adapter into the DC input port on the switch. Then, plug the other end of the power adapter into a standard electrical outlet. The power LED indicator on the switch should illuminate, indicating it is receiving power.
- Connect Network Devices:
- For 2.5GbE devices (e.g., computers, NAS, routers), connect standard Ethernet cables (Cat5e or higher recommended for optimal performance) from your devices to any of the four RJ45 ports on the switch.
- For 10G SFP+ devices (e.g., servers, other switches), insert compatible SFP+ transceivers (not included) into the SFP+ slots, then connect appropriate fiber optic cables.
- Verify Connection: Once devices are connected, the corresponding port LED indicators on the switch should light up, indicating an active link.
The switch is plug-and-play, meaning no further configuration is typically required for basic network operation.
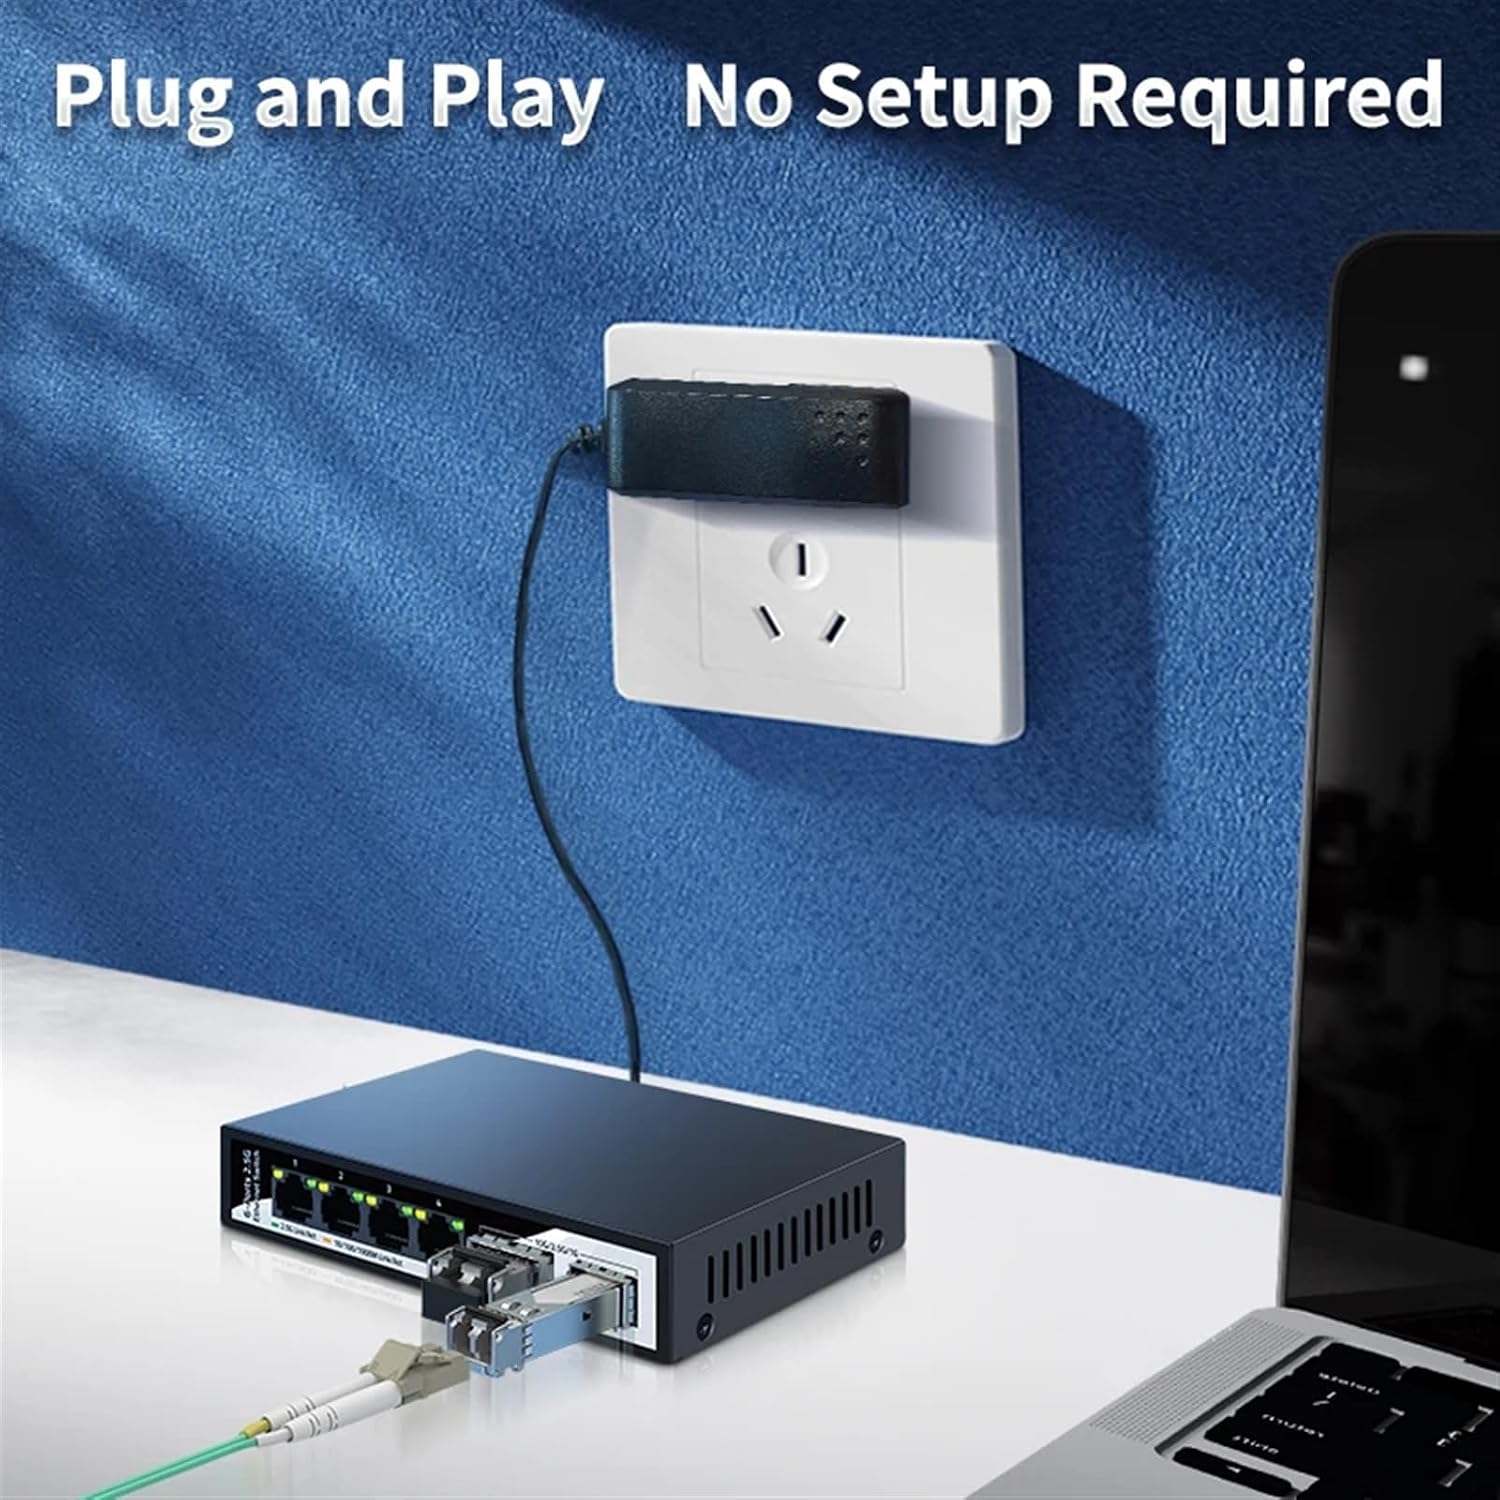
Figure 2: The switch offers a straightforward plug-and-play experience. Simply connect the power adapter and your network devices, and it's ready for use without any complex setup.
4. Operating Instructions
As an unmanaged switch, the HORACO 2.5GbE Network Switch operates automatically once powered on and connected to network devices. There are no software settings or configurations to manage.
LED Indicators:
- Power LED: Illuminates when the switch is powered on.
- Link/Act LEDs (per port):
- Solid Green/Amber: Indicates a stable network link.
- Flashing Green/Amber: Indicates data activity (transmitting or receiving data).
- Off: No link detected or device is not connected/powered on.
Ensure that the Link/Act LEDs are illuminated for all connected devices to confirm proper network connectivity.
5. Maintenance
Proper maintenance ensures the longevity and reliable operation of your network switch.
- Cleaning:
Periodically clean the exterior of the switch with a soft, dry cloth. Do not use liquid or aerosol cleaners. Ensure ventilation openings are free from dust and obstructions.
- Environmental Conditions:
Operate the switch in a well-ventilated area, away from direct sunlight, heat sources, and excessive moisture. Maintain a stable room temperature to prevent overheating.
- Heat Dissipation:
The switch features a built-in heat sink and is designed for efficient heat dissipation on both sides to ensure stable operation and prevent overloading. Do not block the ventilation holes.
- Cable Management:
Keep network cables organized and untangled to prevent damage and ensure proper airflow around the switch.

Figure 3: The switch is designed for faster heat dissipation and stable operation, featuring a built-in heat sink and ventilation on both sides to prevent overheating and reduce noise.
6. Troubleshooting
If you encounter issues with your HORACO 2.5GbE Network Switch, refer to the following common problems and solutions:
| Problem | Possible Cause | Solution |
|---|---|---|
| No Power LED indication | Power adapter not connected or faulty; power outlet not working. | Check power adapter connection to switch and outlet. Try a different outlet. Ensure the power adapter is the correct one. |
| No Link/Act LED for a connected device | Ethernet cable faulty or improperly connected; device not powered on or faulty; incorrect cable type for SFP+ port. | Ensure cables are securely connected. Try a different Ethernet cable. Verify the connected device is powered on and functioning. For SFP+ ports, ensure compatible transceivers and fiber cables are used. |
| Slow network speed | Cable quality issues; device network adapter limitations; network congestion; duplex mismatch. | Use Cat6 or higher Ethernet cables for 2.5GbE connections. Ensure connected devices support 2.5GbE or 10GbE speeds. Reduce network traffic if possible. Restart the switch and connected devices. |
| Intermittent connection | Loose cable connections; power fluctuations; faulty port or cable. | Check all cable connections. Ensure a stable power supply. Try connecting to a different port or using a different cable. |
If the problem persists after trying these solutions, please contact customer support.
7. Specifications
Below are the technical specifications for the XCYIKML HORACO 2.5GbE Network Switch:
- Model: DXYXXQSED
- Ports: 4x 2.5GbE RJ45, 2x 10G SFP+
- Switching Capacity: 60 Gbps (Non-blocking)
- Forwarding Rate: Wire-speed
- Standards: IEEE 802.3, 802.3u, 802.3ab, 802.3bz, 802.3ae, 802.3x
- Jumbo Frame Support: Up to 9KB
- MAC Address Table: 8K entries
- Power Input: 12V DC (via external power adapter)
- Dimensions (H): 28mm (Machine Height)
- Net Weight: 312g
- Operating Temperature: 0°C to 40°C (32°F to 104°F)
- Storage Temperature: -40°C to 70°C (-40°F to 158°F)
- Operating Humidity: 10% to 90% non-condensing
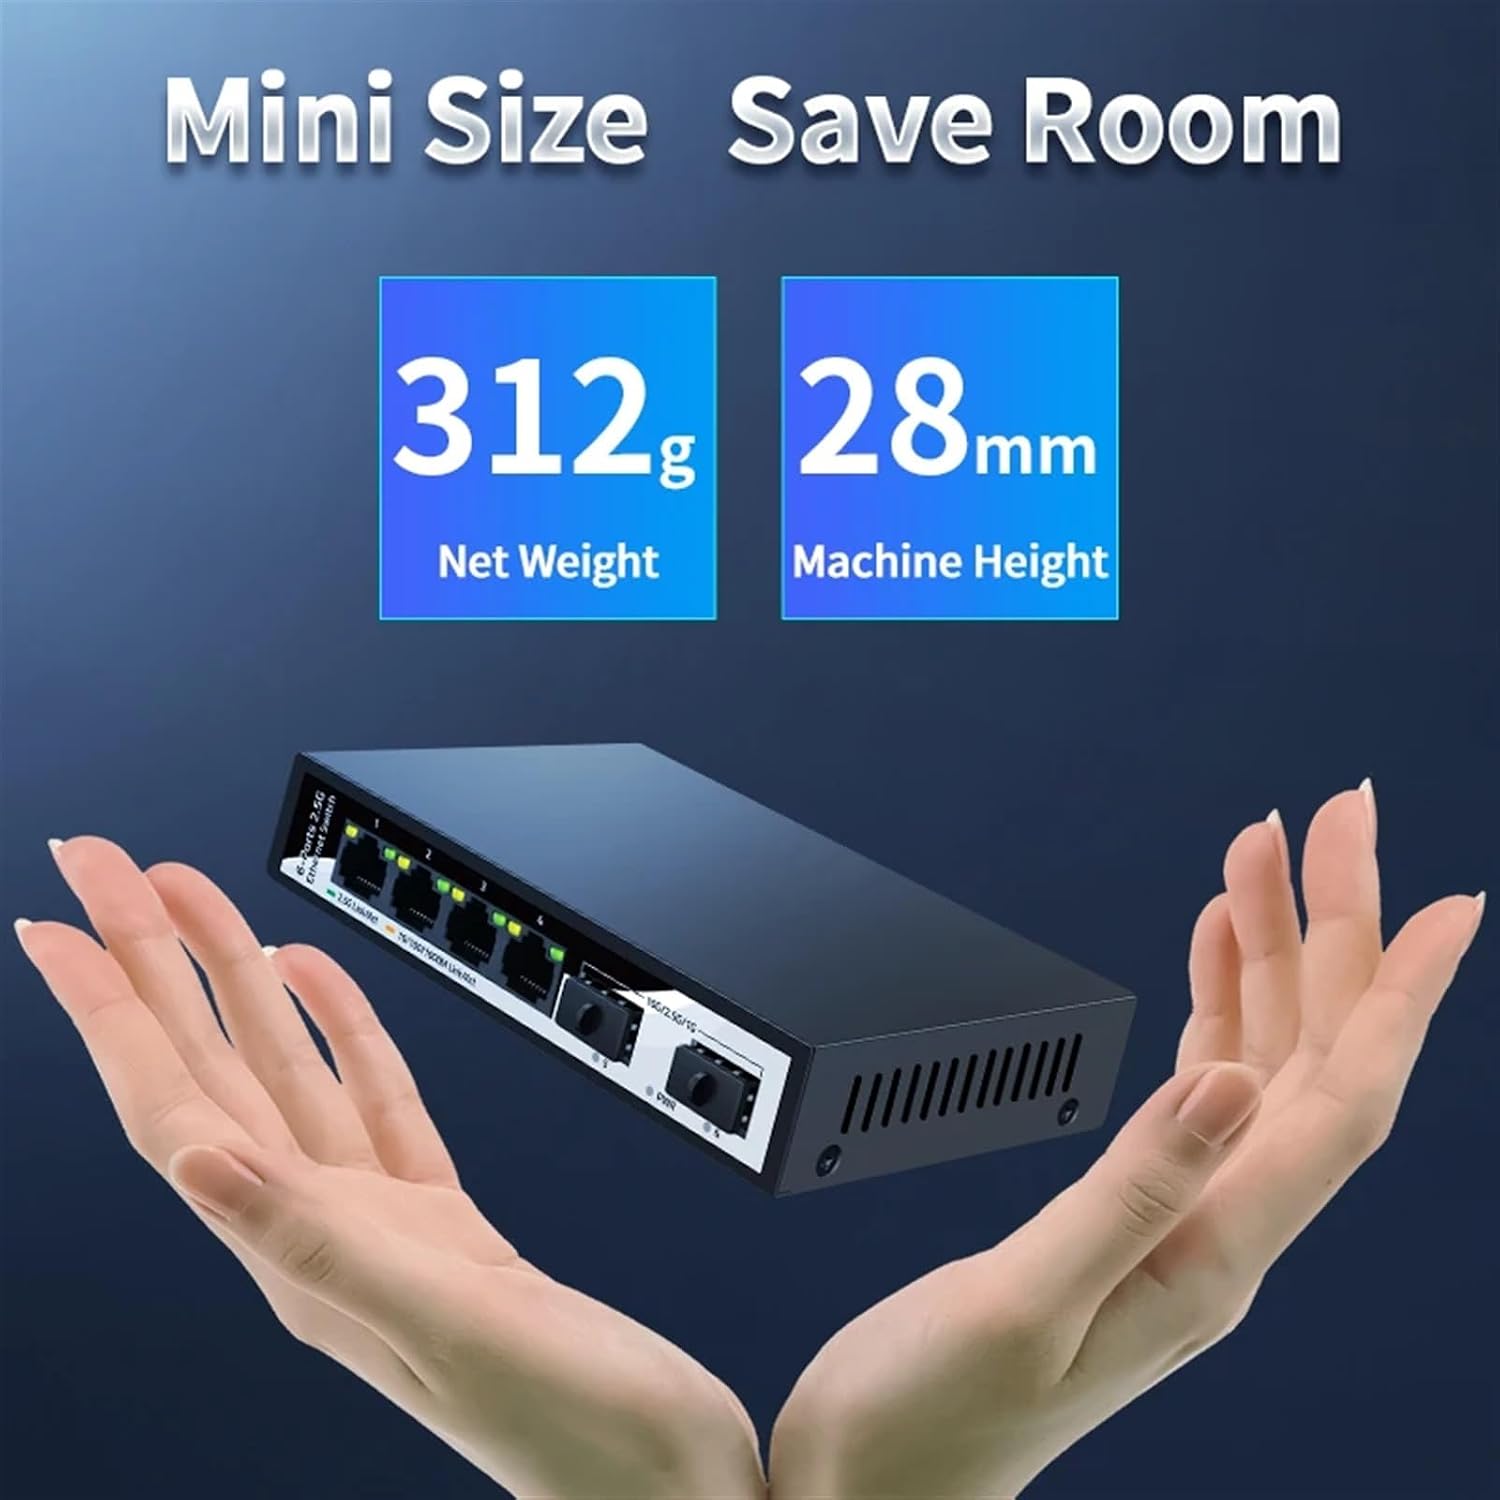
Figure 4: The compact design of the switch, highlighting its mini size, light net weight of 312g, and a machine height of 28mm, making it ideal for saving space.
8. Warranty and Support
XCYIKML products are designed for reliability and performance. For warranty information and technical support, please refer to the warranty card included with your product or visit the official XCYIKML website. Keep your purchase receipt for warranty claims.
For further assistance, you may contact our customer support team through the contact information provided on our website.