1. Introduction
This manual provides comprehensive instructions for the assembly, operation, and maintenance of your AECOJOY 20' x 12' Hardtop Lean-to Gazebo. Please read all instructions carefully before beginning assembly and retain this manual for future reference. This heavy-duty gazebo is designed to provide a durable and stylish outdoor living space, featuring a galvanized steel and aluminum construction for enhanced weather resistance.
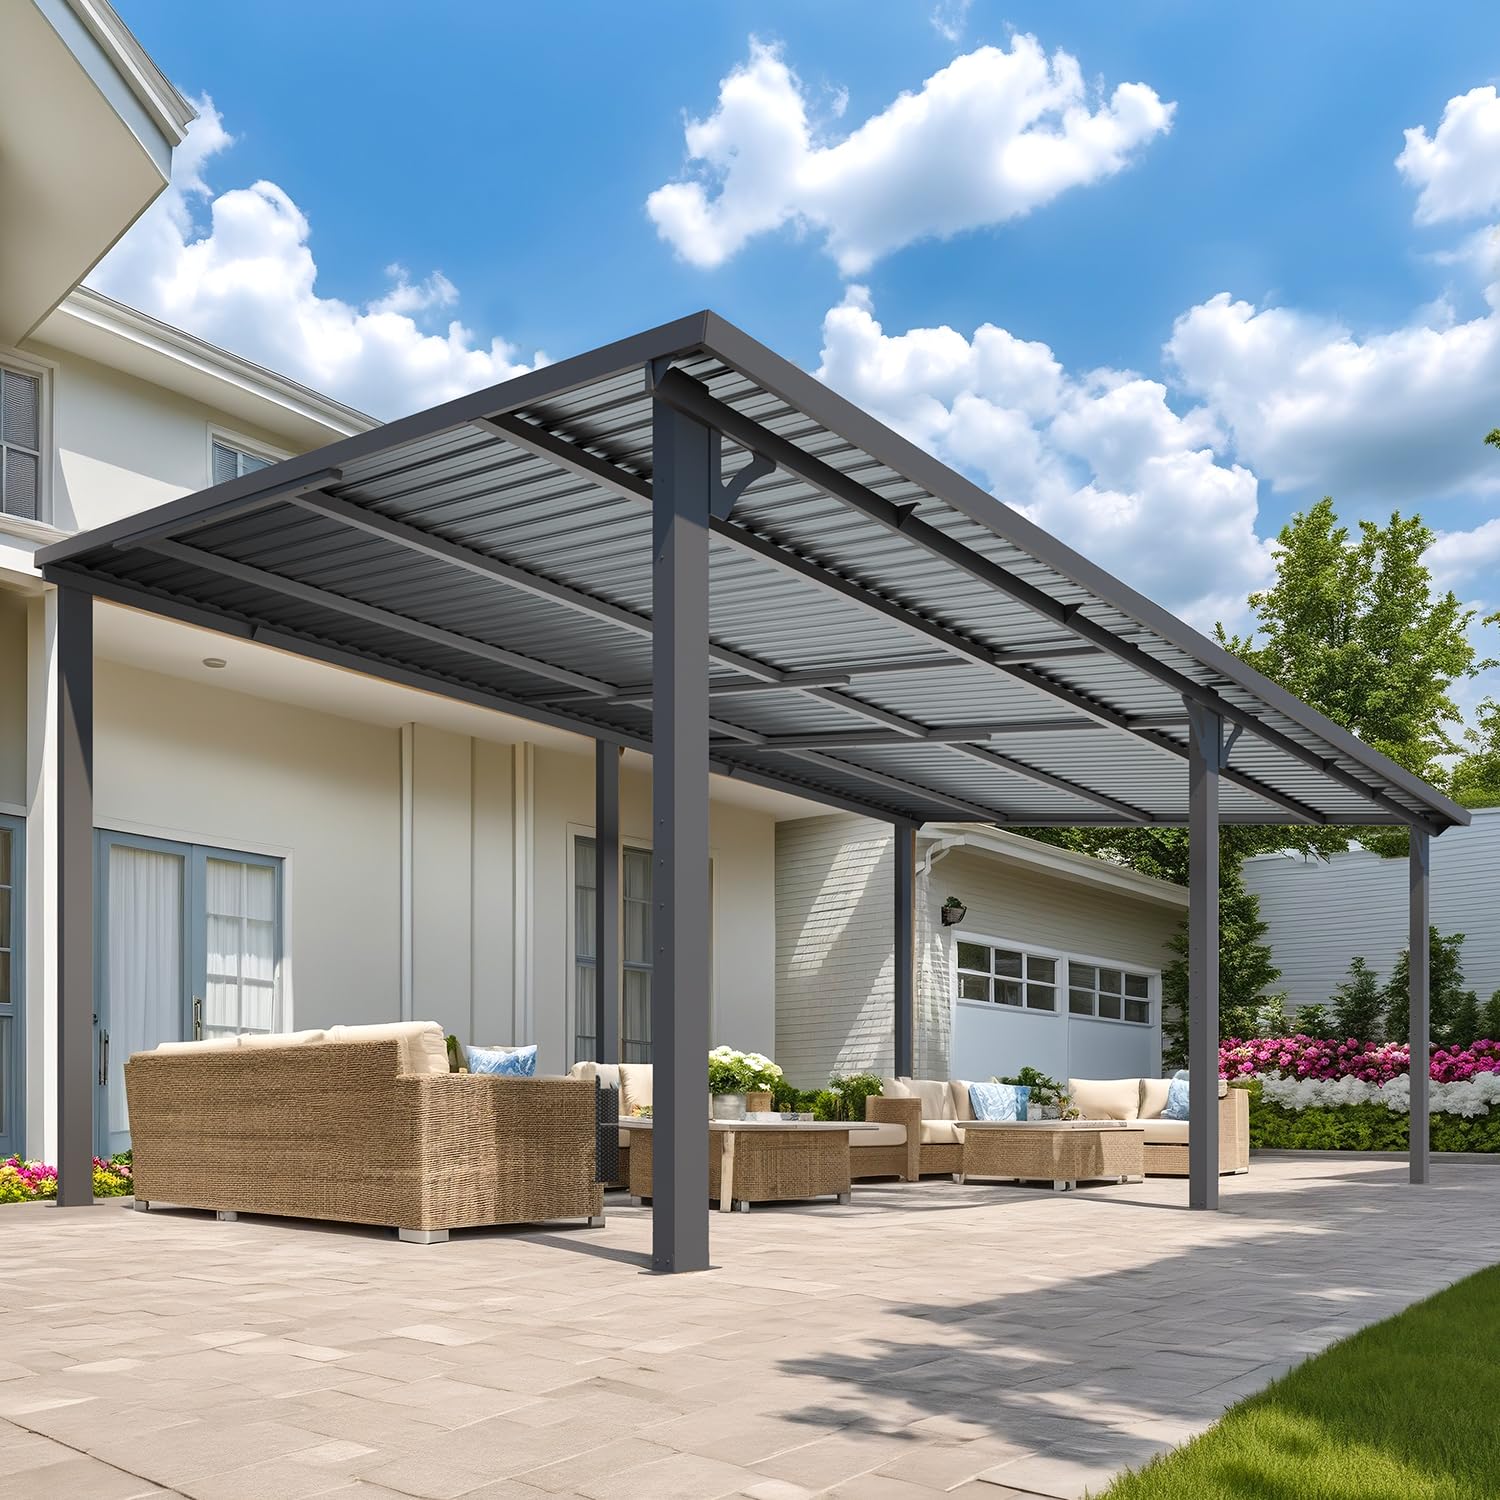
Image: The AECOJOY 20' x 12' Hardtop Lean-to Gazebo installed on a patio, providing a spacious covered outdoor area.
2. Safety Information
WARNING: Improper installation, use, or maintenance can lead to serious injury or property damage. Always follow these safety guidelines:
- Ensure all parts are present and undamaged before assembly. Do not proceed with assembly if any parts are missing or defective.
- Always wear appropriate safety gear, including gloves and eye protection, during assembly.
- Assembly requires at least two people for safety and ease of installation.
- Securely anchor the gazebo to a solid surface (e.g., concrete patio, wooden deck) using the provided anchors to withstand wind conditions.
- Regularly inspect the gazebo for loose fasteners, damaged components, or signs of wear. Tighten all bolts and screws periodically.
- Do not hang heavy objects from the gazebo frame.
- Clear heavy snow accumulation from the roof to prevent structural damage. The galvanized hardtop is designed to handle up to 20 inches of snow, but regular clearing is recommended in heavy snowfall areas.
- Avoid using open flames or heat sources directly under the gazebo roof.
- In extreme weather conditions (e.g., severe storms, high winds exceeding 80 MPH), it is recommended to take additional precautions, such as removing any hanging items and ensuring all anchors are secure.
3. Package Contents
Before starting assembly, verify that all components listed in the parts list are present. Refer to the detailed parts diagram in the included manual for identification.

Image: All components of the AECOJOY Hardtop Lean-to Gazebo laid out for inspection before assembly. This includes various metal beams, roof panels, and hardware.
4. Assembly Instructions
Follow these step-by-step instructions for proper assembly. It is highly recommended to have at least two people for this process. Refer to the detailed diagrams and parts list in your printed manual for specific component identification.
4.1. Frame Assembly
Begin by assembling the main frame structure. Connect the horizontal beams to the vertical posts using the provided hardware. Ensure all connections are secure but do not fully tighten until the entire frame is upright.
Tip: Lay out all frame components on a flat, clear surface before starting. Use the numbered labels on each part to match them correctly.
4.2. Roof Panel Installation
Once the main frame is stable, proceed with installing the galvanized steel roof panels. Carefully slide each panel into the designated channels on the frame. Ensure proper overlap and secure them with the specified fasteners.

Image: A close-up view of the galvanized steel roof panels, highlighting their corrugated design and robust construction. These panels provide durable weather protection.
Note: The roof panels are designed for smooth water drainage, preventing pooling. Ensure they are installed with the correct orientation as indicated in the manual.
4.3. Anchoring the Gazebo
For maximum stability and safety, the gazebo must be securely anchored to the ground. Use the provided anchors to fasten the base plates of the posts to your patio or deck. This is crucial for resisting high winds.
Important: Ensure the mounting surface is level and capable of supporting the gazebo structure.
5. Operating Instructions
Your AECOJOY Hardtop Lean-to Gazebo is designed for year-round outdoor use, providing shade and protection from various weather conditions.
- UV Protection: The metal roof offers 100% UV protection, creating a shaded area for relaxation and outdoor activities without exposure to harmful sun rays.
- Rain Protection: The pitched roof design ensures rainwater flows smoothly down the panels, preventing pooling and keeping the area underneath dry.
- Snow Load Capacity: The galvanized hardtop can withstand up to 20 inches of heavy snow. In regions with significant snowfall, it is advisable to periodically clear accumulated snow to maintain structural integrity.
- Wind Resistance: The heavy-duty construction and secure anchoring allow the gazebo to withstand winds exceeding 80 MPH.

Image: Visual representation of the gazebo's features, including complete UV blockage, high-hardness hardtop for hail, and exceptional 20-inch snow load capacity.
6. Maintenance
Regular maintenance will extend the lifespan and ensure the continued safety of your gazebo.
- Cleaning: Clean the roof panels and frame periodically with mild soap and water. Avoid abrasive cleaners or harsh chemicals that could damage the finish.
- Fastener Check: Annually, or after severe weather, check all bolts, screws, and anchors to ensure they are tight and secure. Tighten any loose fasteners.
- Snow Removal: In areas with heavy snowfall, regularly remove snow from the roof to prevent excessive weight accumulation.
- Damage Inspection: Inspect the frame and roof panels for any signs of damage, rust, or wear. Address any issues promptly to prevent further deterioration.
7. Troubleshooting
If you encounter any issues with your gazebo, refer to the following common problems and solutions:
- Wobbly Frame: Ensure all bolts and screws are fully tightened. Verify that the gazebo is securely anchored to the ground.
- Water Leaks: Check that all roof panels are correctly seated in their channels and that all seals are intact. Ensure all fasteners on the roof are tight.
- Missing Parts: If you find any parts missing upon unboxing, please contact customer support immediately for replacements.
- Difficulty during Assembly: Refer to the step-by-step video tutorials or contact our technical support team for assistance.
8. Specifications
| Feature | Detail |
|---|---|
| Brand | AECOJOY |
| Model Number | 16450 |
| Product Dimensions | 235.27"L x 143.7"W x 98.4"H (20' x 12') |
| Item Weight | 333 Pounds |
| Frame Material | Metal, Aluminum, Alloy Steel |
| Roof Material | Galvanized Steel |
| Color | Black Steel Roof |
| Water Resistance Level | Waterproof |
| Ultraviolet Light Protection | 100% Blocked |
| Assembly Required | Yes |

Image: A detailed diagram illustrating the dimensions of the 20' x 12' Hardtop Gazebo, including height and footprint measurements.
9. Warranty & Support
AECOJOY stands behind the quality of its products. We provide maintenance and replacements for our gazebo. Our professional team is available 24/7 to answer any questions about installation, usage, and more.
For assistance, please contact AECOJOY customer support. Refer to your purchase documentation for specific warranty details and contact information.


