
1. Introduction
This manual provides detailed instructions for the assembly, operation, maintenance, and troubleshooting of your Allewie Queen Size Lift Up Hydraulic Storage Bed Frame. This bed frame features a 2-tier shelf headboard with integrated LED lights and a charging station, including USB and Type-C ports, designed for convenience and maximizing bedroom space. Please read this manual thoroughly before assembly and use to ensure proper function and safety.
2. Safety Information
- Exercise caution when using the lift-up mechanism. Ensure hands and fingers are clear of moving parts.
- Do not load the bed frame with more than 800 pounds (362.87 kg) of total weight, including the mattress and any items stored underneath.
- The maximum lifting capacity for the mattress platform is 110 lbs (50 kg). Exceeding this weight may prevent the hydraulic mechanism from staying open or cause it to close unexpectedly.
- Follow all assembly instructions carefully to prevent instability or collapse of the bed frame.
- Ensure all screws and fasteners are tightened securely before use and periodically check for looseness.
- Keep children and pets away from the bed frame during assembly and when operating the lift mechanism.
3. Package Contents
Before beginning assembly, verify that all components are present and undamaged. The package typically includes:
- Headboard (with integrated LED lights and charging station)
- Bed Frame components (side rails, footboard)
- Slats and slat holders
- Hydraulic lift mechanisms
- Assembly hardware (screws, bolts, washers, Allen wrench)
- Remote control for LED lights
Note: Mattress is not included.
4. Setup (Assembly)
Assembly of the Allewie Queen Size Hydraulic Storage Bed Frame is required. It is recommended that two adults perform the assembly. While some users have reported assembly taking approximately 5 hours due to perceived unclear instructions, others have found the process manageable with well-marked parts and extra hardware provided.
4.1 General Assembly Tips
- Clear a spacious area for assembly.
- Lay out all components and hardware. Verify against the parts list in your included instruction booklet.
- All items are typically tagged, and hardware bags are color-coded or clearly marked.
- Do not fully tighten screws until instructed, or until the entire section is assembled, to allow for minor adjustments.
- Refer to the detailed graphical instructions provided in your product's specific assembly manual.
4.2 Key Assembly Steps (Refer to your included manual for full details)
- Assemble the Headboard: Attach the wingback sides to the main headboard section. Install the 2-tier shelf.
- Install Charging Station: Secure the charging station into the designated slot on the headboard shelf. Ensure all wiring is connected correctly. Note: Some units may have pre-drilled holes for mounting, while others may require careful alignment.
- Attach Side Rails and Footboard: Connect the side rails to the headboard and footboard using the provided hardware.
- Install Hydraulic Lift Mechanism: Carefully attach the hydraulic gas lift bars to the bed frame according to the instructions. Ensure they are securely fastened.
- Place Slats: Distribute and secure the wooden slats across the bed frame. Ensure the anti-slip back devices are correctly positioned to prevent mattress movement.
- Connect LED Lights: Follow the instructions to connect the LED light strips to the power source within the headboard.
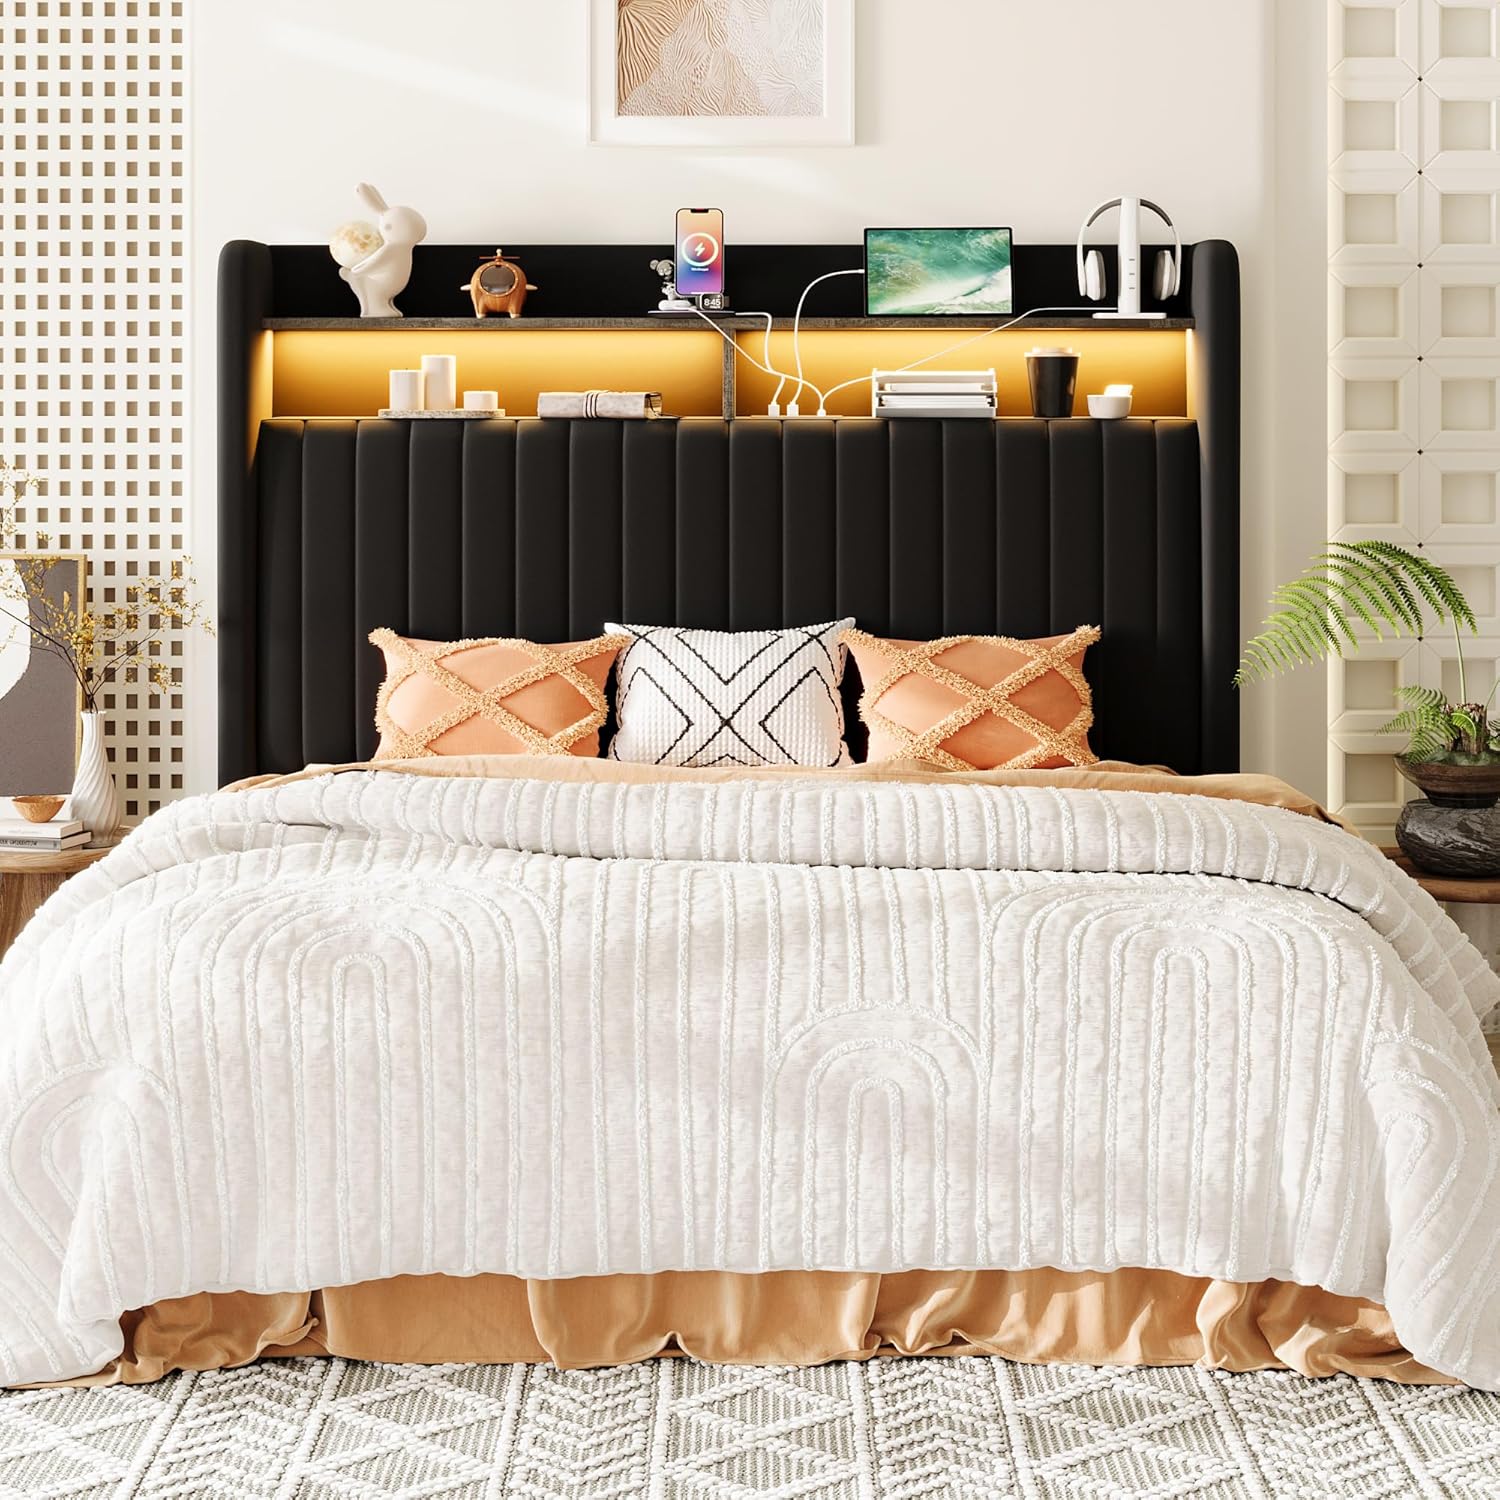
Image: Detailed view of bed frame components, including slats, hydraulic support, and anti-slip back device, illustrating key assembly points.

Image: Close-up of the easy hand-lift mechanism, hydraulic support gas lift bars, and the anti-slip back device for mattress stability.
5. Operating Instructions
5.1 Lift-Up Hydraulic Storage
The bed frame features a hydraulic lift mechanism for easy access to under-bed storage. To operate:
- Remove any items from the mattress surface that might obstruct lifting.
- Grasp the designated lifting handle or edge of the bed frame.
- Gently lift the mattress platform upwards. The hydraulic pistons will assist in raising and holding the platform in an open position.
- To close, gently pull the mattress platform downwards. The hydraulic system will provide resistance for a controlled descent.
Important: The hydraulic system is designed to support a mattress weighing up to 110 lbs (50 kg). If your mattress is significantly heavier, the platform may not stay in the open position without manual assistance. Do not force the mechanism.

Image: The bed frame with the mattress platform lifted, revealing the spacious under-bed storage area.

Image: Diagram showing the Queen size bed frame dimensions (84.1" L x 64" W x 46.9" H), underbed storage height (10.8 inches), and maximum lifting capacity (110 lbs for mattress, 800 lbs total).
5.2 LED Lights Operation
The integrated RGB LED lights in the headboard offer over 60,000 colors and multiple modes. They can be controlled via a dedicated application on your smartphone or the included remote control.
- Remote Control: Use the provided remote to power on/off, change colors, adjust brightness, select modes (e.g., music mode, fade, jump), and set timers.
- Smartphone App: Download the compatible app (refer to your specific LED light manual for app name and QR code). Connect the lights via Bluetooth or Wi-Fi as instructed in the app. The app provides advanced control options, including custom color creation and scheduling.
Note: Some users have reported the lights being sensitive to movement or loud noises. If experiencing issues, ensure connections are secure and try repositioning the control unit if accessible.
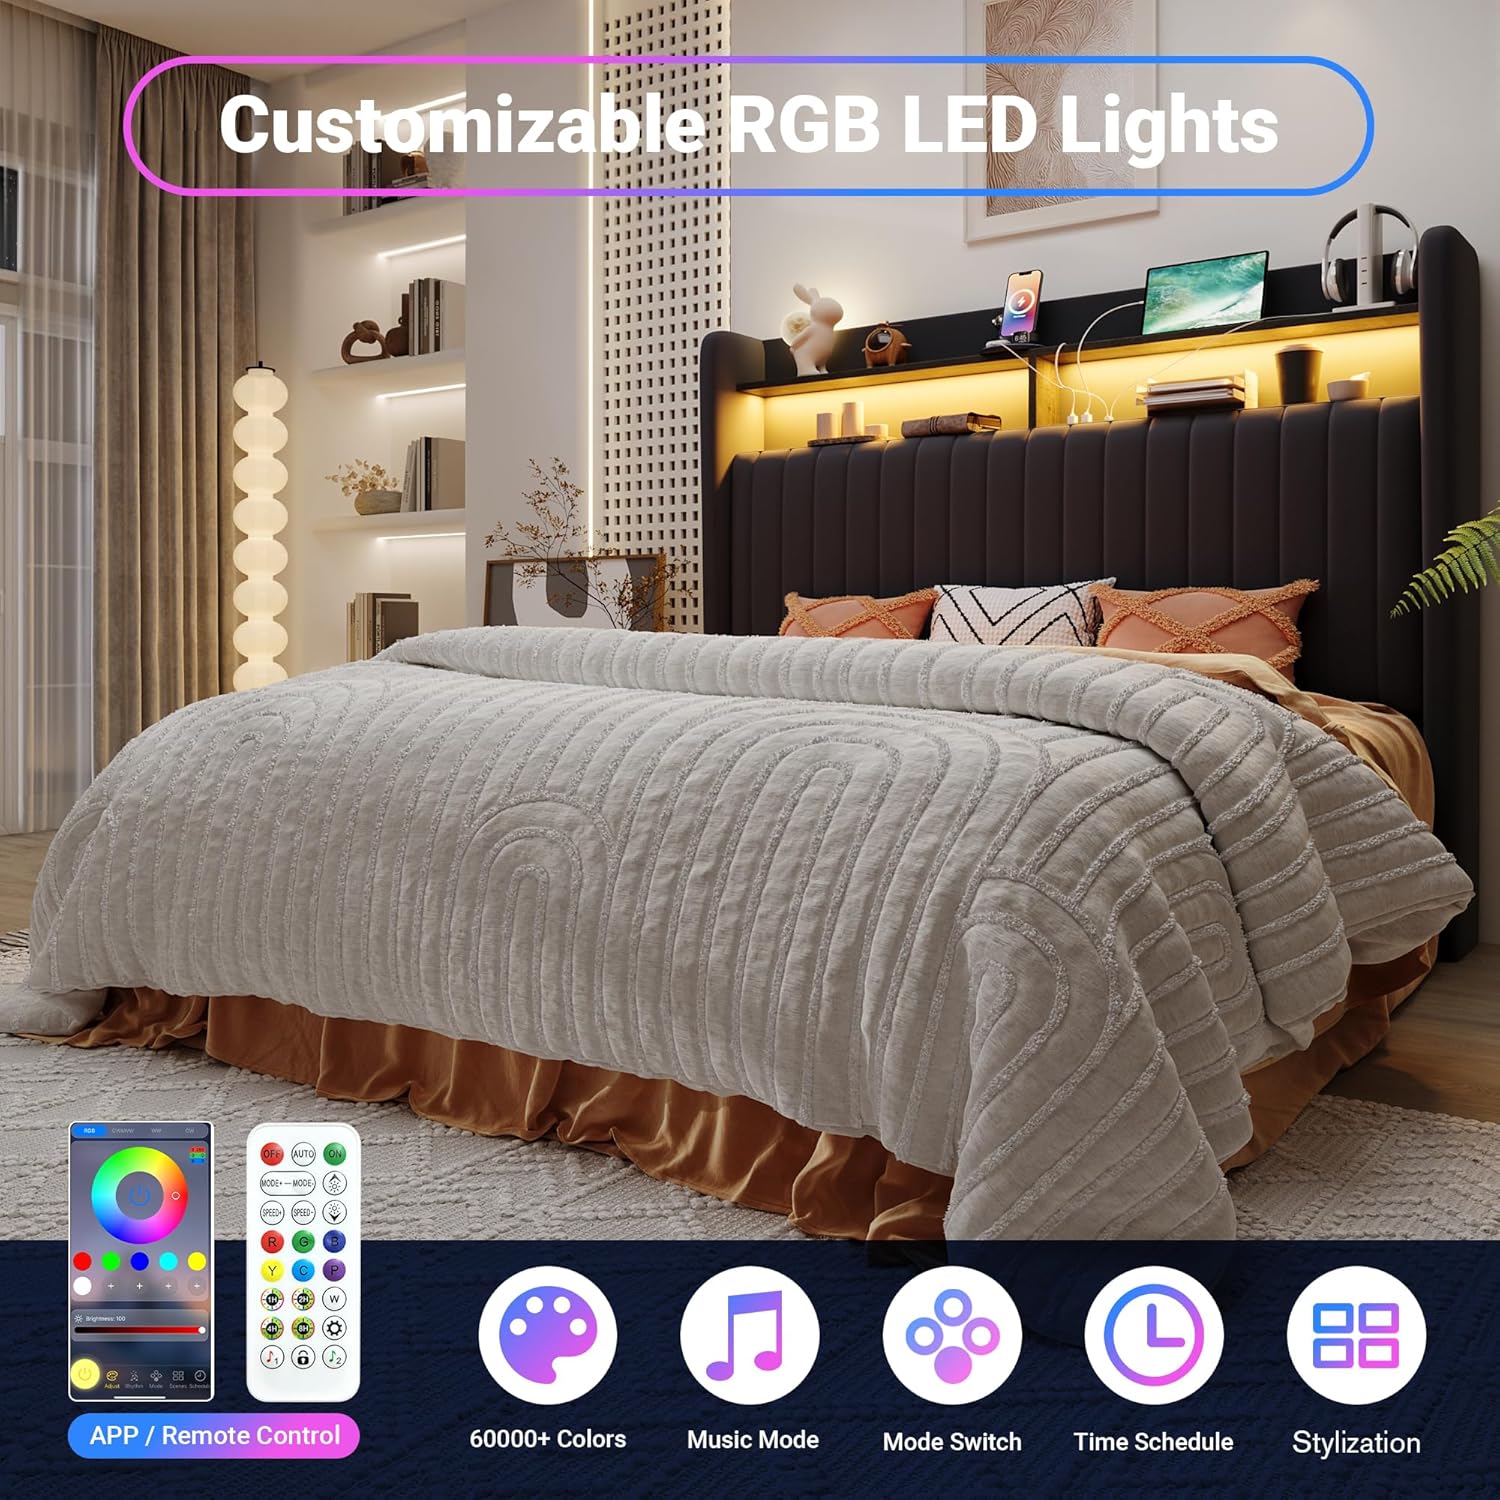
Image: The headboard with customizable RGB LED lights, showcasing the remote control and smartphone app interface for various color and mode selections.
5.3 Charging Station Usage
The headboard includes a convenient charging station with multiple ports:
- 2 x 120V/12A AC Outlets
- 1 x 5V/3A USB Port
- 1 x 5V/3A Type-C Port
Simply plug your devices into the appropriate ports for charging. Ensure the bed frame is connected to a power outlet for the charging station and LED lights to function.

Image: The 2-tier shelf headboard featuring the integrated LED lighting and a close-up of the charging station with AC outlets, USB, and Type-C ports.
6. Maintenance
- Cleaning: Wipe the bed frame surfaces with a dry cloth. Avoid using harsh chemicals or abrasive cleaners that may damage the velvet fabric or finish.
- Hardware Check: Periodically inspect all screws, bolts, and connections to ensure they remain tight. Re-tighten if necessary to maintain stability.
- Hydraulic Mechanism: Keep the hydraulic pistons clean and free of debris. Do not apply lubricants unless specifically instructed by the manufacturer.
- Electrical Components: Ensure all electrical cables for the LED lights and charging station are securely connected and not pinched or damaged.
7. Troubleshooting
| Problem | Possible Cause | Solution |
|---|---|---|
| Bed frame is unstable or wobbly. | Loose hardware; incorrect assembly. | Check and tighten all screws and bolts. Review assembly instructions to ensure all parts are correctly installed. |
| Hydraulic lift does not stay up or is difficult to lift. | Mattress weight exceeds 110 lbs (50 kg); hydraulic pistons are faulty or incorrectly installed. | Verify your mattress weight. If it exceeds 110 lbs, manual assistance may be required to keep it open. Ensure hydraulic pistons are installed correctly and not damaged. Contact support if issues persist. |
| LED lights are not working or are glitchy. | Loose power connection; faulty LED strip or controller. | Check all power connections to the LED strip and controller. Ensure the bed frame is plugged into a working outlet. Try replacing remote batteries. If using the app, ensure proper pairing. |
| Charging station (USB/Type-C/AC outlets) is not working. | Bed frame not plugged in; loose internal wiring; faulty charging unit. | Ensure the bed frame's main power cord is securely plugged into a functional wall outlet. Check internal wiring connections to the charging station if accessible. Test with different devices. |
| Bed frame makes squeaking noises. | Loose connections; friction between metal parts or slats. | Tighten all bolts and screws. Ensure slats are properly seated and not rubbing against the frame. Apply a small amount of lubricant to friction points if necessary, avoiding contact with fabric. |
8. Specifications
- Model: KRQSCZW002
- Size: Queen
- Product Dimensions (L x W x H): 2.14 x 1.63 x 1.19 Meters (84.1 x 64 x 46.9 inches)
- Material: Wood, Fabric (Velvet), Metal
- Color: Black
- Weight Capacity: 362.87 kg (800 lbs)
- Mattress Lifting Capacity: 50 kg (110 lbs)
- Box Spring Needed: No
- Compatible Mattress Size: Queen Size (80 x 60 inches)
- Special Features: 2-Tier Shelf Storage Headboard, Charging Station (2 AC Outlets, 1 USB, 1 Type-C), Fade Resistant, LED Lighting (RGB, App/Remote Control), Squeak Resistant, Lift Up Storage
- Included Components: Headboard, LED Lights, Slats, Hydraulic Lift Mechanism
- Assembly Required: Yes
- Product Care: Wipe with Dry Cloth

Image: The Allewie Queen Bed Frame with a summary of key specifications including size, weight capacity, and material.
9. Warranty & Support
Your Allewie Queen Size Hydraulic Storage Bed Frame is eligible for return or refund within 30 days of receipt, subject to the retailer's return policy.
For further assistance, parts replacement, or to report any issues not covered in this manual, please contact Allewie customer support. Refer to your purchase documentation or the retailer's website for specific contact information.
Manufacturer: Allewie