Y-50C810/50C81/50C85
Generic Electric Pressure Cooker Silicone Sealing Ring User Manual
For Joyoung Models Y-50C810, Y-50C81, Y-50C85
Introduction
This manual provides essential information for the proper installation, use, and maintenance of your new silicone sealing ring for electric pressure cookers. This sealing ring is designed to ensure a secure and airtight seal, crucial for the safe and efficient operation of your appliance. Please read these instructions carefully before installation and use.
Compatibility
This silicone sealing ring is specifically designed to fit the following Joyoung electric pressure cooker models:
- Joyoung Y-50C810
- Joyoung Y-50C81
- Joyoung Y-50C85
Using this sealing ring with incompatible models may result in improper sealing, pressure loss, or safety hazards.
Setup and Installation
Proper installation of the silicone sealing ring is vital for the safe and effective operation of your pressure cooker. Follow these steps carefully:
- Preparation: Ensure your pressure cooker is unplugged and completely cool. Remove the old sealing ring from the lid, if present. Clean the lid's sealing groove thoroughly to remove any food debris or residue.
- Inspect the New Ring: Before installation, carefully inspect the new silicone sealing ring for any cuts, tears, or deformities. A damaged ring will not create a proper seal.
- Positioning: Locate the groove on the underside of your pressure cooker lid where the sealing ring sits.
- Installation: Gently stretch and press the new silicone sealing ring into the groove. Ensure it is seated evenly and securely all the way around the lid. The ring should lie flat within the groove without any twists or bulges.
- Final Check: Once installed, run your finger along the entire circumference of the ring to confirm it is properly seated and flush with the lid's surface.

Image: A hand gently pressing the silicone sealing ring into the designated groove on the underside of a pressure cooker lid. This illustrates the correct method for seating the ring.

Image: A close-up view of the pressure cooker lid with the silicone sealing ring fully installed in its groove. A red circle highlights a section of the ring, indicating proper placement.
Operating Considerations
The silicone sealing ring is a critical component for maintaining pressure within your electric pressure cooker. After installation, always perform a water test (as per your pressure cooker's main instruction manual) to ensure a proper seal before cooking food.
During operation, the ring will expand slightly under pressure to create an airtight seal. It is normal for the ring to feel tight when opening the lid after cooking. Never force the lid open if pressure is still present.
Maintenance
To prolong the life of your silicone sealing ring and ensure continued safe operation:
- Cleaning: After each use, remove the sealing ring from the lid and wash it with warm, soapy water. Rinse thoroughly and allow it to air dry completely before re-installing or storing.
- Inspection: Regularly inspect the ring for any signs of wear, cracking, hardening, discoloration, or damage. A worn or damaged ring can compromise the pressure seal.
- Storage: Store the ring flat or re-installed in the lid to prevent deformation. Avoid storing it twisted or folded.
- Replacement: Silicone sealing rings naturally wear out over time. It is recommended to replace the sealing ring every 12-18 months, or sooner if you notice any signs of wear or if the pressure cooker fails to seal properly.
Troubleshooting
If you experience issues with your pressure cooker after installing the new sealing ring, consider the following:
- Pressure Leakage:
- Ensure the sealing ring is correctly seated in the lid's groove, with no twists or gaps.
- Check for any food debris or residue on the ring or in the groove that might prevent a proper seal.
- Inspect the ring for damage (cuts, tears, hardening). If damaged, replace it.
- Verify that the pressure cooker lid is closed and locked correctly according to your appliance's instructions.
- Lid Difficult to Open/Close:
- Ensure the pressure has been fully released before attempting to open the lid.
- A new silicone ring can sometimes be slightly stiffer. With use, it will become more pliable.
- Apply a very thin layer of cooking oil (e.g., vegetable oil) to the ring to help with lid movement, if necessary.
Specifications
| Material | Silicone |
| Brand | Generic |
| Included Components | 1 Sealing Ring |
| Number of Pieces | 1 |
| Unit Count | 1.0 Count |
| Compatible Models | Joyoung Y-50C810, Y-50C81, Y-50C85 |
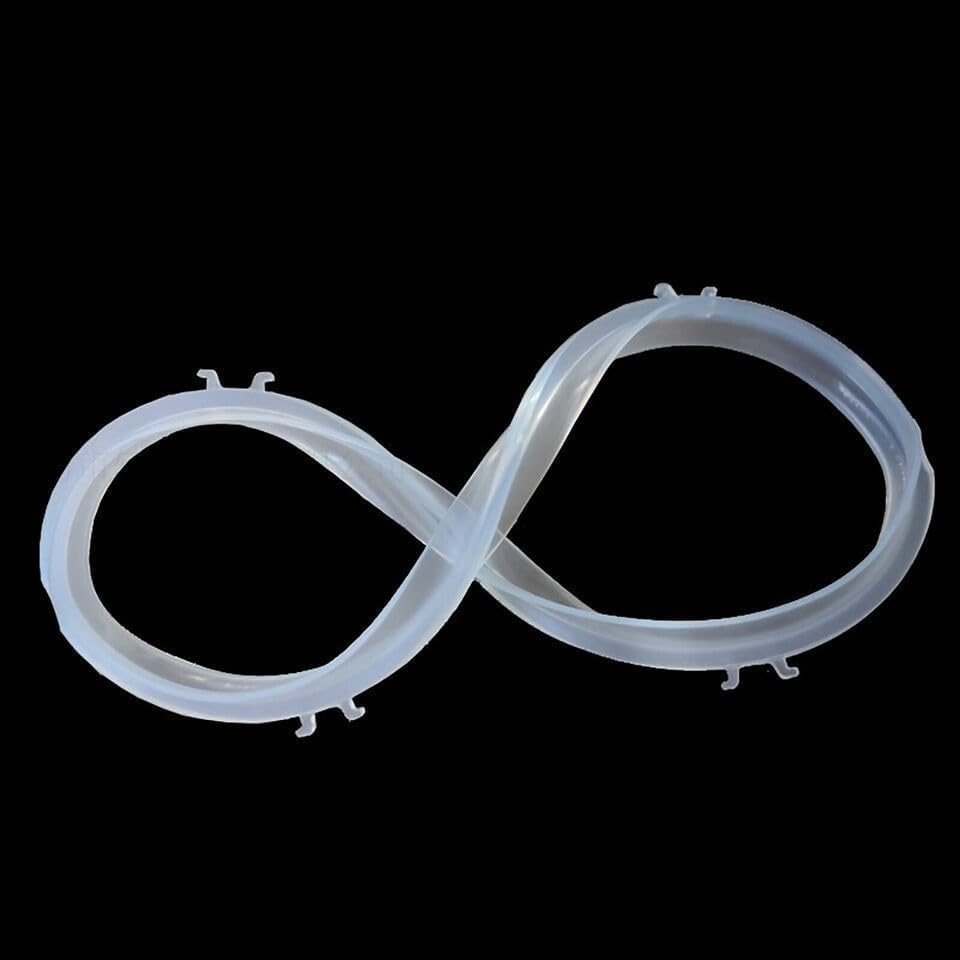
Image: The silicone sealing ring displayed in its natural, circular form. This image shows the product itself.
Related Documents - Y-50C810/50C81/50C85
 |
Joyoung Pressure Cooker Y-60C19/Y-60C816/Y-50C810/Y-50C19US Instruction Manual This instruction manual provides comprehensive guidance for Joyoung pressure cooker models Y-60C19, Y-60C816, Y-50C810, and Y-50C19US. It covers product introduction, safety precautions, operating instructions, cleaning and maintenance, troubleshooting, hazardous substance information, food contact materials, electrical schematics, and after-sales service. |
 |
Joyoung Y-60C19, Y-60C816, Y-50C810, Y-50C19 User Manual Comprehensive user manual for Joyoung kitchen appliances, covering models Y-60C19, Y-60C816, Y-50C810, and Y-50C19. Includes operating instructions, safety precautions, maintenance tips, and troubleshooting. |
|
Joyoung 九阳 Y-60C19, Y-60C816, Y-50C810, Y-50C19 用户手册 本手册提供了 Joyoung 九阳 Y-60C19, Y-60C816, Y-50C810, Y-50C19 系列产品的用户指南、安全信息和认证详情。 |
 |
Joyoung Y-50C19 Pressure Cooker Troubleshooting Guide A comprehensive troubleshooting guide for the Joyoung Y-50C19 electric pressure cooker, detailing common faults, their causes, and recommended solutions for issues such as lid closure problems, steam leaks, float valve errors, and digital display alarms. |
 |
Presto Stovetop Pressure Canner Care and Maintenance Guide Comprehensive guide on caring for and maintaining your Presto Stovetop Pressure Canner, covering general care, specific part maintenance, and service information for optimal performance and longevity. |
 |
Canon Generic Plus UFR II/LIPSLX/LIPS4/PCL6/PS3 Printer Driver User's Guide for Windows Comprehensive user guide for Canon's Generic Plus printer drivers (UFR II, LIPSLX, LIPS4, PCL6, PS3) on Windows. Learn about installation, advanced printing features, settings, and troubleshooting for efficient document output. |
Ask a question about this manual
Ask about setup, troubleshooting, compatibility, parts, safety, or missing instructions. Manuals+ will review the question and use this page’s manual context to help answer it.