1. Introduction
This manual provides instructions for the installation, operation, and maintenance of the qznvhkreQ C1070 Charge Corona Grid. This component is designed for use in compatible laser printers to ensure optimal print quality and performance.
1.1 Package Contents
- 10 x C1070 Charge Corona Grids
- This Instruction Manual
Please inspect the package contents upon receipt. If any items are missing or damaged, contact customer support.
2. Compatibility
The C1070 Charge Corona Grid is compatible with the following printer models:
- C1060
- C1070
- 1060L
- 1070L
- C2060
- C2070
- C3060
- C3070
- C2060L
- C2070L
Ensure your printer model is listed above before proceeding with installation.
3. Installation
Warning: Always turn off and unplug your printer before performing any maintenance or installation procedures. Allow the printer to cool down if it has been recently in use. Refer to your printer's specific service manual for detailed instructions on accessing internal components.
3.1 Identifying the Charge Corona Grid
The charge corona grid is typically located within the printer's imaging unit or drum assembly. It is a thin wire or grid structure responsible for applying an electrostatic charge to the photoconductive drum.
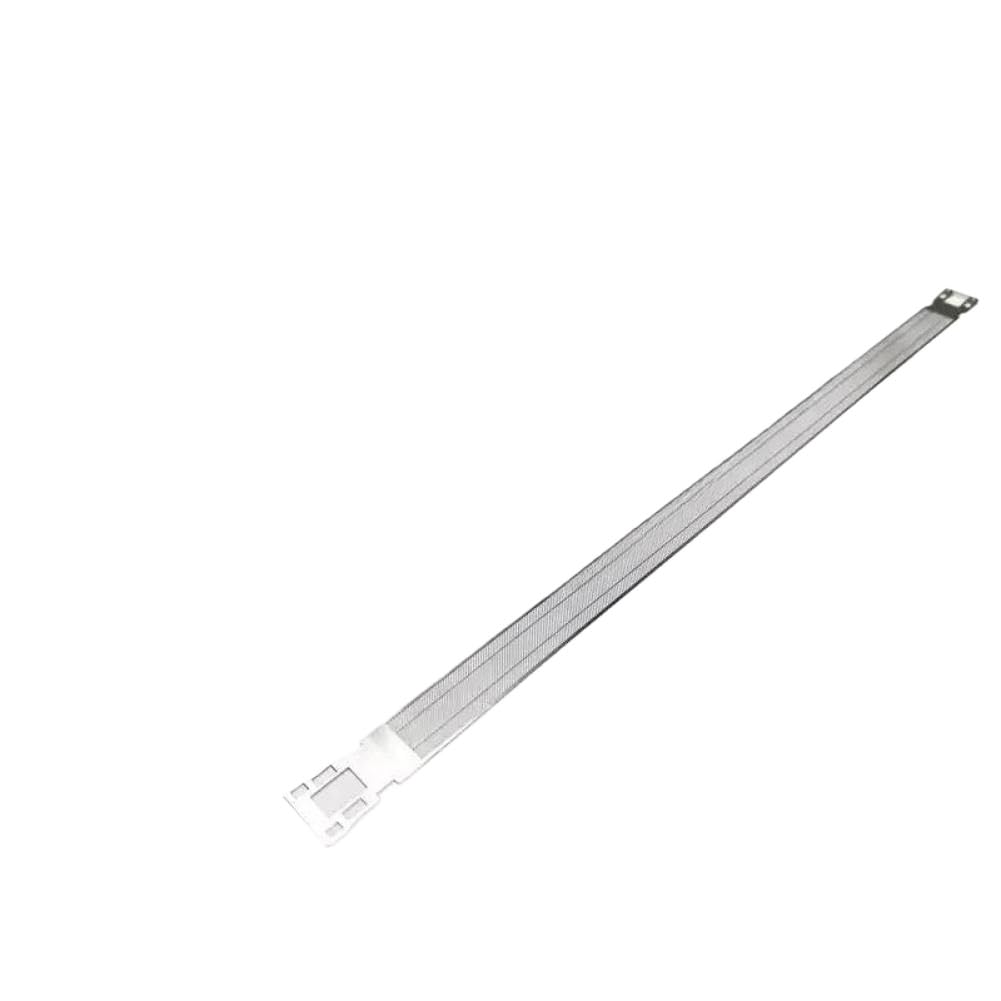
Figure 1: Example of a C1070 Charge Corona Grid. This component is crucial for the electrostatic charging process in laser printers.
3.2 Replacement Procedure (General Steps)
- Power Off: Turn off the printer and disconnect the power cord from the wall outlet.
- Access Internal Components: Open the printer's front or side cover to access the toner cartridge and drum unit. Consult your printer's manual for exact access points.
- Remove Drum Unit: Carefully remove the drum unit assembly from the printer.
- Locate Old Grid: Identify the existing charge corona grid within the drum unit. It may be part of a larger assembly or a separate replaceable component.
- Remove Old Grid: Gently unclip or unscrew the old charge corona grid. Handle with care to avoid damaging other components.
- Install New Grid: Position the new qznvhkreQ C1070 Charge Corona Grid into place, ensuring it is correctly seated and secured. Avoid touching the grid wires directly.
- Reassemble: Reinstall the drum unit into the printer. Close all printer covers securely.
- Power On: Reconnect the power cord and turn on the printer.
- Test Print: Perform a test print to verify proper installation and print quality.
If you encounter any difficulties, refer to your printer's specific service manual or contact a qualified technician.
4. Operation
The C1070 Charge Corona Grid is an internal component that operates automatically as part of the laser printing process. Its primary function is to apply a uniform electrostatic charge to the surface of the photoconductive drum. This charge is essential for attracting toner particles to form the latent image, which is then transferred to paper.
Once installed correctly, the grid requires no direct user interaction during printer operation. Its proper functioning is critical for producing clear, consistent, and high-quality prints.
5. Maintenance
Regular maintenance of the charge corona grid helps ensure consistent print quality and extends the lifespan of your printer components. Over time, toner dust and debris can accumulate on the grid, affecting its performance.
5.1 Cleaning the Charge Corona Grid
Caution: Always power off and unplug the printer before cleaning. Avoid using abrasive materials or harsh chemicals.
- Access Grid: Follow steps 1-4 from the Installation section to access the charge corona grid.
- Gentle Cleaning: Using a soft, lint-free cloth or a specialized corona wire cleaning tool (often supplied with the printer's drum unit), gently wipe along the length of the grid wires to remove any accumulated toner or dust. Do not apply excessive force.
- Reassemble: Reinstall the drum unit and close all printer covers.
- Test: Power on the printer and perform a test print.
The frequency of cleaning depends on printer usage and environmental conditions. If print quality issues such as light prints, streaks, or ghosting appear, cleaning the grid is often a first troubleshooting step.
5.2 Replacement Frequency
The charge corona grid is a wear-and-tear component. While the provided set includes 10 grids, the exact replacement frequency depends on your printer's model, usage volume, and environmental factors. Replace the grid when cleaning no longer resolves print quality issues, or as recommended by your printer's manufacturer.
6. Troubleshooting
If you experience print quality issues after installing or during the use of the C1070 Charge Corona Grid, consider the following:
| Problem | Possible Cause | Solution |
|---|---|---|
| Light or Faded Prints | Dirty or worn charge corona grid. | Clean the charge corona grid (Section 5.1). If issue persists, replace the grid. |
| Streaks or Lines on Prints | Debris on the grid or damaged grid wire. | Clean the charge corona grid. Inspect for physical damage; replace if damaged. |
| Ghosting (faint repeated images) | Improper charging by the corona grid. | Ensure the grid is clean and properly installed. Consider replacing the grid. |
| Error Message related to Drum/Imaging Unit | Incorrect installation or faulty component. | Re-check installation steps. Ensure all connections are secure. Consult your printer's manual for specific error codes. |
For persistent issues, consult your printer's official troubleshooting guide or contact professional printer support.
7. Specifications
- Product Name: C1070 Charge Corona Grid
- Brand: qznvhkreQ
- Model Number: qznvhkreQ222
- Quantity: 10 pieces per set
- Product Dimensions: 1.97 x 1.18 x 0.79 inches (approximate, per grid)
- Item Weight: 8.8 ounces (total for 10 pieces)
- Compatibility: C1060, C1070, 1060L, 1070L, C2060, C2070, C3060, C3070, C2060L, C2070L
- Function: Electrostatic charging of photoconductive drum in laser printers
8. Warranty and Support
For warranty information and customer support regarding your qznvhkreQ C1070 Charge Corona Grids, please refer to the seller's policy or contact the retailer from whom the product was purchased. Keep your purchase receipt as proof of purchase.
For technical assistance related to your printer, please consult your printer manufacturer's official support channels.