1. Introduction
This manual provides instructions for the proper use and care of your ProTuning TRIXIG 175-piece screw and plug set. This set is designed to provide a versatile selection of screws and wall plugs suitable for various wall materials, including wood, plaster, cement, and brick. The included storage box is stackable and made from durable, at least 50% recycled polypropylene plastic.
2. Components Overview
The TRIXIG set contains a variety of screws and corresponding wall plugs. These components are organized within a durable, stackable storage box for easy access and organization.
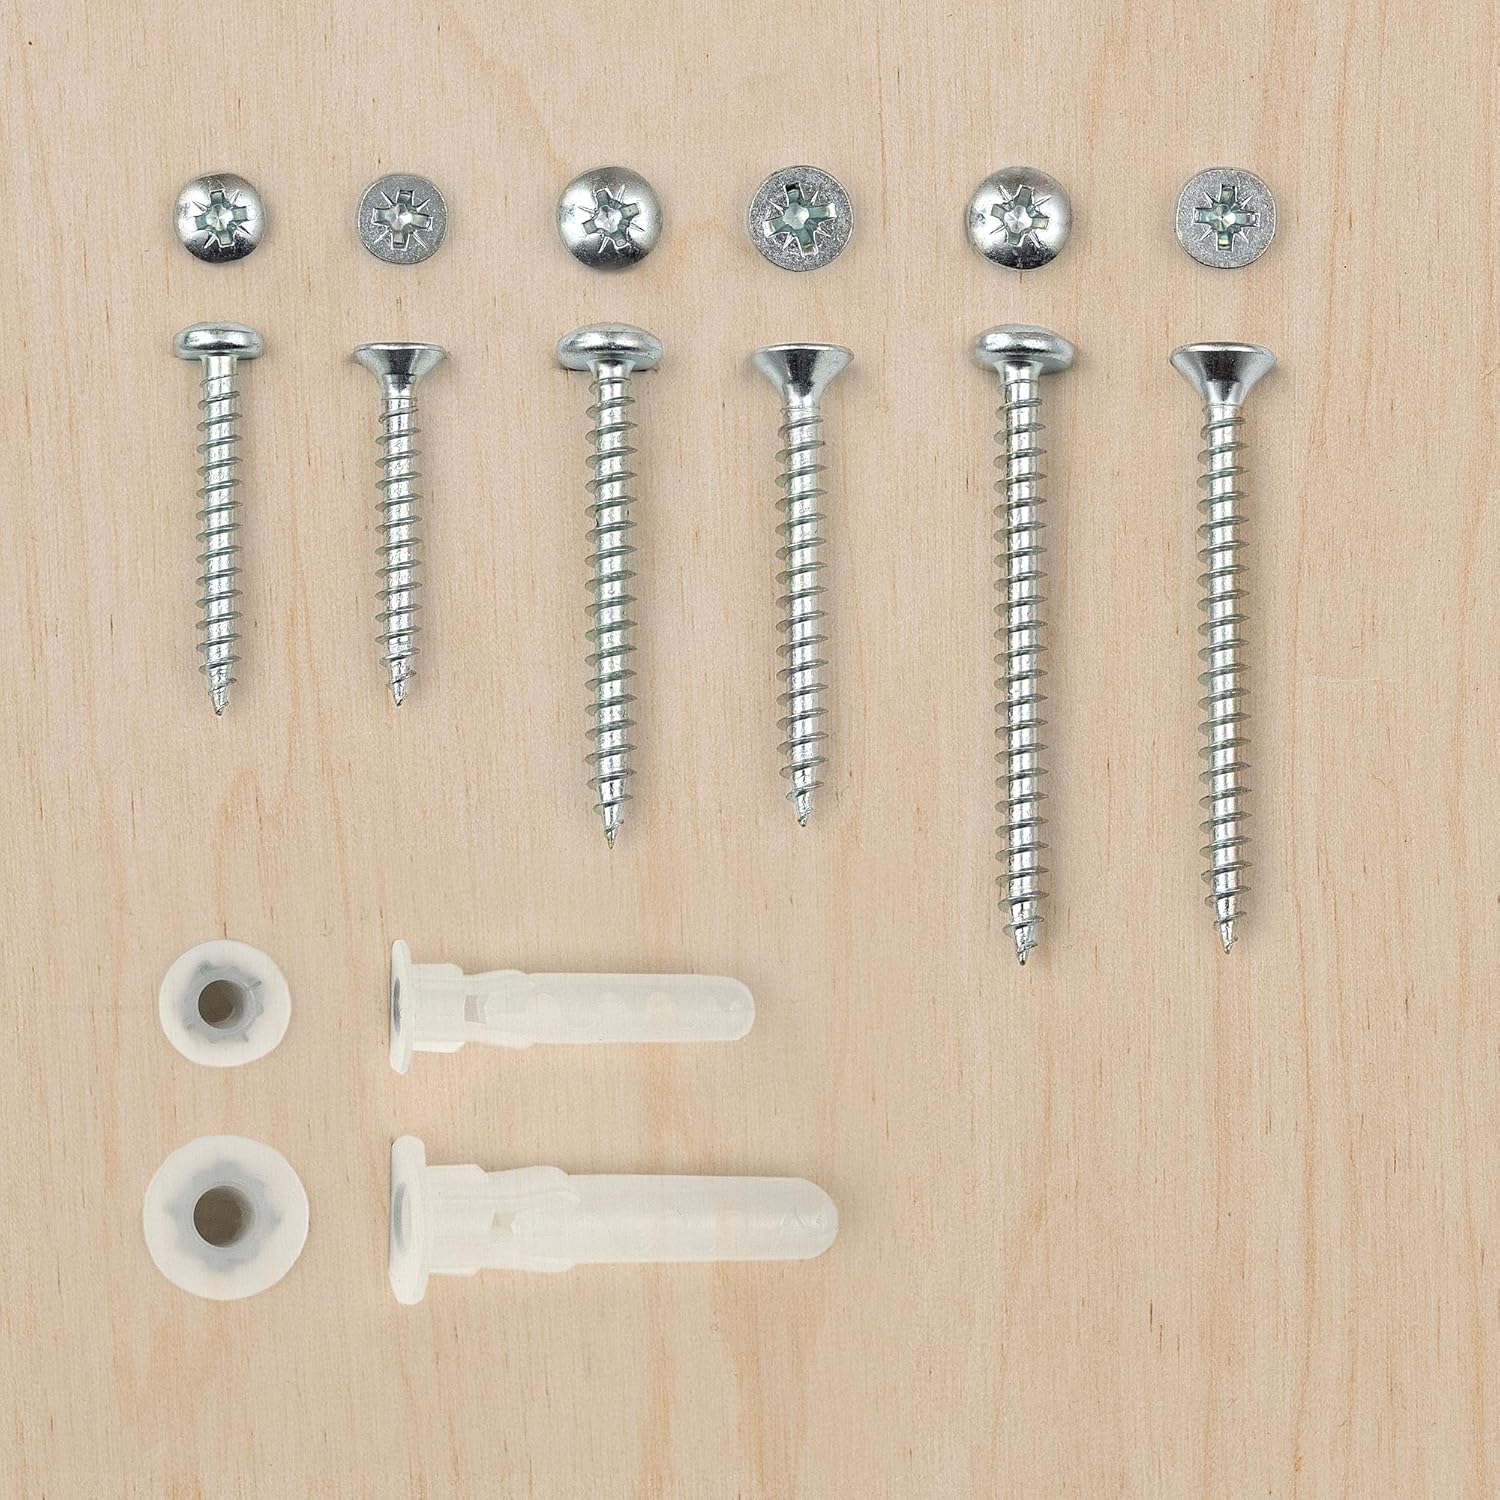
Figure 2.1: An assortment of various screws and wall plugs included in the TRIXIG set, laid out on a wooden surface. This image displays different lengths and head types of screws, alongside various sizes and designs of plastic wall plugs.

Figure 2.2: The TRIXIG 175-piece screw and plug set organized within its multi-compartment storage box, placed on a white table next to a cordless drill and wooden components, indicating readiness for assembly or installation tasks.
3. Setup and Installation
Proper selection of the screw and plug combination is crucial for secure fastening. Always ensure the chosen plug and screw are appropriate for the wall material and the weight of the item being mounted.
3.1 Selecting the Correct Components
- For Wood: Screws can often be driven directly into wood. For harder woods or to prevent splitting, pre-drill a pilot hole slightly smaller than the screw's diameter.
- For Plaster/Drywall: Use a wall plug designed for hollow walls. These plugs expand or toggle behind the drywall to create a secure anchor.
- For Cement/Brick: Use a universal or expansion wall plug. These plugs expand within a pre-drilled hole to grip the solid material.
3.2 Installation Steps
- Mark the Position: Use a pencil to mark the exact location for drilling.
- Select Drill Bit: Choose a drill bit with a diameter matching the wall plug (for plugs) or slightly smaller than the screw's core (for wood without plugs).
- Drill the Hole: Drill a hole to the appropriate depth. For plugs, ensure the hole is deep enough to fully accommodate the plug.
- Insert Wall Plug (if applicable): Gently push the wall plug into the drilled hole until it is flush with the wall surface. Use a hammer if necessary, but avoid forcing it.
- Drive the Screw: Insert the screw through the item to be mounted and into the wall (or wall plug). Tighten the screw until the item is secure, but do not overtighten, as this can strip the hole or damage the plug/material.
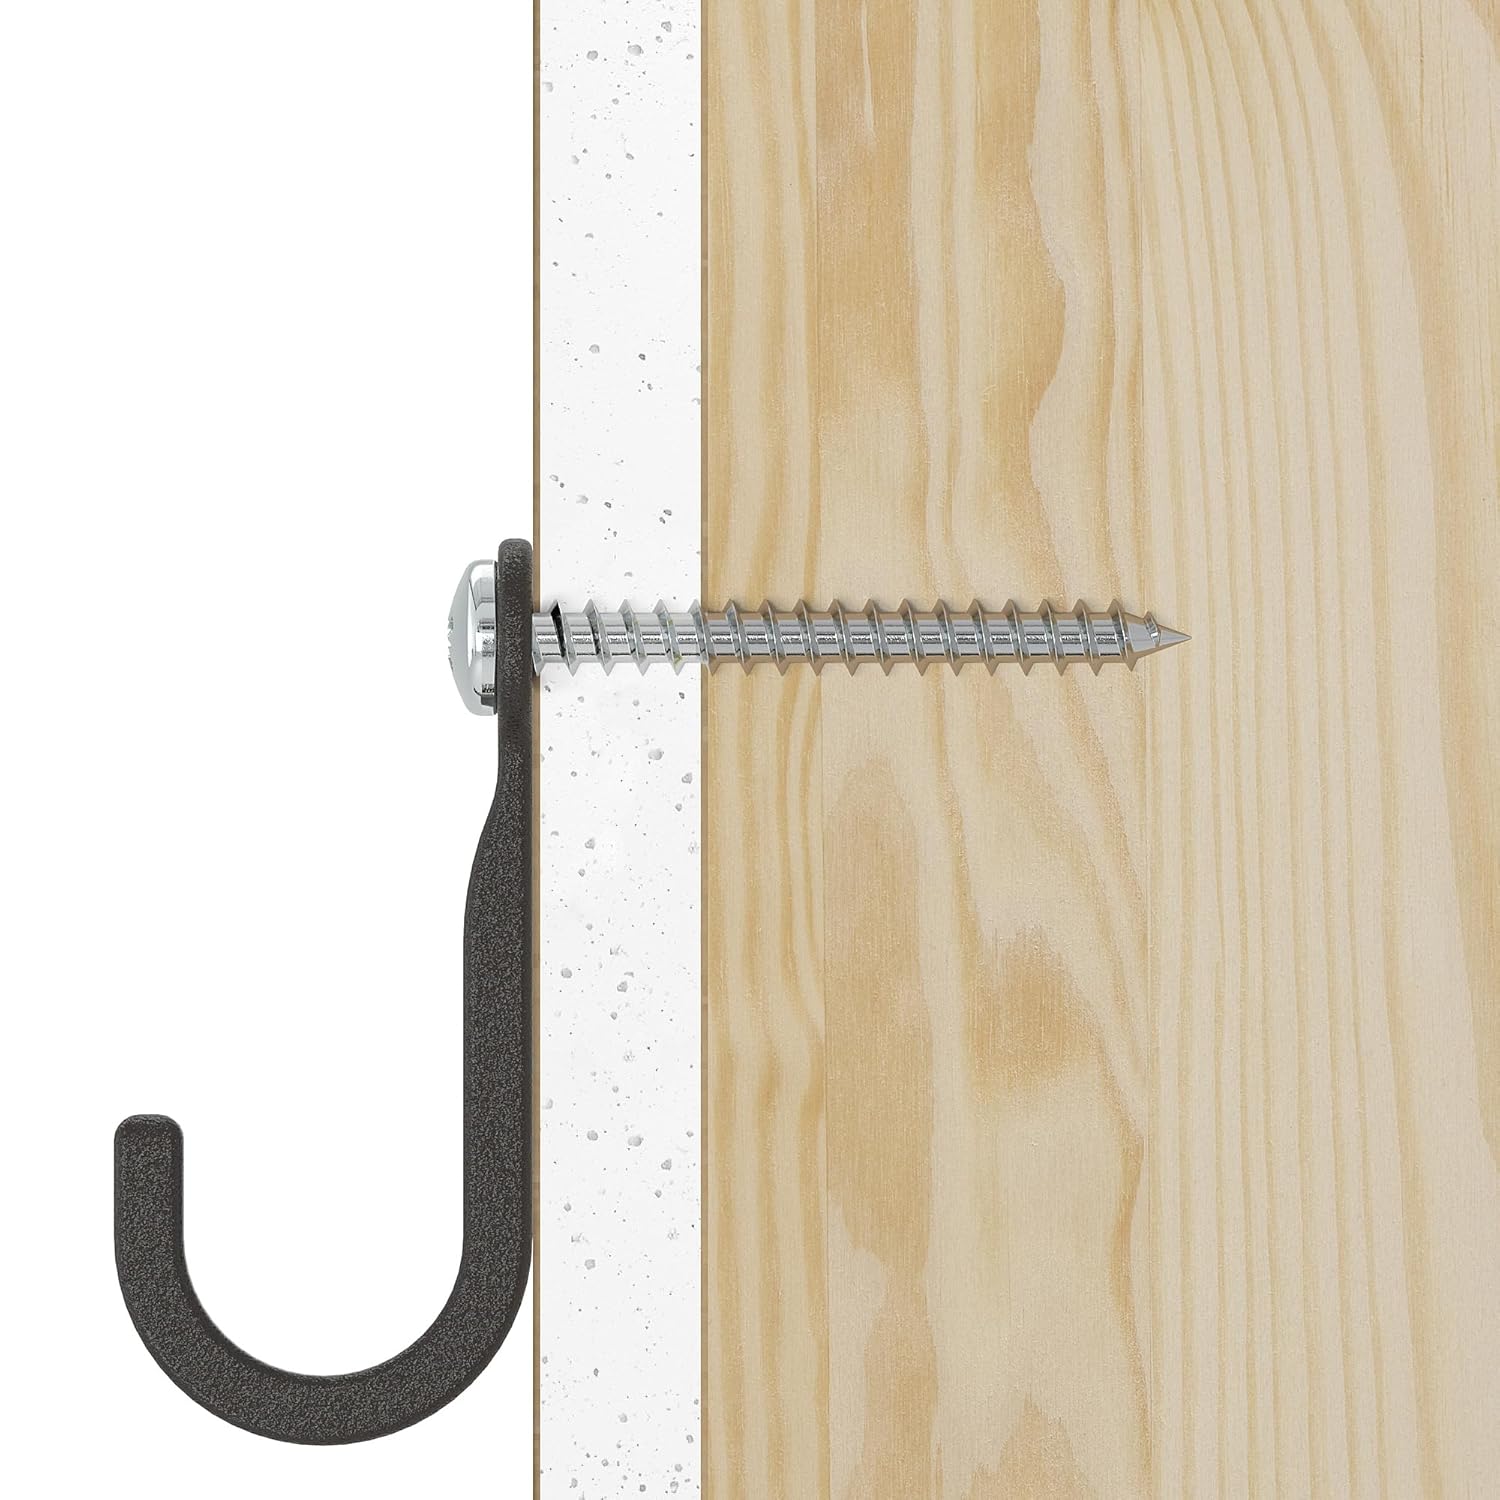
Figure 3.1: A screw being driven directly into a wooden surface, securing a black hook. This demonstrates direct fastening into solid wood without the need for a wall plug.

Figure 3.2: A wall plug securely installed in a concrete or brick wall, with a screw driven into it to hold a black hook. The plug expands within the solid material to provide a strong anchor.

Figure 3.3: An expanding wall plug and screw installed in a plasterboard or hollow wall, securing a black hook. The plug's wings expand behind the wall surface to create a firm grip.
4. Usage
The TRIXIG screw and plug set is suitable for a wide range of household and light-duty professional applications. Always consider the load-bearing capacity of the wall material and the chosen fasteners. For heavy-duty applications, consult a professional or use specialized fasteners.
The included storage box is designed for convenience. Once the initial supply of screws and plugs is depleted, the box can be repurposed for storing other small items, such as craft supplies, small tools, or electronic components. Its stackable design allows for efficient storage with other TRIXIG series boxes.
5. Maintenance
5.1 Storage Box Care
The polypropylene storage box can be cleaned with a damp cloth and mild detergent. Avoid abrasive cleaners or solvents that may damage the plastic. Ensure the box is dry before storing metal components to prevent rust.
5.2 Component Storage
Store unused screws and plugs in a dry environment to prevent corrosion of metal parts. Keep them organized in the compartments of the TRIXIG box or similar containers to easily identify and access the correct size and type for future projects.
6. Troubleshooting
- Screw spins freely in the hole:
- The hole may be too large for the plug or screw.
- The plug may not have expanded correctly.
- The wall material may be too soft or degraded.
- Solution: Use a larger plug, or move to a new location. For hollow walls, ensure the plug's wings have fully deployed.
- Screw does not tighten:
- The screw may be stripped, or the plug's threads are damaged.
- The screw may be too long and hitting an obstruction behind the wall.
- Solution: Remove the screw and plug, inspect for damage. Replace if necessary. Ensure screw length is appropriate.
- Plug does not fit into the hole:
- The drill bit used was too small.
- Solution: Use a drill bit with the correct diameter for the plug. Do not force the plug, as this can damage it.
7. Specifications
| Product Name | TRIXIG 175-piece Screw and Plug Set |
| Brand | ProTuning |
| Model Number | IK.505.469.08 |
| ASIN | B0G4NNXZGF |
| Item Weight | 1.1 pounds |
| Manufacturer | ProTuning |
| Storage Box Material | Durable polypropylene plastic (at least 50% recycled) |
| Date First Available | December 1, 2025 |
8. Warranty and Support
No specific warranty information is provided for this product. For support or inquiries regarding the ProTuning TRIXIG 175-piece screw and plug set, please refer to the retailer or manufacturer's contact information available at the point of purchase.