Introduction
This manual provides detailed instructions for the safe and effective use of your NBD 8K 64MP Digital Camera, model NBD-EU-S110-QT. Please read this manual thoroughly before operating the camera and retain it for future reference.
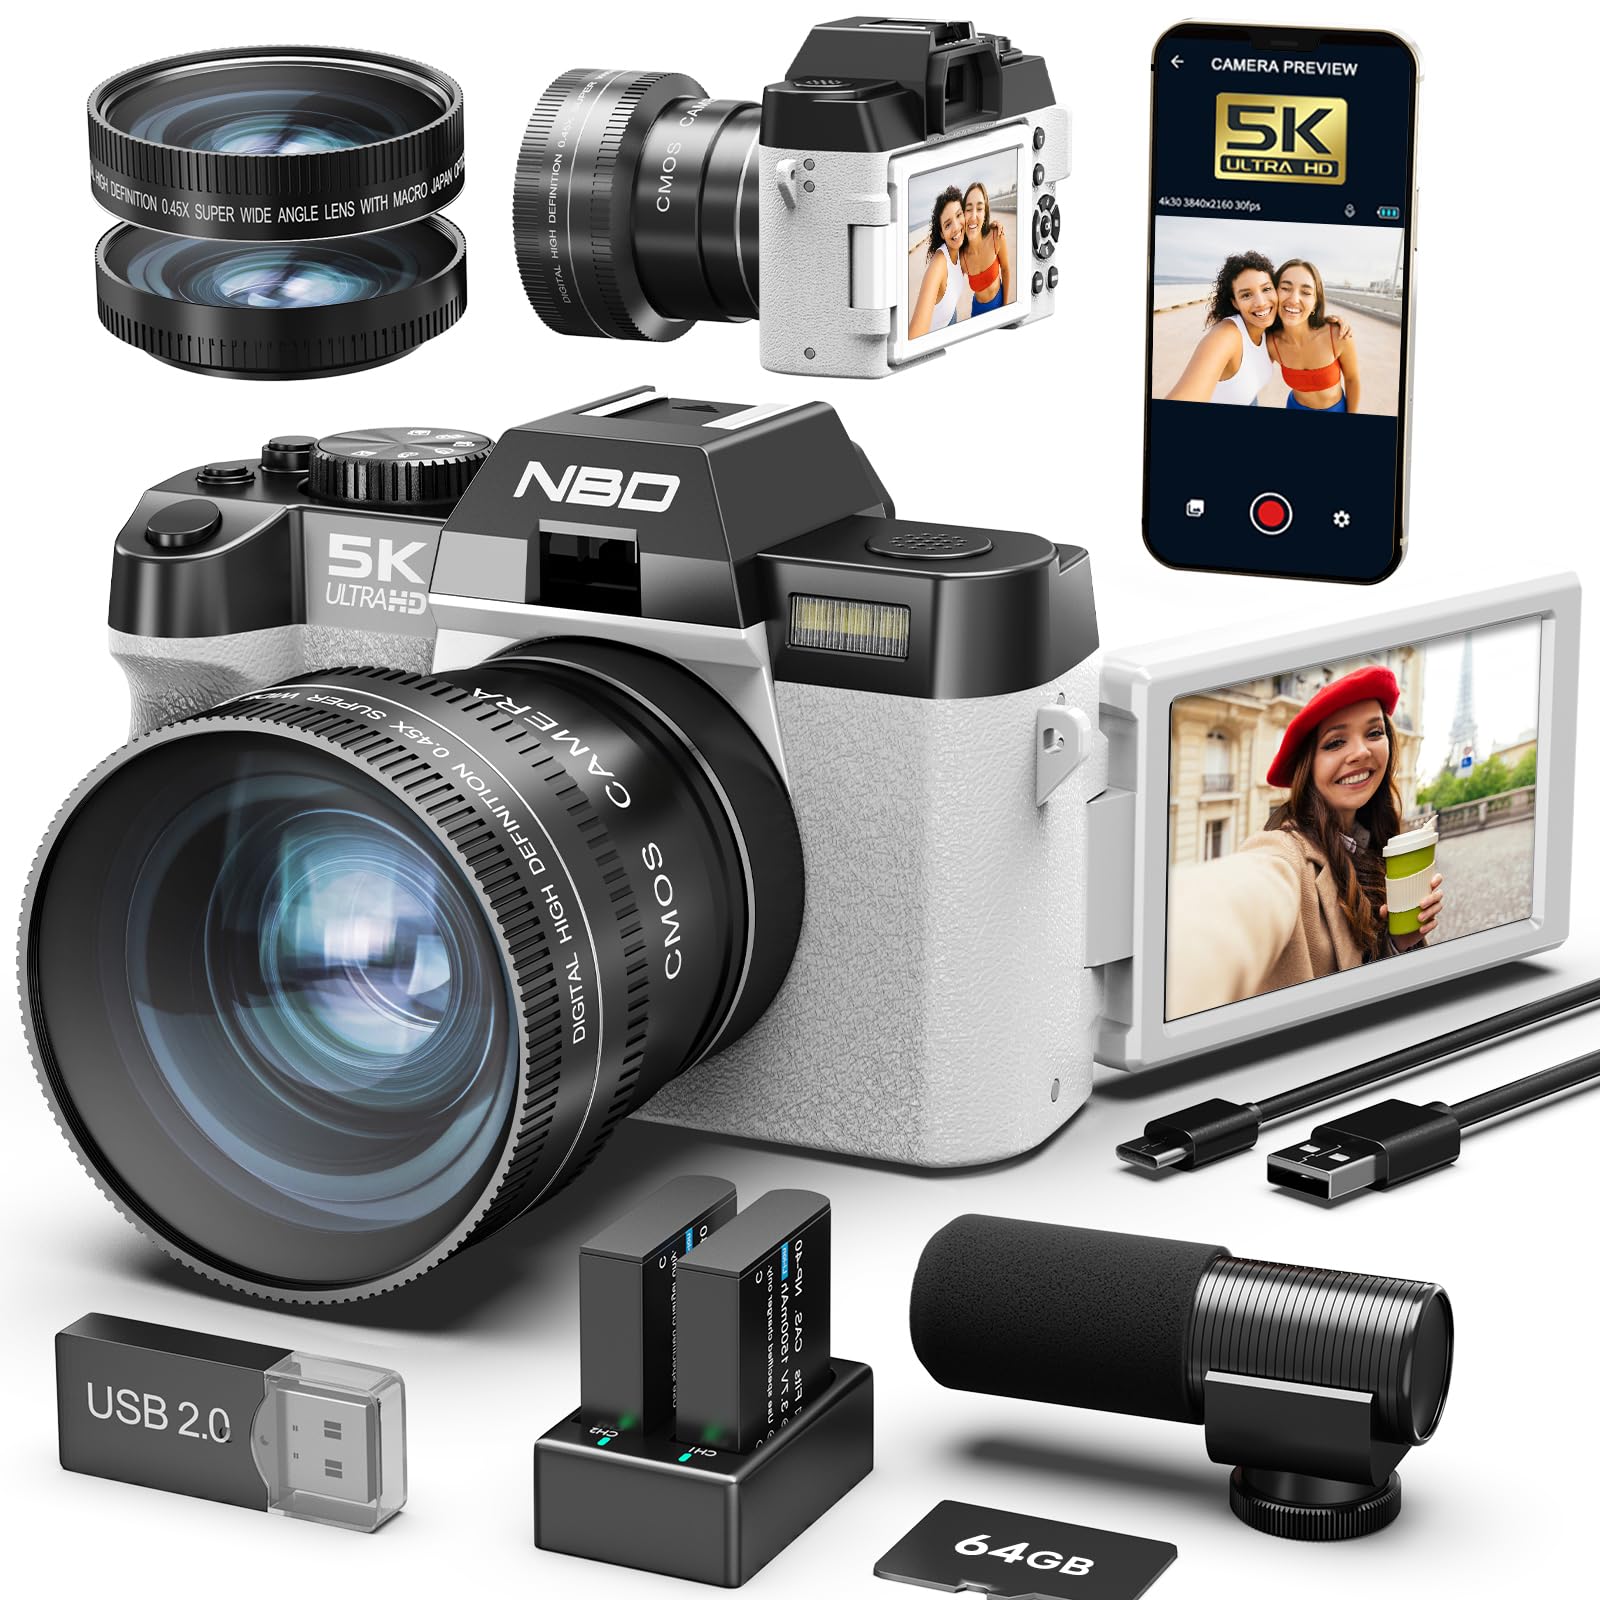
Image: The NBD 8K 64MP Digital Camera, showcasing its compact design and attached lens.
1. Setup
1.1 Unboxing and Package Contents
Carefully unpack all items from the box. Ensure the following components are present:
- NBD 8K 64MP Digital Camera Body
- Wide-angle/Macro Lens (52mm)
- External Microphone
- 64GB Memory Card
- 2 x Rechargeable Batteries
- USB Charging Cable
- User Manual (this document)
- Camera Strap
1.2 Battery Installation
- Locate the battery compartment cover on the bottom of the camera.
- Slide the latch to open the cover.
- Insert a fully charged battery into the compartment, ensuring the correct orientation as indicated by the polarity markings.
- Close the battery compartment cover securely until it clicks into place.
- Note: Fully charge both batteries before first use.
Image description: A diagram showing the battery compartment and how to insert the battery with correct polarity.
1.3 Memory Card Installation
- Open the memory card slot cover, usually located on the side or near the battery compartment.
- Insert the 64GB memory card with the metal contacts facing the front of the camera until it clicks into place.
- Close the memory card slot cover.
- Important: Ensure the camera is powered off before inserting or removing the memory card.
Image description: A diagram illustrating the correct insertion of the memory card into its slot.
1.4 Lens Attachment
The camera comes with a 52mm wide-angle/macro lens. To attach it:
- Remove the protective cap from the camera lens mount and the rear cap from the wide-angle/macro lens.
- Align the mounting marks on the lens with those on the camera body.
- Gently twist the lens clockwise until it locks into place.
Image description: A visual guide demonstrating how to align and twist the lens onto the camera body.
1.5 External Microphone Connection
Connect the external microphone to the designated microphone input jack on the camera body for enhanced audio recording quality.
Image description: An illustration showing the microphone jack location and how to plug in the external microphone.
2. Operating the Camera
2.1 Powering On/Off
Press and hold the Power button located on the top of the camera for approximately 2 seconds to turn the camera on or off.
2.2 Basic Controls
- Shutter Button: Press halfway to focus, press fully to capture a photo or start/stop video recording.
- Zoom Lever: Use to adjust the 16x digital zoom. Push towards 'W' for wide-angle, 'T' for telephoto.
- Mode Dial: Rotate to select different shooting modes (e.g., Photo, Video, Playback).
- Navigation Buttons: Use the directional pad to navigate menus and settings.
- OK/SET Button: Confirms selections in menus.
Image description: An annotated diagram highlighting the location of the power button, shutter button, zoom lever, mode dial, and navigation buttons on the camera body.
2.3 Using the 180° Rotatable IPS Screen
The 3.0-inch IPS screen can be rotated 180 degrees. This feature is particularly useful for:
- Selfies: Rotate the screen forward to easily compose self-portraits.
- Vlogging: Monitor your recording while filming yourself.
- Low/High Angle Shots: Adjust the screen for comfortable viewing when shooting from difficult angles.
Image description: A series of images demonstrating the screen rotating to different positions for various shooting scenarios.
2.4 Photo and Video Recording
2.4.1 Capturing Photos
- Turn the Mode Dial to the Photo icon.
- Frame your shot using the IPS screen.
- Press the Shutter button halfway to activate autofocus. The focus frame will turn green when focus is achieved.
- Press the Shutter button fully to capture the image.
2.4.2 Recording Videos
- Turn the Mode Dial to the Video icon.
- Frame your scene.
- Press the Shutter button fully to start recording. A red indicator will appear on the screen.
- Press the Shutter button fully again to stop recording.
- Note: The camera supports 8K video resolution. Ensure sufficient memory card space.
2.5 Advanced Shooting Modes and Features
- Autofocus (AF): The camera features rapid autofocus to ensure sharp images.
- Image Stabilization: Helps reduce blur caused by camera shake.
- Time-lapse: Capture a series of images over time and combine them into a video. Access this mode via the menu.
- Slow-motion: Record video at a higher frame rate for slow-motion playback. Access this mode via the menu.
- Digital Zoom (16x): Use the zoom lever to magnify your subject. Note that digital zoom can reduce image quality at higher magnifications.
2.6 WiFi Connectivity and App Control
The camera features built-in WiFi for seamless connectivity with your smartphone or tablet.
- Download the official NBD camera app from your device's app store.
- On the camera, navigate to the WiFi Settings in the menu and enable WiFi.
- On your smartphone, connect to the camera's WiFi network (SSID and password will be displayed on the camera screen).
- Open the NBD app to remotely control the camera, view live feed, transfer photos/videos, and adjust settings.
Image description: Screenshots of the camera's WiFi settings menu and the NBD app interface on a smartphone.
3. Maintenance
3.1 Cleaning the Camera
- Camera Body: Use a soft, dry cloth to wipe the camera body. For stubborn dirt, slightly dampen the cloth with water. Avoid harsh chemicals.
- Lens: Use a lens brush or a blower to remove dust. For smudges, use a specialized lens cleaning solution and a microfiber lens cloth. Never touch the lens surface with your fingers.
- Screen: Gently wipe the IPS screen with a soft, lint-free cloth.
3.2 Battery Care
- Always use the provided charger and cables.
- Avoid exposing batteries to extreme temperatures.
- If the camera will not be used for an extended period, remove the batteries and store them in a cool, dry place.
3.3 Storage
Store the camera in a dry, dust-free environment, away from direct sunlight and extreme temperatures. Use a camera bag for protection during transport.
4. Troubleshooting
| Problem | Possible Cause | Solution |
|---|---|---|
| Camera does not power on. | Battery is depleted or incorrectly inserted. | Charge the battery fully. Reinsert the battery correctly. |
| Images are blurry. | Incorrect focus, camera shake, or dirty lens. | Ensure autofocus is engaged. Hold the camera steady or use a tripod. Clean the lens. |
| Memory card error. | Card is full, corrupted, or incorrectly inserted. | Delete unnecessary files or use a new card. Format the card (this will erase all data). Reinsert the card. |
| WiFi connection fails. | Incorrect password, camera WiFi disabled, or app issue. | Verify WiFi password. Ensure camera WiFi is enabled. Restart the camera and your smart device. Reinstall the app if necessary. |
| Poor audio quality. | External microphone not connected properly or faulty. | Ensure the external microphone is securely plugged in. Test with another microphone if available. |
5. Specifications
| Feature | Detail |
|---|---|
| Model Number | NBD-EU-S110-QT |
| Image Sensor | CMOS, 1/2.3 inch |
| Image Resolution | 64 Megapixels (MP) maximum |
| Video Resolution | 8K |
| Digital Zoom | 16x |
| Display Screen | 3.0 inch IPS, 180° Rotatable |
| Connectivity | WiFi |
| Lens Type | 52mm Wide-angle/Macro |
| Supported File Formats | MOV (Video), JPG (Photo) |
| Shutter Speed | 1/3 to 1/2000 seconds |
| Exposure Control | Automatic, Manual |
| Dimensions (L x W x H) | 12.6 x 11 x 8.2 cm |
| Weight | 442 grams |
6. Customer Support
For further assistance, technical support, or warranty inquiries, please contact NBD customer service through the official website or the contact information provided with your purchase documentation.
You can also visit the NBD store on Amazon for product information and updates: NBD Amazon Store


