
Important Safety Instructions
Please read all instructions carefully before using this appliance and retain for future reference. Failure to follow these instructions may result in electric shock, fire, or serious personal injury.
- Ensure the power supply voltage matches the rating label on the fan.
- Do not operate the fan with a damaged cord or plug. If damaged, contact customer support.
- Keep hands, hair, clothing, and other objects away from the fan blades during operation.
- Do not immerse the fan in water or other liquids. This fan is IPX5 rated for splash resistance, not submersion.
- Unplug the fan from the power outlet before cleaning, servicing, or moving.
- This appliance is not intended for use by persons (including children) with reduced physical, sensory, or mental capabilities, or lack of experience and knowledge, unless they have been given supervision or instruction concerning use of the appliance by a person responsible for their safety.
- Do not use the fan in areas where flammable liquids or gases are stored.
- Ensure the mounting surface is strong enough to support the fan's weight.
Product Overview
The Amico 18 Inch Waterproof Wall Mount Fan is designed for both indoor and outdoor use in various environments such as garages, patios, gyms, and warehouses. It features an energy-efficient DC motor, 8 adjustable speeds, and dual control options (remote and wired). Its IPX5 rating ensures resistance to water splashes, making it suitable for damp locations.
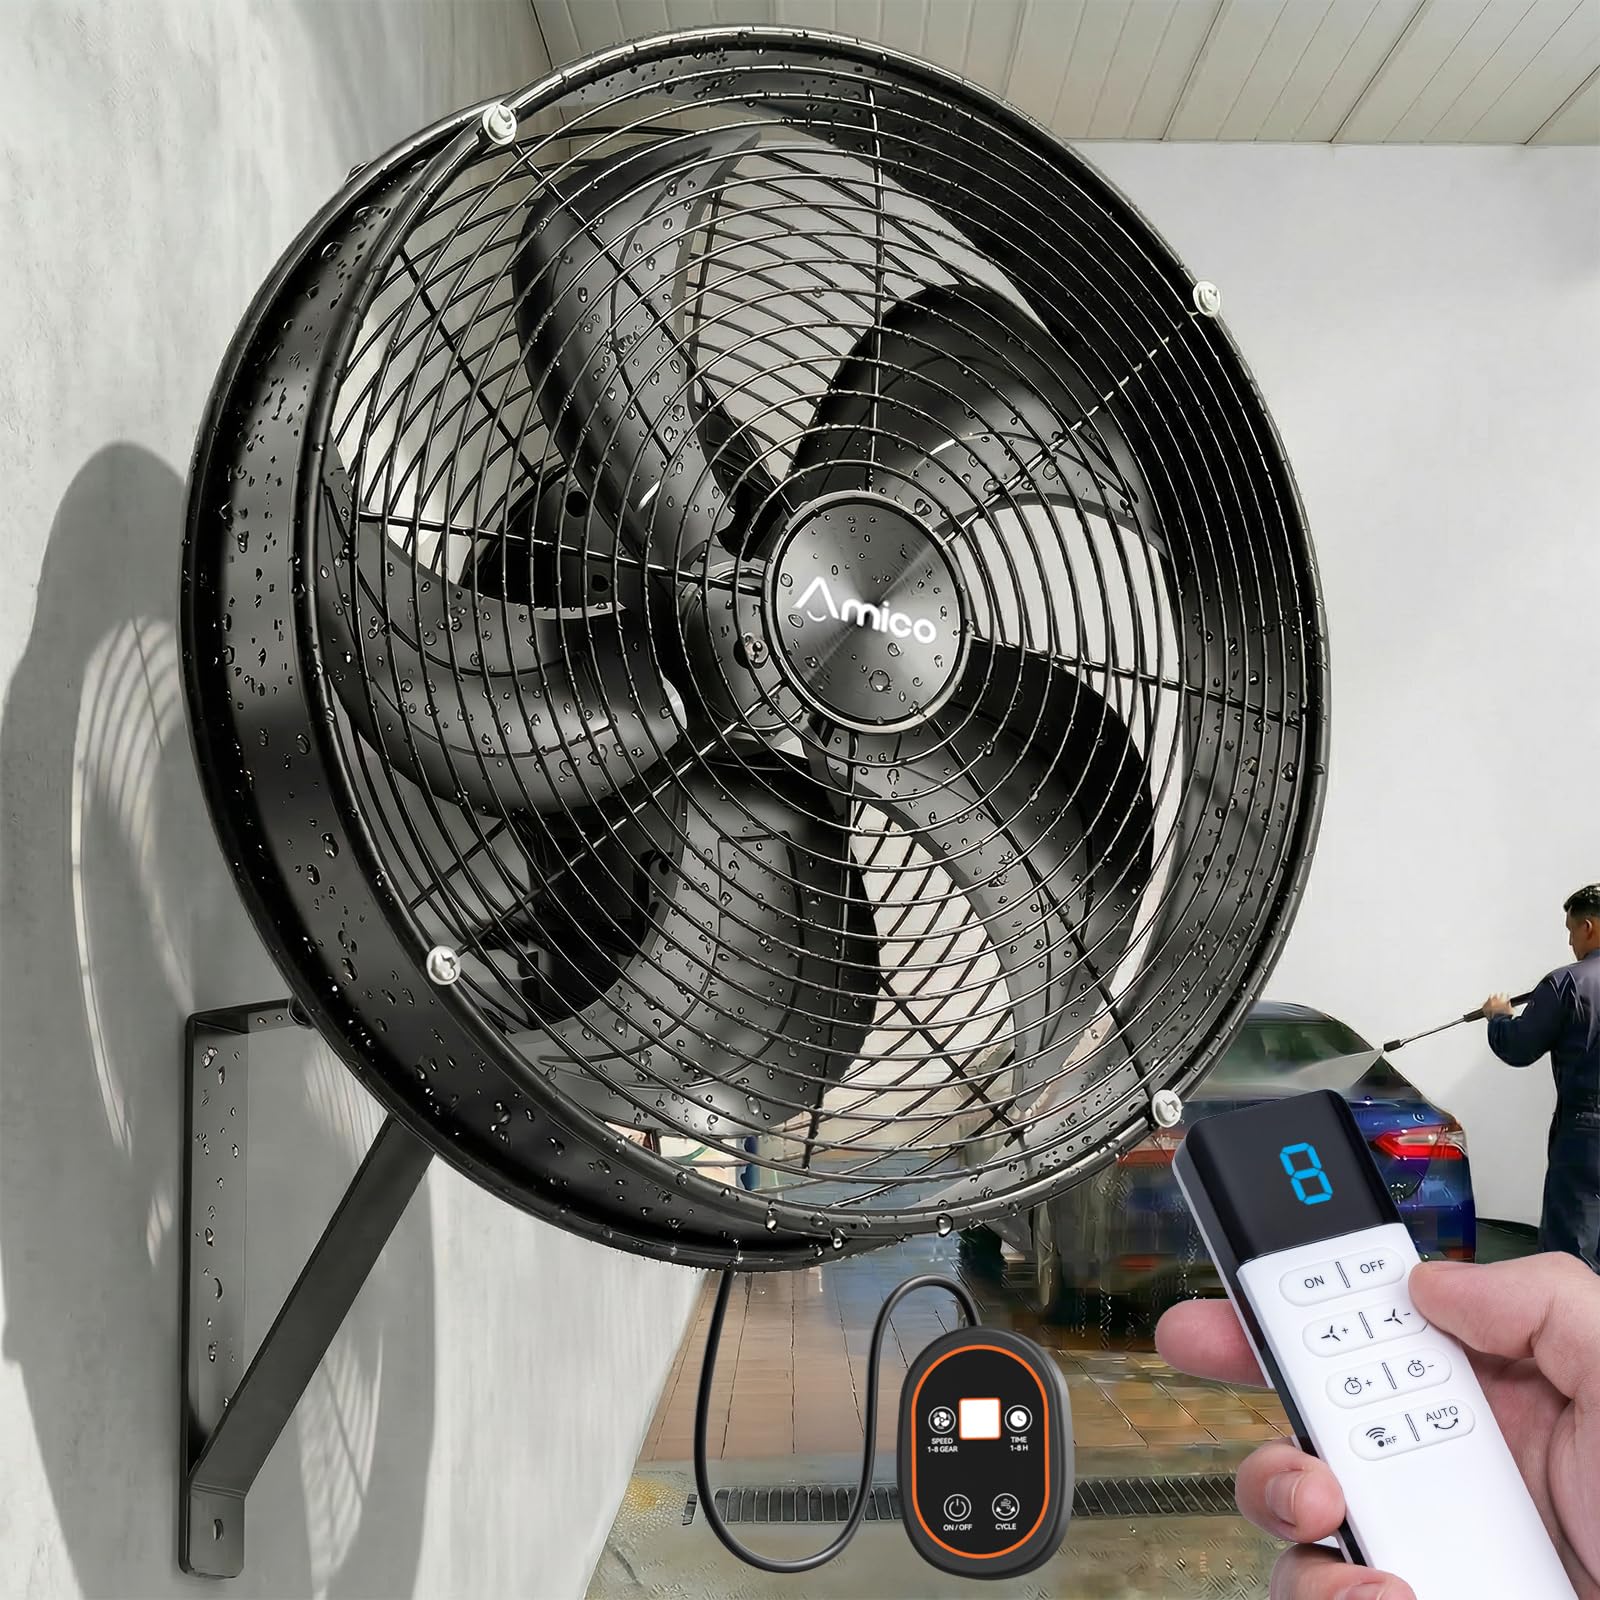
Image: Amico 18 Inch Waterproof Wall Mount Fan, showcasing its design and wall-mounted position.
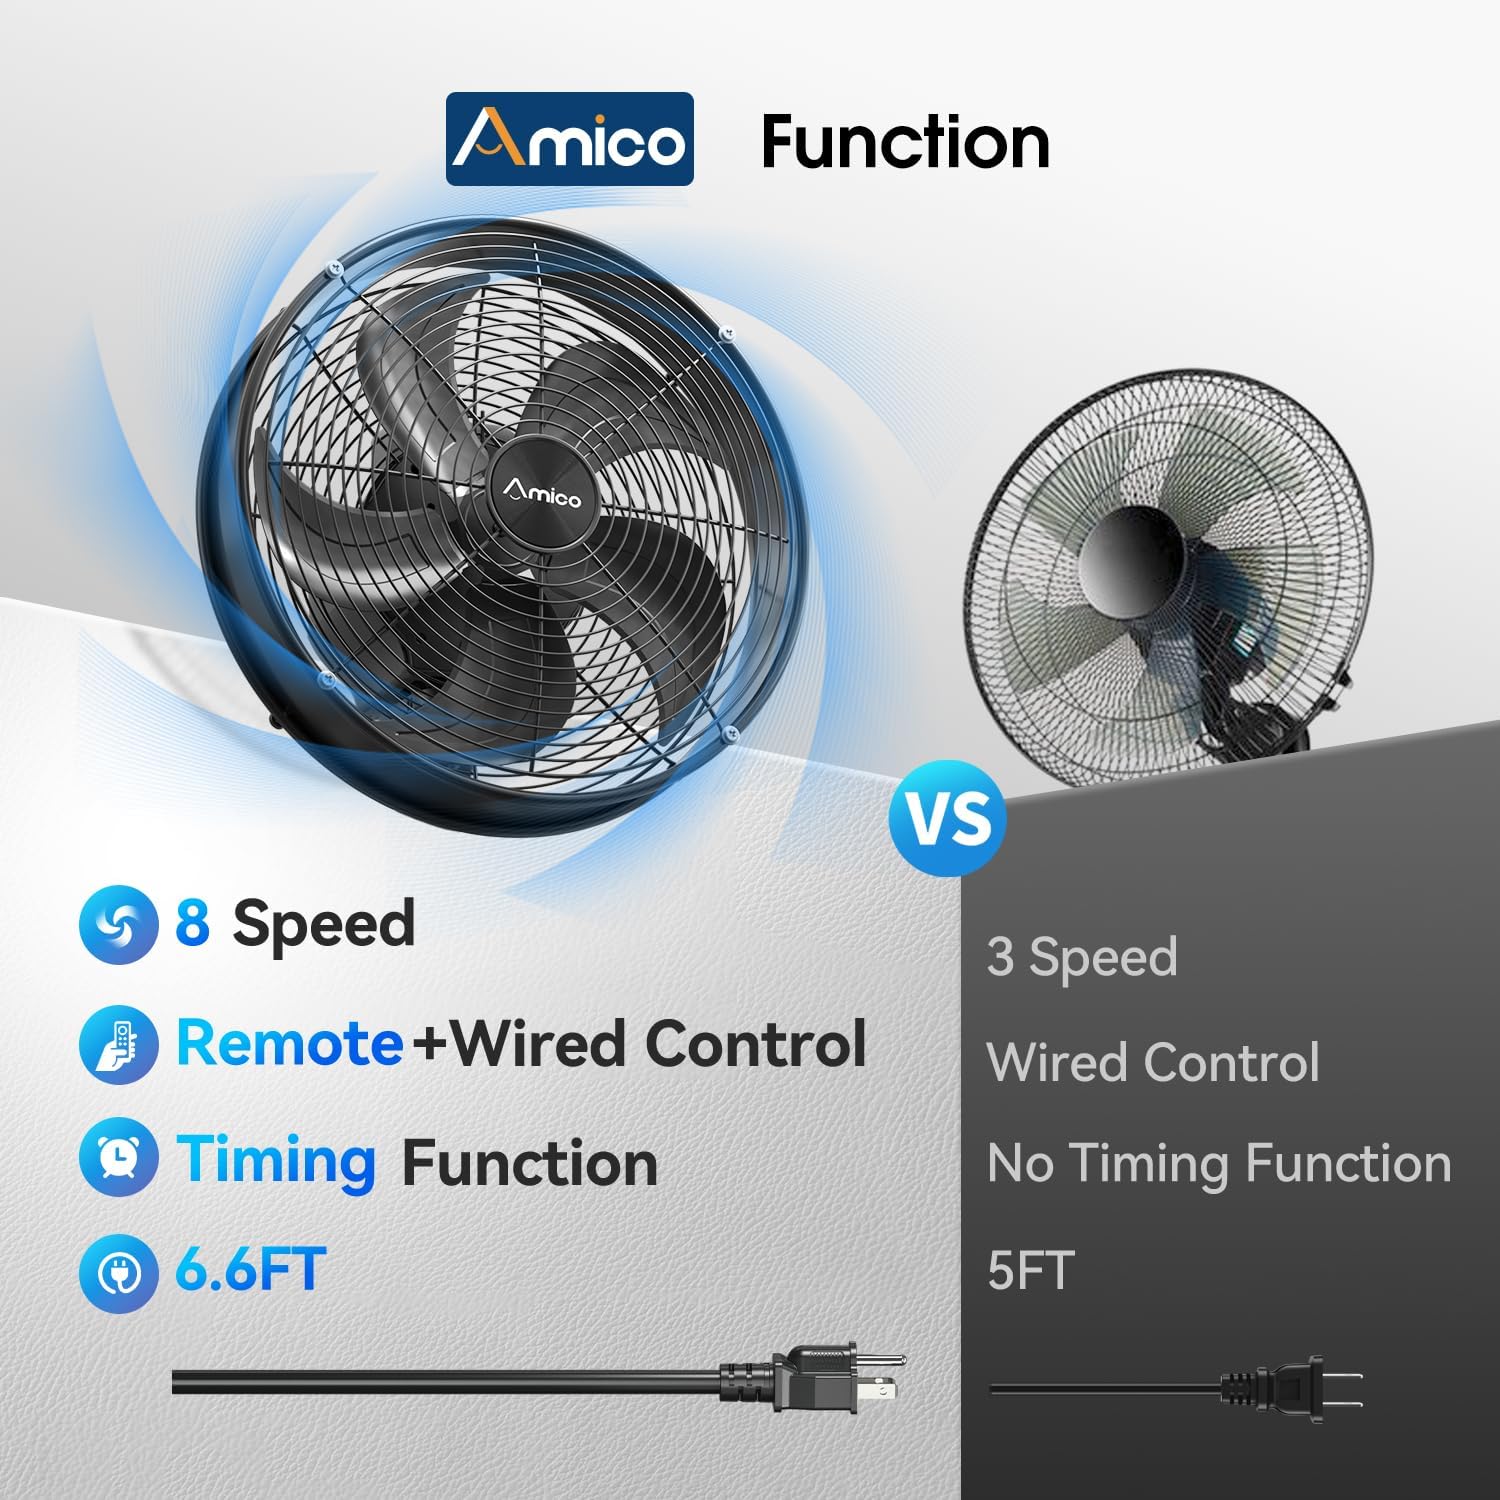
Image: Comparison highlighting the Amico fan's 8 speeds, remote and wired control, timing function, and 6.6ft cord versus a standard 3-speed fan with wired control and 5ft cord.
Package Contents
Verify that all components are present and in good condition upon unpacking:
- DC Motor Fan Unit
- Fan Blade (pre-installed or separate)
- Wall Mounting Bracket
- Remote Controller
- Wired Controller
- Instruction Manual (this document)
- Mounting Hardware (screws, anchors)
Setup and Installation
Follow these steps for proper installation of your Amico wall mount fan:
1. Choose a Mounting Location
Select a sturdy wall surface capable of supporting the fan's weight. Ensure there is adequate clearance around the fan for airflow and oscillation. Consider the fan's dimensions for optimal placement.

Image: Diagram illustrating the dimensions of the Amico 18-inch wall mount fan, including height, width, depth, and cord length, to assist with installation planning.
2. Secure the Mounting Bracket
Using the provided mounting hardware, securely attach the wall mounting bracket to your chosen surface. Use a level to ensure the bracket is straight.
3. Mount the Fan Unit
Carefully lift the fan unit and align it with the mounting bracket. Slide or secure the fan onto the bracket according to the design. Ensure it is firmly seated.

Image: Step-by-step visual guide for installing the wall mount fan, showing securing the bracket, mounting the fan assembly, and tightening adjustment knobs.
4. Adjust Tilt and Tighten
Adjust the fan's vertical tilt to your desired angle (up to 30° manually). Tighten any adjustment knobs or screws to lock the fan in place.
5. Connect Power
Plug the fan's power cord into a suitable electrical outlet.
Operating Instructions
Your Amico wall mount fan can be controlled using either the included wireless remote or the wired controller.

Image: Illustration of the two control methods for the fan: a wireless remote control and a wired control panel, showing their respective buttons for timing, speed, and oscillation.
Power On/Off
- Press the ON/OFF button on the remote or wired controller to turn the fan on or off.
Speed Control
The fan offers 8 speed settings for customized airflow.
- Use the +/- buttons on the remote or the speed control on the wired controller to adjust the fan speed from 1 (lowest) to 8 (highest).

Image: Visual representation of the 8 speed levels, categorized into Low Comfortable wind (Level 1-2), Medium Natural wind (Level 3-4), High Cooling wind (Level 5-6), and Turbo Cycle Wind (Level 7-8).
Oscillation Function
The fan features a 90° electric oscillation to distribute air across a wider area.
- Press the Oscillation button on the remote or wired controller to activate or deactivate the oscillation feature.

Image: Diagram showing the fan's 90-degree electric oscillation and 30-degree manual vertical tilt capabilities.
Timer Function
Set the fan to operate for a specific duration using the timer function (up to 8 hours).
- Press the Timer button on the remote or wired controller to cycle through the available timer settings (e.g., 2H, 4H, 6H, 8H). The fan will automatically turn off after the set time.

Image: Visual representation of the 8-hour timer setting, showing the fan operating at different times of the day in a workshop environment.
Maintenance
Regular maintenance ensures optimal performance and longevity of your fan.
Cleaning
- Always unplug the fan before cleaning.
- Use a soft, damp cloth to wipe the exterior surfaces of the fan. Do not use abrasive cleaners or solvents.
- The fan blades and grille can be cleaned by removing the front cover. Refer to the diagram for proper removal and reattachment.
- Ensure all parts are completely dry before plugging the fan back in.

Image: Demonstrates the fan's IPX5 splash-proof rating and highlights features like high-quality buckle, front and back cover, and ease of cleaning the blades.
Storage
- If storing the fan for an extended period, clean it thoroughly and store it in a cool, dry place, preferably in its original packaging.
Troubleshooting
Refer to the table below for common issues and their solutions.
| Problem | Possible Cause | Solution |
|---|---|---|
| Fan does not turn on | No power supply; Power cord not properly plugged in; Remote control batteries dead. | Check power outlet; Ensure power cord is securely plugged in; Replace remote control batteries. |
| Weak airflow | Fan speed set too low; Obstruction in front or behind the fan; Dirty fan blades. | Increase fan speed; Remove any obstructions; Clean fan blades and grille. |
| Fan makes unusual noise | Loose parts; Fan not securely mounted; Obstruction hitting blades. | Check for loose screws or components; Ensure fan is securely mounted; Turn off and check for obstructions. |
| Oscillation not working | Oscillation function deactivated; Motor issue. | Activate oscillation via remote/wired controller; If problem persists, contact customer support. |
| Remote control not responding | Batteries dead or incorrectly inserted; Obstruction between remote and fan; Remote out of range. | Replace batteries, ensure correct polarity; Remove obstructions; Move closer to the fan. |
Technical Specifications
| Feature | Specification |
|---|---|
| Brand | Amico |
| Model Number | DLT-D450050E110 |
| Size | 18 inches |
| Color | Black |
| Power Source | DC |
| Motor Type | Brushless DC motor |
| Number of Speeds | 8 |
| Oscillation | 90° Electric |
| Vertical Tilt | 30° Manual |
| Timer Function | Up to 8 hours |
| Control Method | Remote Control, Wired Control |
| Waterproof Rating | IPX5 |
| Noise Level | 55 Decibels |
| Wattage | 80 watts |
| Voltage | 120 Volts |
| Air Flow Capacity | 2482 Cubic Feet Per Minute |
| Product Dimensions (D x W x H) | 24.21"D x 19.69"W x 15.94"H |
| Material | Metal |
| Indoor/Outdoor Usage | Indoor, Outdoor |
Warranty and Customer Support
Amico stands behind the quality of its products.
Warranty Information
This Amico Wall Mount Fan is covered by a 2-year manufacturer's warranty from the date of purchase. This warranty covers defects in materials and workmanship under normal use. Please retain your proof of purchase for warranty claims.
Customer Support
For any questions, technical assistance, or warranty inquiries, please contact our customer support team. We provide 24-month worry-free support and 24-hour technical support.
Contact details can typically be found on the product packaging or the official Amico website.