UV730, CU530, UV725, UV725 26, UV650, UV730 X5, UV730 V5, CU530 26
Replacement Hose Instruction Manual
For Shark Navigator Lift-Away Upright Vacuums
Product Overview
This document provides instructions for the installation and maintenance of your replacement vacuum hose, compatible with various Shark Navigator Lift-Away Upright Vacuum models.

Image: The replacement hose, featuring a red handle and a flexible black hose section, designed for Shark Navigator Lift-Away Upright Vacuums.
Compatibility
This replacement hose is compatible with the following Shark Navigator Lift-Away Upright Vacuum models:
- UV730
- CU530
- UV725
- UV725 26
- UV650
- UV730 X5
- UV730 V5
- CU530 26

Image: A visual representation of a Shark vacuum cleaner, accompanied by a list of compatible model numbers: UV730, CU530, UV725, UV725 26, UV650, UV730 X5, UV730 V5, CU530 26.
Package Contents
Your package should contain the following item:
- 1 x Replacement Hose Handle (red)
Setup and Installation
Installing the replacement hose is a straightforward process that requires no special tools.
- Preparation: Ensure your vacuum cleaner is unplugged from the power outlet before beginning installation.
- Remove Old Hose (if applicable): Locate the connection points where the old hose attaches to the vacuum body and the handle. Typically, these connections involve a simple snap-in or twist-and-lock mechanism. Carefully detach the old hose.
- Attach New Hose to Vacuum Body: Align the lower end of the new replacement hose with the corresponding port on the main body of your Shark vacuum. Push firmly until it clicks securely into place.
- Attach New Hose to Handle: Align the upper end of the new replacement hose (with the red handle) with the connection point on your vacuum's wand or handle. Push firmly until it clicks securely into place.
- Verify Connection: Gently pull on both ends of the hose to ensure it is firmly attached and will not detach during use.
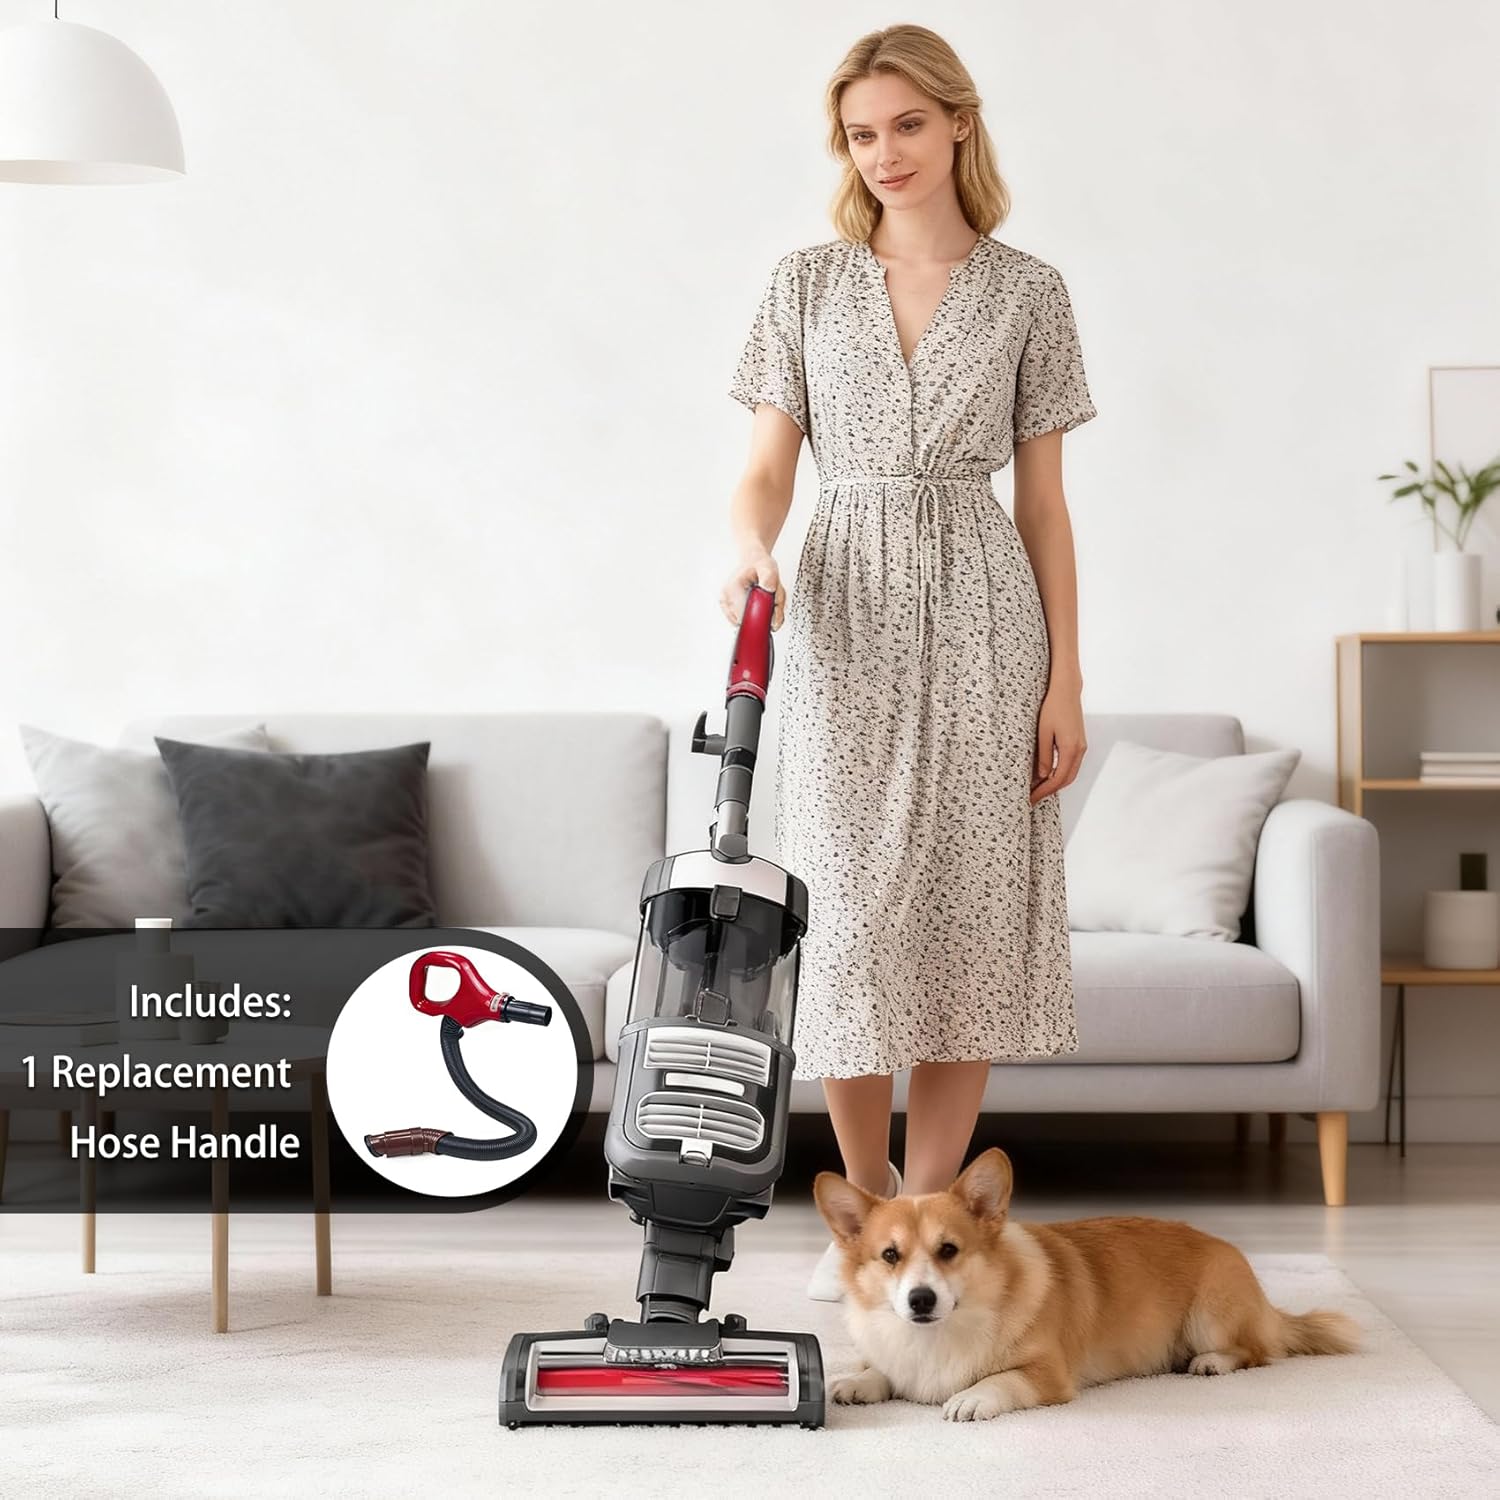
Image: A person demonstrating the installation of a hose onto an upright vacuum cleaner, illustrating the ease of attachment.
Operating Instructions
Once the replacement hose is securely installed, your Shark Navigator Lift-Away Upright Vacuum can be operated as usual. The hose functions identically to the original part, allowing for flexible cleaning with attachments or in Lift-Away mode.
- Ensure all connections are secure before powering on the vacuum.
- Avoid kinking or excessively bending the hose during use to prevent damage and maintain optimal suction.
Maintenance
Proper maintenance will extend the life of your replacement hose and ensure continued performance.
- Regular Inspection: Periodically check the hose for any signs of wear, tears, or blockages.
- Cleaning: The hose can be cleaned as needed. For general cleaning, wipe the exterior with a damp cloth. For deeper cleaning, the hose is machine washable. Ensure it is completely dry before reattaching to the vacuum.
- Storage: Store the vacuum and hose in a manner that avoids sharp bends or crushing, which could damage the hose material.

Image: An infographic highlighting key features of the replacement hose, including its ease of installation, high quality, and machine washable property.
Troubleshooting
| Problem | Possible Cause | Solution |
|---|---|---|
| Hose does not fit or is loose. | Incorrect model compatibility or improper installation. |
|
| Loss of suction through the hose. | Hose blockage or improper connection. |
|
Specifications
| Feature | Detail |
|---|---|
| Brand | Generic |
| Color | Red (handle) |
| Product Dimensions (L x W) | 32.28" x 1.34" |
| Item Weight | 1.7 Pounds |
| Included Components | Hose |
| Specific Uses | Home cleaning |
Support
If you have any questions regarding the installation, operation, or maintenance of your replacement hose, please contact the seller for assistance.
Ask a question about this manual
Ask about setup, troubleshooting, compatibility, parts, safety, or missing instructions. Manuals+ will review the question and use this page’s manual context to help answer it.