
Introduction
This manual provides detailed instructions for the installation, operation, and maintenance of your Oskkude 4+64G Car Stereo. This unit is specifically designed for Mercedes-Benz Sprinter models from 2007 to 2018, featuring a 9.7-inch IPS capacitive touchscreen, Android 14 operating system, and advanced connectivity options like Wireless CarPlay and Android Auto. Please read this manual thoroughly before installation and use to ensure proper function and safety.
Safety Information
- Professional Installation Recommended: Due to the complexity of automotive electrical systems, professional installation is highly recommended to prevent damage to the unit or vehicle.
- Power Supply: Ensure the unit is connected to a 12V DC power supply with a negative ground. Incorrect voltage can cause damage.
- Wiring: Carefully follow all wiring diagrams. Incorrect wiring can lead to malfunctions or electrical hazards.
- Driving Safety: Do not operate the unit in a way that distracts you from driving. Always prioritize road safety.
- Temperature: Avoid exposing the unit to extreme temperatures or direct sunlight for prolonged periods.
- Moisture: Keep the unit away from water and excessive moisture.
Package Contents
Verify that all items listed below are included in your package:
- Oskkude 9.7-inch Car Stereo Unit
- Power Cable
- RCA Input/Output Cables
- 2 USB Cables
- Camera Input Cable
- GPS Antenna
- Instruction Manual (this document)
- Fixed Brackets (2 pieces)
- AHD Backup Camera (if included with your purchase)

Image: Included accessories and unit dimensions. Please ensure all components are present.
Installation Guide
This section provides general installation steps. Specific vehicle wiring may vary. Professional installation is recommended.
1. Pre-Installation Check
- Compatibility: Confirm your vehicle is a Mercedes-Benz Sprinter (2007-2018).
- Dashboard Measurement: Carefully measure your dashboard opening to ensure the unit fits. The unit dimensions are approximately 222mm (8.7in) width x 218mm (8.5in) height.
- Disconnect Battery: Before starting any electrical work, disconnect the vehicle's negative battery terminal to prevent short circuits.
2. Removing the Old Radio
Carefully remove the existing car radio and any trim panels. Refer to your vehicle's service manual for specific instructions.

Image: Installation comparison showing the dashboard before and after the new stereo installation.
3. Wiring Connections
Connect the provided wiring harness to the car stereo and then to your vehicle's wiring. Ensure all connections are secure.
- Power Cable: Connect the main power harness (ACC, B+, Ground).
- RCA Cables: Connect for external amplifiers, subwoofers, or video output.
- USB Cables: Route USB cables to a convenient location for connecting external devices or for wired CarPlay/Android Auto.
- Camera Input: Connect the backup camera cable to the designated input.
- GPS Antenna: Mount the GPS antenna in a location with a clear view of the sky, typically on the dashboard or under the windshield.
- Steering Wheel Control (SWC): Connect the SWC wires to your vehicle's steering wheel control interface. Configuration may be required in the unit's settings.

Image: Rear view of the unit with wiring connections.
4. Mounting the Unit
Use the provided fixed brackets to secure the car stereo into the dashboard opening.
5. Final Steps
- Reconnect the vehicle's negative battery terminal.
- Turn on the vehicle and test the car stereo's functions.
- Adjust settings as needed.
Operating Instructions
Power On/Off and Basic Interface
Press the power button to turn the unit on or off. The 9.7-inch IPS capacitive touchscreen provides a responsive interface for navigating through applications and settings. The unit runs on Android 14, offering a familiar smartphone-like experience.
CarPlay and Android Auto
The unit supports both wireless and wired connections for Apple CarPlay and Android Auto. This feature integrates your smartphone with the car's system for navigation, calls, messaging, and music.
- Wireless Connection: Enable Bluetooth and Wi-Fi on your smartphone and connect to the car stereo. Follow the on-screen prompts to initiate CarPlay or Android Auto.
- Wired Connection: Connect your smartphone to one of the unit's USB ports using a high-quality USB cable.
- Voice Control: Use voice commands (Siri for CarPlay, Google Assistant for Android Auto) for hands-free operation.
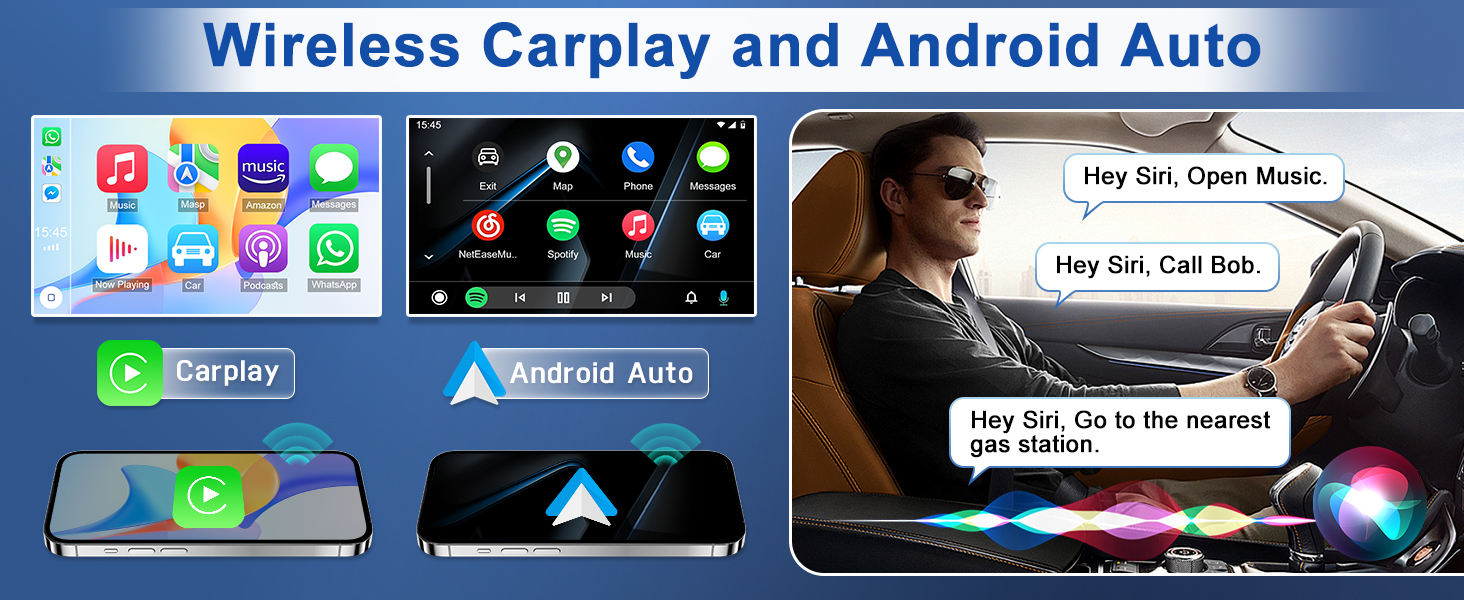
Image: Wireless CarPlay and Android Auto interface.
GPS Navigation & Wi-Fi
The unit supports both online and offline navigation. You can download maps for offline use or use online navigation apps via Wi-Fi.
- Online Navigation: Connect the unit to a Wi-Fi hotspot (e.g., from your smartphone) to use online map services and download apps from the Play Store.
- Offline Navigation: Pre-installed or downloaded map applications can be used without an internet connection.
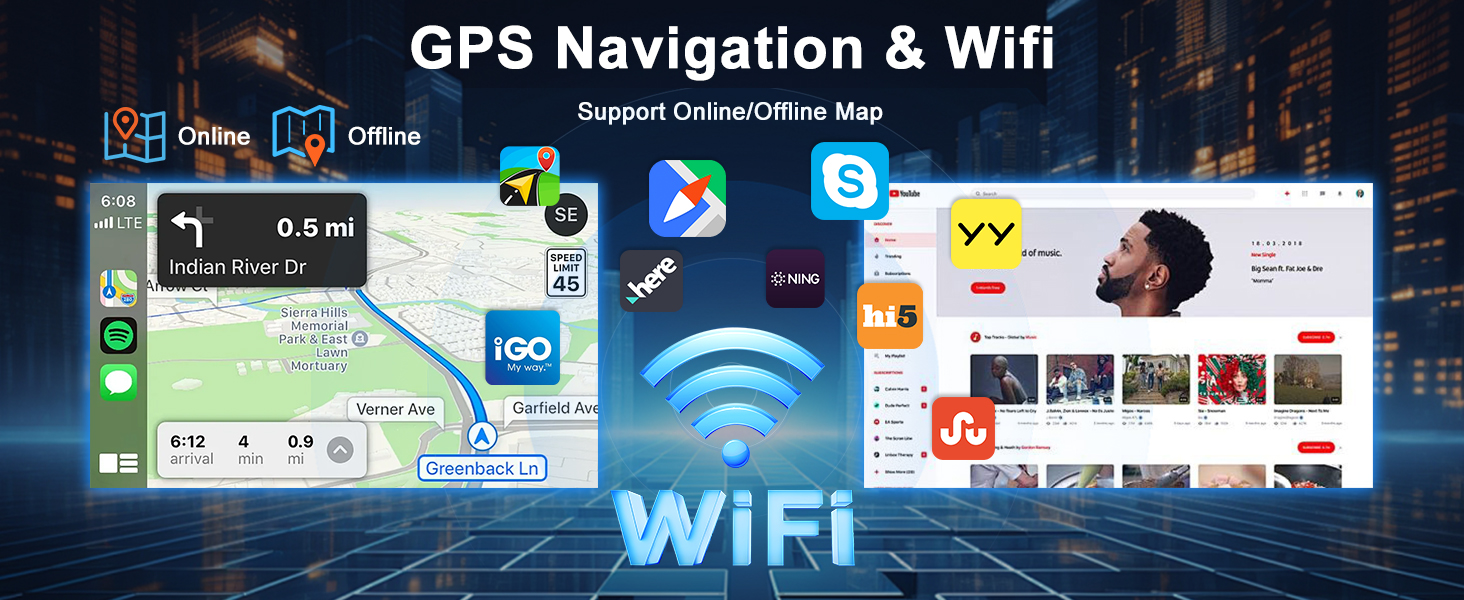
Image: GPS Navigation and Wi-Fi functionality.
Bluetooth Connectivity
Pair your smartphone via Bluetooth for hands-free calling and audio streaming.
- Pairing: Go to Bluetooth settings on the unit and your phone, search for available devices, and pair.
- Hands-Free Calls: Make and receive calls directly from the unit's touchscreen. Access your phone book.
- Audio Streaming: Play music from your phone through the car stereo speakers.
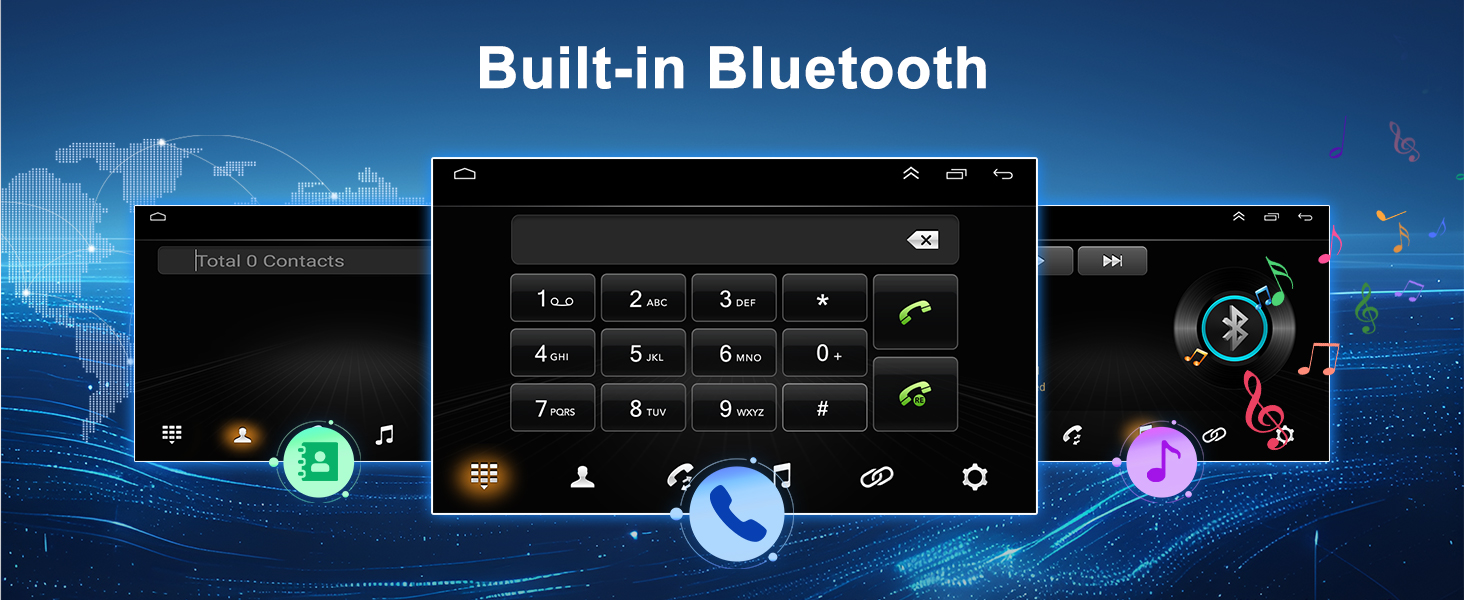
Image: Built-in Bluetooth interface for calls and music.
FM/RDS Radio
The unit features an FM/RDS radio tuner, allowing you to listen to your favorite radio stations.
- Scanning: Perform automatic or manual scans to find radio stations.
- Presets: Save your preferred stations for quick access.
- RDS: Radio Data System provides additional information like station name and song title (where available).
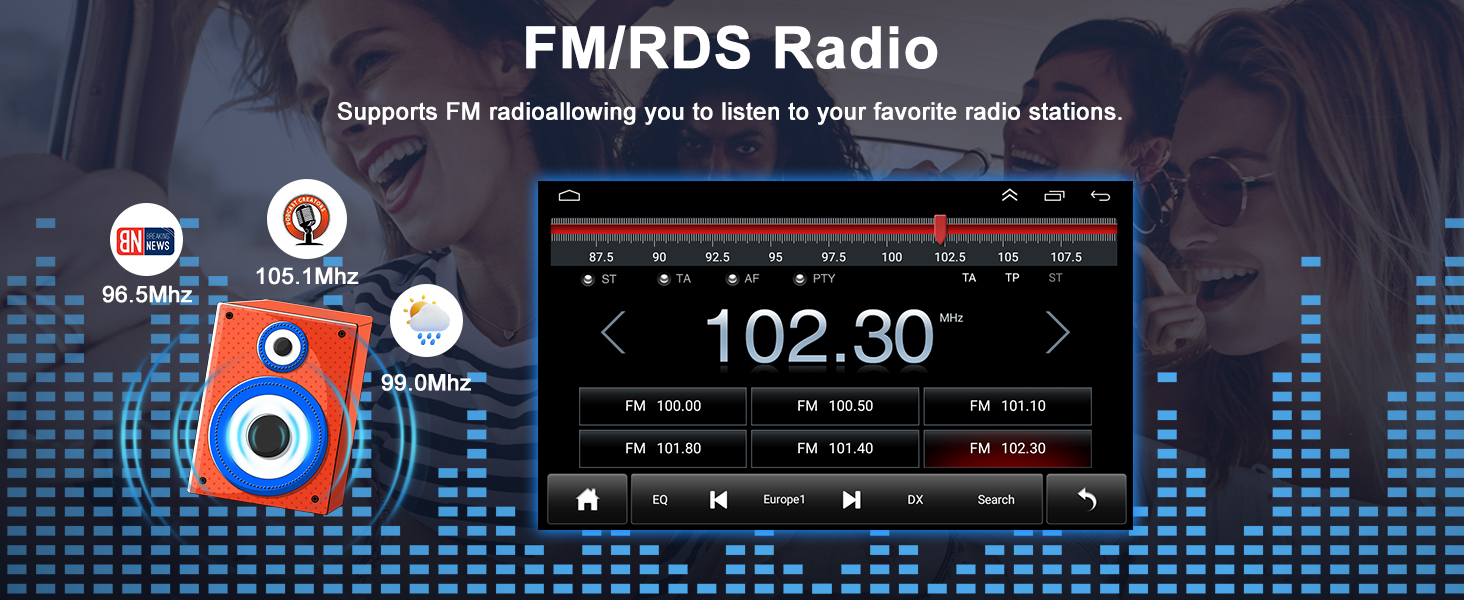
Image: FM/RDS Radio interface.
Mirror Link
Mirror Link allows you to display your smartphone screen directly onto the car stereo's display. This is compatible with both iOS and Android devices.
- Connection: Connect your phone via USB or Wi-Fi and follow the on-screen instructions to activate Mirror Link.
- Usage: View navigation apps, videos, or other content from your phone on the larger screen.
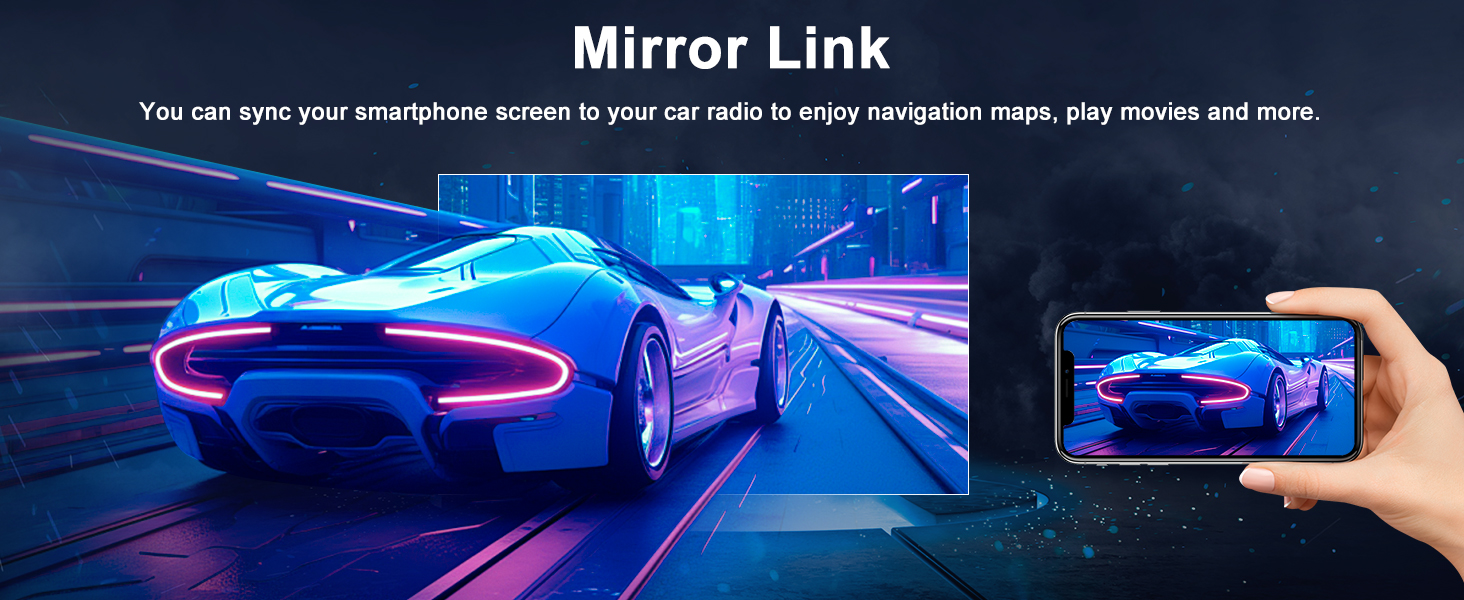
Image: Mirror Link functionality.
Split Screen Function
The split-screen feature allows you to run two applications simultaneously on the display, such as navigation and music playback.
- Activation: Long-press the recent apps button or drag an app to one side of the screen to activate split-screen mode.
- Customization: Adjust the size of each app window as needed.
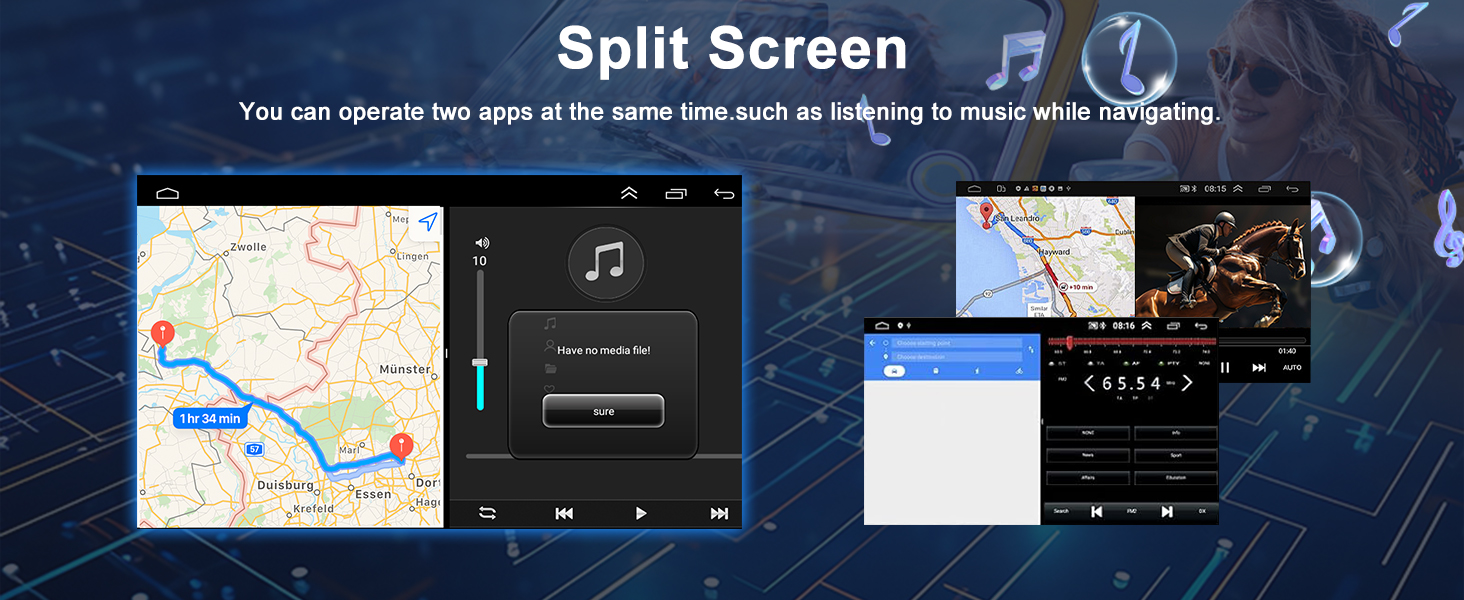
Image: Split Screen functionality.
Steering Wheel Control (SWC)
The unit supports your vehicle's original steering wheel controls, allowing you to manage audio and other functions without taking your hands off the wheel.
- Configuration: Access the 'Steering Learn' option in the unit's settings to map your vehicle's steering wheel buttons to the stereo functions.
- Functions: Control volume, skip tracks, answer calls, and more.
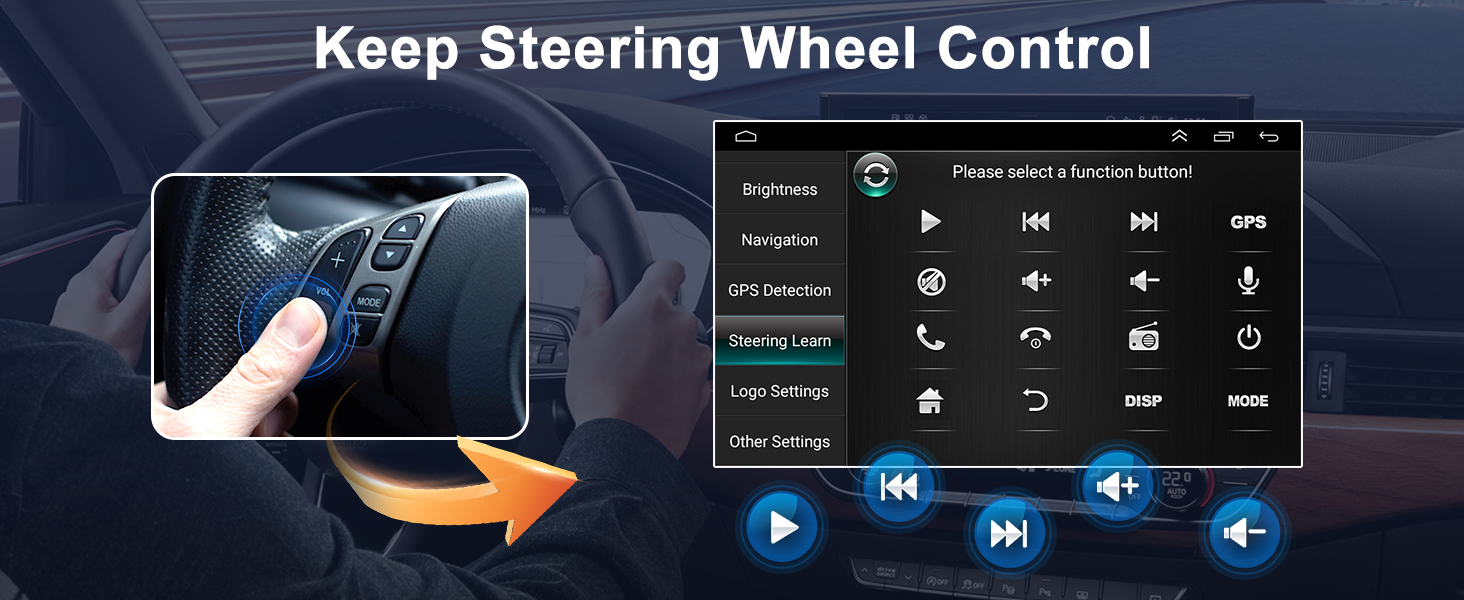
Image: Steering Wheel Control interface.
Backup Camera
When connected to an AHD rear view camera, the unit automatically displays the reversing image when you engage reverse gear. The included camera features night vision and a wide field of view.
- Automatic Display: The screen will switch to the camera view when reverse gear is selected.
- Guidelines: Dynamic parking guidelines may be displayed to assist with parking.
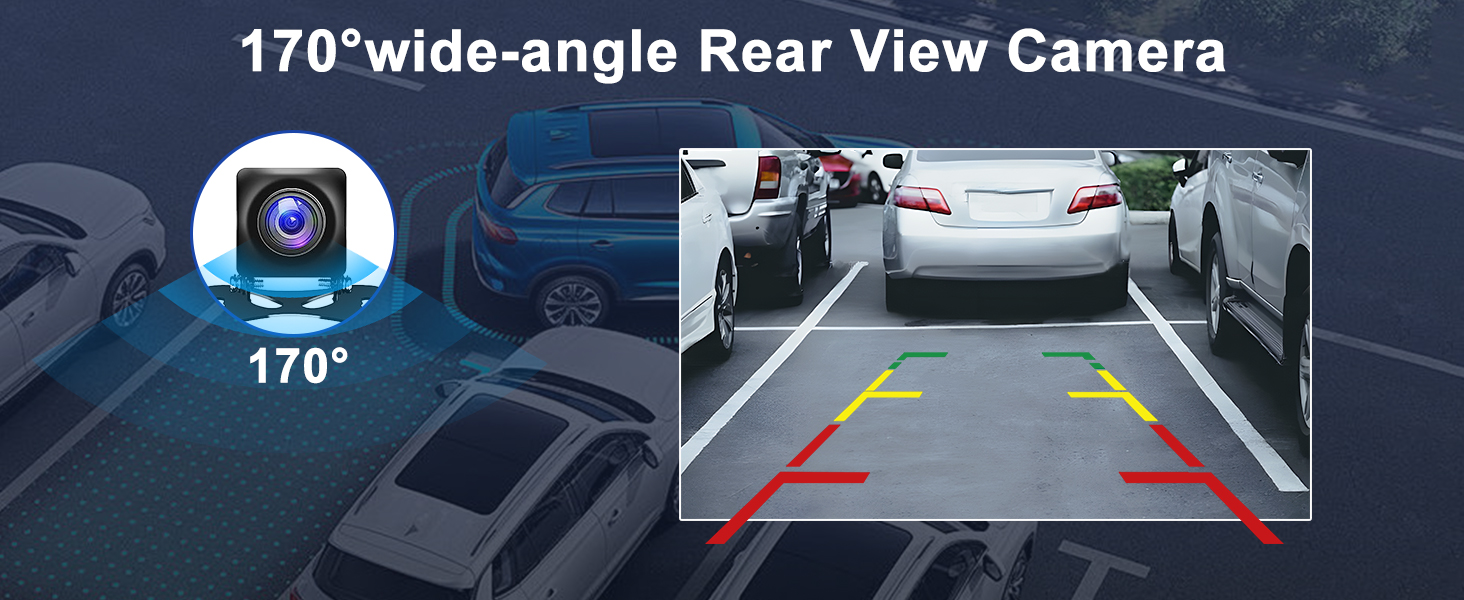
Image: Rear View Camera display with parking guidelines.
Audio Equalizer (EQ)
The unit features a 12-segment EQ adjustment control, allowing you to customize the audio output to your preference. It also supports RCA subwoofer output for enhanced bass.
Maintenance
- Cleaning the Screen: Use a soft, lint-free cloth to gently wipe the touchscreen. Do not use abrasive cleaners or solvents.
- General Cleaning: Wipe the unit's exterior with a soft, damp cloth.
- Software Updates: Periodically check for software updates to ensure optimal performance and access to new features. Updates can typically be found on the manufacturer's website or through the unit's system settings if connected to Wi-Fi.
- Avoid Liquids: Do not spill liquids on the unit.
Troubleshooting
If you encounter issues, refer to the following common problems and solutions:
| Problem | Possible Cause | Solution |
|---|---|---|
| Unit does not power on. | Incorrect wiring; Blown fuse; Vehicle battery issue. | Check power connections (B+, ACC, Ground). Inspect vehicle fuses. Ensure battery is charged. |
| No sound. | Speaker wires disconnected; Volume too low; Mute activated; Incorrect audio source. | Check speaker wiring. Increase volume. Disable mute. Select correct audio source. |
| GPS signal lost or inaccurate. | GPS antenna improperly installed or obstructed; Outdated maps. | Ensure GPS antenna has a clear view of the sky. Update navigation maps. |
| Bluetooth not connecting. | Bluetooth not enabled; Device not in pairing mode; Interference. | Ensure Bluetooth is enabled on both devices. Put phone in pairing mode. Try restarting both devices. |
| Backup camera not displaying. | Camera wiring incorrect; Camera faulty; Reverse trigger wire not connected. | Check camera power and video signal connections. Verify reverse trigger wire connection. |
| Touchscreen unresponsive. | Software glitch; Screen damage. | Restart the unit. If issue persists, contact support. |
If these solutions do not resolve the issue, please contact Oskkude customer support.
Specifications
| Feature | Detail |
|---|---|
| Brand | Oskkude |
| Model Number | TISU-11-XXL-25J0751X-003 |
| Compatible Devices | Mercedes-Benz Sprinter 2007-2018 |
| Operating System | Android 14.0 |
| Memory | 4GB RAM + 64GB ROM |
| Screen Size | 9.7 inches |
| Screen Type | IPS Capacitive Touchscreen |
| Connectivity Technology | Bluetooth, USB, Wi-Fi |
| Wireless Technology | Bluetooth, Wi-Fi |
| Special Features | Wireless CarPlay & Android Auto, GPS Navigation, Steering Wheel Control, Mirror Link, Split Screen, AHD Backup Camera Support, EQ, FM/AUX, AV IN, RCA, RLV/AHD |
| Audio Output Mode | Stereo |
| Audio Output Type | RCA, Speakers |
| Output Power | 45 Watts (per channel) |
| Total Output Wattage | 180 Watts |
| Number of Channels | 4 |
| Video Encoding Formats | MKV, RMVB, AVI, MP4, MDV, etc. |
| Audio Formats | AVI, WAV, WMA |
Warranty and Support
Oskkude products are designed for reliability and performance. For specific warranty details, please refer to the warranty card included with your product or visit the official Oskkude website. If you require technical assistance, troubleshooting, or have questions regarding your product, please contact Oskkude customer support through the contact information provided on the official website or your purchase platform.