
1. Introduction
Thank you for purchasing the HDView 1080P HD Dash Camera. This device is designed to record your driving journey, providing crucial video evidence in case of incidents, and enhancing your vehicle's security. This manual provides detailed instructions for installation, operation, and maintenance to ensure optimal performance.
2. Safety Information
- Do not operate the dash camera while driving. Adjust settings only when the vehicle is safely parked.
- Ensure the dash camera is installed in a location that does not obstruct the driver's view or interfere with airbag deployment.
- Use only the provided power cable and accessories to prevent damage or fire.
- Avoid exposing the device to extreme temperatures, direct sunlight for prolonged periods, or moisture.
- Keep the device away from strong magnetic fields.
- Do not attempt to disassemble or repair the device yourself. Contact customer support for assistance.
- A Class 10 or higher microSD card (16GB to 256GB) is required for recording and is not included.
3. Package Contents
Please check the package for the following items:
- HDView 1080P HD Dash Camera
- Car Mount (Suction Cup)
- Car Charger (Power Cable)
- User Manual (This document)
4. Product Overview
The HDView Dash Camera features a dual-lens system, capturing both front-facing road views and interior cabin activity. It includes a display screen for real-time viewing and playback, along with essential ports for power and data transfer.

Image: The HDView 1080P HD Dash Camera showing its dual lenses, display screen, and suction cup mount. Key features like motion detection, 170° view angle, dual cameras, G-Sensor, loop recording, and night vision are highlighted.
5. Setup
5.1 Inserting the MicroSD Card
Locate the microSD card slot on the side of the dash camera. Gently insert a Class 10 or higher microSD card (16GB-256GB, not included) until it clicks into place. Ensure the card is inserted correctly to avoid damage.
5.2 Attaching the Suction Cup Mount
Attach the suction cup mount to the dash camera by sliding it into the designated slot until it locks securely. Choose a location on your windshield that provides a clear view of the road and does not obstruct your driving visibility. Press the suction cup firmly against the windshield and flip the lever to secure it.
Video: This video demonstrates the unboxing and assembly of the HDView Dash Camera, including how to attach the suction cup mount and connect the power cable. This is an official seller video.
5.3 Connecting to Power
Connect the provided car charger to the dash camera's power input port (usually USB). Plug the other end of the car charger into your vehicle's 12V power outlet (cigarette lighter socket). The dash camera will typically power on automatically when the vehicle starts and power off when the engine is turned off.
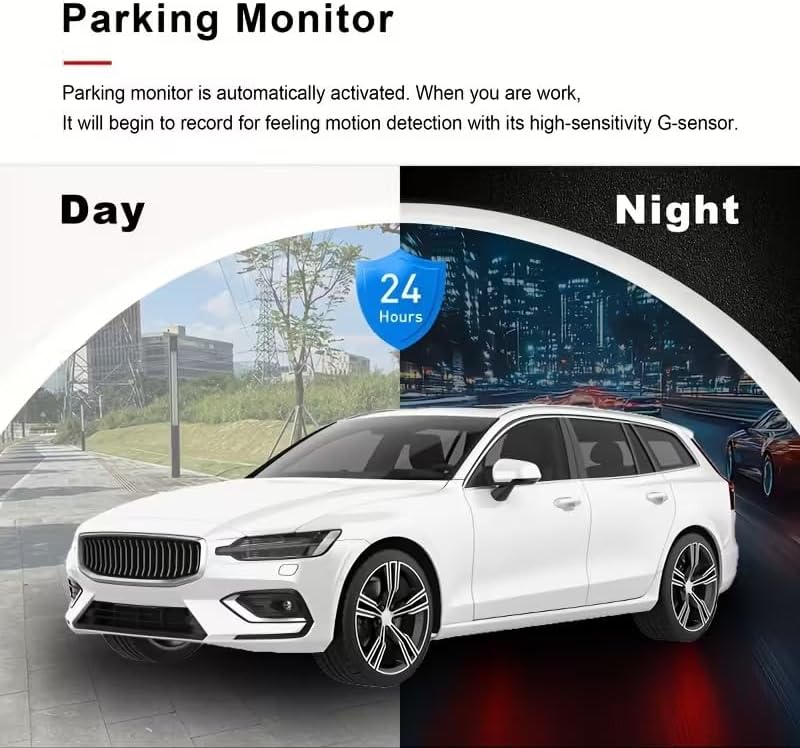
Image: A close-up view of the dash camera connected to its power source via the car charger, illustrating the power connection process.
6. Operating Instructions
6.1 Basic Recording
Once powered on, the dash camera will automatically begin recording. The recording status is usually indicated by a flashing red dot or icon on the screen. To stop recording, press the 'OK' or 'Record' button. Press it again to resume recording.
6.2 Loop Recording
The dash camera features loop recording, which continuously records video in segments (e.g., 1, 3, or 5 minutes). When the microSD card is full, the oldest unlocked video files will be overwritten by new recordings. This ensures continuous recording without manual intervention. Videos protected by the G-Sensor will not be overwritten.

Image: An illustration demonstrating the loop recording function, where new video segments overwrite the oldest unprotected files on the memory card.
6.3 G-Sensor (Emergency Lock)
The built-in G-Sensor detects sudden impacts or collisions. When triggered, it automatically locks the current video segment, preventing it from being overwritten by loop recording. These locked files are stored in a separate folder to ensure critical evidence is preserved.

Image: An illustration showing the Emergency Lock feature, activated by the G-Sensor during a collision, securing video footage.
6.4 24H Parking Monitor
With the 24H Parking Monitor feature enabled, the dash camera will automatically start recording if it detects a shake or collision while your vehicle is parked. This provides surveillance even when you are away from your car. This feature requires a continuous power supply or the dash cam's internal battery to be charged.

Image: A visual representation of the 24-hour parking monitor function, illustrating its capability to detect and record incidents both day and night while the vehicle is parked.
6.5 Night Vision
The dash camera is equipped with advanced night vision technology, including a lens night fill light and F2.0 large aperture. This allows for clear and smooth image quality even in low-light conditions, ensuring important details are captured during nighttime driving or in tunnels.

Image: A depiction of the dash camera's powerful night vision capabilities, showing clear video capture of a city street at night.
6.6 Wide Angle View
The front camera offers a 170° wide-angle field of view, capturing multiple lanes of traffic and reducing blind spots. The cabin camera provides a 140° view, monitoring the interior of the vehicle.

Image: A diagram illustrating the wide-angle coverage of the dash camera, with a 170° view for the front camera and a 140° view for the cabin camera, minimizing blind spots.
7. Maintenance
7.1 Formatting the MicroSD Card
It is recommended to format the microSD card regularly (e.g., once a month) to ensure optimal performance and prevent data corruption. You can usually find the format option in the dash camera's settings menu.
7.2 Cleaning the Lenses and Screen
Use a soft, lint-free cloth to gently clean the camera lenses and the display screen. Avoid using abrasive cleaners or solvents that could damage the surfaces.
8. Troubleshooting
- Dash camera does not power on: Ensure the car charger is properly connected to both the dash camera and the vehicle's 12V power outlet. Check if the vehicle's power outlet is functioning.
- Recording errors or device crashes: Ensure you are using a Class 10 or higher microSD card. Format the microSD card regularly. If the issue persists, try a different compatible microSD card.
- Poor video quality at night: Ensure the lenses are clean. Verify that the night vision feature is enabled in the settings if applicable.
- No SD card detected: Reinsert the microSD card. Ensure it is fully inserted and compatible. Format the card if it's new or if issues persist.
9. Specifications
| Feature | Detail |
|---|---|
| Video Capture Resolution | 1080p |
| Front Field Of View | 170 Degrees |
| Cabin Field Of View | 140 Degrees |
| Special Feature | Night Vision, Loop Recording, G-Sensor, 24H Parking Monitor |
| Connectivity Technology | USB |
| Compatible MicroSD Card | 16GB to 256GB, Class 10 or higher (Not Included) |
| Frame Rate | 30 FPS |
| Mounting Type | Windshield Mount |
| Display Type | LCD or LED |
| Item Dimensions (D x W x H) | 5.9"D x 2.9"W x 4.3"H |
10. Warranty Information
This HDView Dash Camera comes with a 1-year warranty from the date of purchase. This warranty covers manufacturing defects. It does not cover damage caused by misuse, accidents, unauthorized modifications, or normal wear and tear. Please retain your proof of purchase for warranty claims.
11. Customer Support
If you have any questions, encounter issues, or require technical assistance, please contact HDView customer support. Refer to the product packaging or the seller's information for specific contact details.